
|
You wanted pictures, here you go... If you have never done one of these the lower pan can be a battle to get off. You almost always will nick the
|
|||||||
|
|
LinkBack | Thread Tools | Display Modes |
 10-04-2015, 11:28 PM
|
#11 (permalink) |
|
A True Z Fanatic
Join Date: Jun 2014
Location: Ga
Posts: 14,170
Drives: 2013 Nismo 370z
Rep Power: 2684395   |
You wanted pictures, here you go...
If you have never done one of these the lower pan can be a battle to get off. You almost always will nick the sealing surface a little. Just make sure you de-burr it. You don't want any high spots. 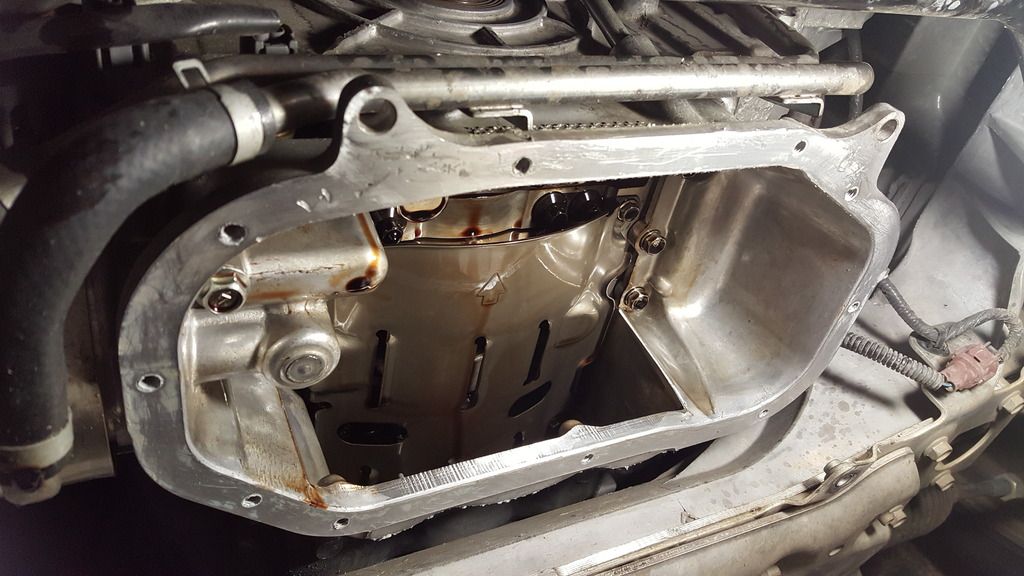 I used Nissan 3 Bond. I had some from when I replaced a valve cover on my wifes car. Just put a bead all the way around and smooth it down with your finger. Don't worry about the little bit that get's in the bolt holes. 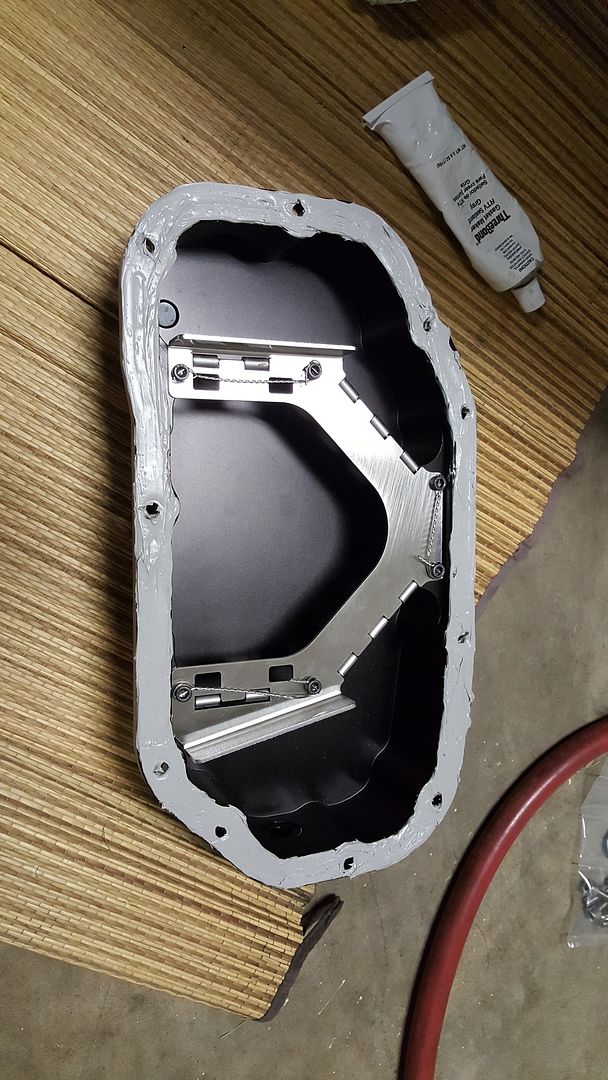 3 Bond Bead before I smoothed it out. 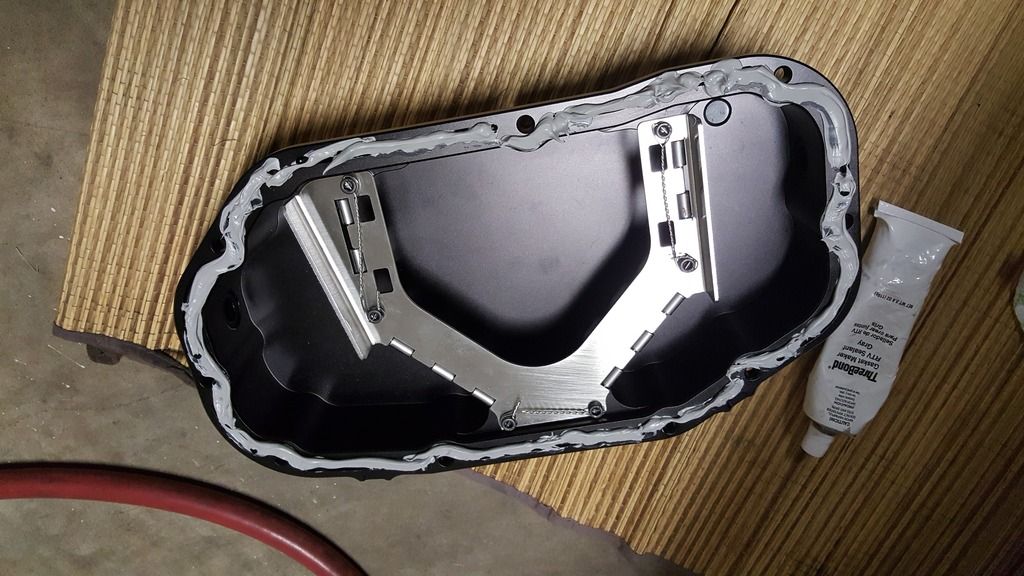 Notice the little bead all the way around the pan when I tightened it up. You don't need RTV oozing out. 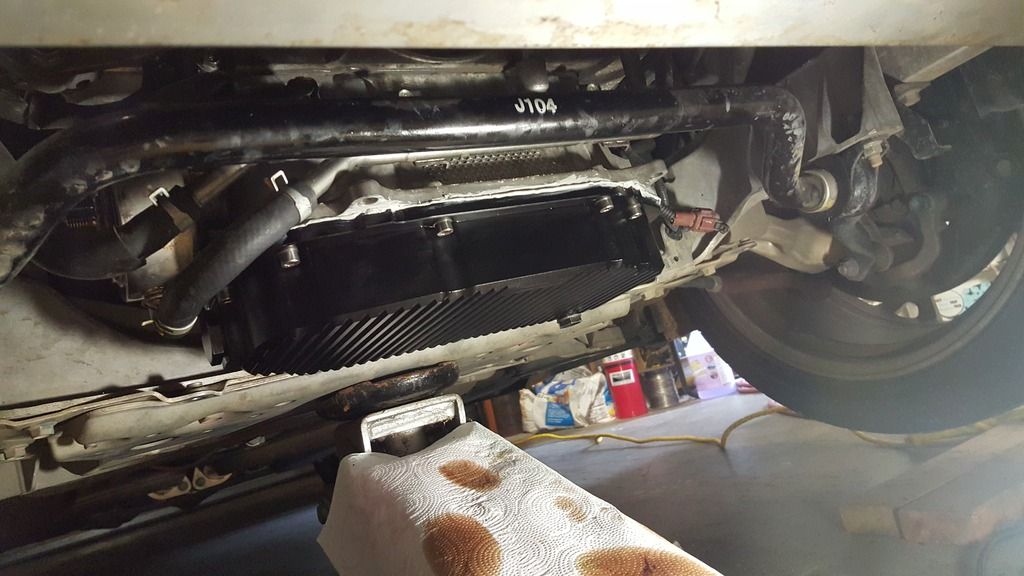 Now for the finished product without that damn tab. I had to run to the parts store, I was out of cutoff wheels and thought I was out of 3 Bond. I found some more once I bought some new stuff as usual. 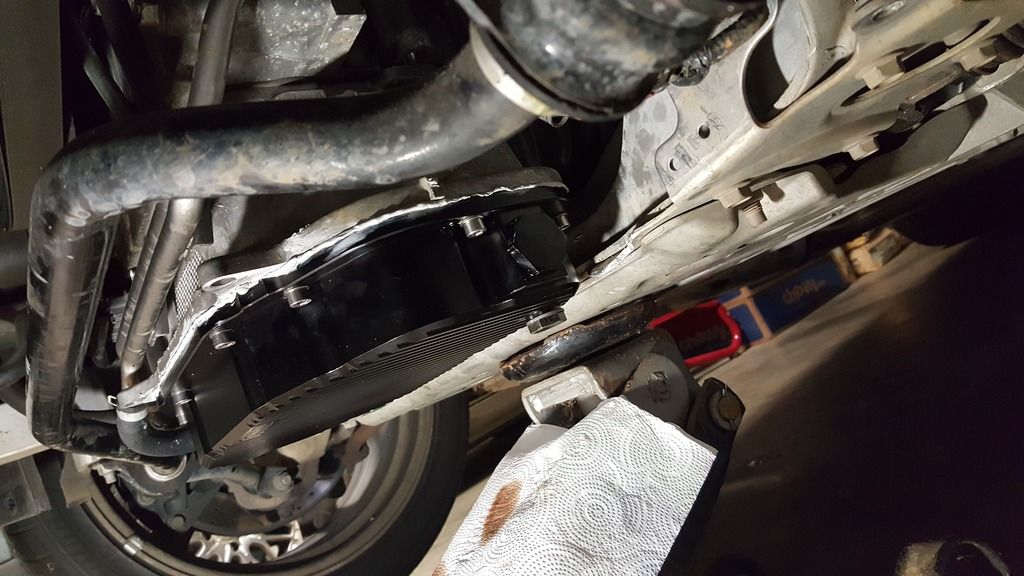 Here is the pan after the unboxing. 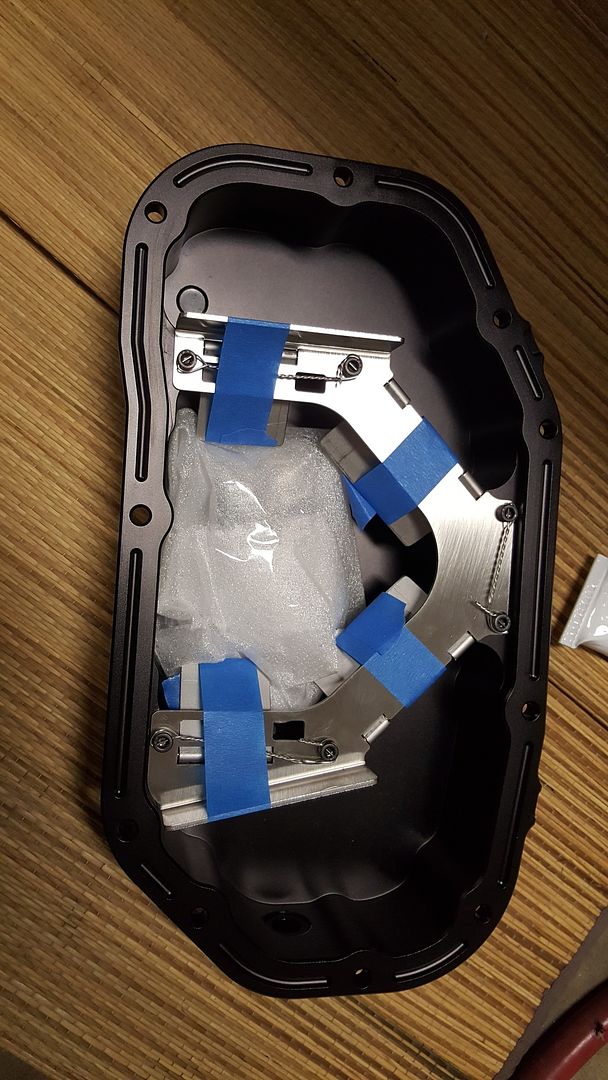 Bag o parts. 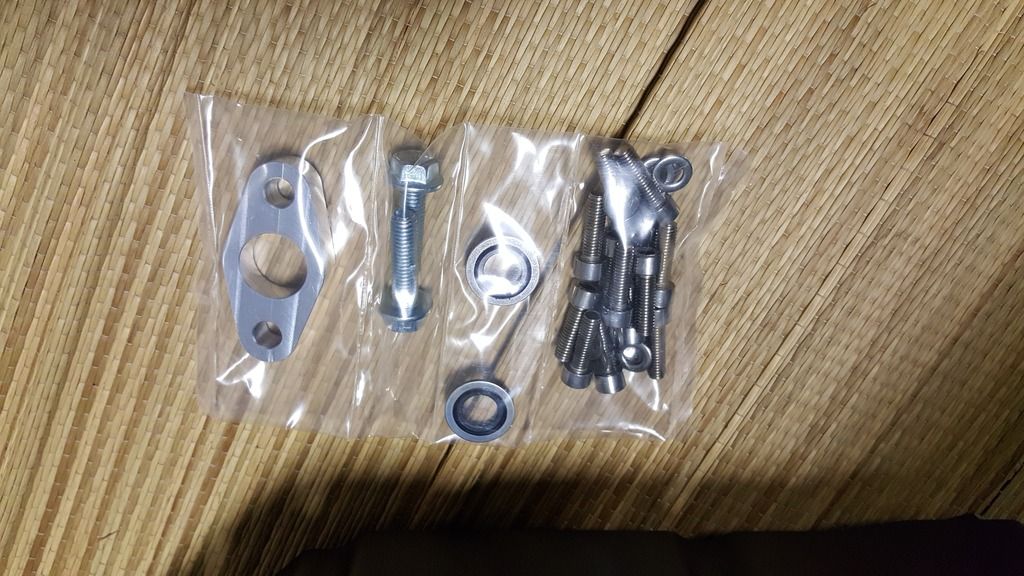 Then the fun started..... Z1 oil cooler install. Gonna finish that up tomorrow, I need to pick up some antifreeze. |

|

|
| Bookmarks |
|
|


 568Likes


 Threaded Mode

