
|
FOG LAMP!!!! All right everyone!!! all you guys are gonna love me for this... b4 i start off i would like to just say that installing the fog was much
|
|||||||
|
|
LinkBack | Thread Tools | Display Modes |
 06-16-2009, 09:21 PM
|
#1 (permalink) |
|
A True Z Fanatic
 Join Date: May 2009
Location: Dededo, Guam
Posts: 6,642
Drives: solid red 370z 6mt
Rep Power: 407   |
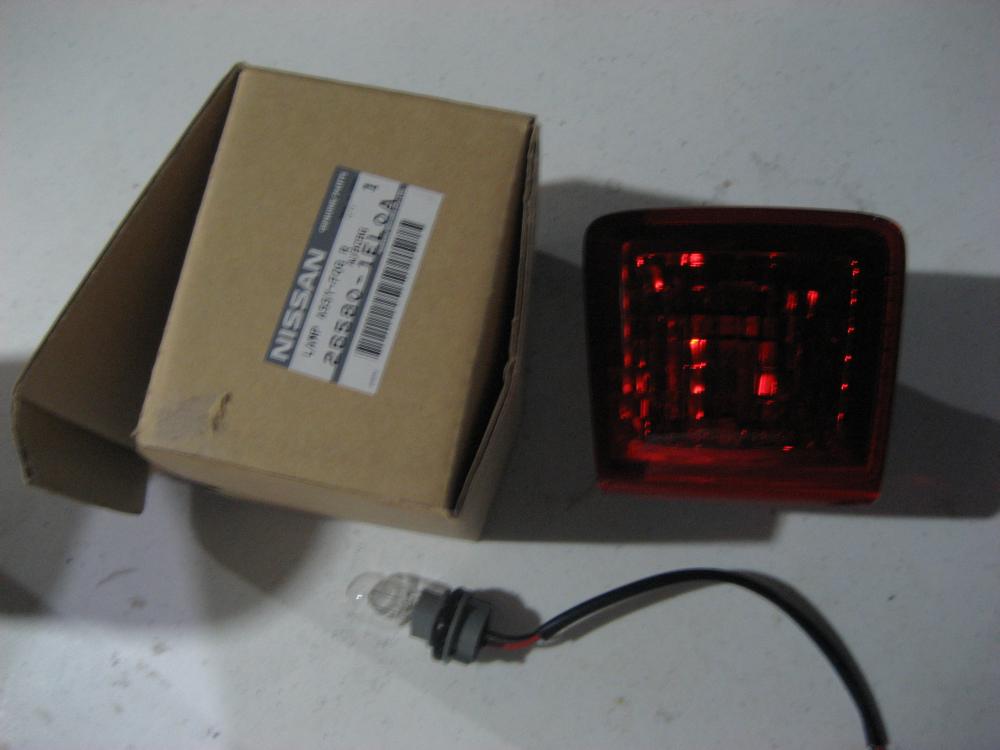 FOG LAMP!!!! All right everyone!!! all you guys are gonna love me for this... b4 i start off i would like to just say that installing the fog was much easier than i thought... so ill walk all of you through it ALL alright..... here we go.... BEFORE  AFTER 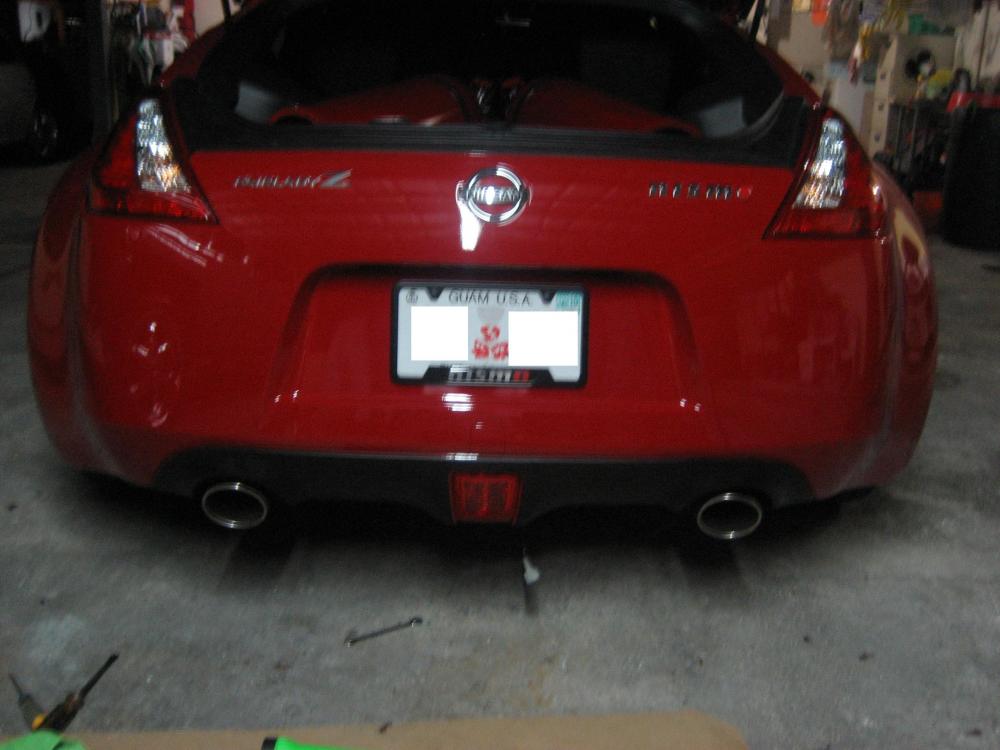 Step 1 installing the lamp Look underneath your rear bumper you will see one pop out fastener.... it looks like this... 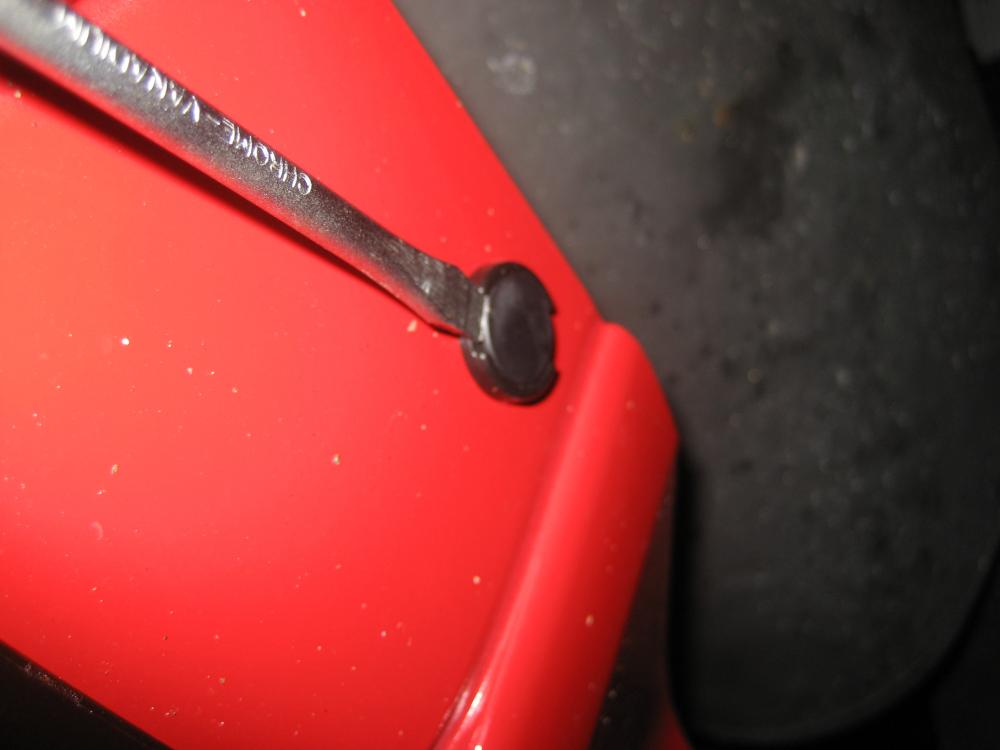 Stick your flat head screwdriver and pop it out... looks like this... 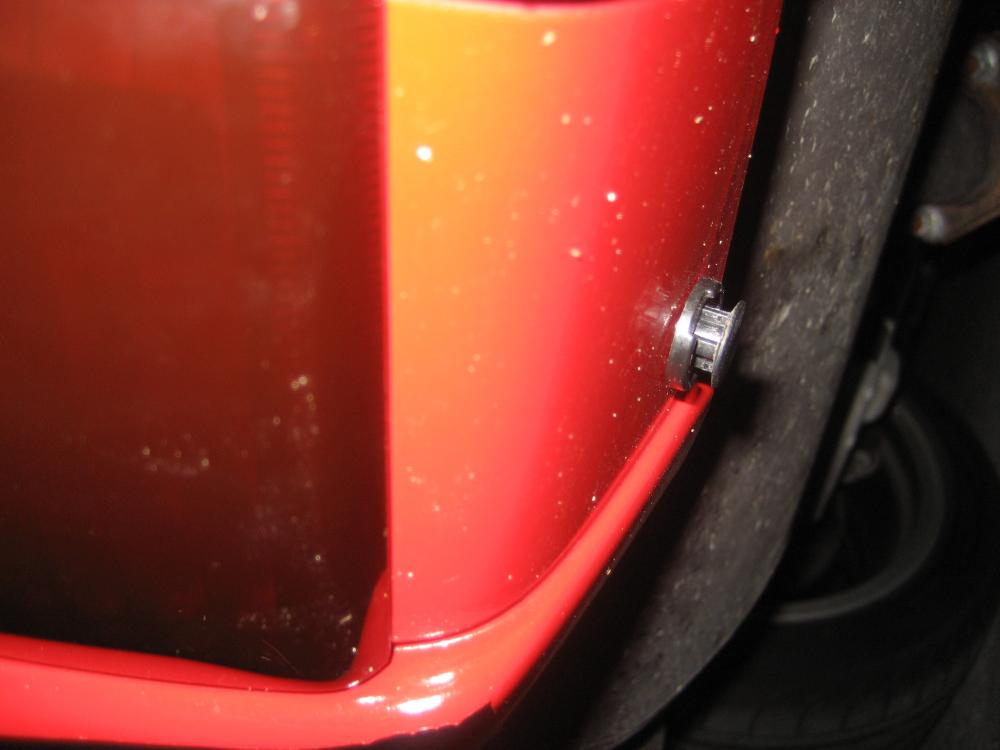 Now..... simply wiggle it out... mine was a little stuck for some odd reason... DONT FORCE it out k!?!? just keep wiggling it with your fingers till it comes out... Now look up right in front of your exhaust barrel there will be a plate.... looks like this..  sorry the pic is kinda blurry and dark i was putting on the fog lamp at night... there will be 3 pop out fasteners on the black plate... Pop them off like you did with the first fastener and slide out the plate....  The plate looks like this..... Now the plate is out you have so much free space now... Now you unbolt the two number 10 nuts.... PLEASE NOTE... my block off plate one of the nuts stud spun so i couldnt take out the nut.... i spend and extra hour trying to break off the nutt... So please dont just force the nut loose.... there is so much loctite on it will spin the stud on the plastic piece of the block off plate.... do it slowly... please.... Now that you have the two nuts off.... slide forward the block off plate... 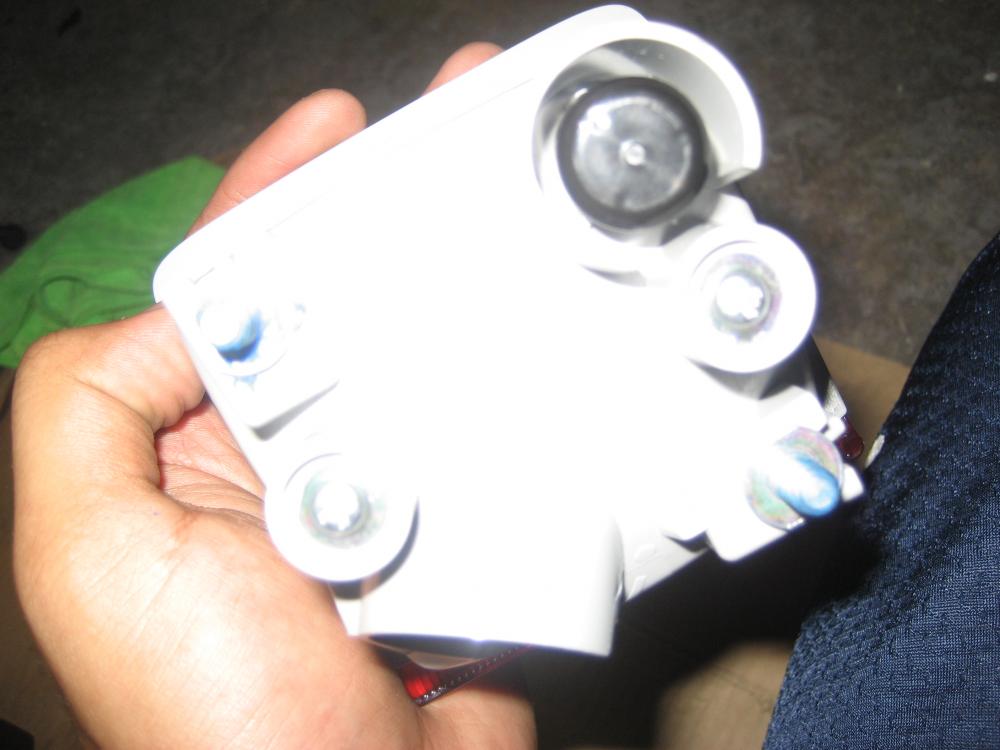 it looks like this... now take your fog and install it where you took out the block plate and bolt it down...and put back the fasteners and everything.... there you have it.... its installed....NOW.... Step 2 Removing the inside panels... Open your hatch and look for the cover plates near your taillights... pop them off like on the pics... just use your fingers you dont need any tools for this... 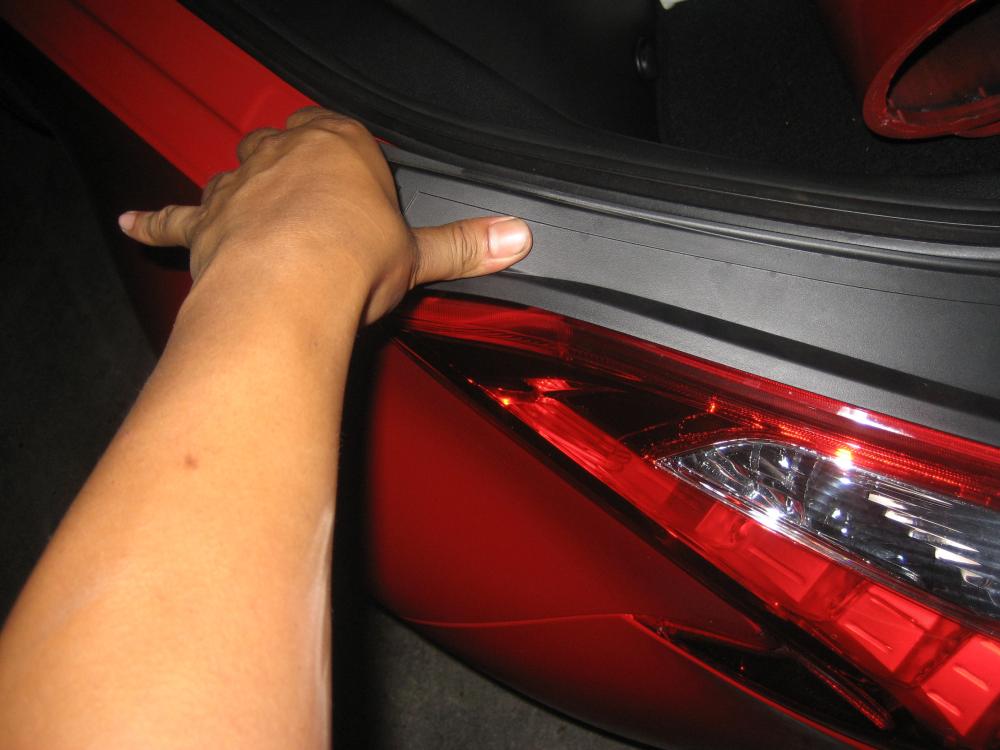 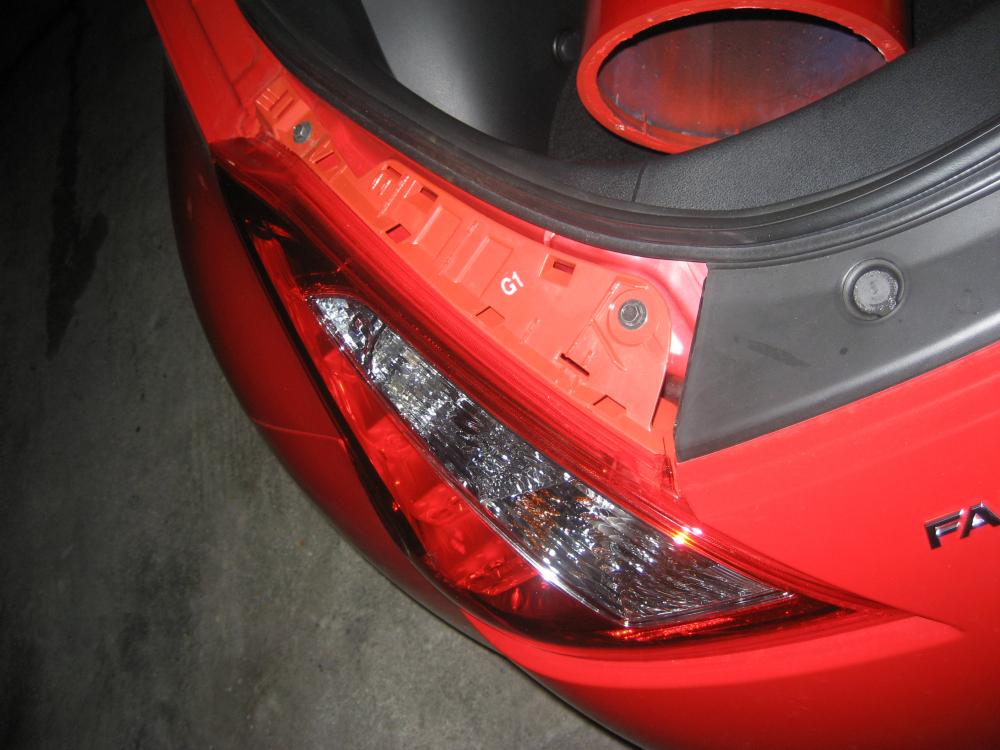 Next remove the molding just pull it in a upward motion  Ok i know the next pic is dark but pull the molding all the way up to where u see where the panels end because the panels have to come off to get to your taillight harness...... 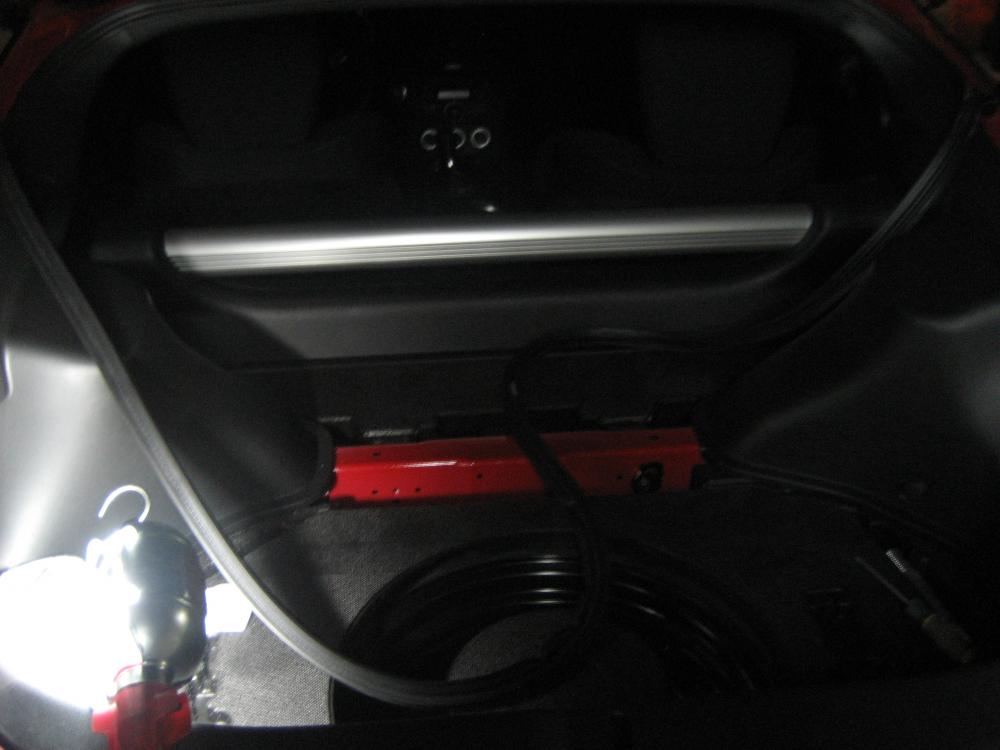 Now remove your cargo mats... in the back PLEASE NOTE you do not have to remove your spare tire or misc tools when you pull out your panels.... Now to take out your interior panels.... start with the center pop out the tie down hooks like this... 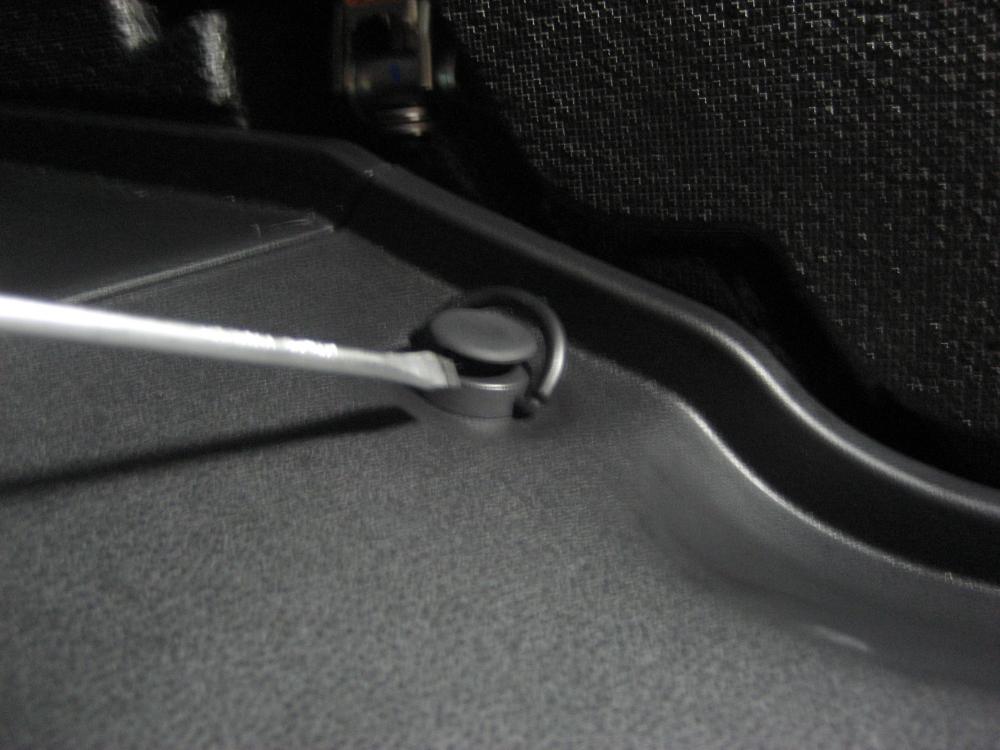 pop out your cargo light look for a slot in the left side its enough space to stick a flat head in and pop it out... unplug... now there is no more things holding down your panel pull it from the bottom first and in a upward motion.... 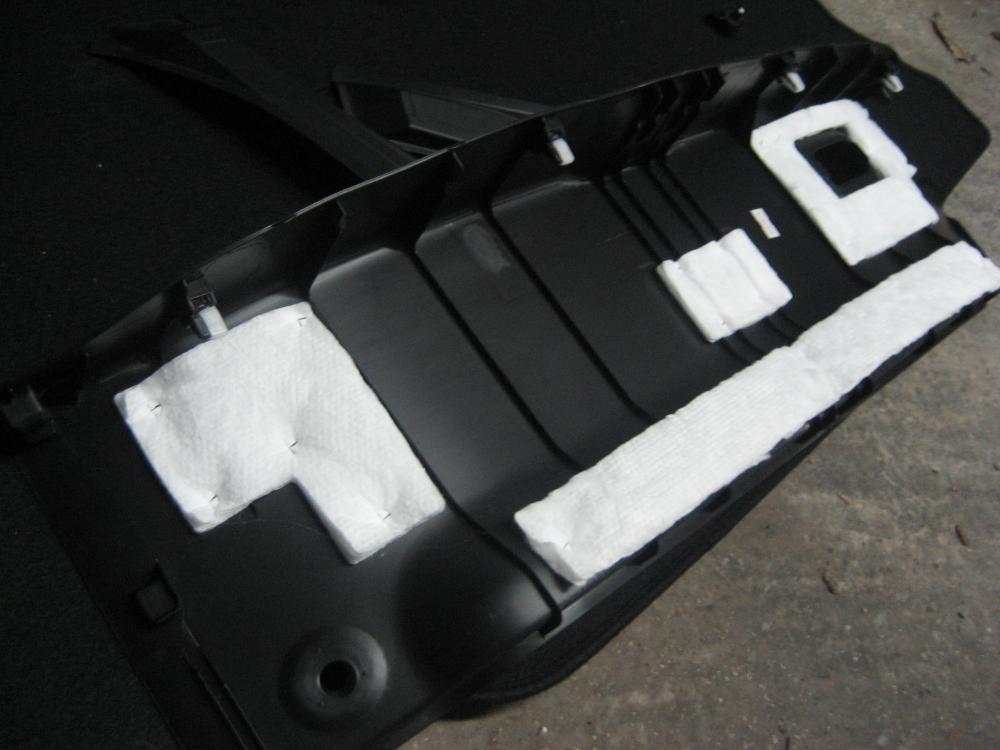 you have to pull upward because you will break the fasteners if you dont.... Once you take out the center panel... start taking out the side panels... pop out the fasteners holding it down... 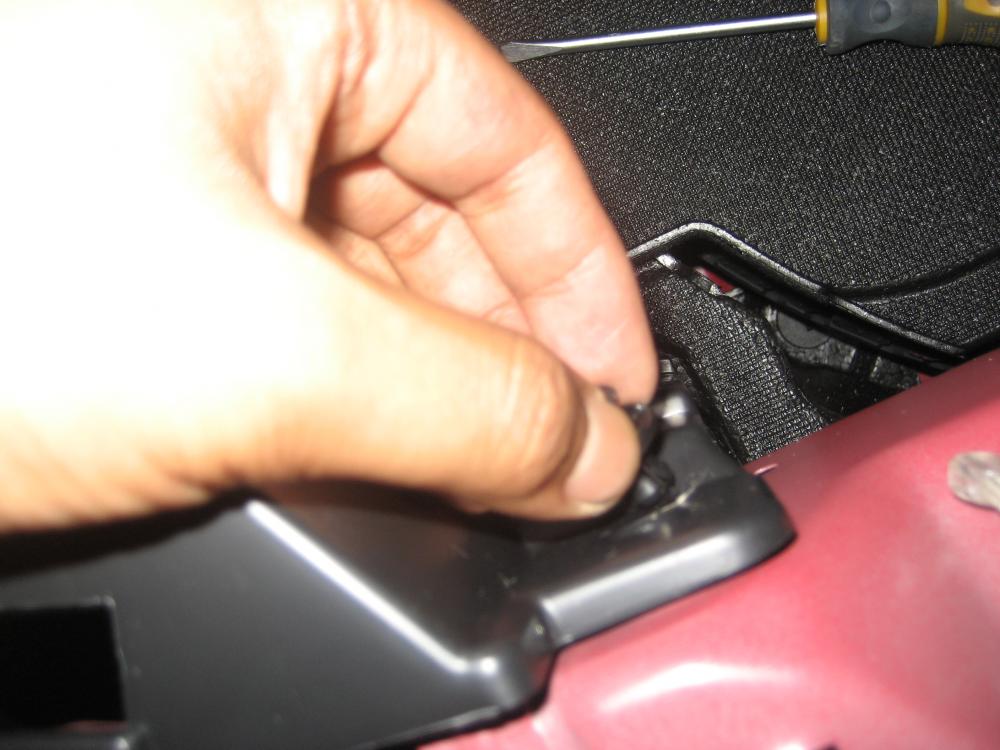 once all the fasteners are out start from the front and of the side panel pull forward and upward again....  now you have full access to the taillight harness... Unbolt the two size ten nuts on top then the 5/16 nut on the inner side of the taillight... 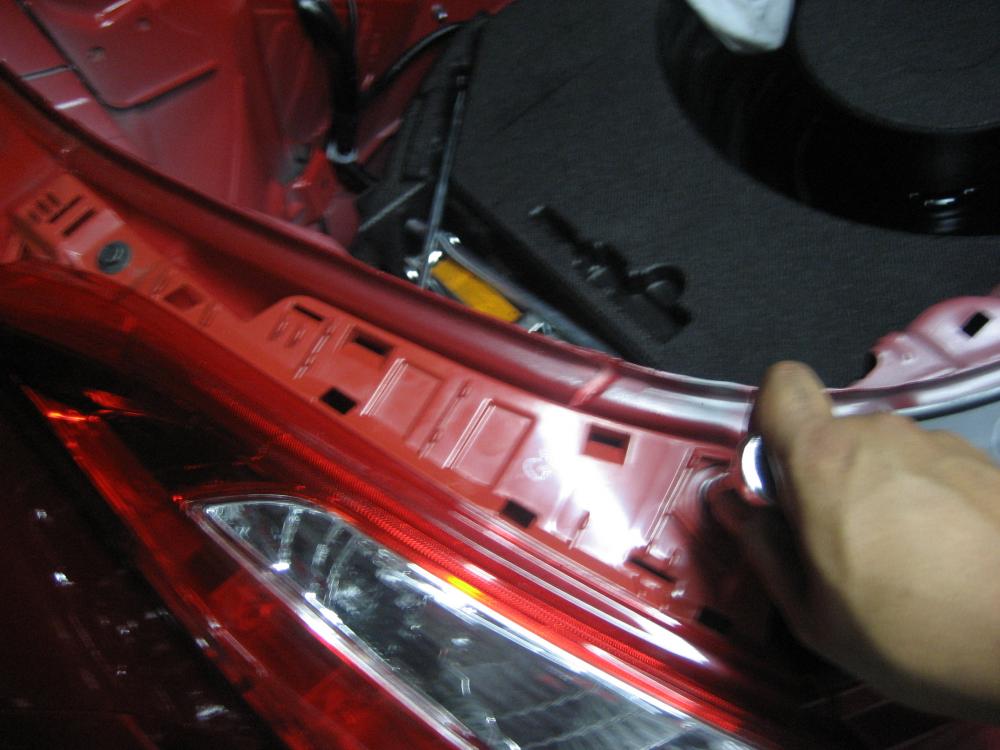  thats the picture of the nut on the inner side of the taillights... once you have taken out all the nuts slide FORWARD the taillight... dont pull it upward or anything jus forward... you might damage the clips if you pull it upward... 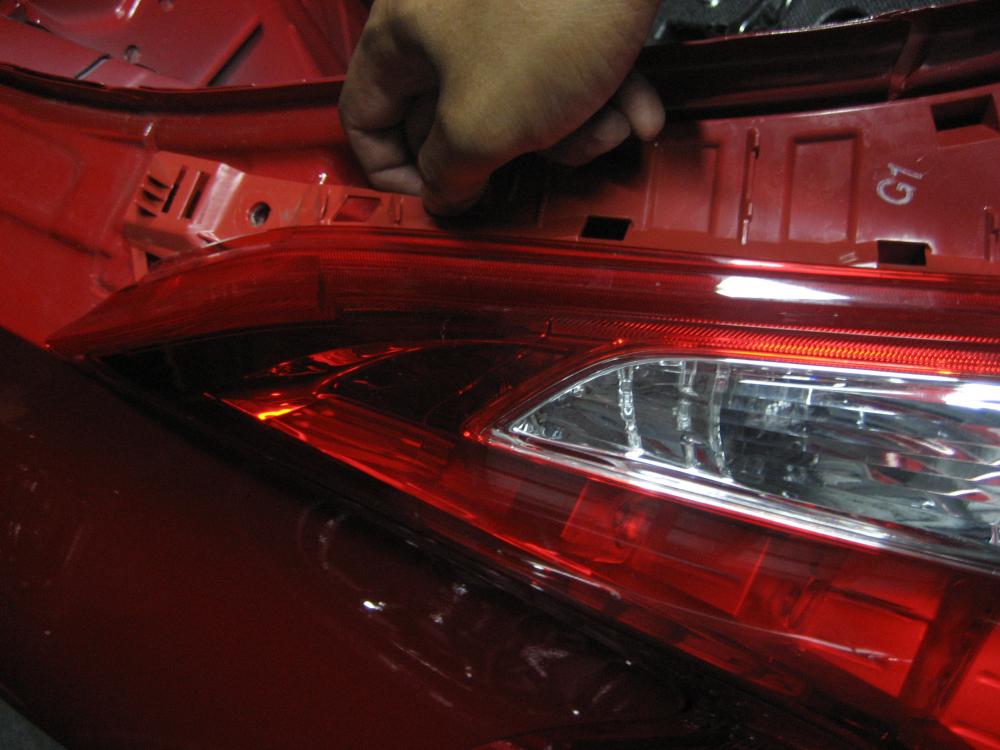 once you pull it forward un clip the taillight from the harness... if you have trouble with the un clipping the harness get a flat head push down on the tab and push outward... 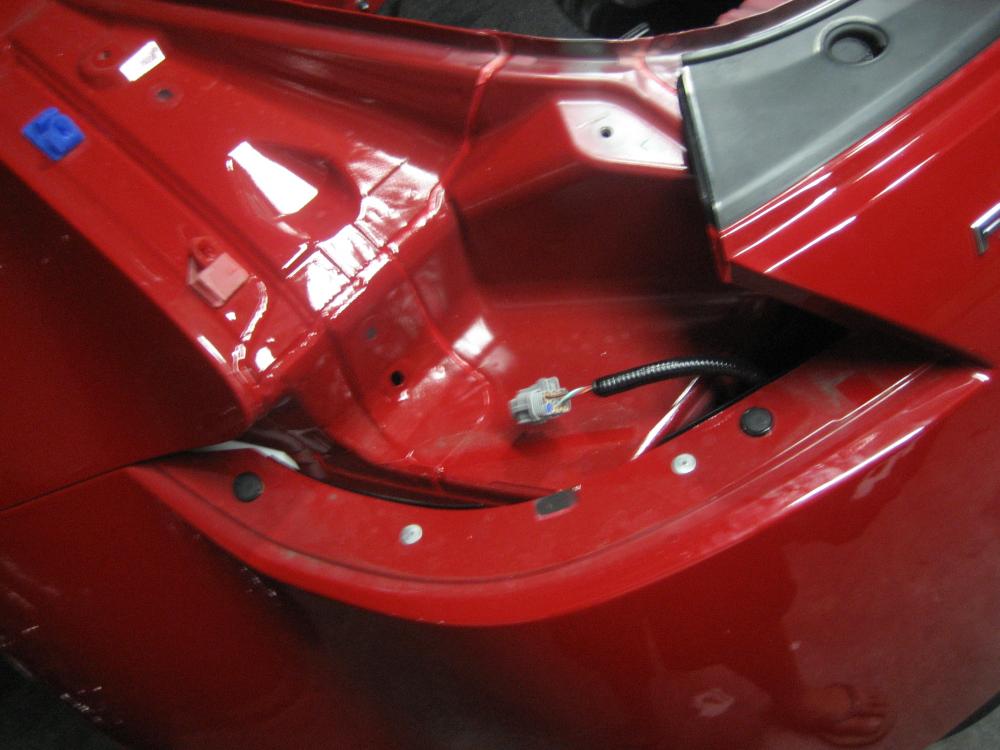 STEP 3 WIRING the FOG LAMP Now at this point your ready to wire up the foglamp.... for this step.... you can wire it straight meaning when u want it to on its on... if you want to do it this way here is how to do it.... the most simple way is to tap the hot wire on your license plate frame.... the red colored wire is the one to tap.... 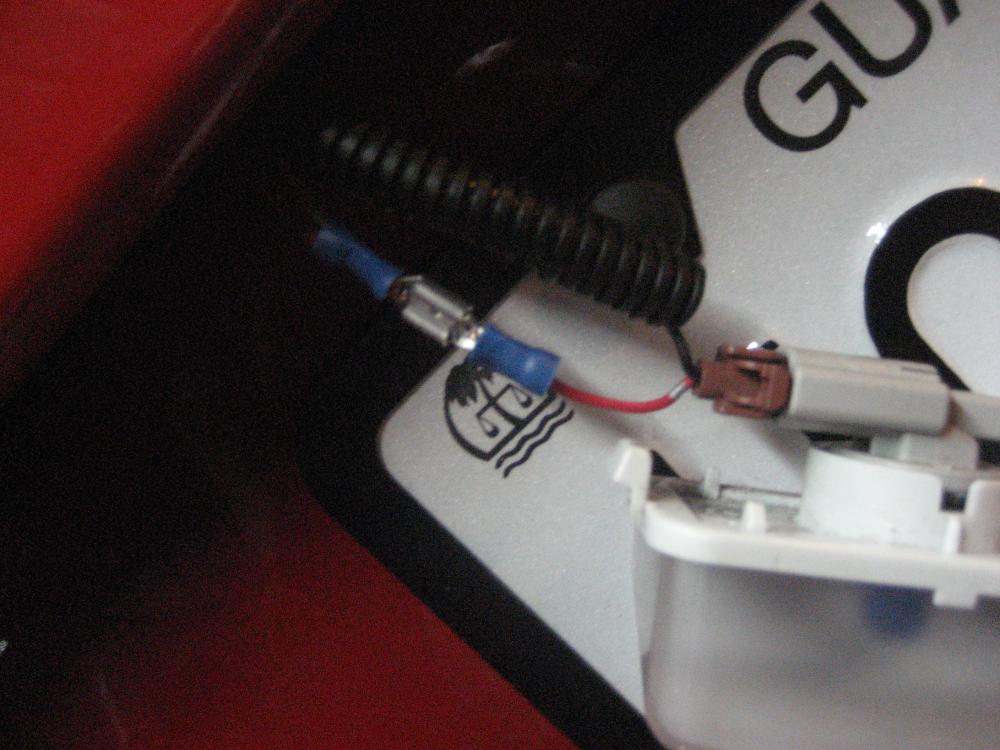 crimp another wire to it and lead it to your fog lamp... and crimp it to the red wire of your fog lamp.. 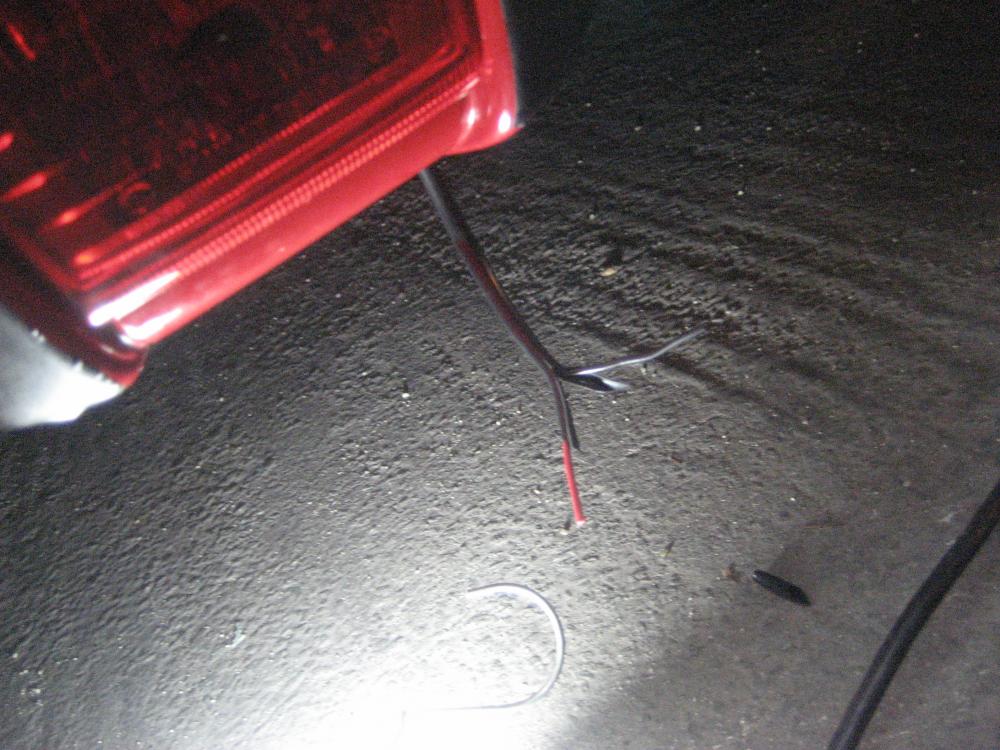 MAKE SURE your wires are far far from your exhaust if its to close when you hit a bump it will stick cuz the rubber around the wire will stick on your exhaust then it will ground which will lead to you popping a fuse or shorting out the line... both you dont wanna do... now for the black wire of foglamp just ground it on the chassis anywhere will do fine... and voila your finished your fog lamp will turn on when you turn on your parking lamps... NOW if you want a little more pezaz... the way I hooked up my foglamp is as follows... does everyone remember the F1 blinking thread? so i borrowed the idea lol.... if you wanna hook your foglamp like this.... you need a flasher and a five wire relay 30/40 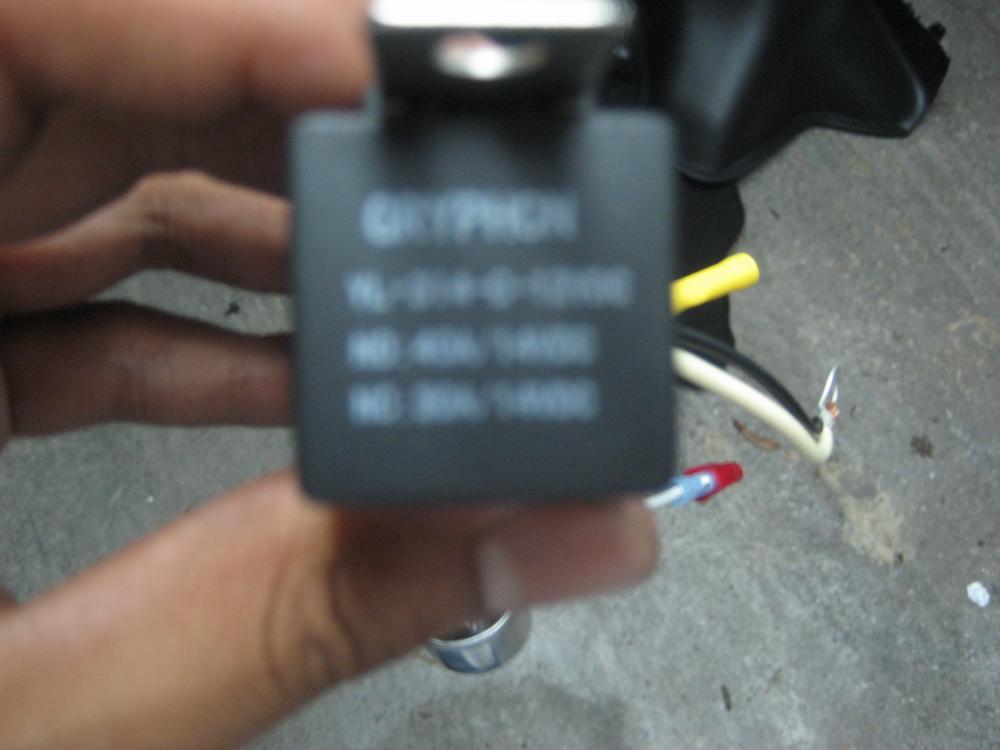 i connected the ground of my fog to relay and flasher.... 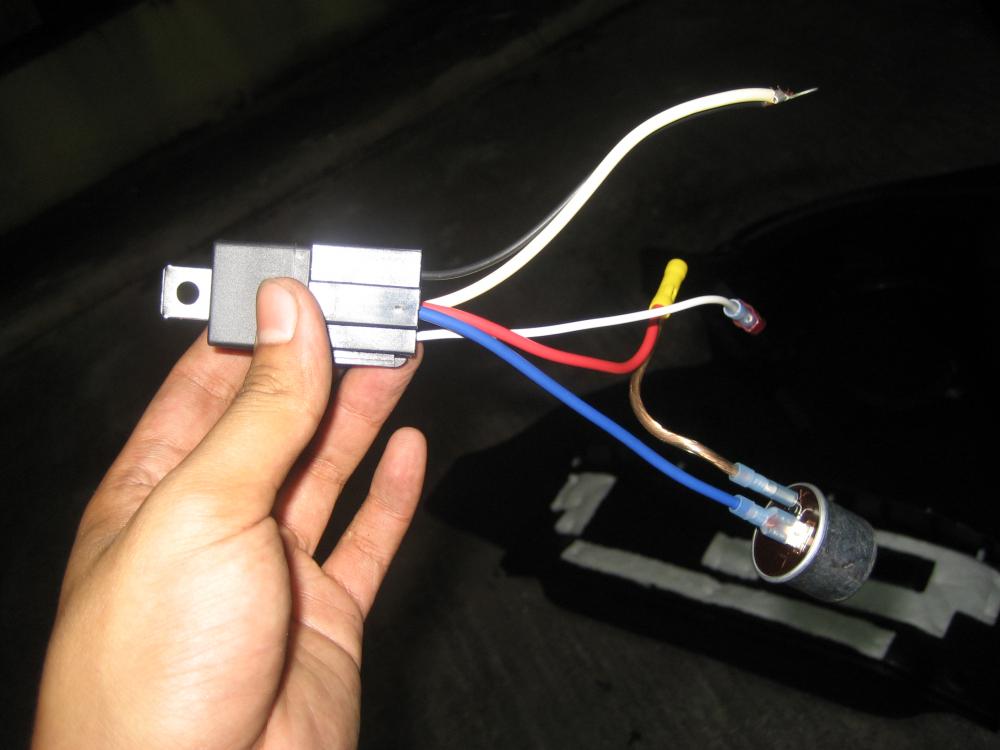 SORRY FOR NOT being specific with wiring the relay... the reason is because there is so many different kinds and the wires are not always the same color...ground your relay and wire the relay so that when it gets a signal it cuts off the ground of the foglamp... to get a signal from your reverse tap the orange middle wire in the harness... of your taillights... lead it to the signal wire of your relay  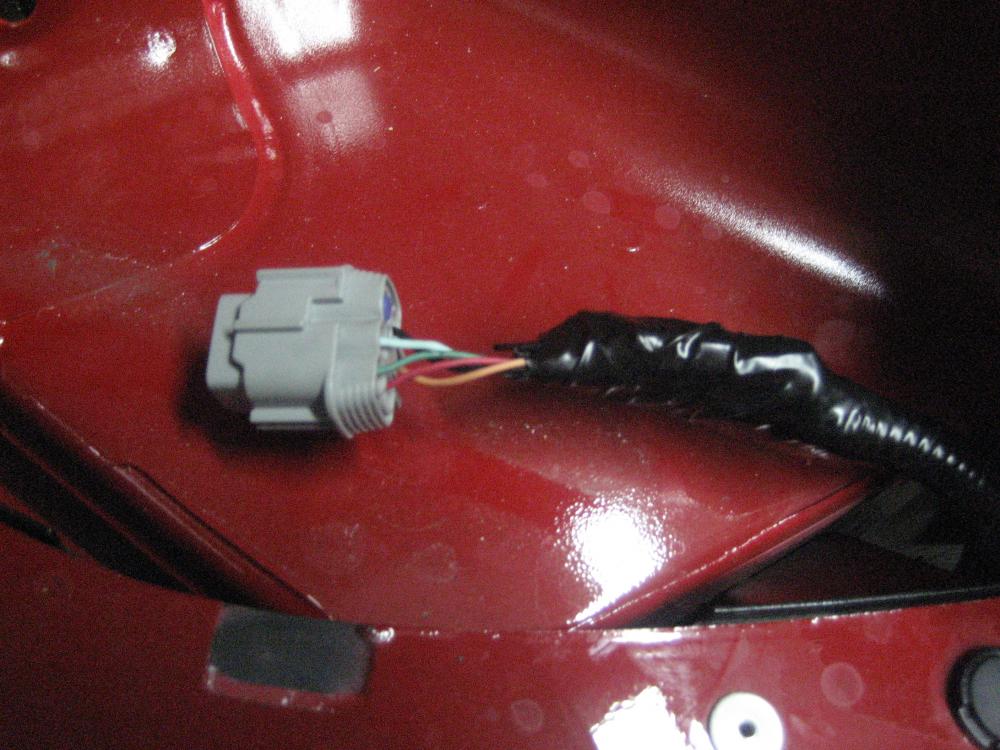 Here you can see the outcome after i tapped the orange wire... FINALLY Now for the red wire of the fog lamp wire the same way i mentioned earlier just tap the parking lights wire.... The outcome.... when your parking lights are turned on... the foglamp turns on.... now the minute you pop it in reverse.... the foglamp will start flashing acting like a warning light... then when you pop it out of reverse it remains on... BADASS right? i only spent like 30 bucks for the flasher relay crimps and wires.... PLEASE NOTE the foglamp will not flash in reverse when your parking lights are off reason why is.... the power source is from the parking lights not your reverse light... the reverse light wire is just a signal wire....   Notes..... the reason why i wired my foglamp to work only at night because it was EASIER lol i was to lazy to lead wires all the way to the front but if you want your fog lamp always on right when you turn on your car jus tap the red wire on the foglamp to a acc wire on the z.... this way it will blink all the time your in reverse.... IF you want a switch to turn it off when you lead the acc wire to the fog wire it up to a switch that cuts the circuit off when you press it a stationary push button or toggle switch will do fine.... SO good luck to all of you... and work safe on your cars... 
Last edited by simota1; 06-17-2009 at 09:47 AM. |

|

|
| Bookmarks |
|
|
 Similar Threads
|
||||
| Thread | Thread Starter | Forum | Replies | Last Post |
| Fog Lamp install with DIY harness question | wdkwang | Exterior & Interior | 10 | 03-02-2015 01:02 AM |
| Install of Stillen G3 Intakes complete - review, etc. | semtex | Intake/Exhaust | 83 | 06-23-2010 12:19 PM |
| Forged Performance: TEIN Flex Install 370Z Complete | Sharif@Forged | Brakes & Suspension | 37 | 02-19-2010 03:51 AM |
| Install complete ( Finally ) Item list, Cost, Time | 355890 | Audio & Video | 11 | 06-28-2009 11:14 PM |


 13Likes


 Threaded Mode

