
|
This morning started good, I wrapped the reflector and mounted the large halo with 2 part epoxy. Later in this thread I will recommend not using epoxy, just use Auto
|
|||||||
|
|
LinkBack | Thread Tools | Display Modes |
 07-08-2012, 11:05 AM
|
#11 (permalink) |
|
A True Z Fanatic
 
Join Date: Dec 2011
Location: Pensacola Florida
Posts: 1,696
Drives: Awesome Car
Rep Power: 28   |
 Update
This morning started good, I wrapped the reflector and mounted the large halo with 2 part epoxy. Later in this thread I will recommend not using epoxy, just use Auto Goop for Everything. It works great.. The large halo wont recede so its generously glued to the outside of the shroud.
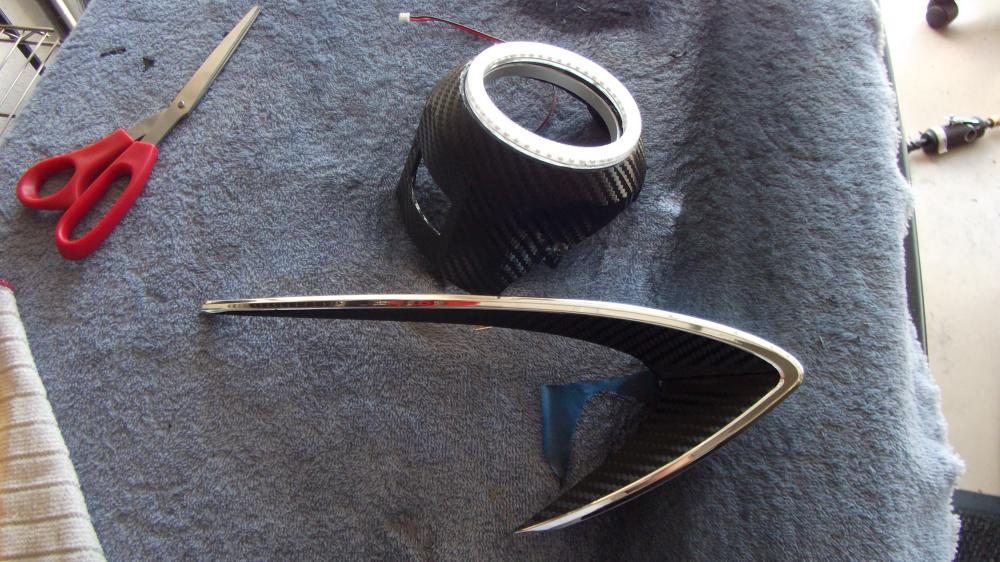 Sanded the filler from last night and finished taping off the light shroud and painted..  Waiting for the paint to dry I cut the strip for the light shroud.. 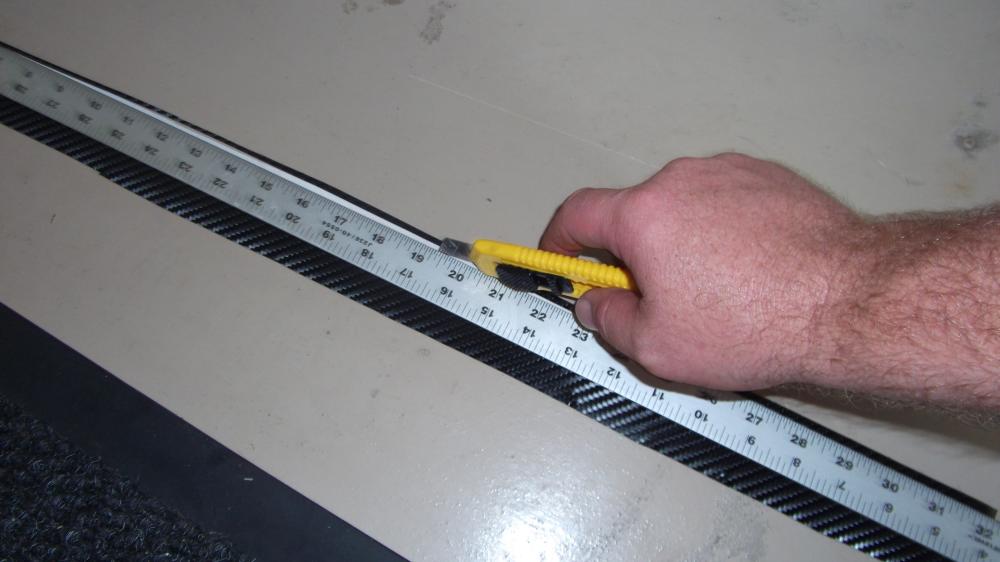 I would like to say PAINTERS TAPE SUCKS.. It was probably my fault i should have gotten some better tape. I used what I had laying around. Man it would have had the perfect balance of chrome trim and carbon.  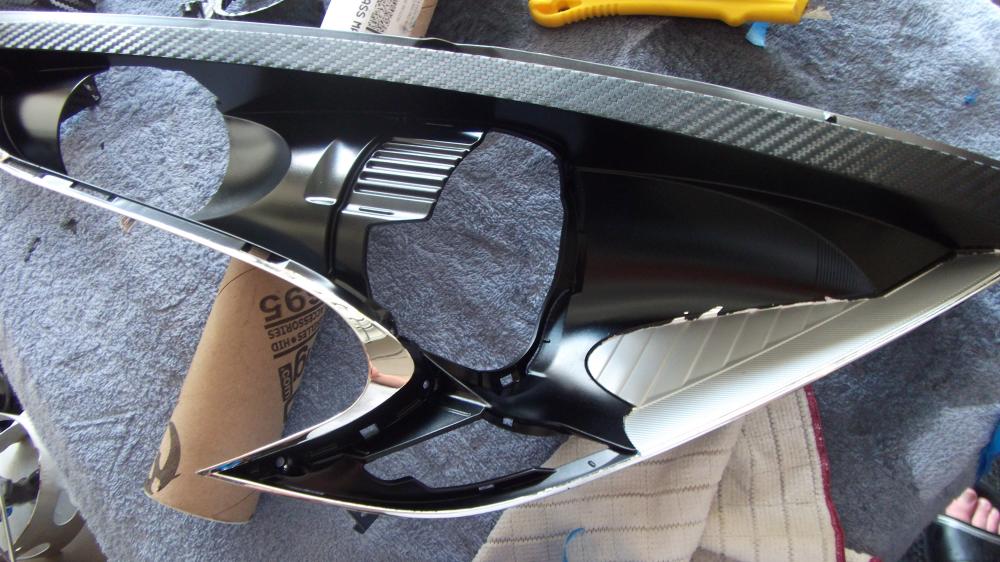 So I picked up the hammer and .... Just kidding, shifted gears and re-taped the Carbon strip. Going all black.. I will say I did NOT sand these to ruff them up before painting. ***Make sure you do rough them up before painting*** I was amazed how easy it flaked off when I removed the tape.. Lesson Learned.  Starting the second Light wile this one dries. Now I have to repeat everything I did on the first light.
__________________
Did new cool science stuff to the car !!!
http://www.the370z.com/mazoc/99606-z...y-14-17-a.html http://www.the370z.com/diy-section-d...-w-videos.html Last edited by Nut_N_Much; 05-03-2013 at 09:12 AM. |

|

|
| Bookmarks |
|
|
 Similar Threads
|
||||
| Thread | Thread Starter | Forum | Replies | Last Post |
| Halo kit | rikkiphan1506 | Exterior & Interior | 3 | 01-31-2013 11:31 PM |
| Halo 4 | The Dimer | The Lounge (Off Topic) | 6 | 03-05-2012 03:41 PM |
| Z elininator drag Video's | Z eliminator | Canada | 0 | 08-15-2010 03:41 PM |
| How To detailing video's | Kyle@STILLEN | Detailing / Washing / Waxing / Cosmetic Maintenance and Repair | 2 | 03-02-2010 12:07 AM |
| Video's of the new arrival? | Shortbus | Nissan 370Z General Discussions | 1 | 01-04-2009 05:14 PM |


 492Likes


 Threaded Mode

