
 |
This DIY describes replacing the front sway bar (stabilizer bar). For the rear sway bar see here . Tools required: Jack stands 10mm socket 14mm socket 17mm socket Torque wrench
|
|||||||
 |
|
|
LinkBack | Thread Tools | Display Modes |
|
|
#1 (permalink) |
|
A True Z Fanatic
 Join Date: Mar 2009
Location: North East
Posts: 6,203
Drives: 09 370Z Sport M6
Rep Power: 654            |
This DIY describes replacing the front sway bar (stabilizer bar).
For the rear sway bar see here. Tools required: Jack stands 10mm socket 14mm socket 17mm socket Torque wrench 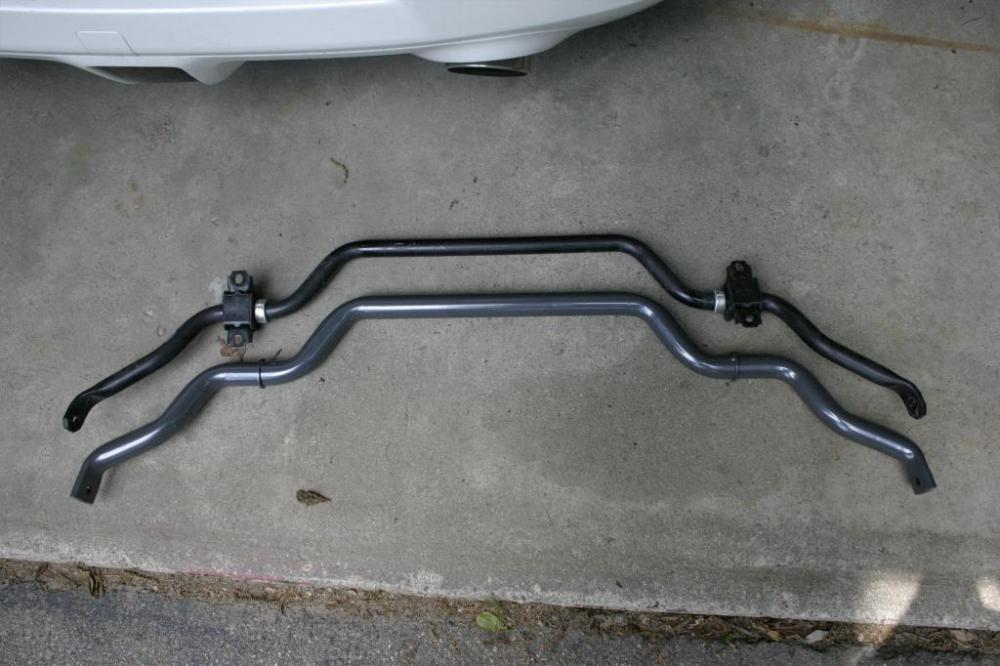 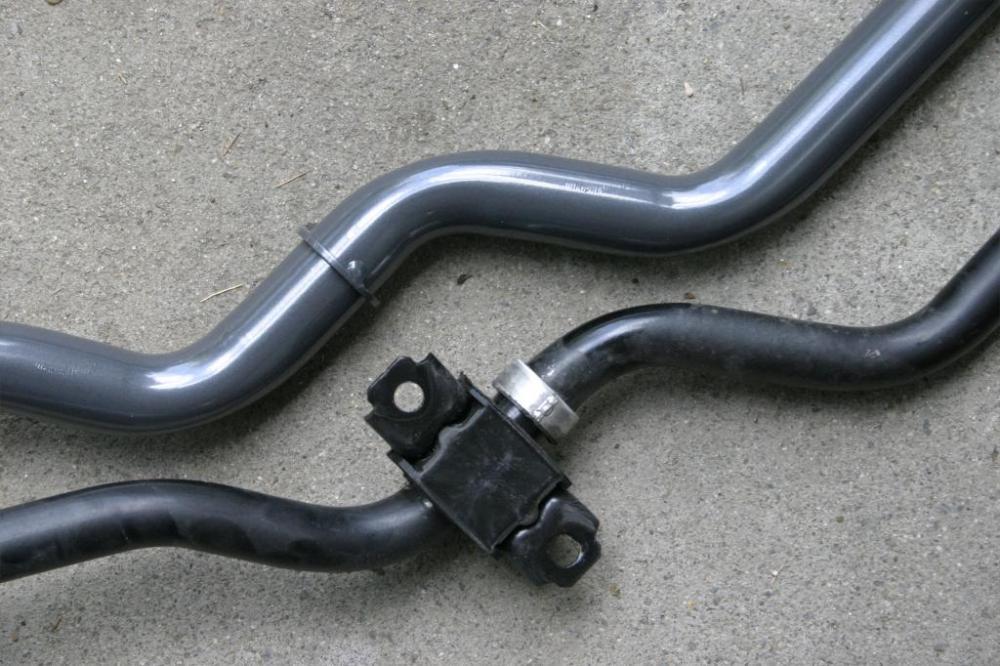 Jack front of car and support securely with jack stands. It is not necessary to remove the wheels but you do get better access. Remove undertray bolts using a 10mm socket (with optional electric driver). Remove plastic clips by popping center out with small flat screwdriver or finger nails. 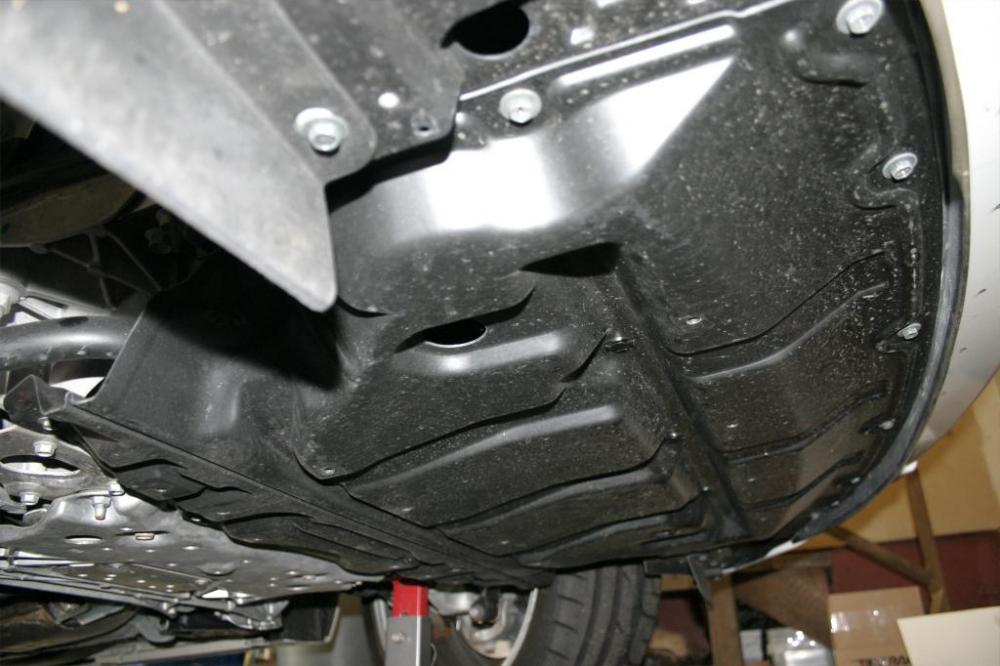 Locate the end of the sway bar and loosen the end links with a 17mm socket or wrench. Leave loosely attached for now. 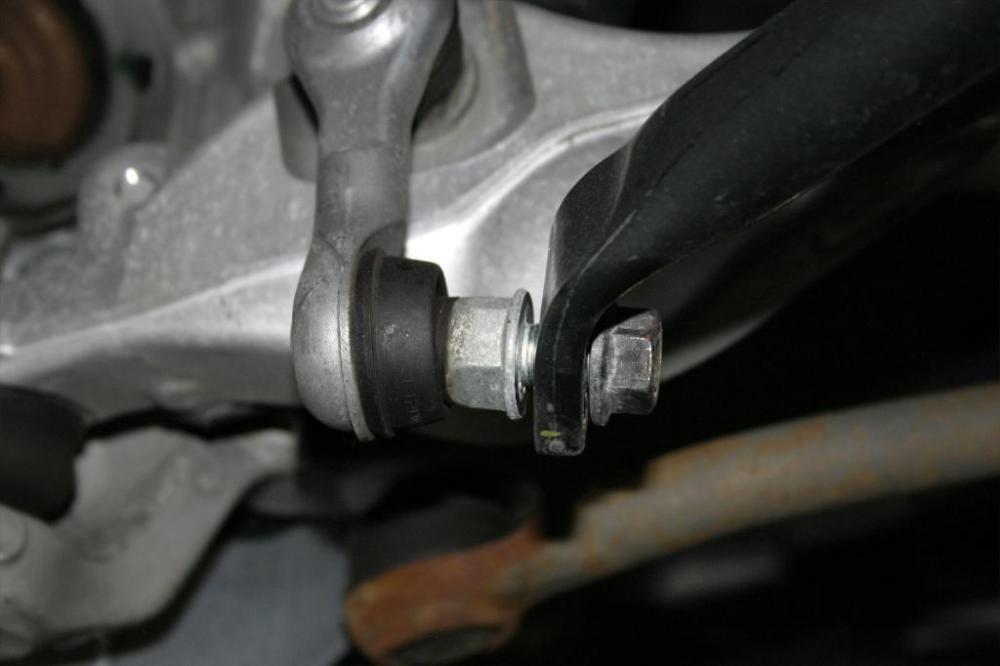 Remove the sway bar clamps with a 14mm socket. 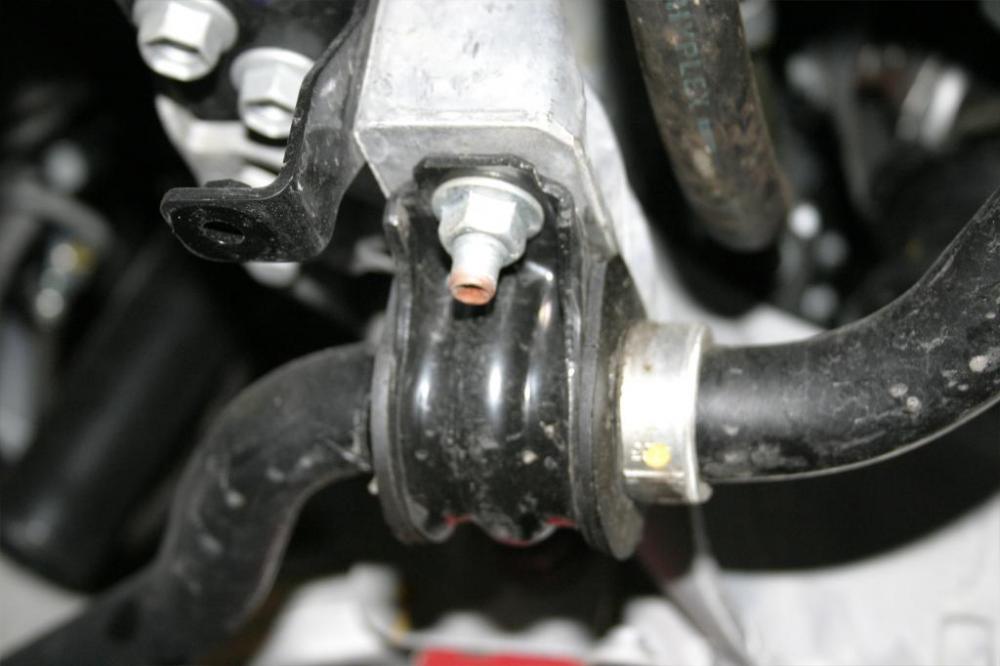 Let the sway bar swing down. Disconnect the end links and remove the bar. 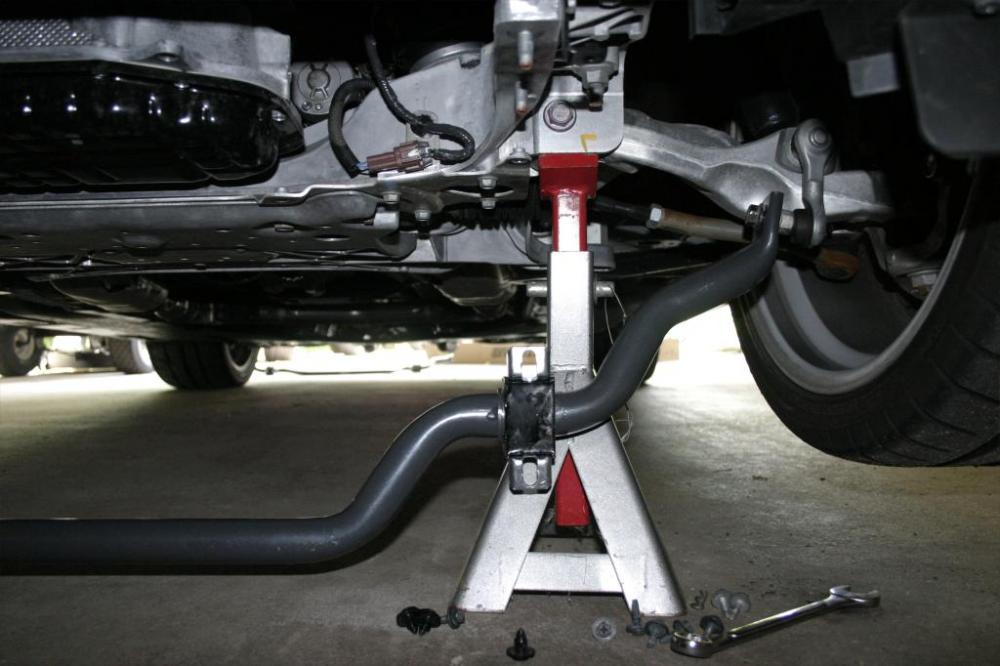 Preparing new bar by greasing the bushings. 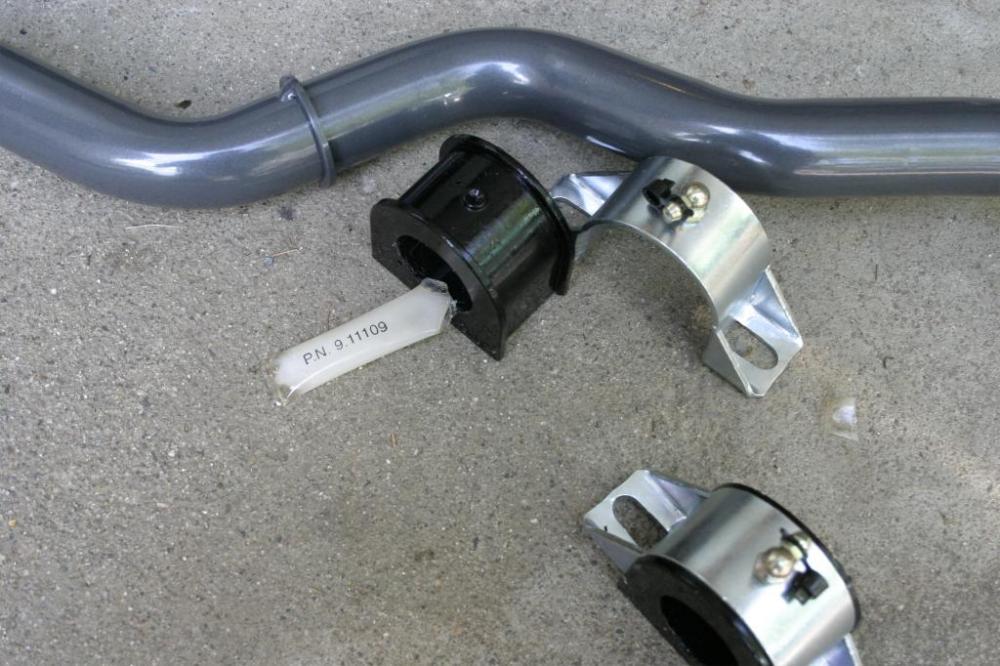 Slide rubber bushing over bar and then add the clamp. 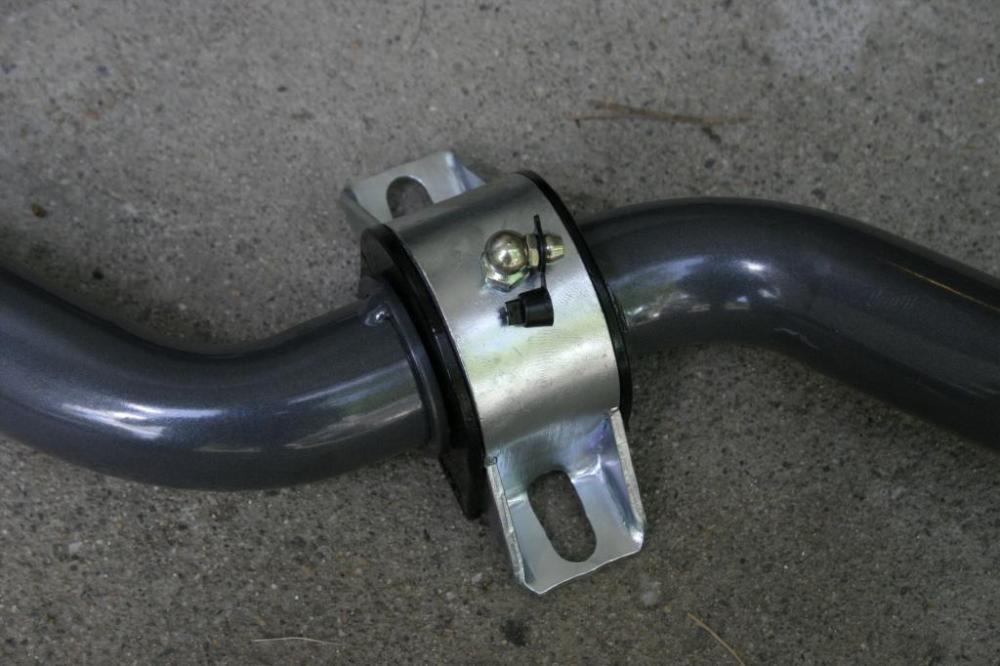 Installation is a reversal of the removal procedure. - Attach end-links loosely - Swing bar up and mount clamps to body - Tighten clamps to 38 ft/lbs - Tighten end-links to 62 ft/lbs (hold link with 17mm open wrench) 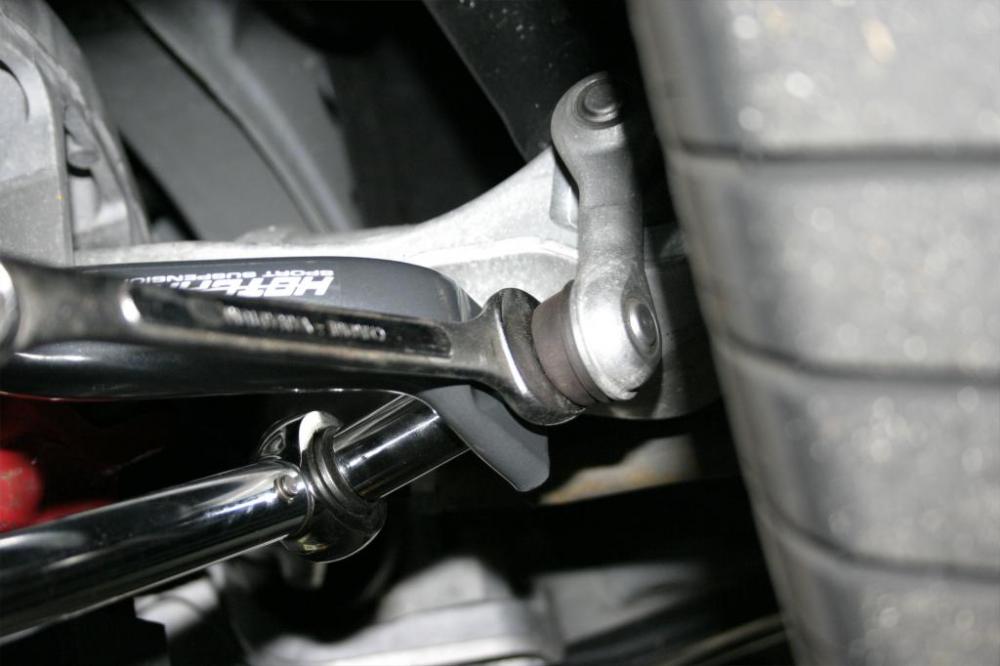 - Reattach under tray with 10mm socket Last edited by ChrisSlicks; 06-01-2009 at 08:01 PM. |
|
|

|
|
|
#6 (permalink) |
|
A True Z Fanatic
Join Date: Nov 2008
Location: Seattle
Posts: 1,722
Drives: z34 - R1
Rep Power: 490            |
Any chance you got the weight of the new versus old? Are you planning to replace the one in the rear?
__________________
2010 k23 H&R sport springs / Spc rear camber arms / SSR SP1 / Berk cbe / Varis cf lip / Nismo S-Tune side skirts 
|
|
|

|
|
|
#7 (permalink) |
|
A True Z Fanatic
 Join Date: Mar 2009
Location: North East
Posts: 6,203
Drives: 09 370Z Sport M6
Rep Power: 654            |
It feels a lot flatter in the corners. There is a down side however, it is now harder to load a corner of the car which may result in some unexpected turn in understeer. I'll be putting it to the test tomorrow with an auto-cross session.
|
|
|

|
|
|
#9 (permalink) | |
|
A True Z Fanatic
 Join Date: Mar 2009
Location: North East
Posts: 6,203
Drives: 09 370Z Sport M6
Rep Power: 654            |
Quote:
Rear install is complete, guide coming up. |
|
|
|

|
|
|
#11 (permalink) |
|
A True Z Fanatic
 Join Date: Mar 2009
Location: North East
Posts: 6,203
Drives: 09 370Z Sport M6
Rep Power: 654            |
Yes, these are the Hotchkis.
Got to test them out today at the auto-cross so I can give you guys some feedback. The car feels a lot flatter in the corners but now has a little more turn-in understeer. Honestly I think the front bar is a little too large, something inbetween this and the stock is probably what we really want, at least for auto-cross style driving. At the track I think the bar setup might be okay as you usually don't have to aggressively transfer weight to the front corner. The car did feel more settled in higher speed slaloms. They really need to come out with a front bar designed for the Z rather than just assuming that the G37 will work good enough. |
|
|

|
|
|
#12 (permalink) |
|
Enthusiast Member
 Join Date: Apr 2009
Location: Columbus, Ohio
Posts: 359
Drives: '04 Cavalier
Rep Power: 182            |
Alright, thanks for the feedback, hopefully they'll come out with a specific one soon! Anyone knows if the Stillen one is different from their G37 one? Their PDF instructions still say G35 on them.
|
|
|

|
|
|
#13 (permalink) |
|
Track Member
Join Date: May 2009
Location: A rock in a big pond
Posts: 681
Drives: 2009 370Z, 2012 M56
Rep Power: 3395            |
Nice DIY. I suggest you guys wait on Hotchkis to develop better sways or buy another brand who doesn't have that stopper welded on the bar. That weld joint creates a high stress concentration and possibly small cracks which could fail due to creep, which was exactly what happened to my last pair of Hotchkis.
|
|
|

|
|
|
#14 (permalink) |
|
A True Z Fanatic
 Join Date: Mar 2009
Location: Houston, TX
Posts: 4,024
Drives: too slow
Rep Power: 3595            |
Nice DIY again, just did mine. Only discrepancy: I don't think both sides of the end-link are 17mm, at least they weren't on my car. The nut you remove is 17, but the rear part you hold with an open wrench is larger, probably 19mm. I only had up to 18mm in open wrenches (at least that I could find), which also didn't fit over it, so I just opted for an adjustable wrench.
|
|
|

|
 |
| Bookmarks |
|
|
 Similar Threads
|
||||
| Thread | Thread Starter | Forum | Replies | Last Post |
| DIY: Sway bar installation (rear) | ChrisSlicks | DIY Section (Do-It-Yourself) | 40 | 08-22-2022 07:58 PM |
| Front upper control arm installation VIDEO | cv129 | DIY Section (Do-It-Yourself) | 0 | 02-23-2013 11:57 AM |
| [FOR SALE] New Eibach Sway Bar Front | GTLAW | Parts for sale (Private Classifieds) | 14 | 08-30-2012 07:37 AM |
| Sway Bar Installation Question | joshs09slvrZ | Brakes & Suspension | 6 | 02-18-2012 08:28 AM |