Oil Pressure Gauge install is done. I'm not going to do a full DIY, instead I'll link you to spearfish25's for a lot of the install details (and link this back to there as well):
DIY: Oil Pressure Gauge.
First, I'll cover the sensor install stuff, I'll put the actual dash gauge stuff in the next post. My sensor (like almost all aftermarket sensors) is 1/8 NPT threaded. There have been conflicting reports on whether our car's stock oil pressure switch is 1/8 NPT or 1/8 BSPT. BSPT is more normal for Nissan and Japanese mfgs in general, but at least one other forum member checked his threads thoroughly and found NPT apparently. I ordered hardware for both scenarios, which also gave me known-good male and female examples of both thread types to compare with each other and the stock sensor. My car ended up being BSPT, but it could well be that this varies by mfg date or some other variable. In both cases I ordered a setup based on a 3-port all female Tee-shaped adapter, so that I could play with different installation orientations and find what worked best for me.
This was my NPT parts list from
Aircraft Spruce, which I didn't end up using. It's a 3-way all-female 1/8 NPT tee, and one male:male hex nipple for attaching it to the engine block.
Code:
1		0	AN911-1D AN FITTINGS AN911-1D NIPPLE	1.540	1.54
1		0	AN917-1D AN FITTINGS AN917-1D TEE	7.250	7.25
This was my BSPT parts list from
McMaster-Carr, which I did end up using:
Code:
4978K121 - BSPT Thread Low-Pressure Bronze Pipe Fitting, 1/8" Pipe Size, Tee
4860K631 - British Standard Threaded Brass Pipe Fitting, Nickel-Plated, BSPT Thread, 1/8" X 1/8" Hex Nipple
4860K141 - British Standard Threaded Brass Pipe Fitting, BSPT Male X NPT Female, 1/8" Adapter
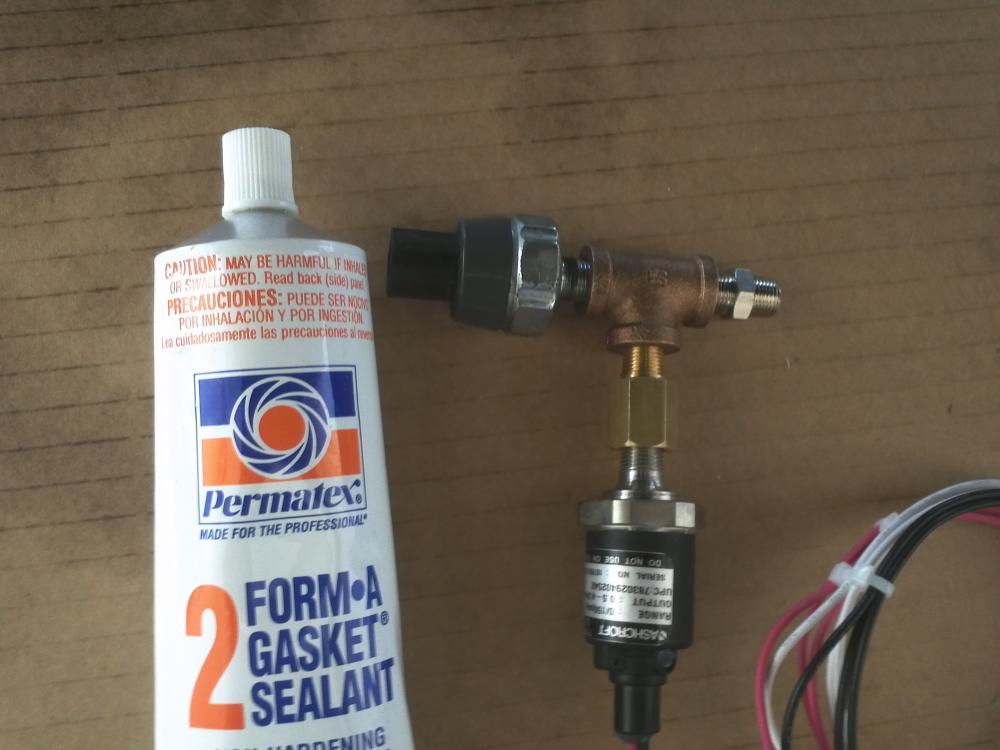
The double-male hex nipple goes between the engine block and the tee, the stock pressure switch goes into another tee port directly, and the aftermarket sensor uses the NPT -> BSPT adapter to plug into the tee.
For sealing the threads, on the advice I found via googling, I went with
Permatex #2. You want to put a nice layer of this stuff over every Male threaded end in the assembly, but leave the first 1-2 threads clean (so that as you screw the threads in, while excess permatex tends to squeeze back out on the outside, it's not contaminating the inside where the oil flow will be).
This is the various BSPT fittings, the stock sensor, and the OEM sensor loosely threaded together in the final configuration I decided to use, and a tube of the sealant:
The orientation I chose has the stock sensor sticking out in its normal orientation (but further due to the tee), and the aftermarket pointing fairly close to straight down. It was the longer and heavier of the two, so I wanted to reduce its leverage on the whole assembly as much as possible. The bottom (wire outlet) of the sensor comes out about 1/2" above the level of my AM Performance oil pan, so that combined with the Z-speed solid aluminum undertray should sufficiently prevent any hits on the dangling sensor. The stock sensor reaches out close to in-line with the swaybar (as with spearfish's, but not quite as far out), but it's even higher up than my oil cooler lines which were placed to clear swaybar movement range, so it's all good.
After basic assembly, I had to cut one factory wire tie on the oil switch's wiring to get the wire to route correctly, and then I put some 1/4" split plastic tubing over the new sensor's wires and tied it up along the same rough path, and then sealed everything over with a bit of electrical tape to keep moisture at bay.
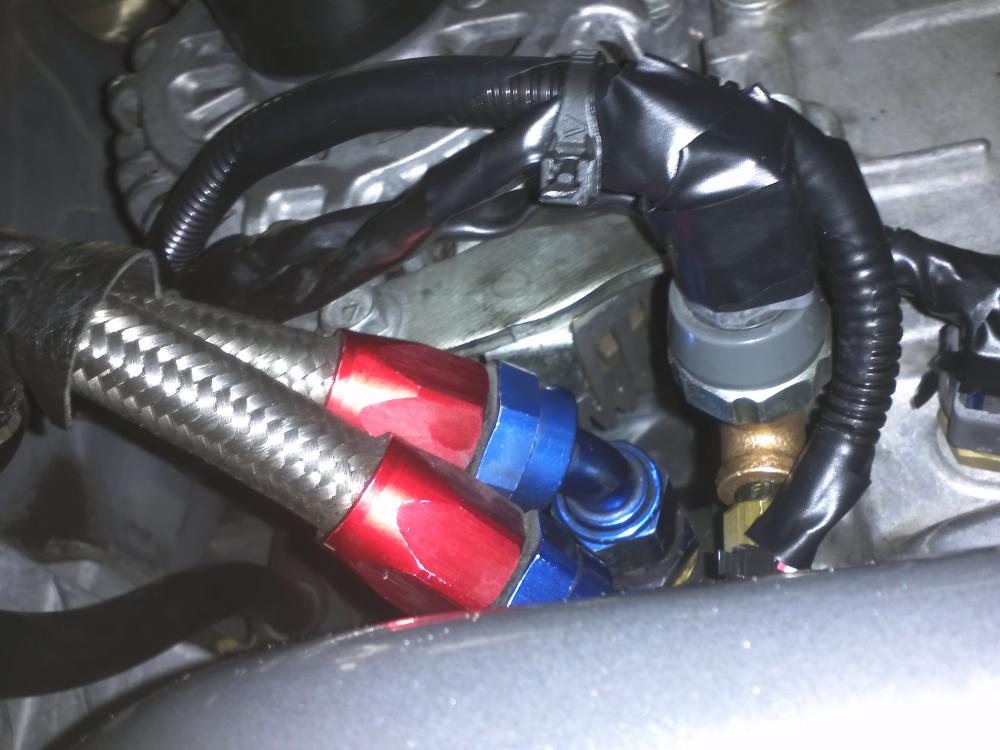
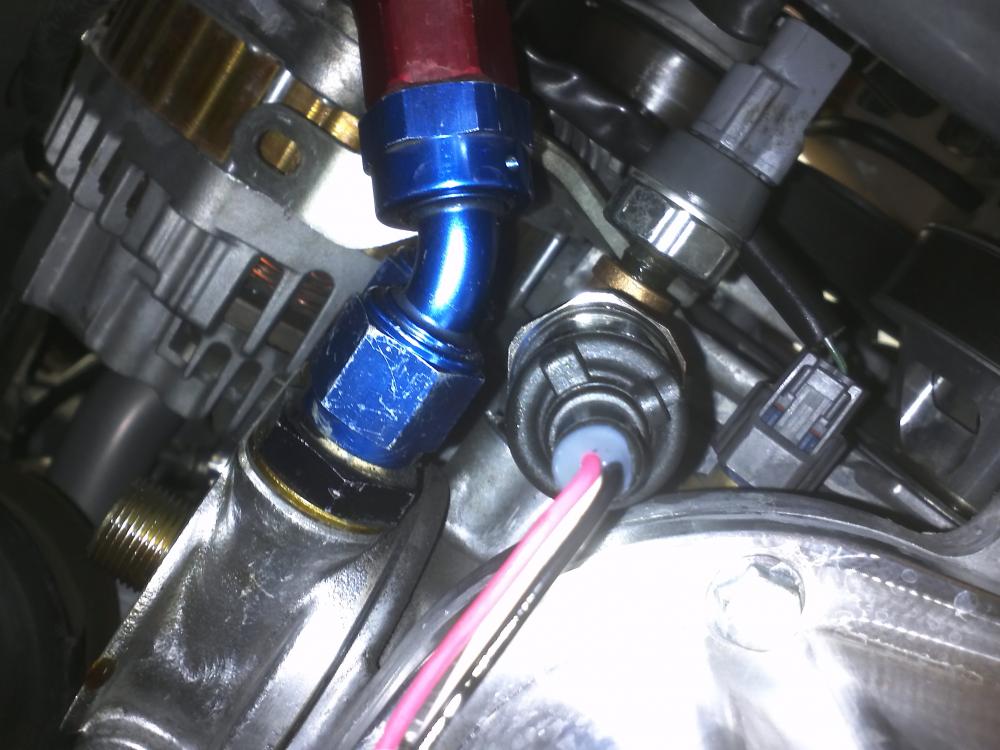
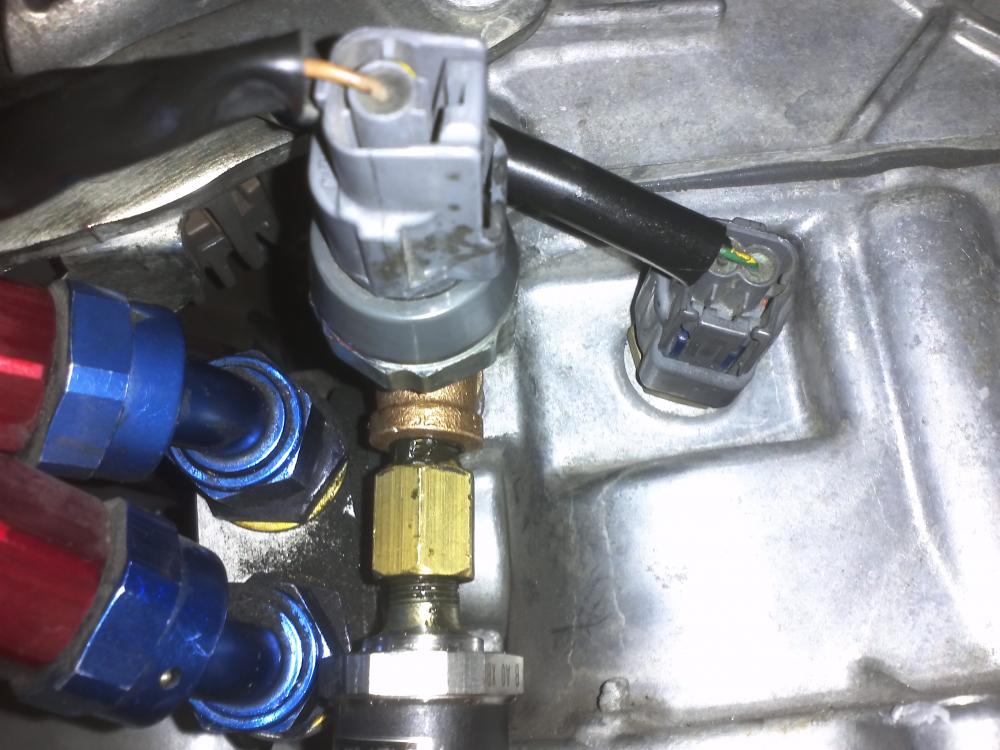
Pics of the sensors installed, in various stages of completion and from various angles:
From straight underneath, looking up at the OEM pressure switch into the Tee:

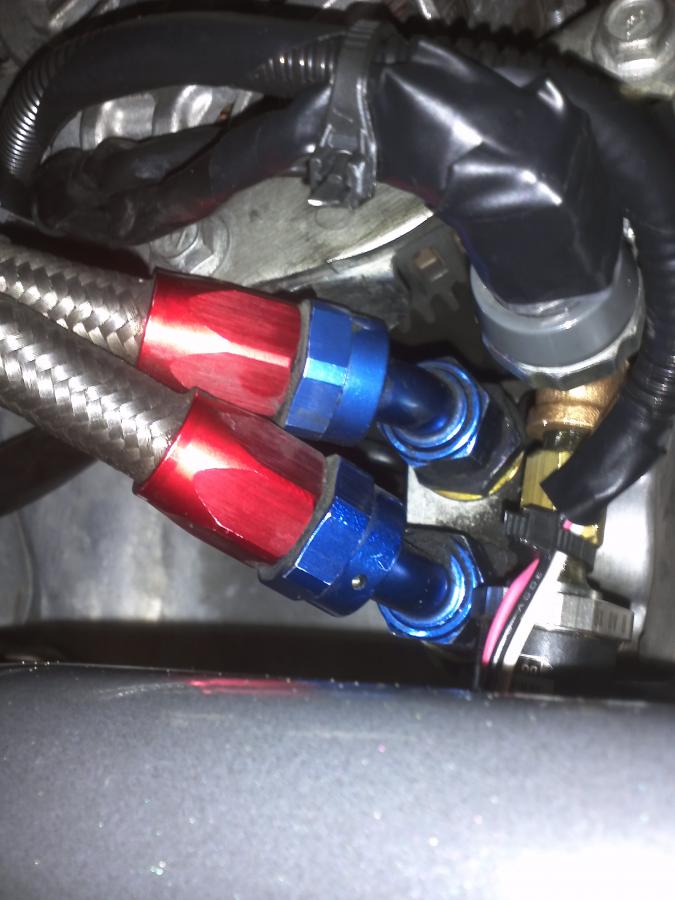
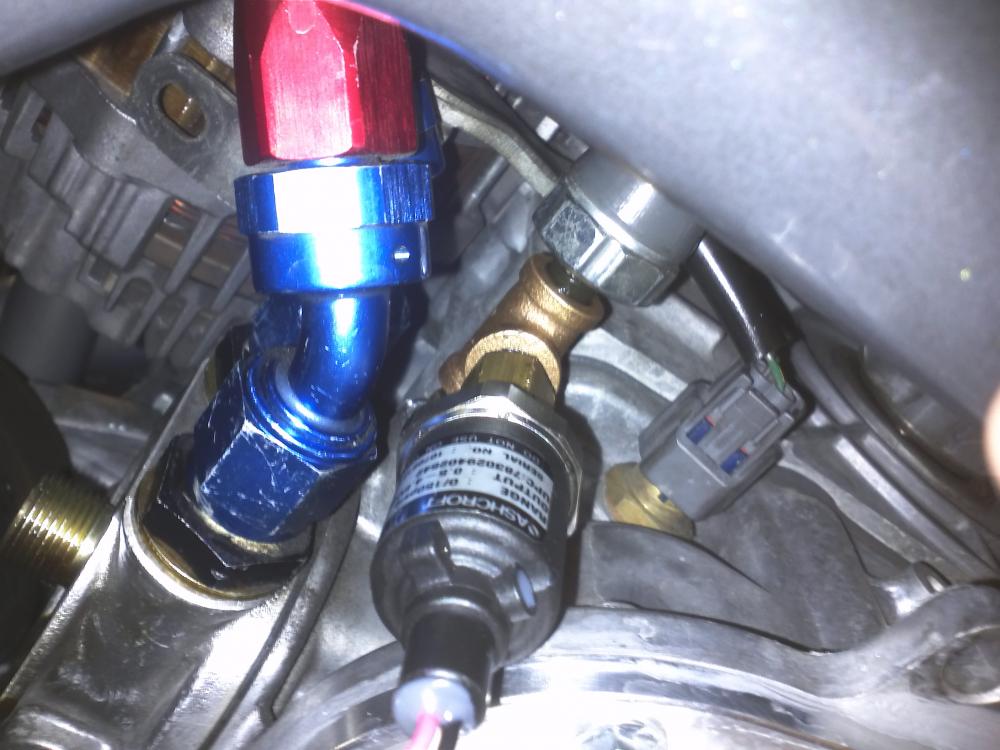
Same, zoomed out and showing the aftermarket sensor as well:
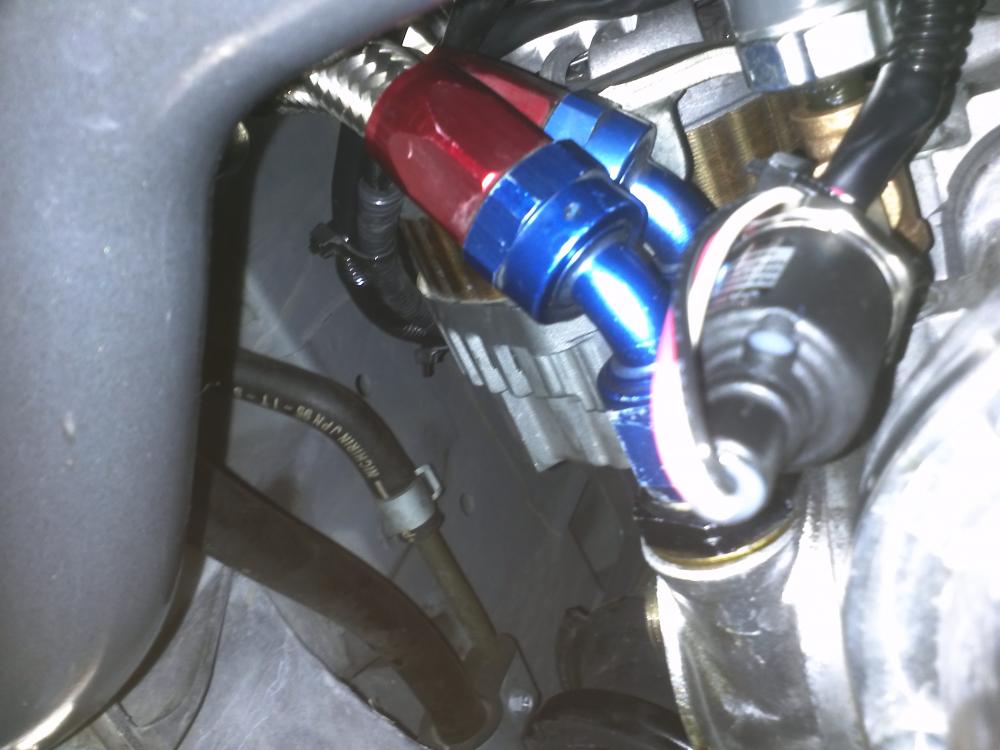
Angled view of roughly the same stuff:
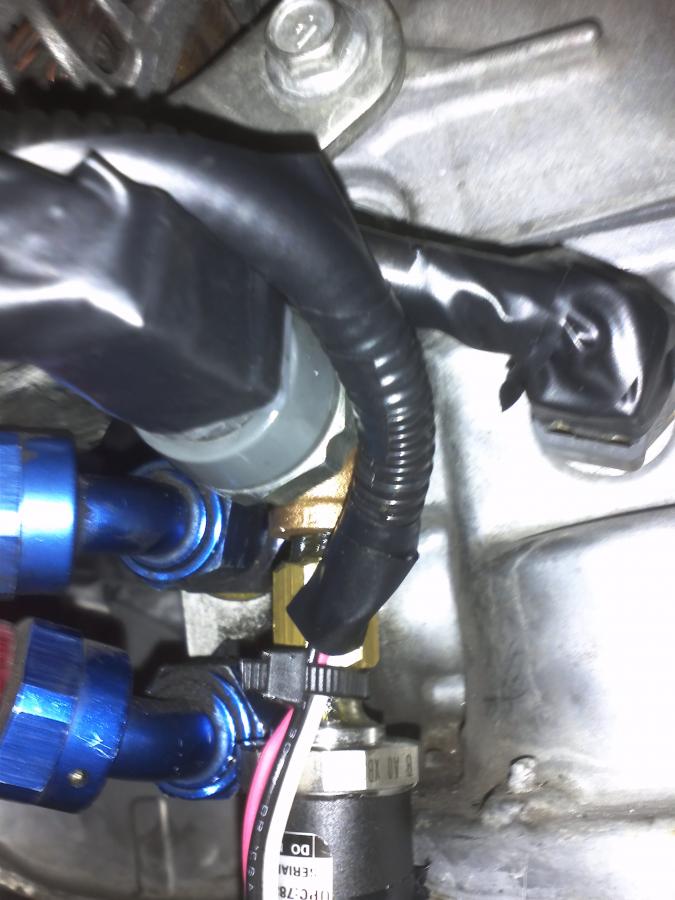
Different underside view angle:
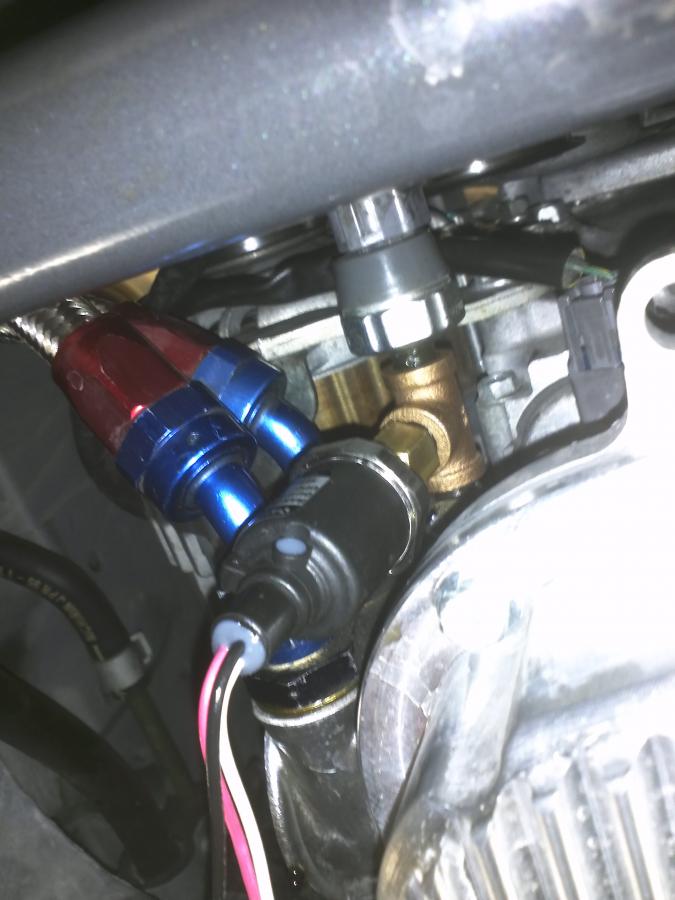
View from the front:
Cable protection / electrical tape stuff: