
|
With the help of my brother, I installed my Stillen G3 yesterday. First off, a big thanks to AK for having this play by play thread, and thank you for
|
|||||||
 |
|
|
LinkBack | Thread Tools | Display Modes |
|
|
 07-17-2011, 09:11 PM
|
#1 (permalink) |
|
Base Member
Join Date: Jul 2011
Location: Austin/Tampa
Posts: 33
Drives: 2011 T/S Black 370z
Rep Power: 16  |
With the help of my brother, I installed my Stillen G3 yesterday.
First off, a big thanks to AK for having this play by play thread, and thank you for everyone's contributions throughout. I wanted to note a few things I had troubles with and a few areas I felt were easy for me. Like everyone said, the bumper was really easy to take off. Nobody should turn down the opportunity to purchase this badass Stillen product because of the bumper removal. Everything else was very easy to remove. Based on the suggestions of some, I had removed the brace to make it easier to work with. A little additional work, but seriously only about 20 minutes added to the install time. A few pointers I have to give during my time installing this: 1. I avoided a cutter of some sort when boring out the hole. Instead of using a Dremel, I used a power drill, with a bit attachment. The attachment is this one from Dremel: 124 High Speed Cutter / Model: 124. Very easy to use and allows you to take your time without screwing up anything. I think it was about $10. Each side took about 10 minutes each to drill out. Very precise, and the holes turned out very well, very snug. Pic below of the passenger side (I'm unsure if this was taken at the final stage of boring out, because I had to go back and shave a little more off to get the pipe through): 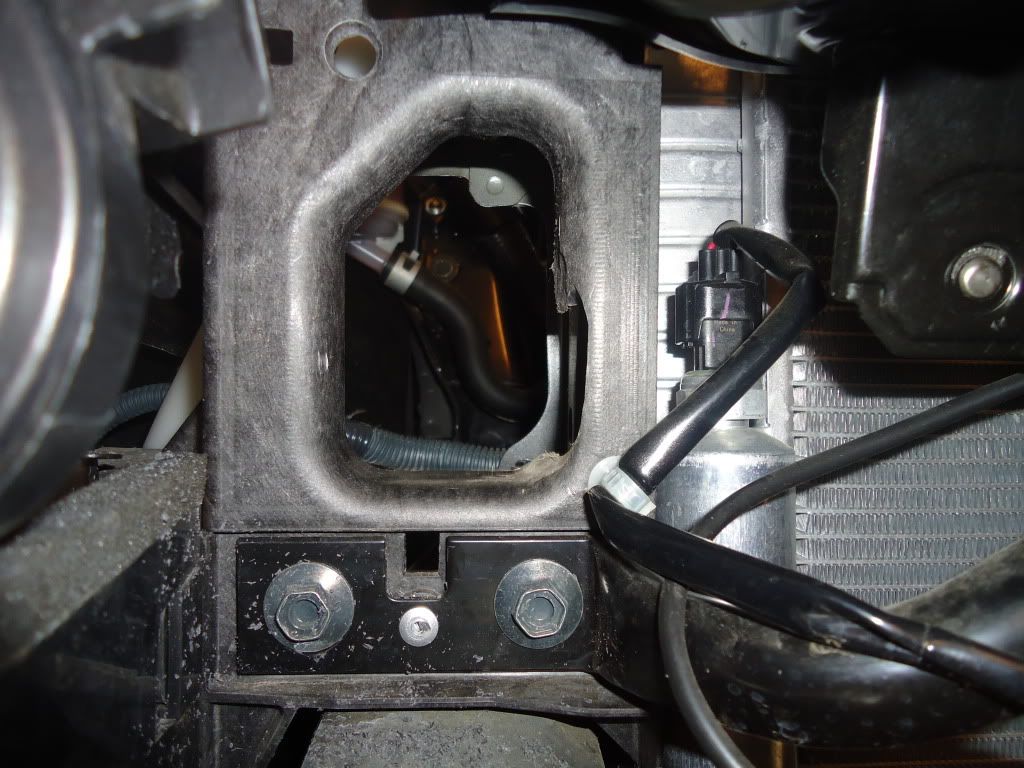 Here's a picture of the driver's side w/ tube throught the duct. Turned out to be a really smooth and tight fit (that's what she said).  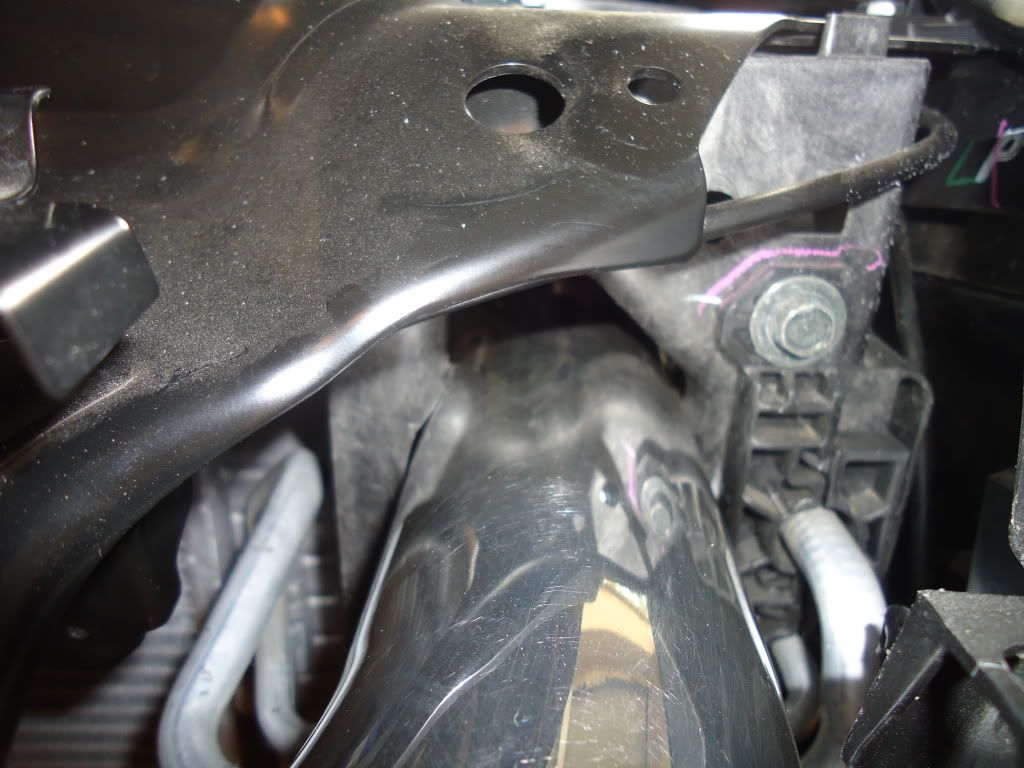 2. The pipes were a b|tch to configure. Twisting them and dealing with the fittings were a bit of a puzzle. This was the most difficult part in my opinion. What made it so hard were the filter locations. The filters were butting up against a screw in the front frame, which we tried our best to avoid on each side, but it didn't jive. In hindsight, if I had the right tool, I would have cut the excess screw off. We had to deal with the snug placement. I wish I had taken a picture of this. 3. When disconnecting the battery, remember that your auto-up window function gets turned off. Refer to your manual as it has a step-by-step to restore the default. I was flippin out for a moment on that one. 4. We didn't use tape or an adhesive to keep the rubber tube attached to the A/C lines. Instead, we cut one of the rubber tubes that were included in the kit, and placed it over both of the lines. To keep it intact, we used plastic ties. Those things aren't going anywhere. One thing to note: attached the rubber tube to the A/C line before doing any drilling of the ducts. This will ensure you do not slip and F up your lines. 5. Take a look at AK's wiring around the driver side tube. Look closely at the placement of the wiring around the driver side cone, to be more specific. We had a bit of trouble getting the placement right. After examining the picture, we had to unclip the wiring from the brace, and place it like so: 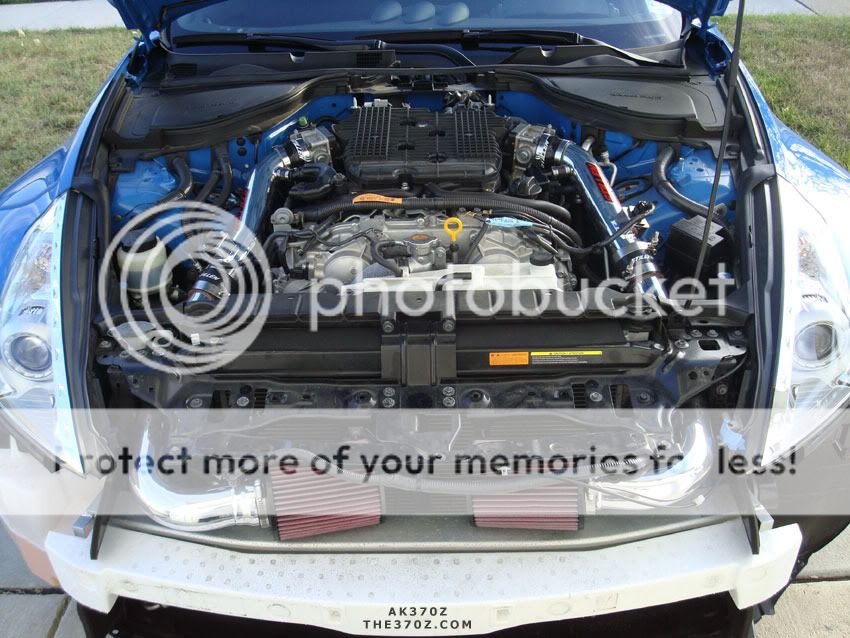 Quick picture of the iPad w/ AK's step by step  : :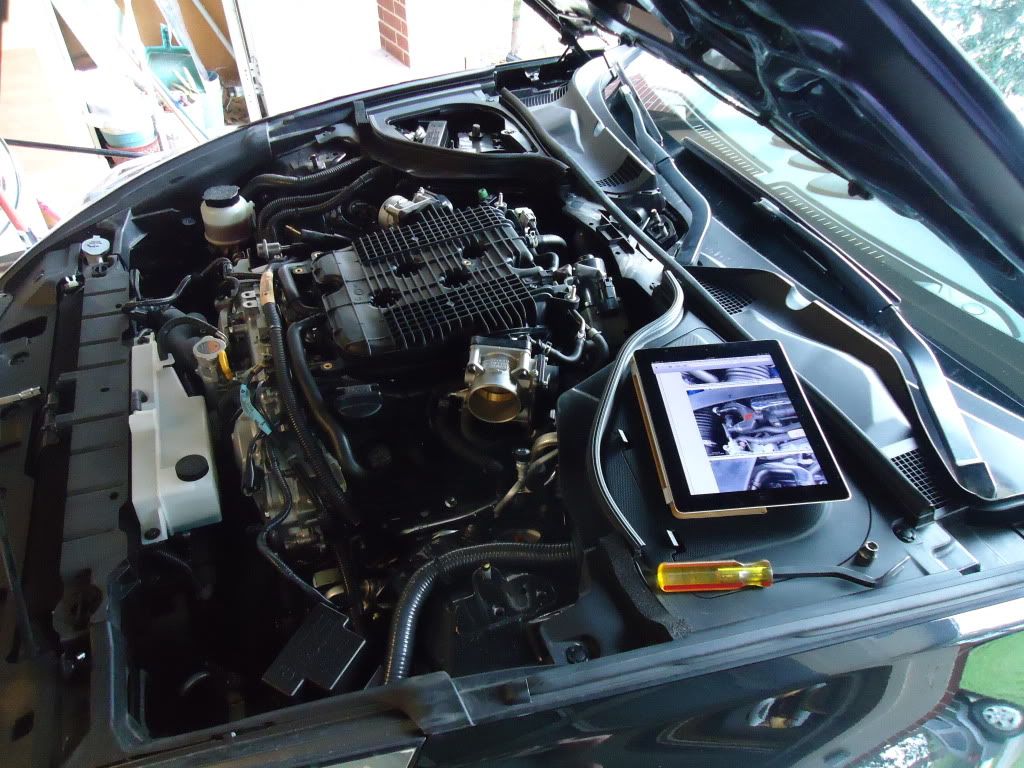 After the install - ain't she purty?: 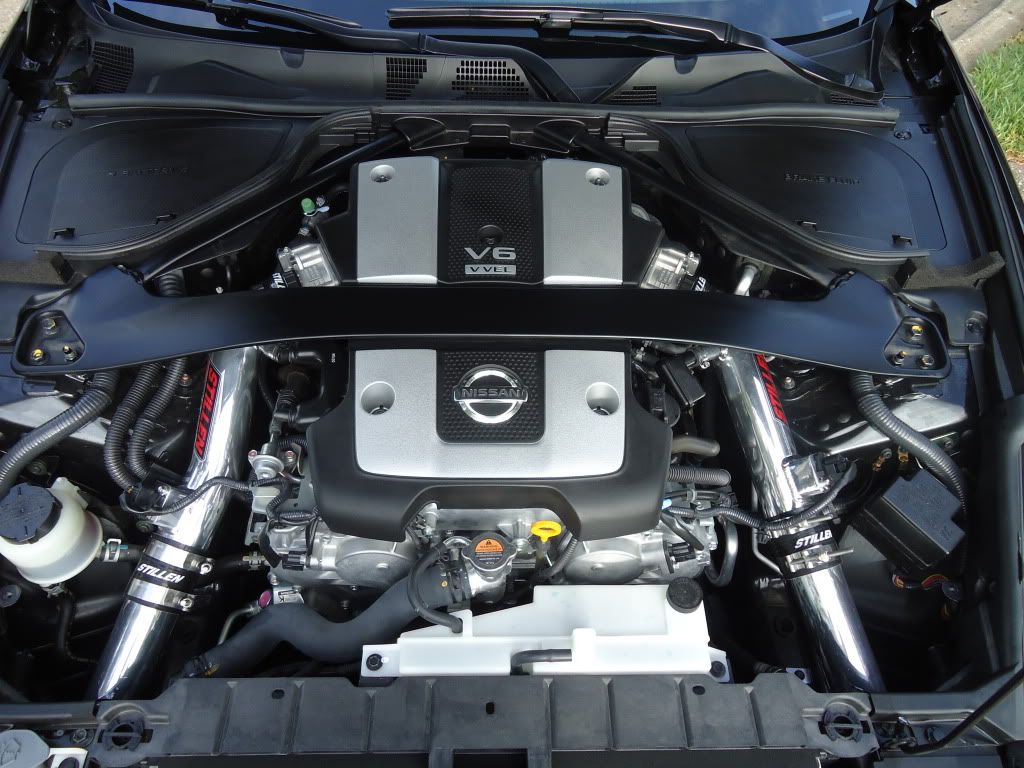 Video of how it sounds: VIDEO In summary, this add on was pretty easy to install. Total time was about 3 hours, with most of the time spent aligning the pipes. Bumper was very easy. A lot screws, but no time at all to take off. Your new intake sound kicks in around 5500 RPM's. I have noticed a difference in both sound and performance. On my way back to Austin From Houston (162 miles), it took about 1/4 of a tank from a full tank. My guestimates are that a full tank with intake will achieve 400+ miles. Not too shabby for a sports car. Next up, cat back exhaust. I think I'll get that done the same time I have an Oil Cooler installed in a few months. 
|

|

|
|
| Bookmarks |
|
|
 Similar Threads
|
||||
| Thread | Thread Starter | Forum | Replies | Last Post |
| Fujimura cf Rear diffuser installed! (with pics)( AK370Z) | AK370Z | Exterior & Interior | 73 | 04-24-2016 04:47 PM |
| Finally Got my exhaust! HKS Hi-Power Ti Exhaust (many Pics, Video inside AK370Z) | AK370Z | Intake/Exhaust | 102 | 05-11-2013 01:32 PM |
| Finally Fully Detailed My 370Z with Porter Cable (AK370Z) 90+ pics inside | AK370Z | Detailing / Washing / Waxing / Cosmetic Maintenance and Repair | 24 | 06-11-2011 08:48 PM |
| finally amuse stti extra exhaust arrived + lots of pics | zuperman 370 | Intake/Exhaust | 22 | 03-16-2011 12:25 AM |
| Installed my Stillen G3s. lots of pics and a short review | ssqpolo | Nissan 370Z Photos / Spyshots / Video / Media Gallery | 45 | 09-23-2009 03:20 PM |


 39Likes


 Hybrid Mode


