ok, so I read on the other threads here that you couldnt change the color of the illuminated kick plates because it doesnt have a bulb. However, doing electronics for LVMPD for a living and not accepting "NO" for an answer in general, I went ahead and changed the colors and decided to do a complete DIY for anyone else interested.
This is something I only recommend for experienced DIY'ers. If you have never done a DIY with simple electronics before, you may damage any part of the kick plates and it could render it ugly or unusable.
Anyhow, here's how it all began, I ordered a PG 370z and didnt like the idea of having an orange light with a silver car, so i decided to rip apart a kick plate and see what kind of LED i would need to turn the orange into white LED's.

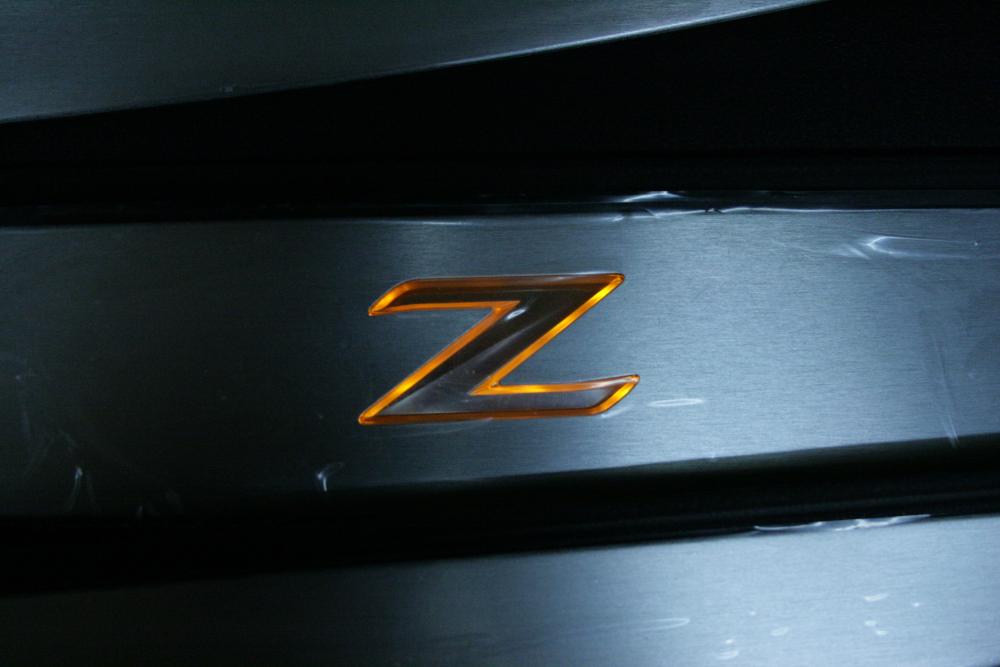
picture of the old color:

Now flip it upside down and you'll see tabs that need to be bent upwards to allow the plastic peice to slip off:

upclose of the tabs after i had them flipped up:

For reference, all of the circles are tabs that need to be bent. Yes there is a tab under the cloth tape in the picture below. And the rectangular boxes are where the glue/double sided tape is located. the glue is holding the aluminum top piece to the plastic bottom piece.
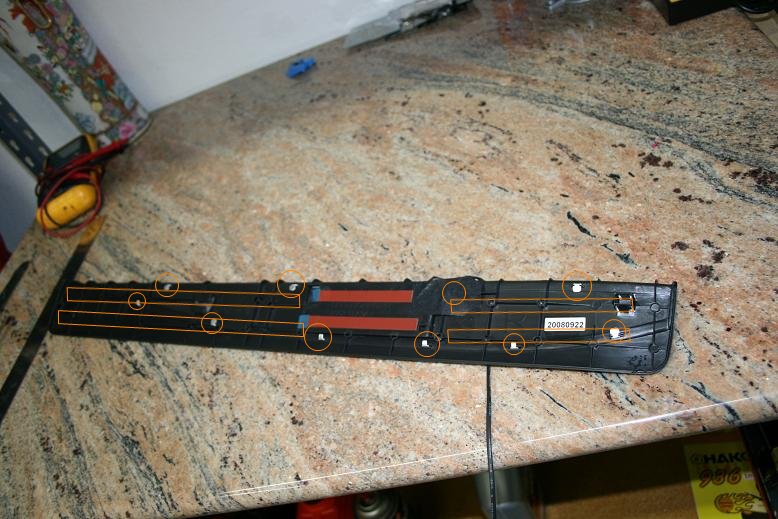
once you get the tabs open, carefully pry the ends open and then scrape the double sided tape off that holds the two pieces together:


You need to make sure you are very careful when you stick something in between the two to open it up. Use something long and flat and dont allow any sharp points to hit the metal part or else you'll cause damage to be visable from the other side,
[

once you get it off, this is what you will see (use this image to see where you need to seperate the double sided tape without poking the aluminium:

Now, lift the tape off the box thats on the metal section and then cut the caulking that is holding it on:


once you cut the glue off and pry the "box" off, this is what you will have:

Now you need to pry the metal cover from the "box" open, and take the plastic Z out:


carefully cut away the LED board from the plastic Z. It is also held on by clear caulking, so carefully cut it away and then you'll have two LED boards per side, I circled the actual LED's that need replacement:


Those items that I have circled and look white, thats the LED and its a 1mm LED. I used the white LED's here:
SMD LED (UT-692NW)
You can use any of the color LED's on that website, or any site, just make sure its a SMD LED around 1mm.
This is where the hard part comes because you need to solder off the old LED's and solder on the new ones, I am not to be held accountable and am warning anyone who isnt familiar with this not to do the soldering. these are very small parts and can easily be messed up.
When you have your new LED's on, make sure the LED's work. before you REVERSE THE ORDER of everything. putting it back together is the easy part, just make sure you have clear caulking in hand to glue the parts back together.
if you have any questions i'll try to answer them, I love my new illuminated kick plates and cant wait to put them in my car (gotta wait for it to arrive first ha!)

OH YEAH, dont forget the rep points if you found this useful, took me a while to get the pics uploaded and posted on here with this DIY

and a BIG THANK YOU!!!! TO VIPOR, for hosting these images for all of you to see!!
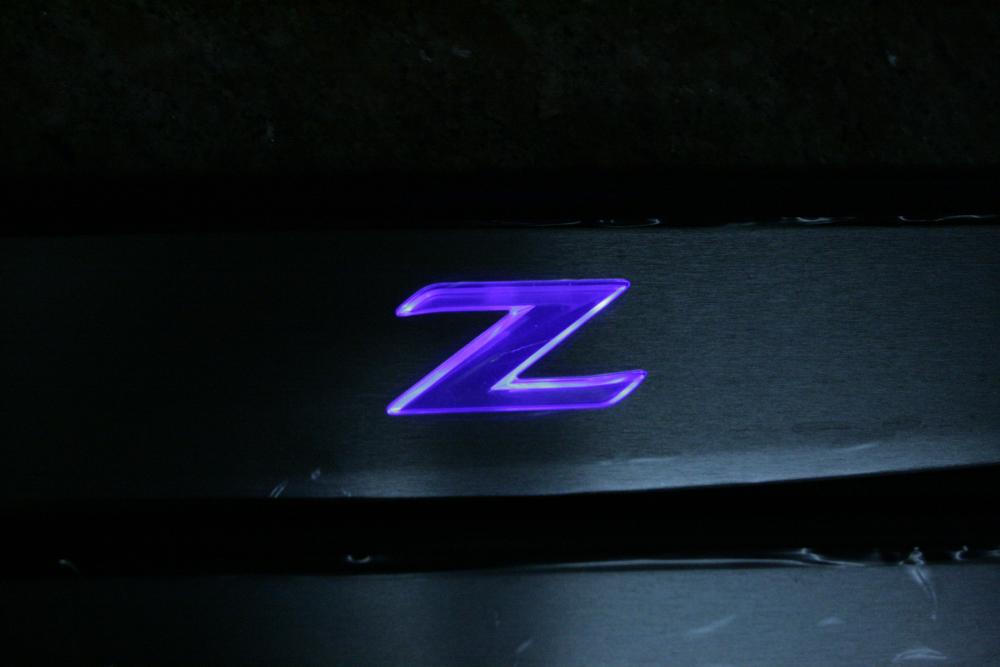
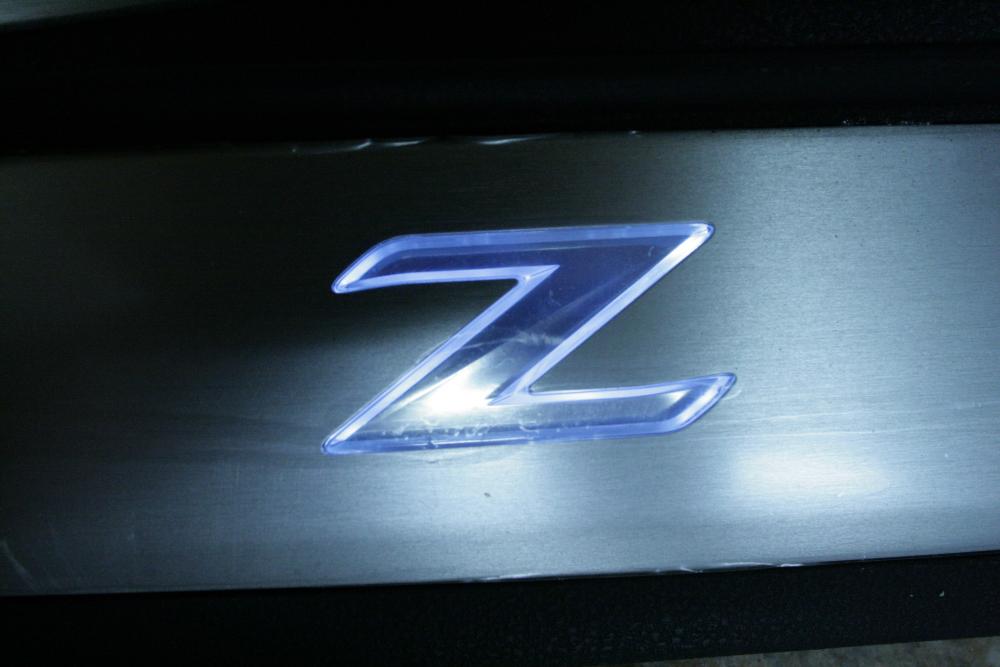
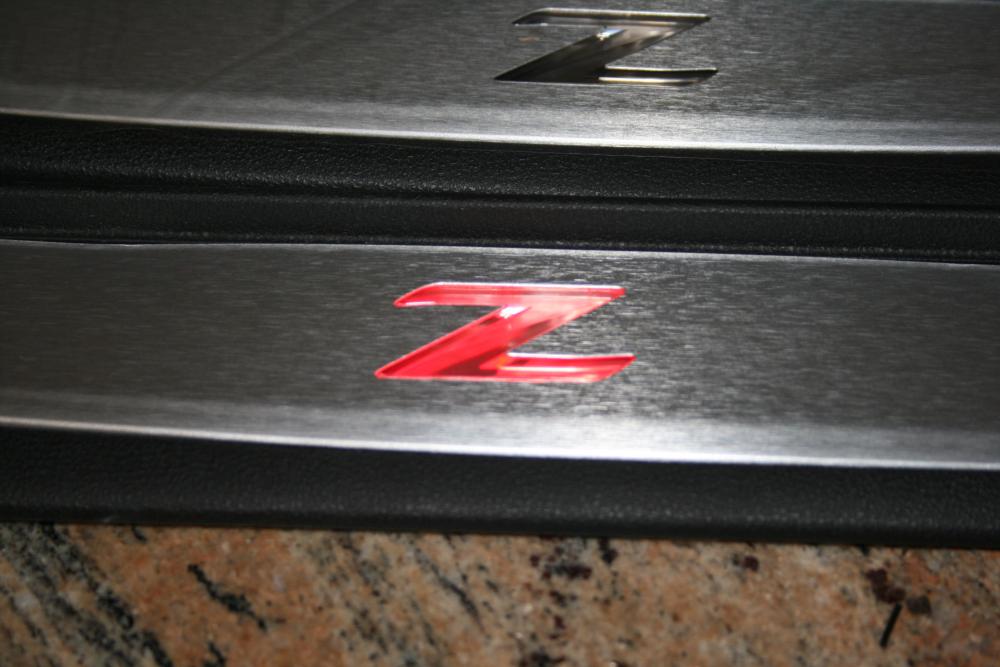
the other colors:
