Adding to travisjb's pics/info with my own. Keep in mind I've never done a battery relocate project before, so I'm not saying my way is the best. I just kinda guessed my way through the process and it seems to have worked out, and hopefully will provide more data points / ideas for others.
Standard disclaimer: I accept no responsibility for you destroying your car and everything around it in the process. Don't attempt this if you don't have at least some rudimentary understanding of how batteries and electricity work. I've glossed over some finer points like how to use a freaking screwdriver, and how to not short out your battery and/or electrocute yourself like a moron. If you have any doubts, have a professional do it.
Tools (other than the obvious normal stuff like sockets and screwdrivers):
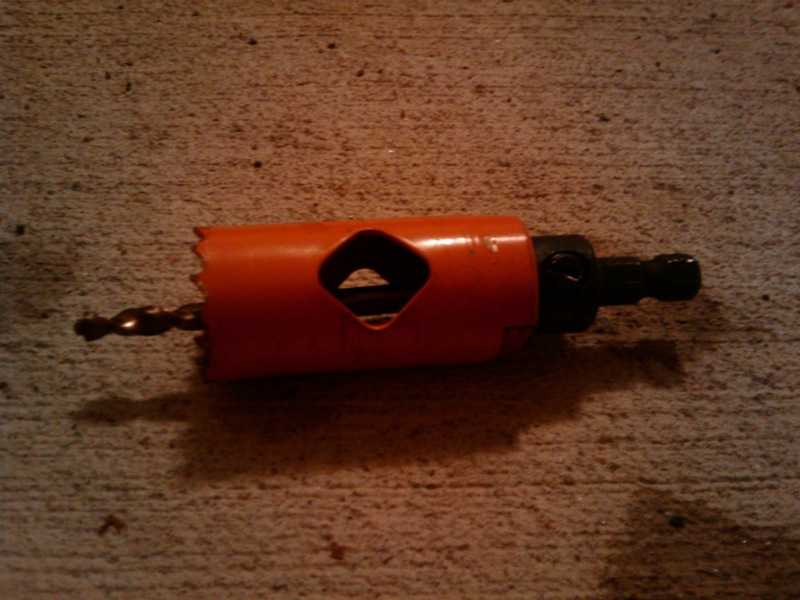
Electric drill with 1" hole-saw bit:
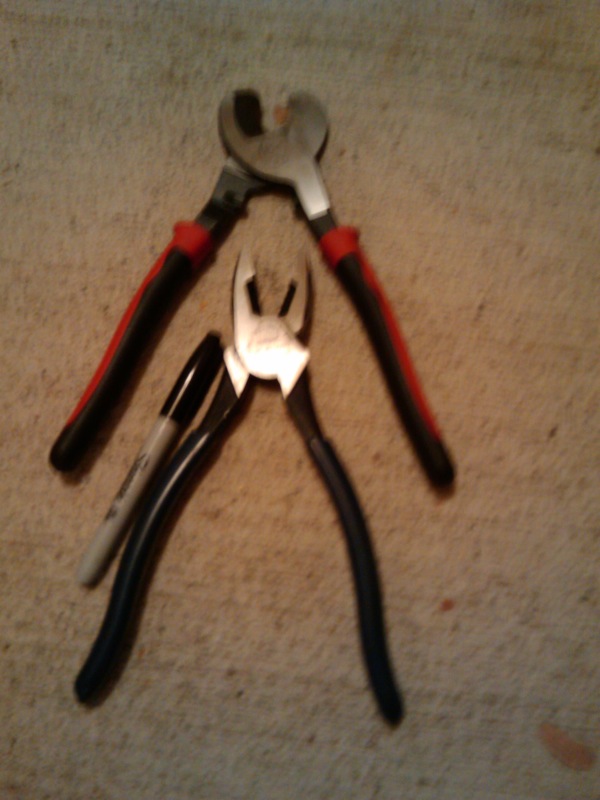
Big-*** wire cutters and pliers for working with large cable.
 Parts:
PC680 Battery + Bracket from DDM


Everything else below was found at Home Depot:
An assortment of M6 x 1.0 thread pitch hex cap screws, in various lengths (I found 16 and 20 mm lengths the most useful, I think all total I used about 8 screws, mostly 16s). Also lots of lock washers and nuts to match, 2 lock washers and a nut per screw.
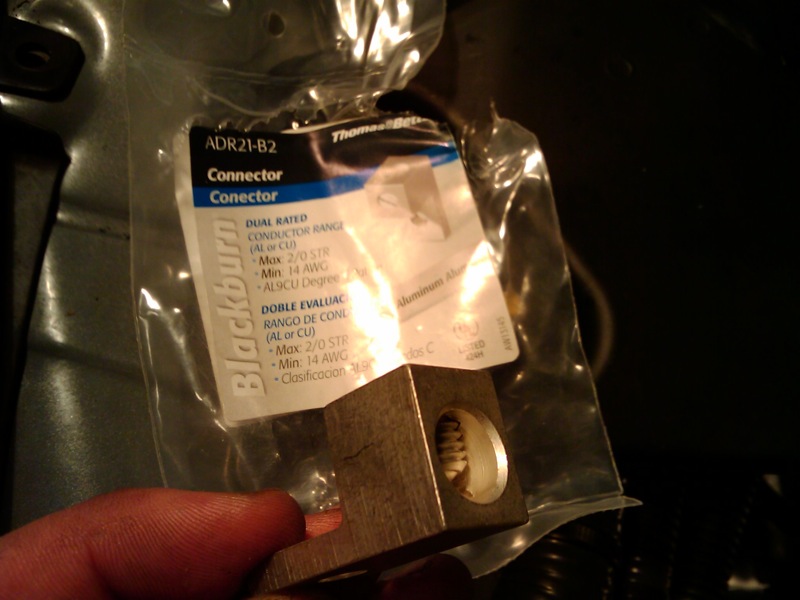
Cable connection blocks. These ones I picked up at the hardware store are little blocks of Aluminum that can hold a 1/0 gauge wire on one side, and be screwed to something else with the M6 screws on the other side. I used 4 of them all total (each end of my positive and negative battery cables).
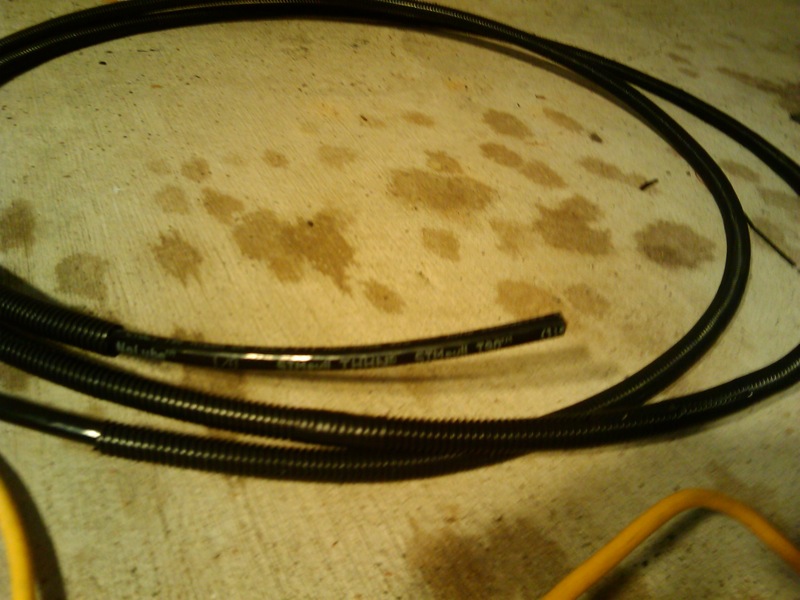
16+ ft of 1/0 Gauge 19-strand copper wire. This is really thick stuff and it's hard to work with because it will have a natural coil to it and it's very difficult to bend it into the shape you want. From a pure "Can it handle the amps without melting" standpoint, this wire gauge is overkill for this application. However, by going oversized, we further reduce the resistance of the long positive-side cable run, which reduces voltage drop, which will make it less likely for you to have a starting or charging problem down the road.
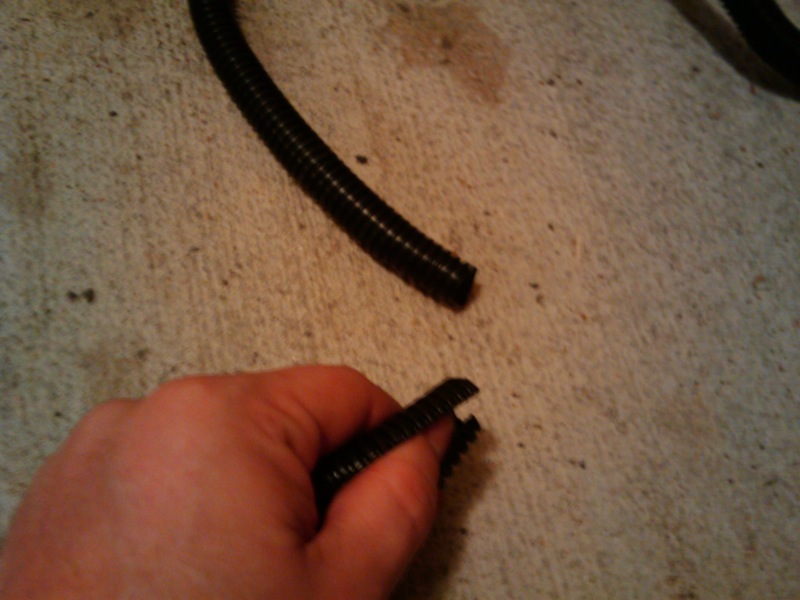
Also some 1/2" corrugated plastic sheathing, to help protect the wire's jacket from getting nicked or rubbed during install (or later when driving). I bought enough (in 7ft sections) to cover the whole cable, and put it on the cable first before I started the job. It will be slit, so wrap with electric tape to keep everything in place (doesn't need to be 100% coverage, can use a wide diagonal angle with lots of space between tape stripes).
You'll also want a 1" grommet for the hole being cut later.
Also grab some some anti-oxidant, it's a liquid in a little tube you'll find near the connectors/cable, which you apply to the ends of the big cables when you put them in the connectors, to reduce rusting of the cable ends in the long term.
Procedure:
First remove everything from your trunk. All of the plastics and tools and styrofoam chunks, etc. It should be bare metal throughout.
Then find a location to mount the battery and mount it. There's a lot of personal preference here. Since I'm not planning to put my spare or sub back, I mounted in the center rear, with the battery laying down flat:
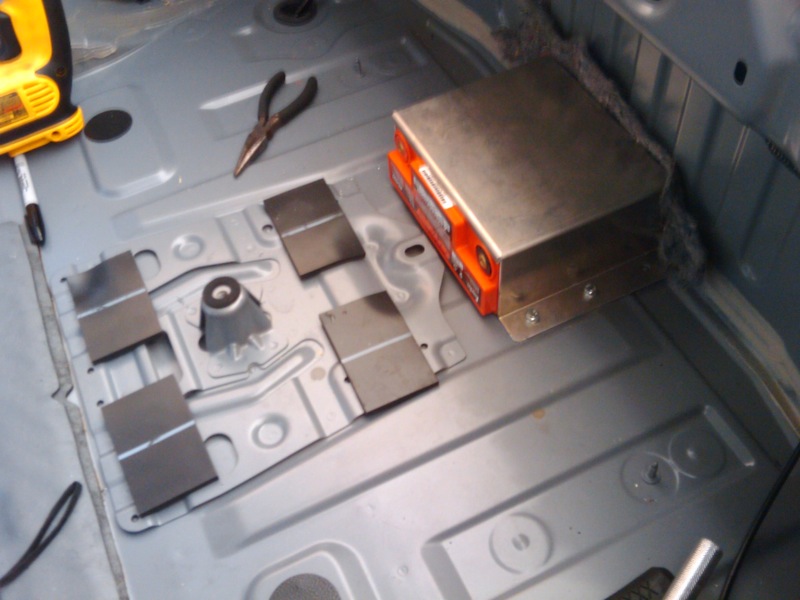
Finding a good spot is tougher than it seems. On the trunk surface, you have to find a spot where the bracket will lay flat given all the ridges and bumps and whatnot. Additionally, look on the underside of the car and make sure you can reach where your bolts will come through, so that you can put nuts on them and tighten it down. At my chosen location, the nuts come through above the heat shield which is above the muffler. I had to loosen that heat shield and push it away a little while drilling the holes and screwing down the mount.
My next step was to go to the other end of the car and prep that side of things. Remove the existing factory battery, disconnecting the negative cable first, then the positive, then remove the bracket and battery (it weighs a freaking ton and has no handle by the way, it's kinda annoying lifting it out of there).
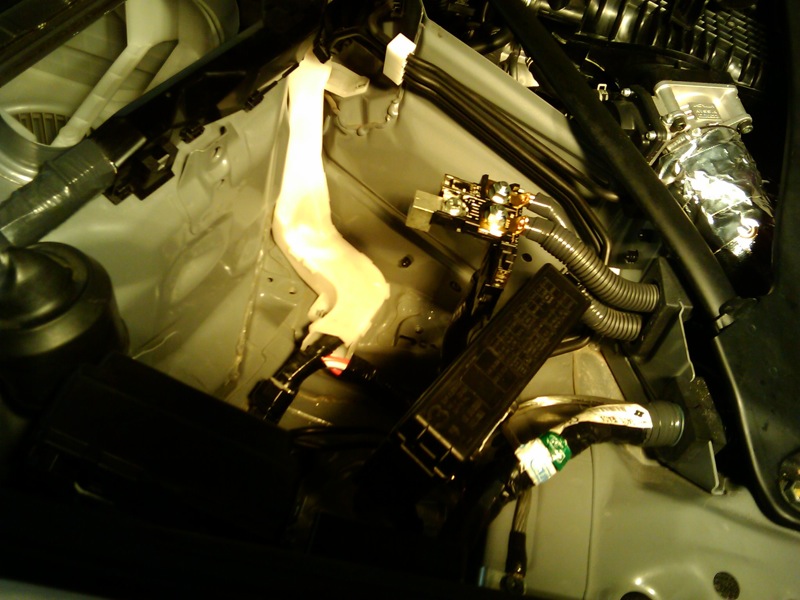
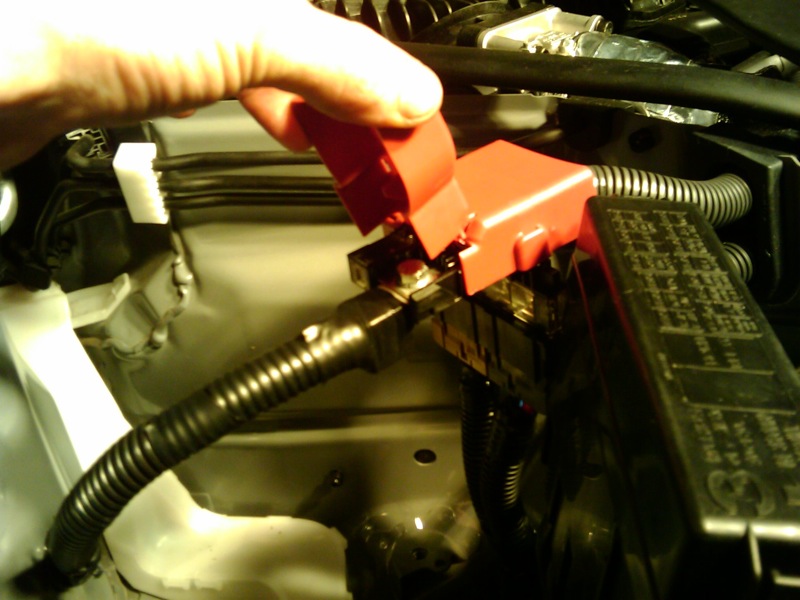
You can completely remove the factory negative battery cable, it simply runs to the body nearby and attaches there with two screws. On the factory positive side, remove the red cover, unscrew the round post-mount from the rest of the fuse assembly, and replace it with one of our new connector blocks using some of your M6 screw hardware.
The result should look something like this:
Now it's time to route your main length of cable. This is going to be your positive battery line, running all the way from the PC680 in the trunk to that lug we just attached to the inline fuses up in the engine bay. It will be annoying because the cable is so thick and resistant to bending.
Basically you want to pop off all the paneling along the passenger side of the interior of the vehicle, and remove the glove box and the A/C blower from the passenger footwell area. Then route it along the passenger edge of the car coming up into the footwell area.
Find an appropriate place in the upper footwell area (the other side of this metal is the rear wall of the original battery area), and drill a 1" hole here using your hole saw. Put a 1" OD grommet in this hole to keep the sharp edges from scraping your cable run.
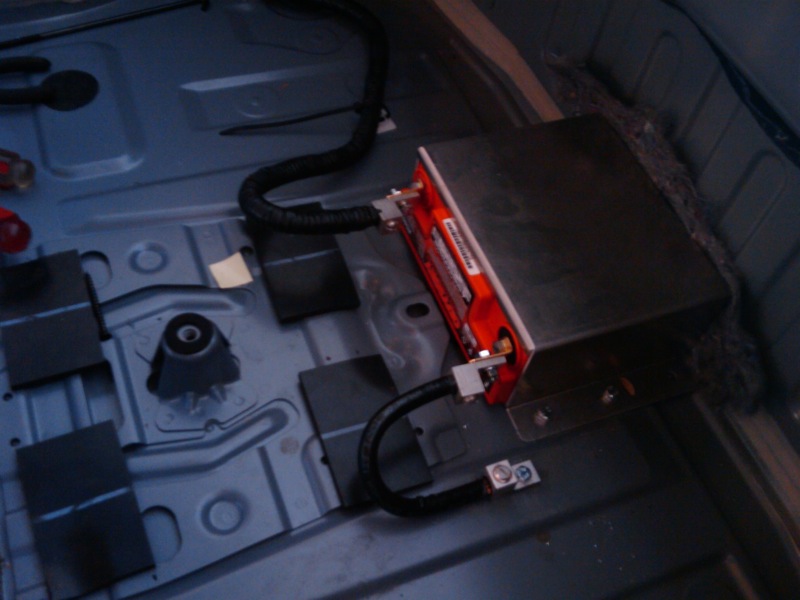
Once you have the cable routed end to end (and trimmed down to the correct length at both ends), go ahead and connect the positive cable at both sides. On the battery side, I used the supplied 90 degree copper "posts" from the PC680, screwed to one of our hardware store aluminum connector blocks.
Once that's done, you want to drill one more hole in the trunk floor at any convenient location (well, close to the battery is better), and mount your last connector block there. Sand off the paint under where the block will mount to get a better connection. Then use some of the leftover cable from your positive-side run to make the short run from the negative battery terminal to this new ground lug.
Note that when you make this final ground connection, there will be a spark, and your electric system will come back to life.
Things should look something like this, at this point:
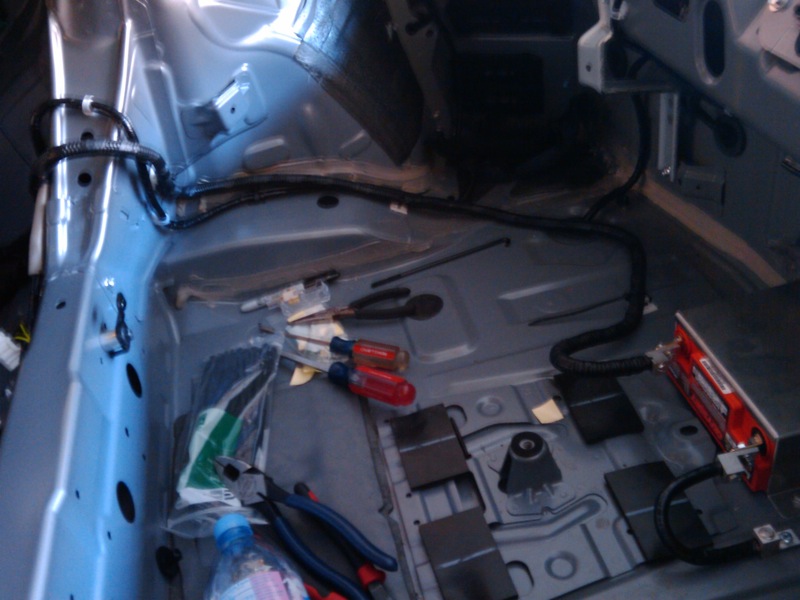
Finishing Up
Now, before you go reinstalling all of that interior, etc, test-fire the car. Start the car and let it run for a while. If it fails to start, obviously you've got a bad connection somewhere. Keep an eye on your connectors, etc at both sides during the first run, and watch your voltage gauge.
Assuming that all went well, you might want to do some final sealing of the positive cable ends (I wrapped up both connector/lug areas with electric tape to reduce chances of a short) and reassemble the interior of your car.
I also went back later with some Black Silicone RTV-type stuff and filled in my grommet on that front hole, to provide better cable protection and to weather-seal between the engine bay and passenger compartment.
Of course, by using screw-down lugs everywhere, I've got no easy way to disconnect my battery now. My next step on this project is to add a kill switch to the negative battery cable in the trunk, so that the battery can be disconnected when necessary, but I haven't located or ordered one yet.