|
A True Z Fanatic
Join Date: Aug 2011
Location: Ontario, Canada
Posts: 21,749
Drives: Varis Arising II
Rep Power: 51866
|
 370z - Correction detail (picture heavy)
I cleaned my 370z up a few weeks ago and am getting around to posting up a few shots of the correction work. I bought the vehicle late last August. Did a quick winter prep and parked it under the cover. This is the first proper cleaning since I took ownership of this car.
First up, this sticker needed to go,
 DSC_0634
 by J M Gale, on Flickr
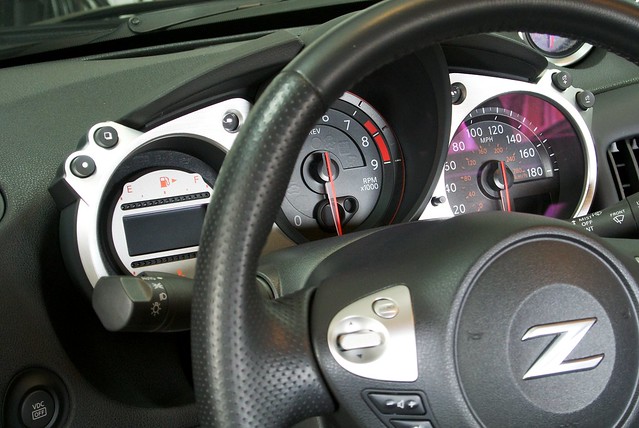
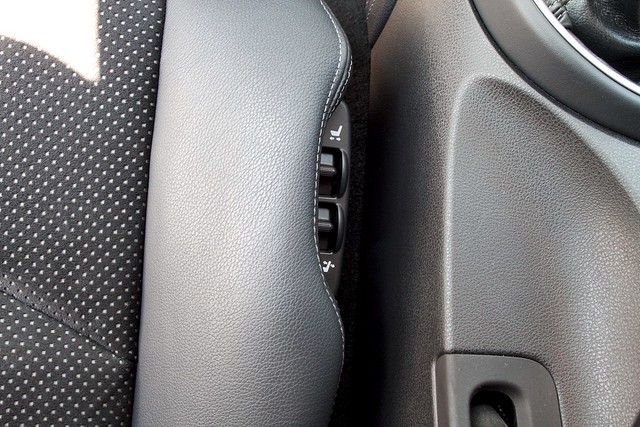
Dirty interior,
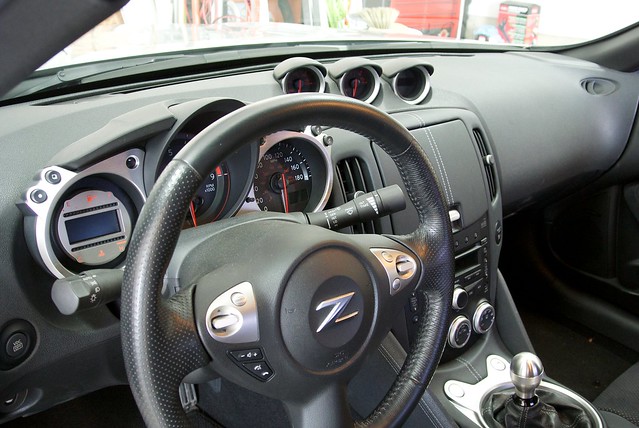 DSC_0640
 by J M Gale, on Flickr
 DSC_0637
 by J M Gale, on Flickr
Interior Cleaned up,
 DSC_0671
 by J M Gale, on Flickr
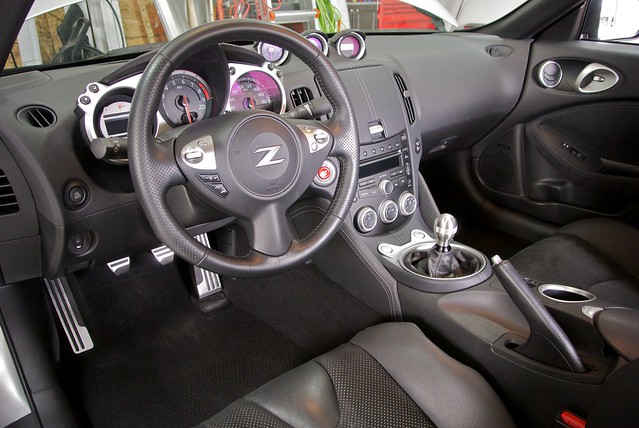 DSC_0673
 by J M Gale, on Flickr
 DSC_0665
 by J M Gale, on Flickr
Some Auto Finesse love,
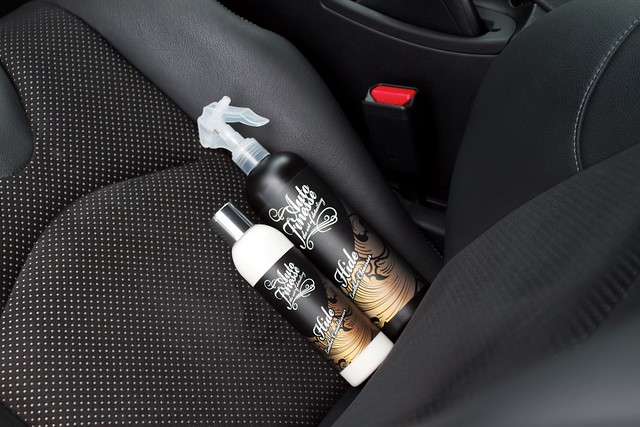 IMG_5905
 by J M Gale, on Flickr
 IMG_5855
 by J M Gale, on Flickr
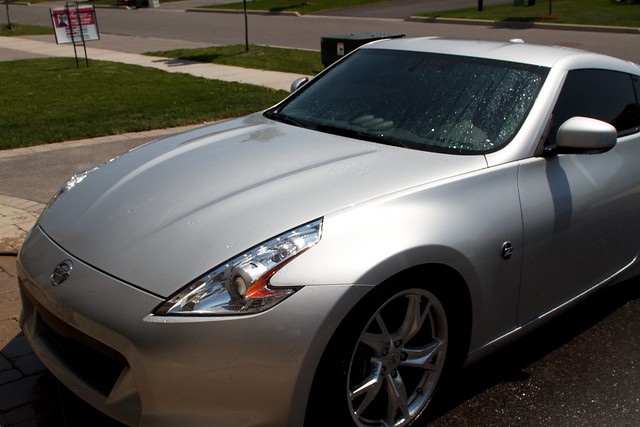
Now some before shots,
 IMG_5567
 by J M Gale, on Flickr
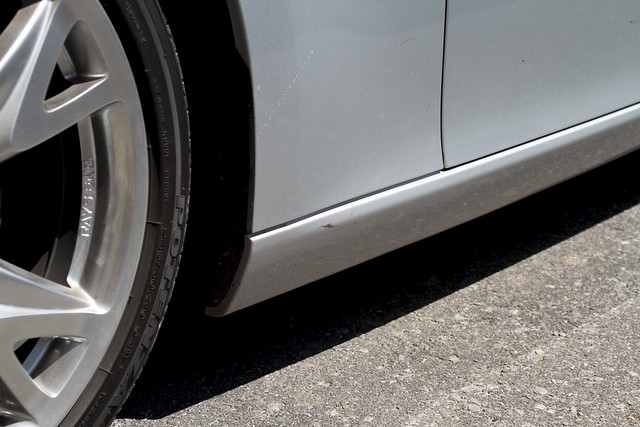 IMG_5569
 by J M Gale, on Flickr
 IMG_5570
 by J M Gale, on Flickr
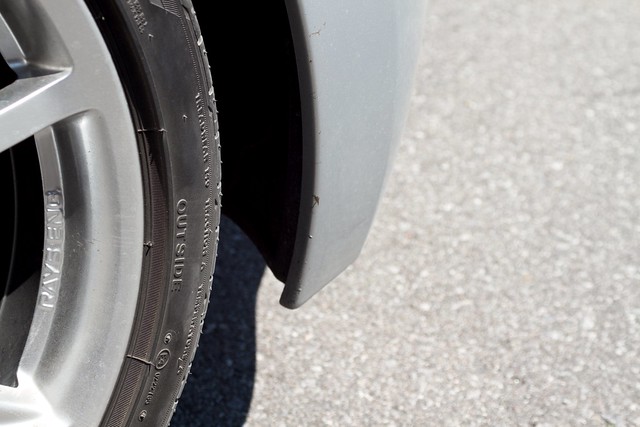 IMG_5571
 by J M Gale, on Flickr
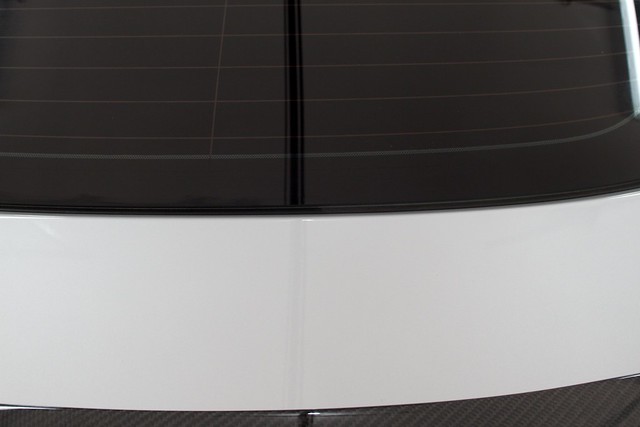
Rear window rubber before,
 IMG_5572
 by J M Gale, on Flickr
After,
 IMG_5764
 by J M Gale, on Flickr
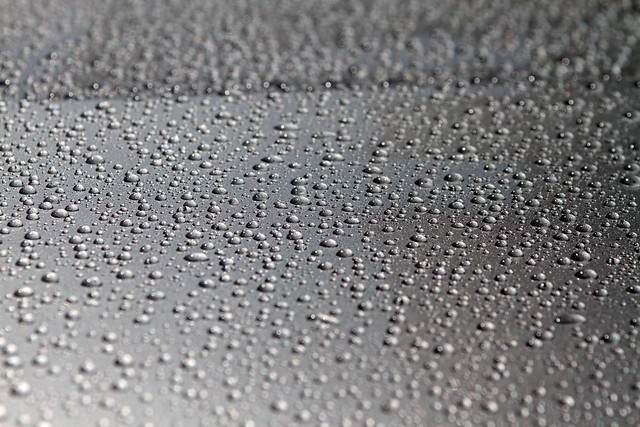
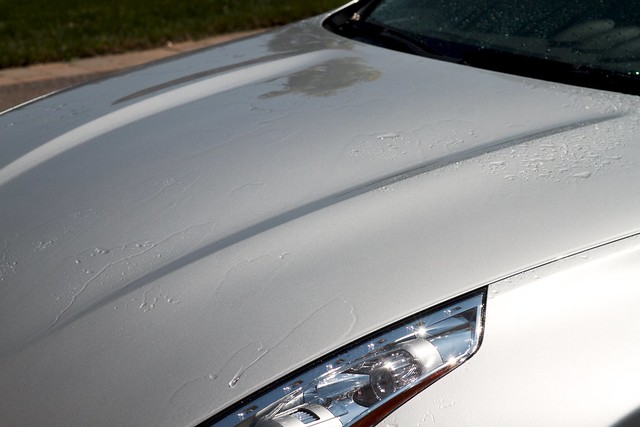
This is MPL beading from the winter prep. As you know you should strip the paint of any existing waxes or sealants before doing a proper correction, so it has to go,
 IMG_5576
 by J M Gale, on Flickr
 IMG_5579
 by J M Gale, on Flickr
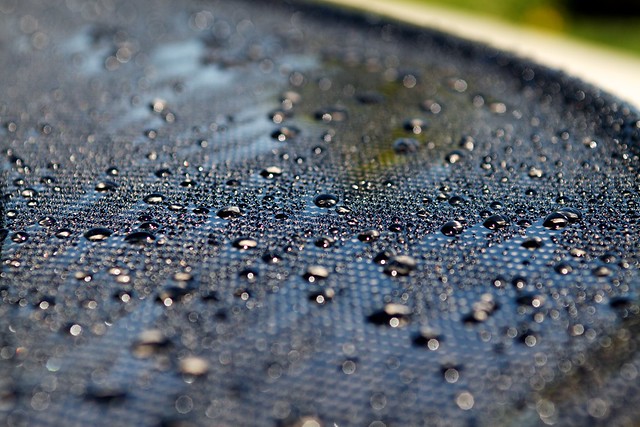
This is Victoria Wax left over from a test I did after correcting the spoiler during the winter downtime,
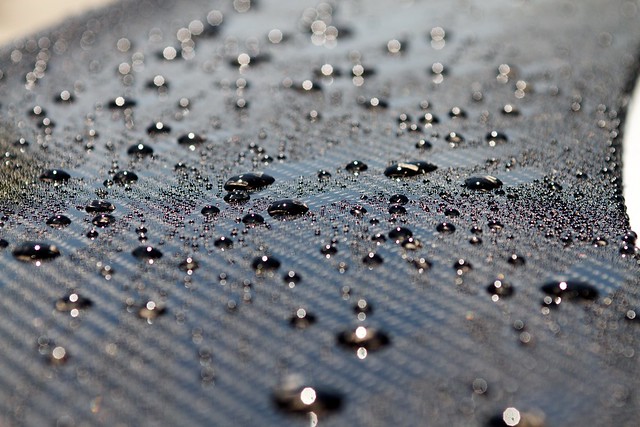 IMG_5578
 by J M Gale, on Flickr
 IMG_5577
 by J M Gale, on Flickr
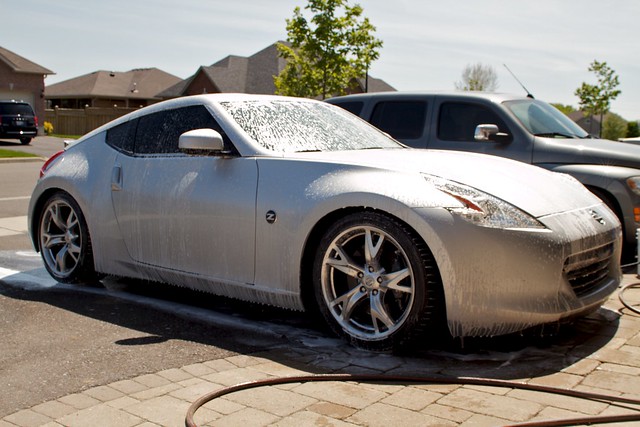
Time to strip the old protection,
 IMG_5580
 by J M Gale, on Flickr
 IMG_5581
 by J M Gale, on Flickr
Sonax doing its thing,
 IMG_5583
 by J M Gale, on Flickr
Clayed,
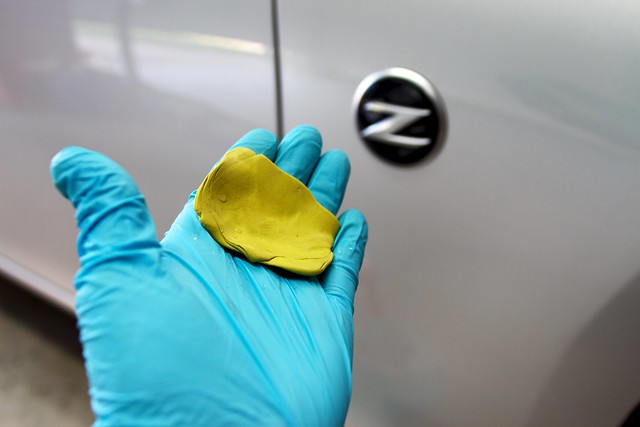 IMG_5591
 by J M Gale, on Flickr
Then some Iron-X,
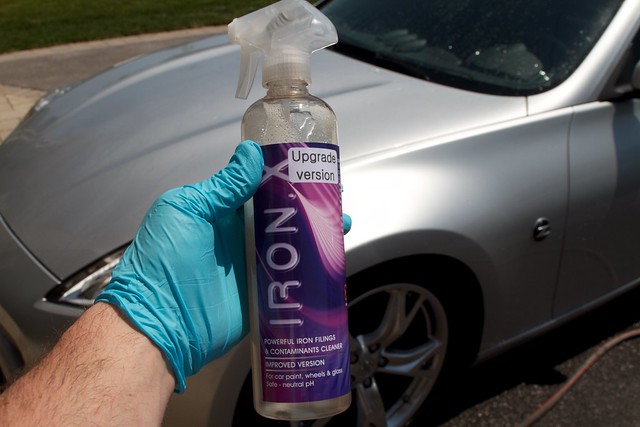 IMG_5607
 by J M Gale, on Flickr
Iron-X doing its thing,
 IMG_5608
 by J M Gale, on Flickr
Another wash,
 IMG_5597
 by J M Gale, on Flickr
Blank canvas,
 IMG_5611
 by J M Gale, on Flickr
 IMG_5612
 by J M Gale, on Flickr
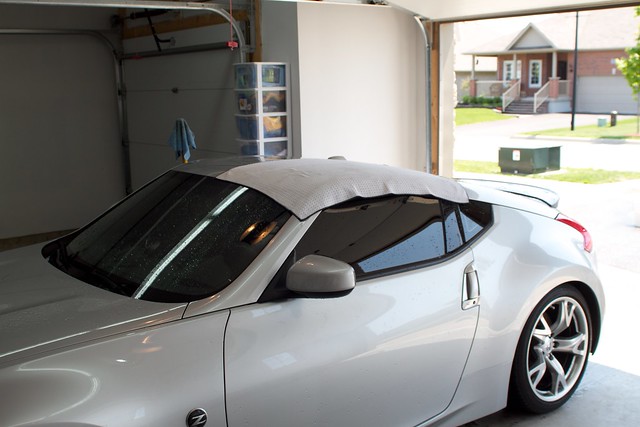
Back in the garage to dry, blotted with a WW and followed up with a Metro Vac Sidekick,
 IMG_5615
 by J M Gale, on Flickr
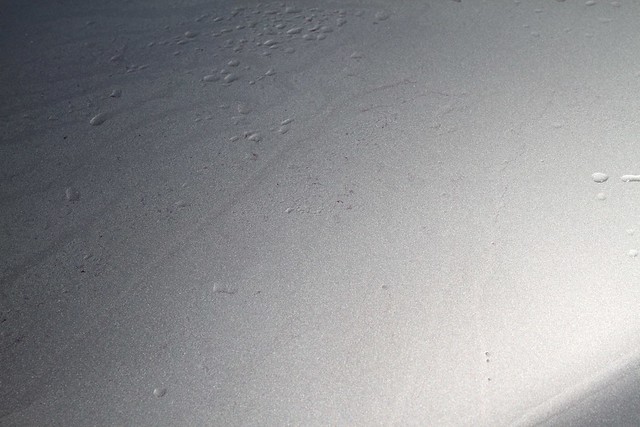
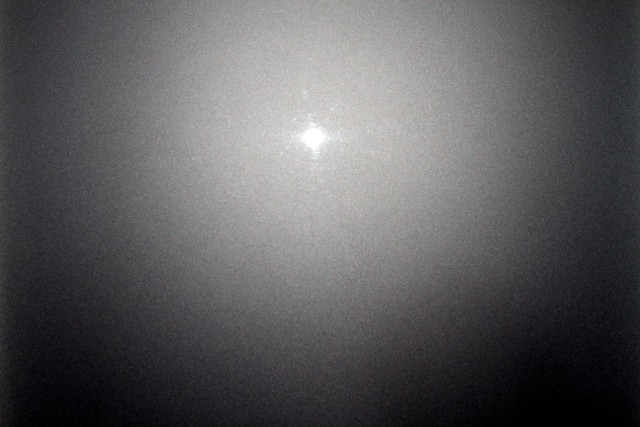
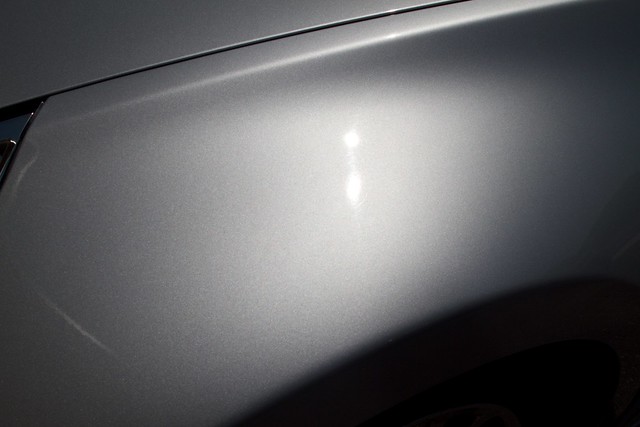
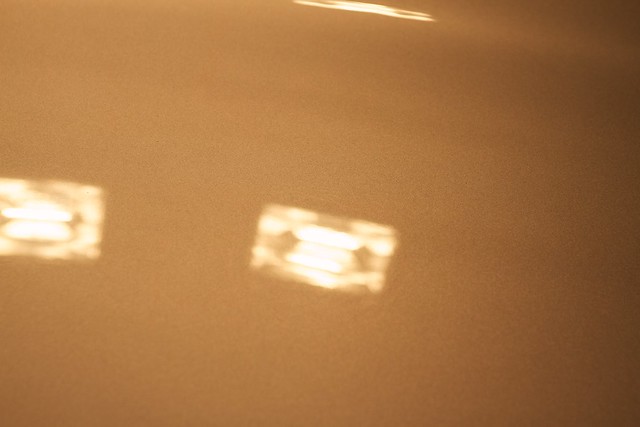
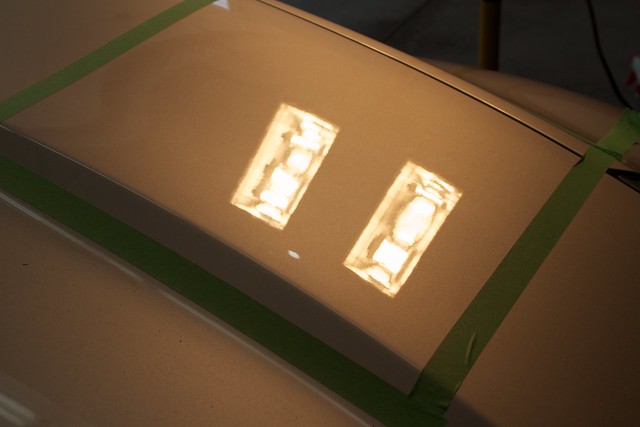
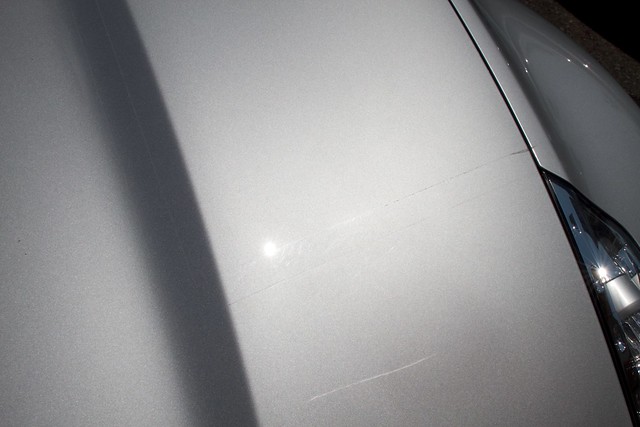
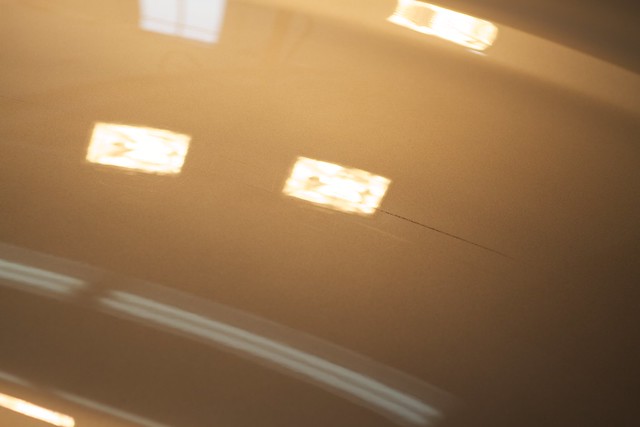
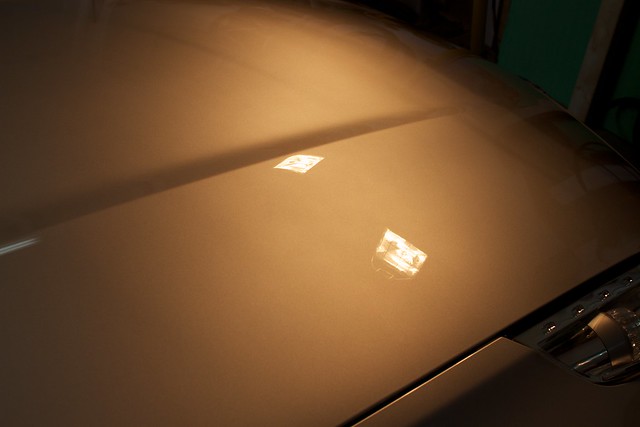
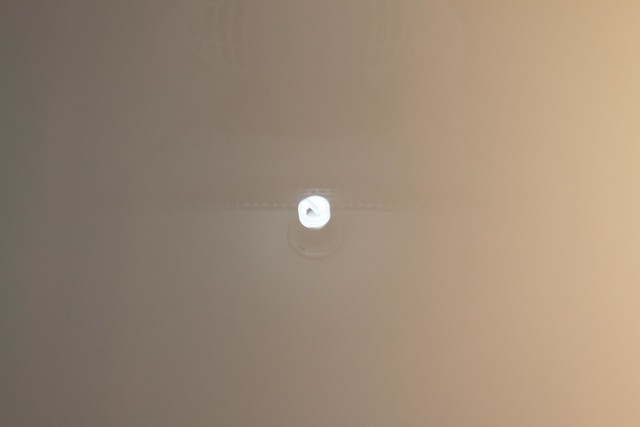
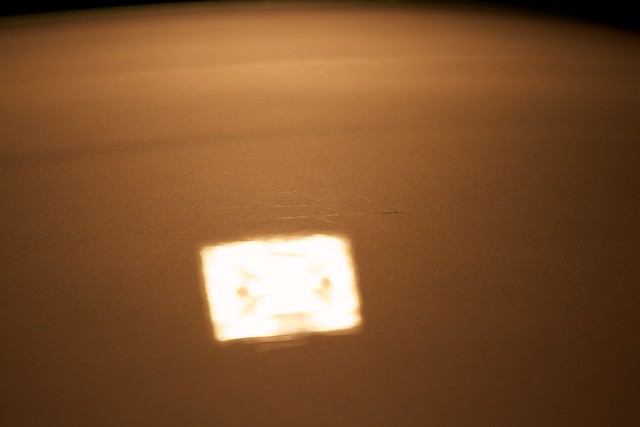
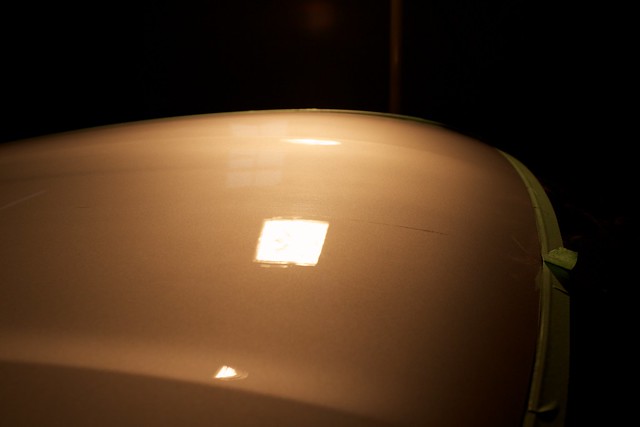
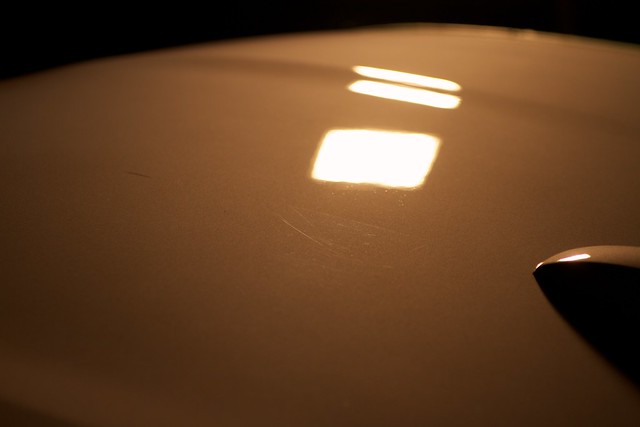
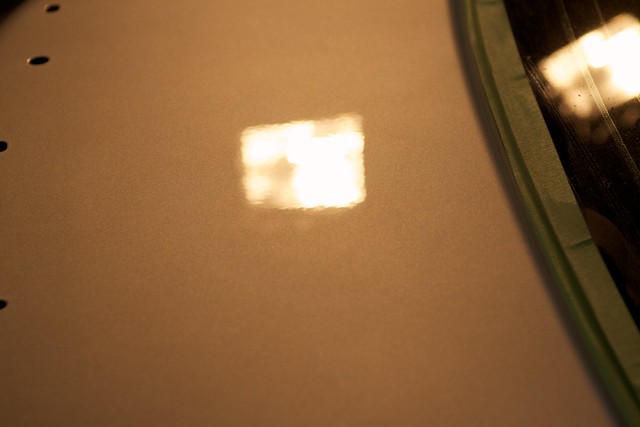
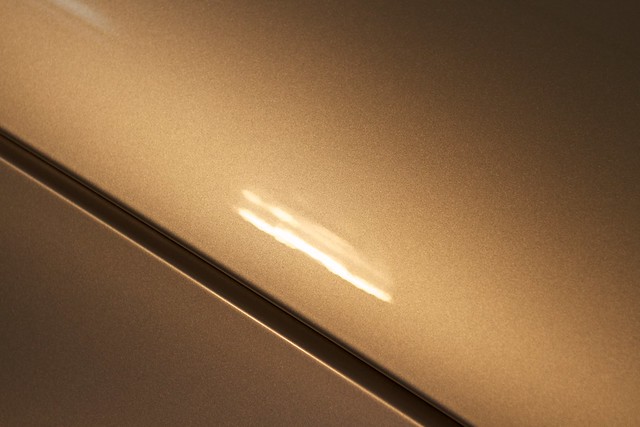
As you know, light coloured vehicles are difficult to capture their issues. I did my best to try and show the condition of the paint. Before,
 IMG_5601
 by J M Gale, on Flickr
 IMG_5604
 by J M Gale, on Flickr
 IMG_5605
 by J M Gale, on Flickr
 IMG_5606
 by J M Gale, on Flickr
Ok, now you get the picture. On to the good stuff,
My test area before,
 IMG_5617
 by J M Gale, on Flickr
Test area after,
 IMG_5622
 by J M Gale, on Flickr
50/50's
 IMG_5624
 by J M Gale, on Flickr
 IMG_5626
 by J M Gale, on Flickr
Hood 50/50
 IMG_5632
 by J M Gale, on Flickr
 IMG_5640
 by J M Gale, on Flickr
Hood after,
 IMG_5647
 by J M Gale, on Flickr
 IMG_5637
 by J M Gale, on Flickr
A quick inspection outside after correcting the hood, before LSP,
 IMG_5649
 by J M Gale, on Flickr
 IMG_5651
 by J M Gale, on Flickr
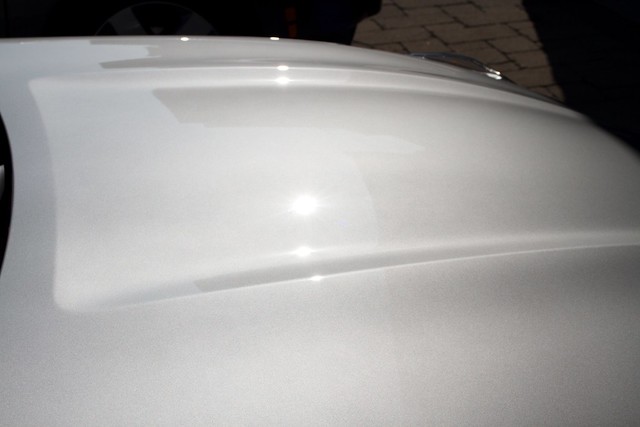
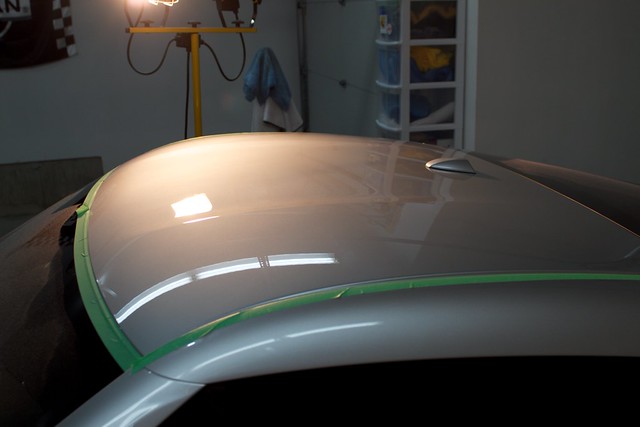
Roof before,
 IMG_5661
 by J M Gale, on Flickr
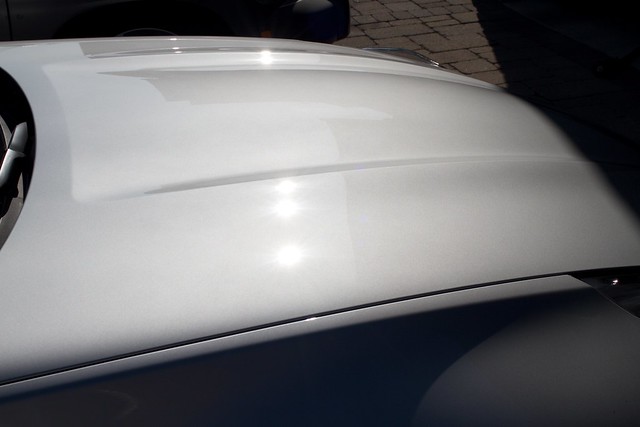
After,
 IMG_5662
 by J M Gale, on Flickr
Roof 50/50. Closest to you after, away from you before,
 IMG_5664
 by J M Gale, on Flickr
the opposite view,
 IMG_5668
 by J M Gale, on Flickr
Some nastiness. Before,
 IMG_5667
 by J M Gale, on Flickr
After,
 IMG_5672
 by J M Gale, on Flickr
 IMG_5673
 by J M Gale, on Flickr
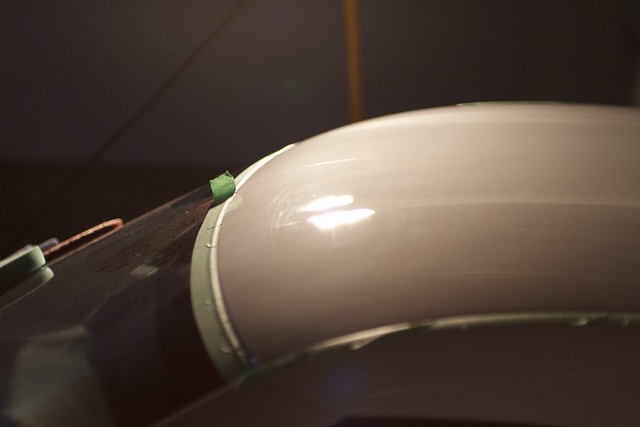
I wasn't happy using 3M two sided tape to help mount the rear spoiler, so it was time to get redone. Before removal,
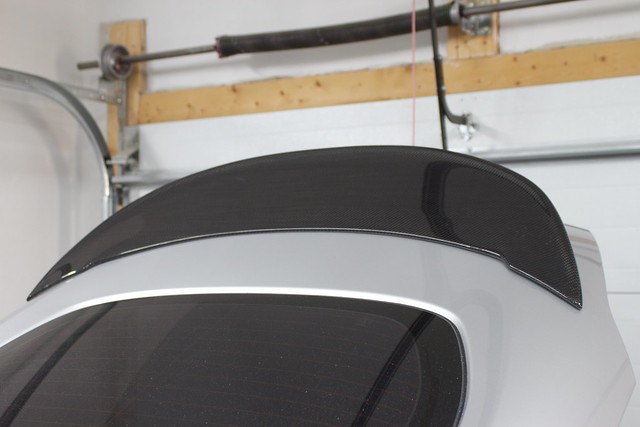 IMG_5674
 by J M Gale, on Flickr
Before,
 IMG_5676
 by J M Gale, on Flickr
I tried, heat, Goo Gone, a couple of other things... the other options were taking forever. So I decided to try the ObliTARate. Worked like a charm. After,
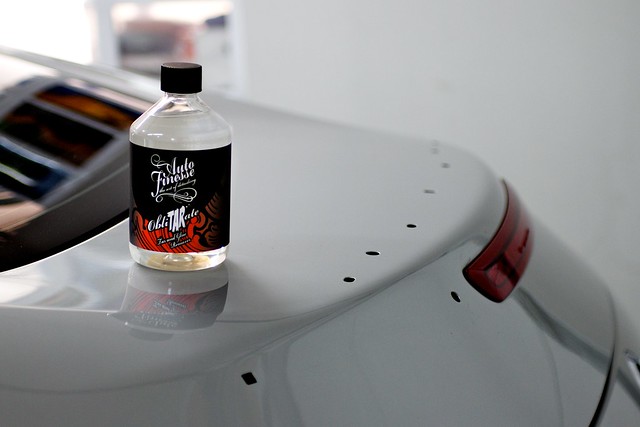 IMG_5678
 by J M Gale, on Flickr
Rear hatch after,
 IMG_5685
 by J M Gale, on Flickr
 IMG_5691
 by J M Gale, on Flickr
 IMG_5692
 by J M Gale, on Flickr
to be continued,
|