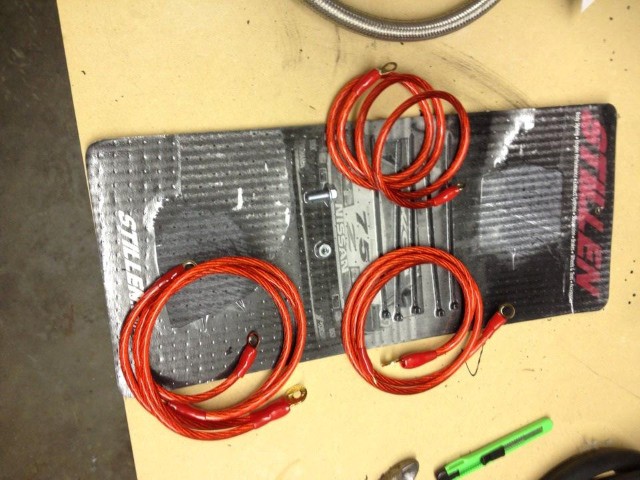
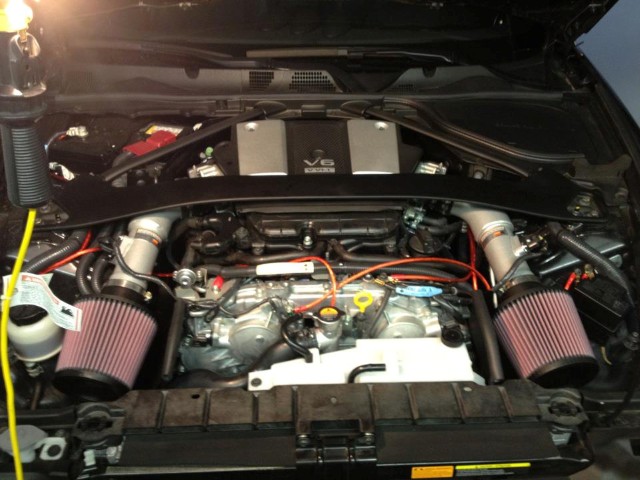
...decided to install the Stillen Grounding Kit today. I got a red one to start spicing up the engine bay. Not sure if it is just me, but I think the directions rather sucked. The photos use are either a 350 or a G engine bay, so many of the locations are different. Several of the locations I had no idea what they wanted it bolted to. They label all the grounding points in the pictures as A through I in the instructions. I mainly guessed based on the cable length, and what could reach where. I did like the Nissan race car on the packaging though.
Install instructions from the Stillen web site:
http://www.stillen.com/product_files/606358~inst.pdf
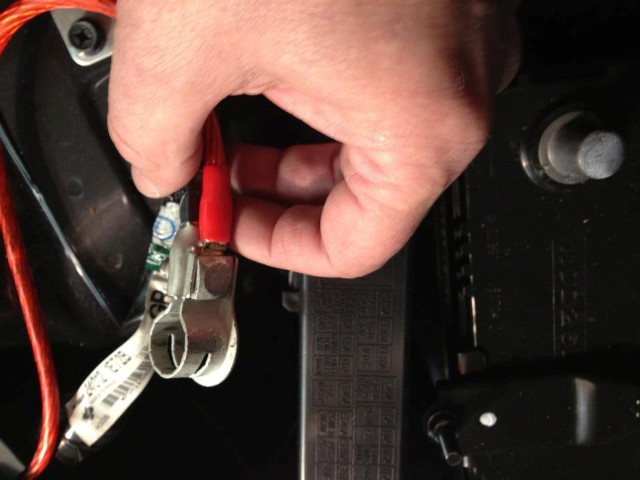
Location A was easy enough, to the negative battery terminal. The directions stated to put it on the bolt side of the connector, and attach using the provided hex nut. It was way too small, so I opted to take the shoulder bolt all the way off, and attach the wire to the head side, and then reconnect the shoulder bolt.
Location B was supposed to mount to a threaded hole somewhere, using the provided FHCS bolt. I could find no threaded hole that was close enough to the right location to make this work, so opted to mount B to the backside of the top bolt holding the power steering reservoir. The backside was metal to metal, the front side has a thick rubber washer on it.
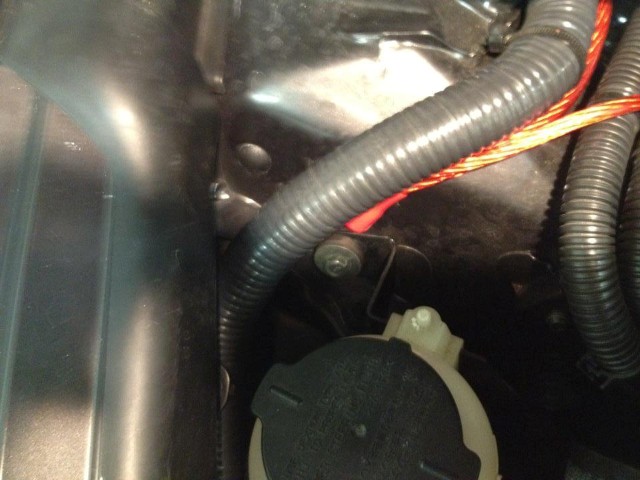
Location C I could not find anything that looked like the install picture, so used the spot indicated in the picture below. Nothing caught on fire when I started her up, so I guess this spot is alright.

Location D, the lower ground point, was spot on. Only bummer was having to remove the upper radiator hose to get to it. Location E was also correct in the installation photo...all the way to Location F.
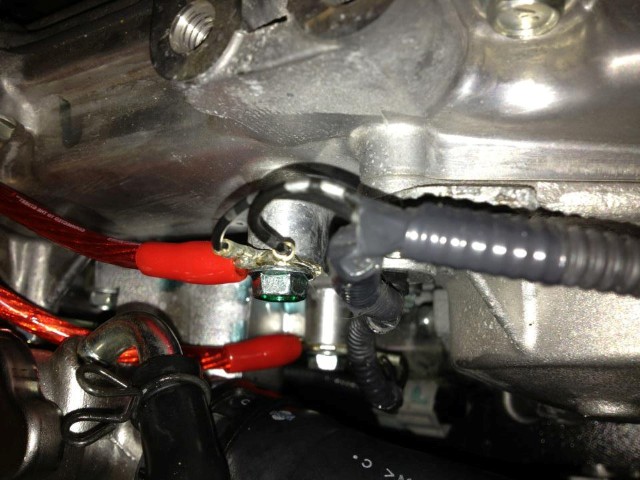
The last cable was easy from location G ... the spot for H had to remove the intake to get at the bolt. The last location, I, was also spot on.
Here it is all done...

I also learned not to accidentally knock a socket into the hole that the hood latches into. That was fun getting that out. By itself, as in the photos above, it does not look like much. But as I get done with things, I think overall it will add a nice touch.