I recently bought a TWM Short Shifter and TWM leather shifter boot for my Z.
Here is a DIY write-up for installation. Rep's are appreciated if you like the write-up.
Fancy packaging from TWM
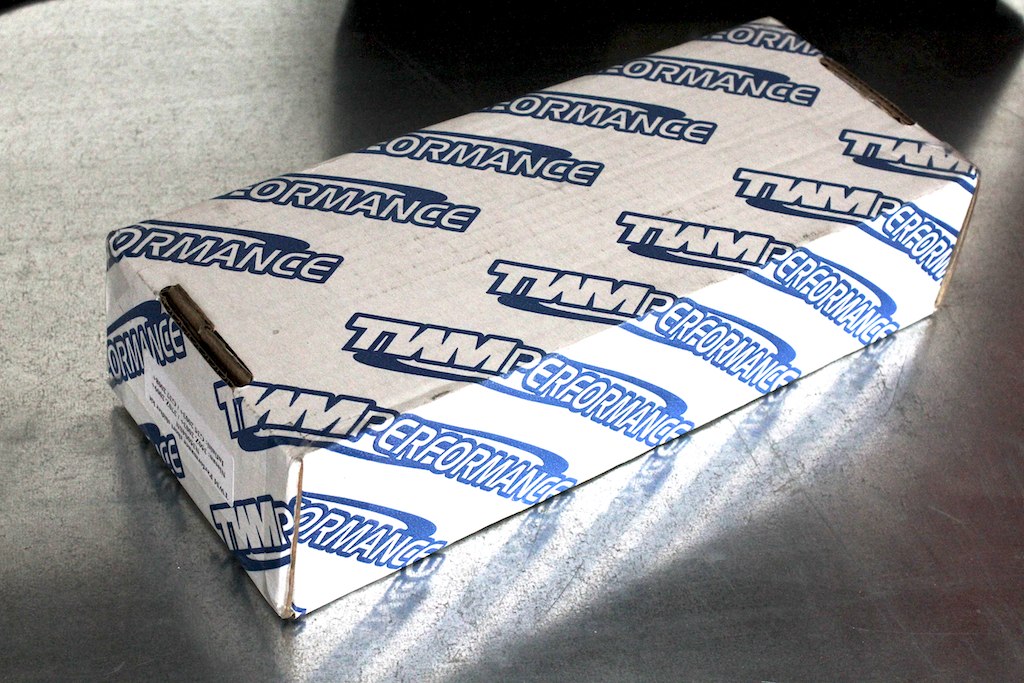 IMG_4309
 by
J M Gale, on Flickr
A peek at what is inside
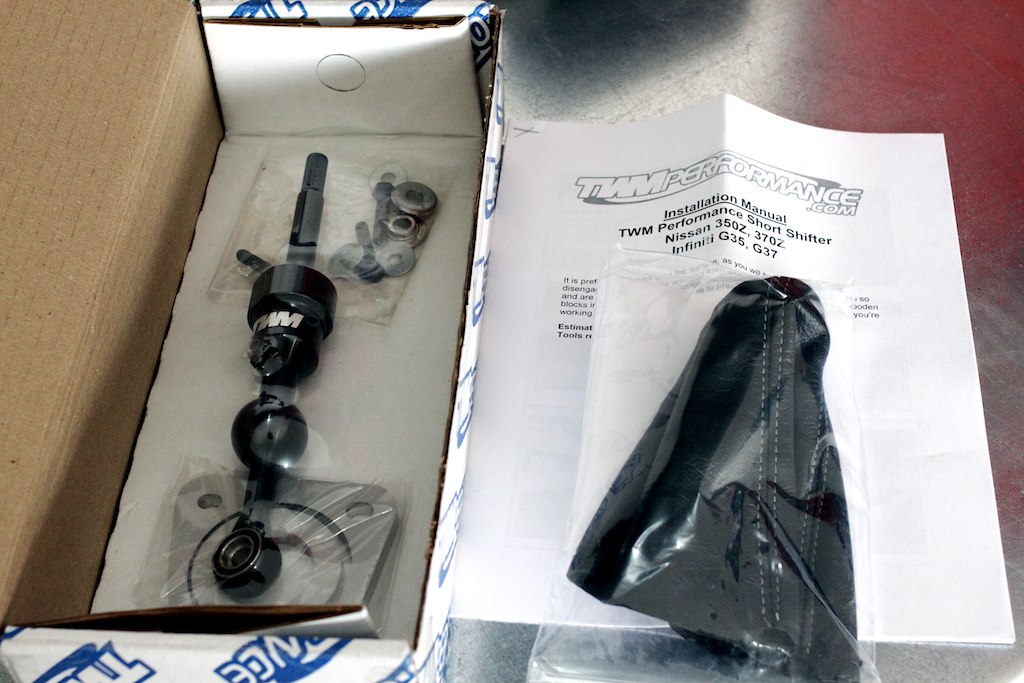 IMG_4310
 by
J M Gale, on Flickr
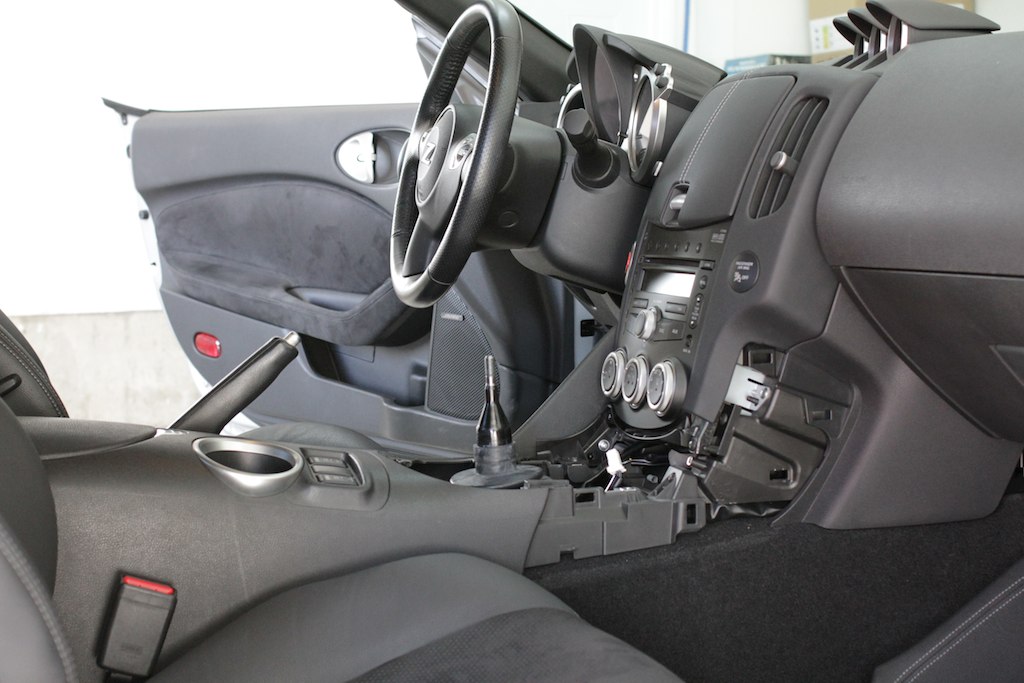
Before, stock set-up
 IMG_4304
 by
J M Gale, on Flickr
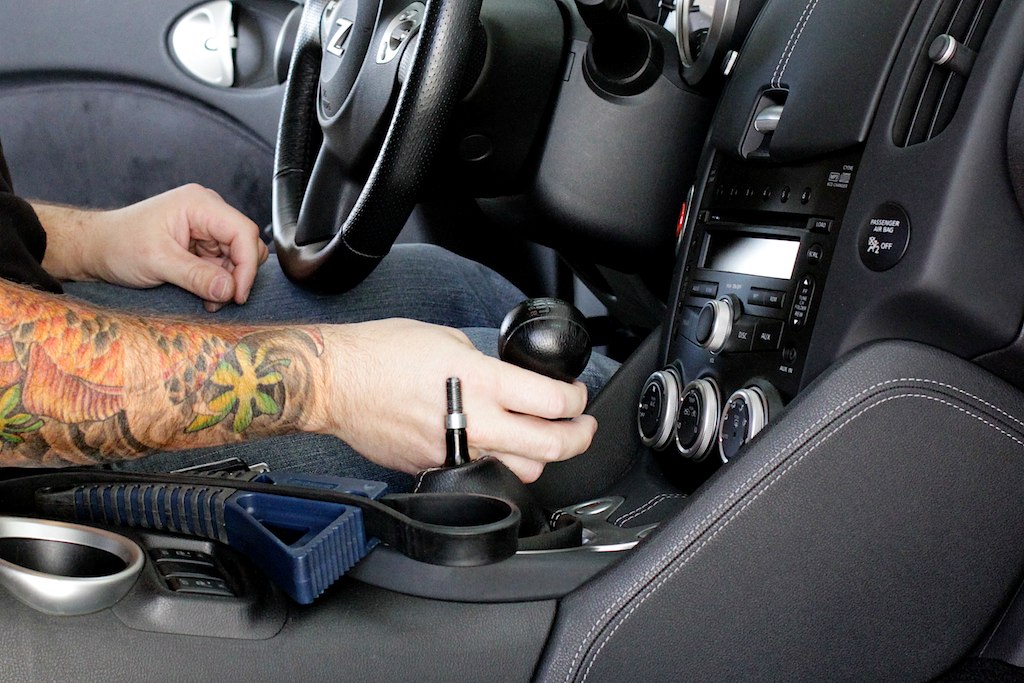
Removal of the stock shifter knob. I'm using a strap wrench, you could also use a piece of radiator hose with vice grips. I think Nissan used a whole bottle of glue to secure my factory shifter knob.
 IMG_4315
 by
J M Gale, on Flickr
Stock shifter knob removed in mint condition,
 IMG_4316
 by
J M Gale, on Flickr
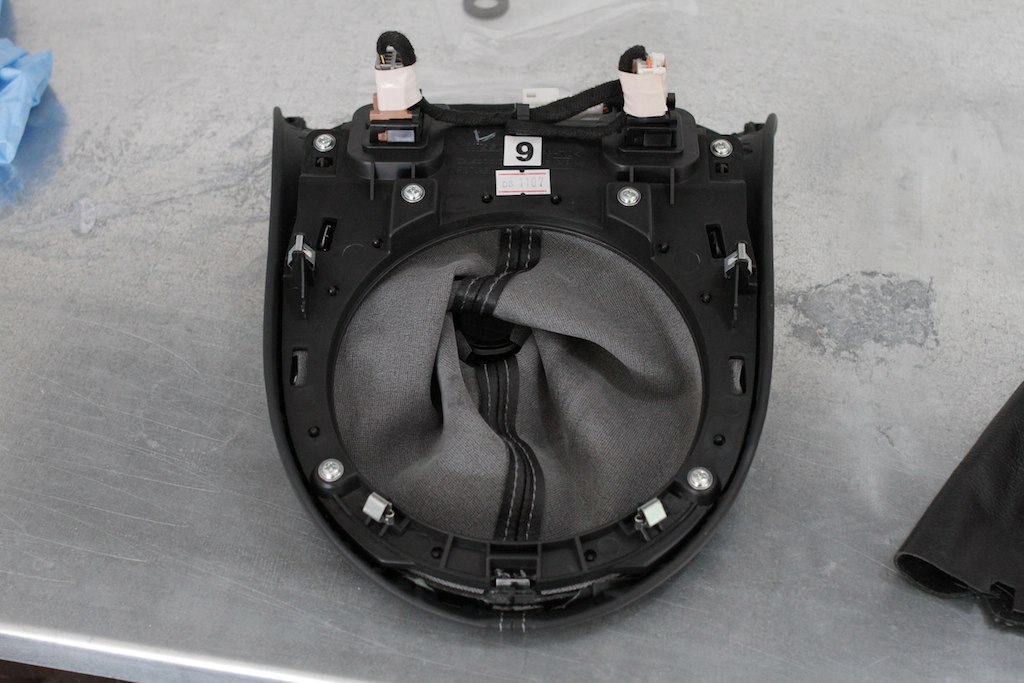
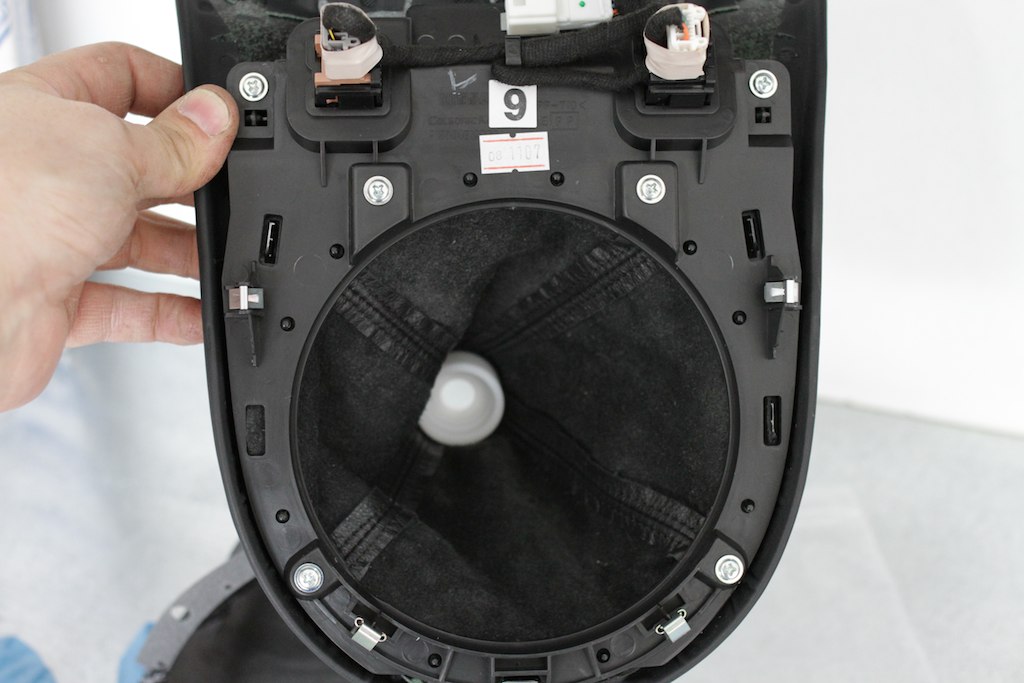
Pull up the rear of the trim around the shifter to remove,
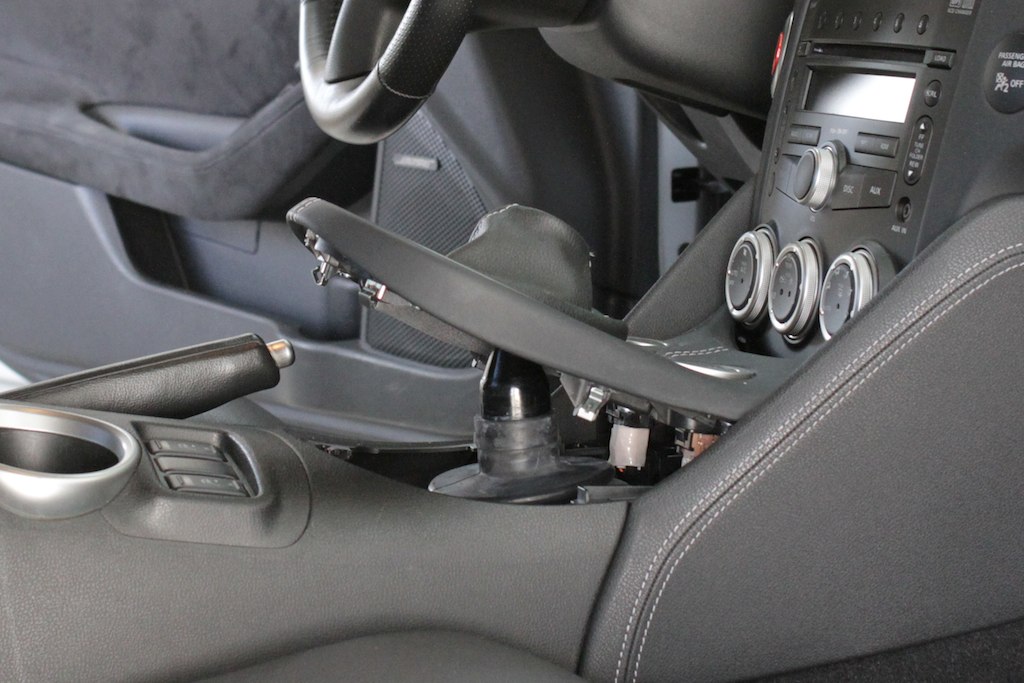 IMG_4317
 by
J M Gale, on Flickr
Use a small screwdriver to unplug wire harness,
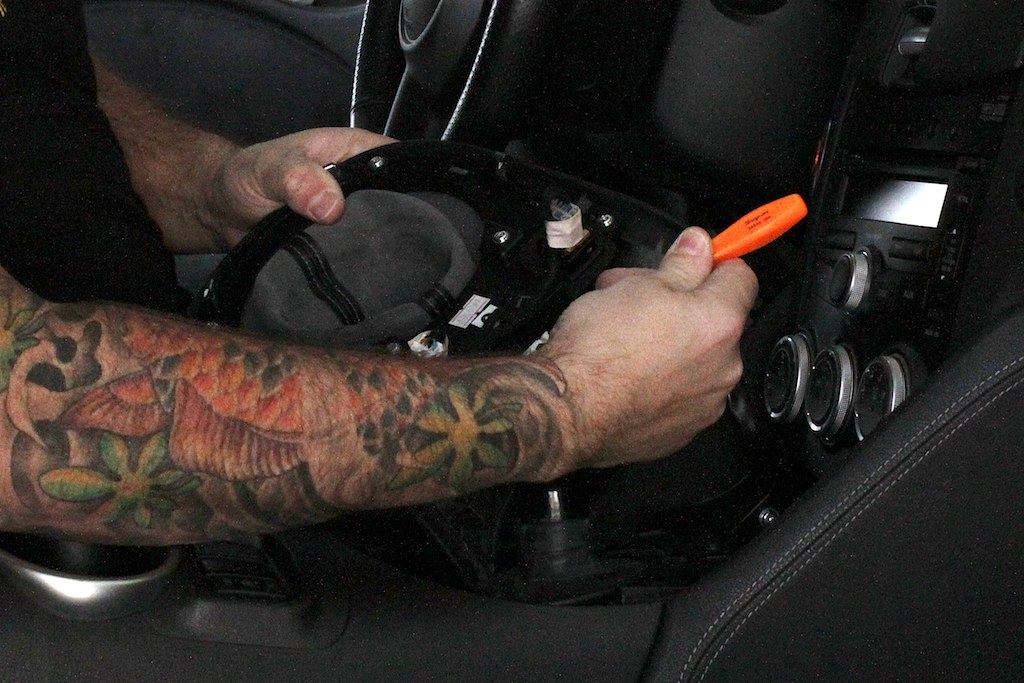 IMG_4318
 by
J M Gale, on Flickr
Remove these two screws then pull on side knee pads to remove,
 IMG_4320
 by
J M Gale, on Flickr
 IMG_4319
 by
J M Gale, on Flickr
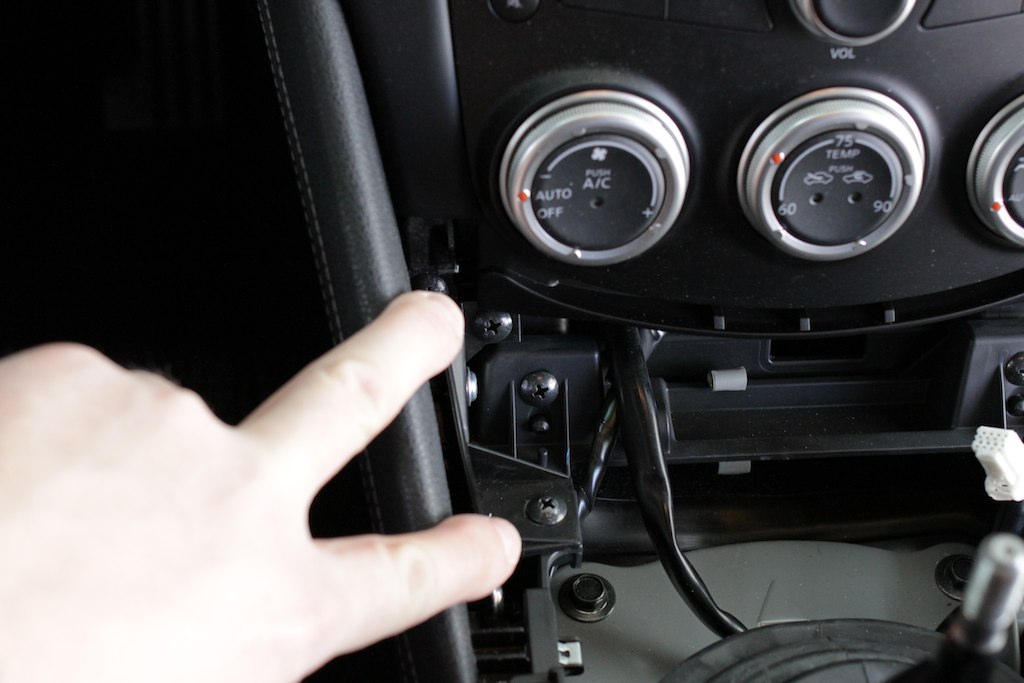
Remove 2 screws to loosen the front of the console,
 IMG_4323
 by
J M Gale, on Flickr
Remove two screws (one on each side) at rear of console so console can be pushed back to access bolts of metal shifter surround,
 IMG_4322
 by
J M Gale, on Flickr
Remove 4 bolts to remove metal shifter surround,
 IMG_4325
 by
J M Gale, on Flickr
 IMG_4324
 by
J M Gale, on Flickr
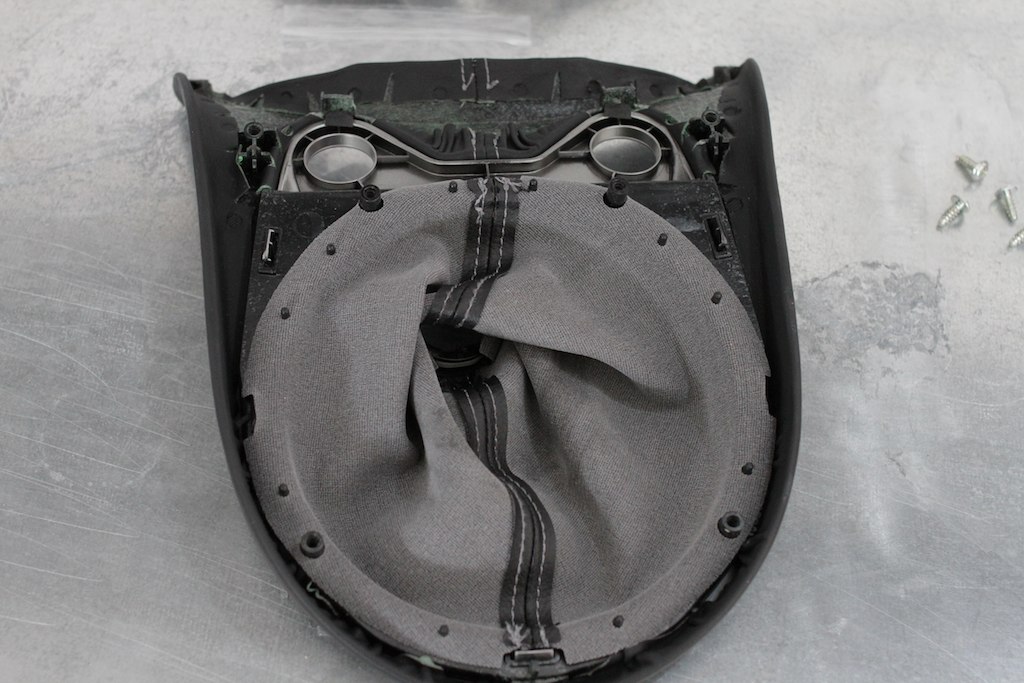
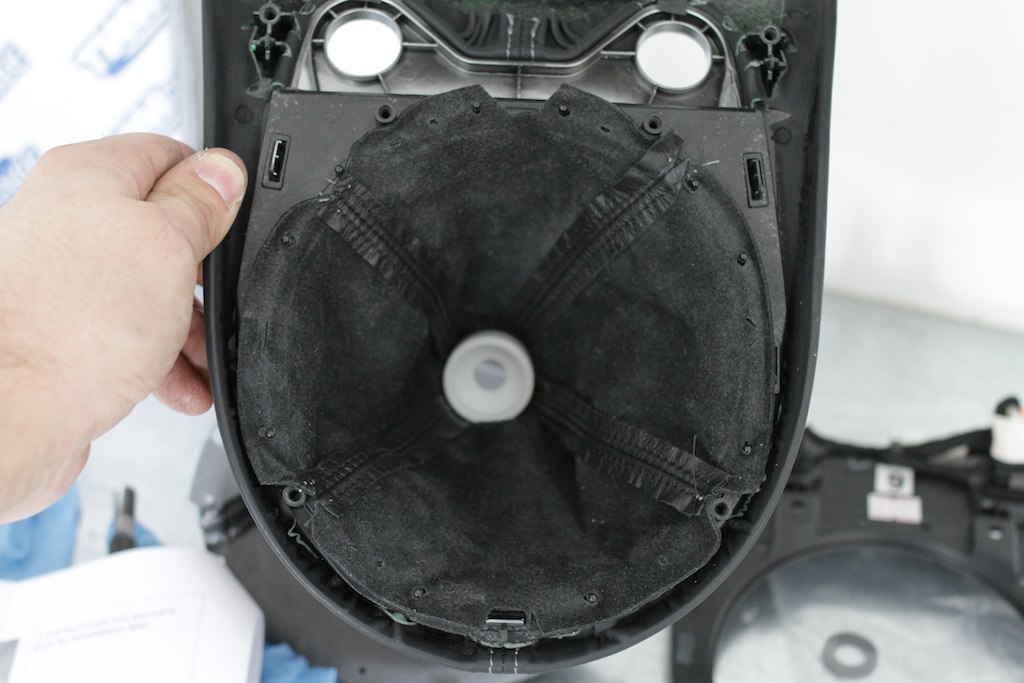
Metal surround is removed, next remove rubber,
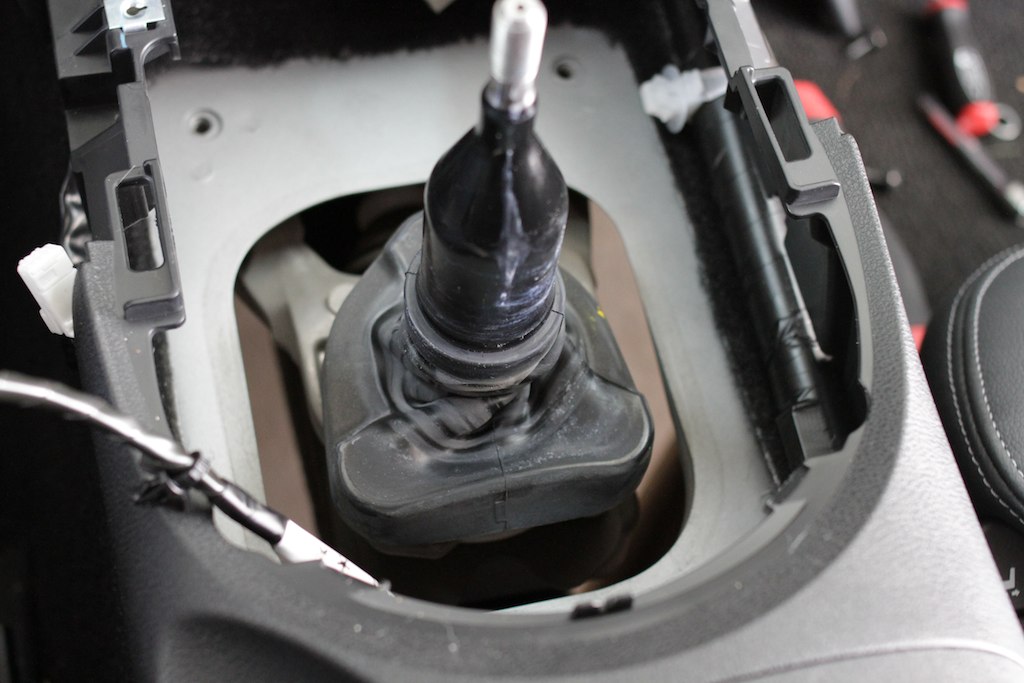 IMG_4326
 by
J M Gale, on Flickr
 IMG_4328
 by
J M Gale, on Flickr
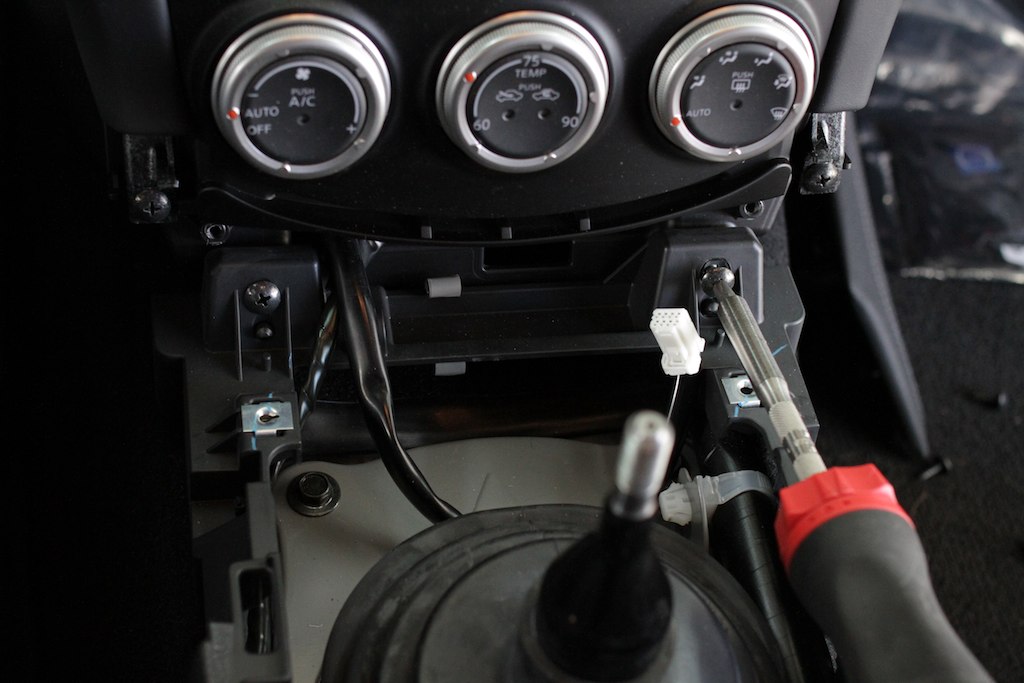
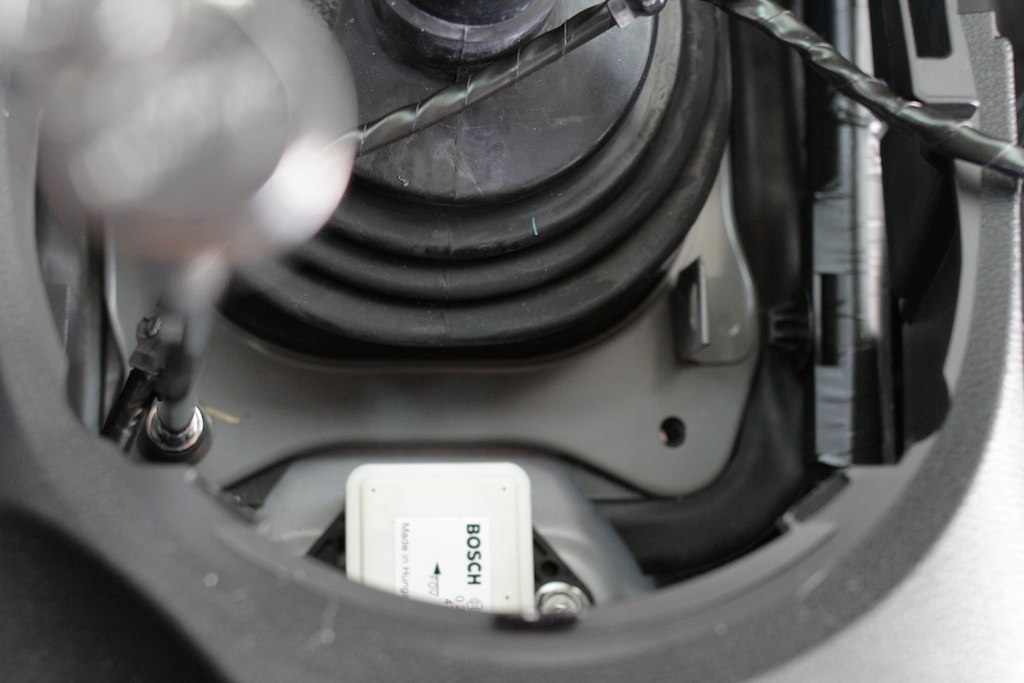
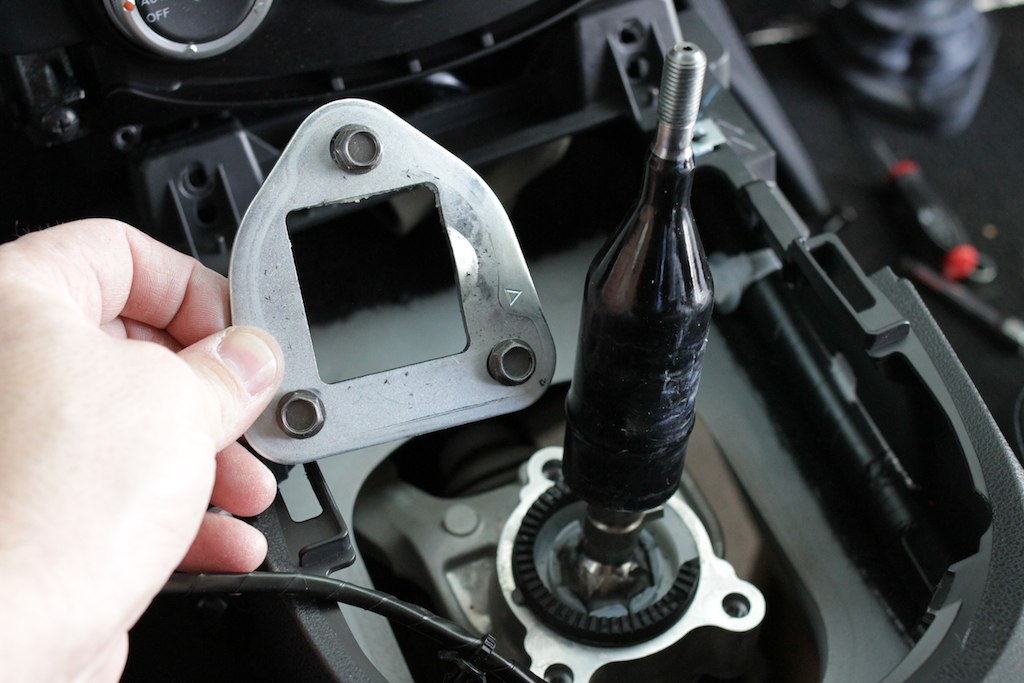
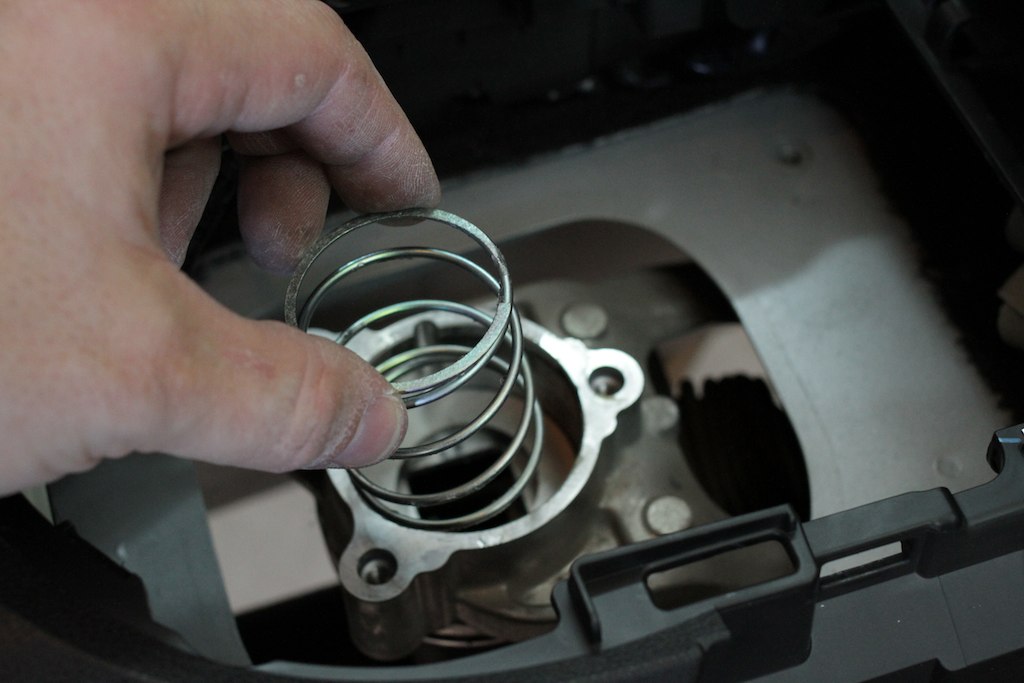
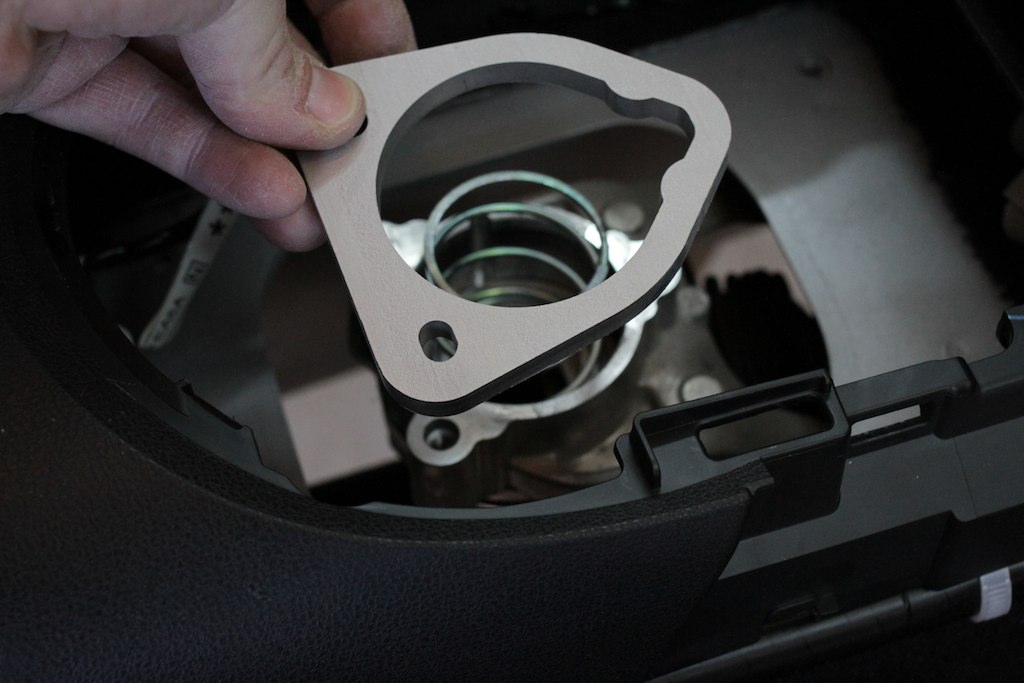
Reverse lock-out plate, time to remove three bolts that hold this on,
 IMG_4330
 by
J M Gale, on Flickr
 IMG_4332
 by
J M Gale, on Flickr
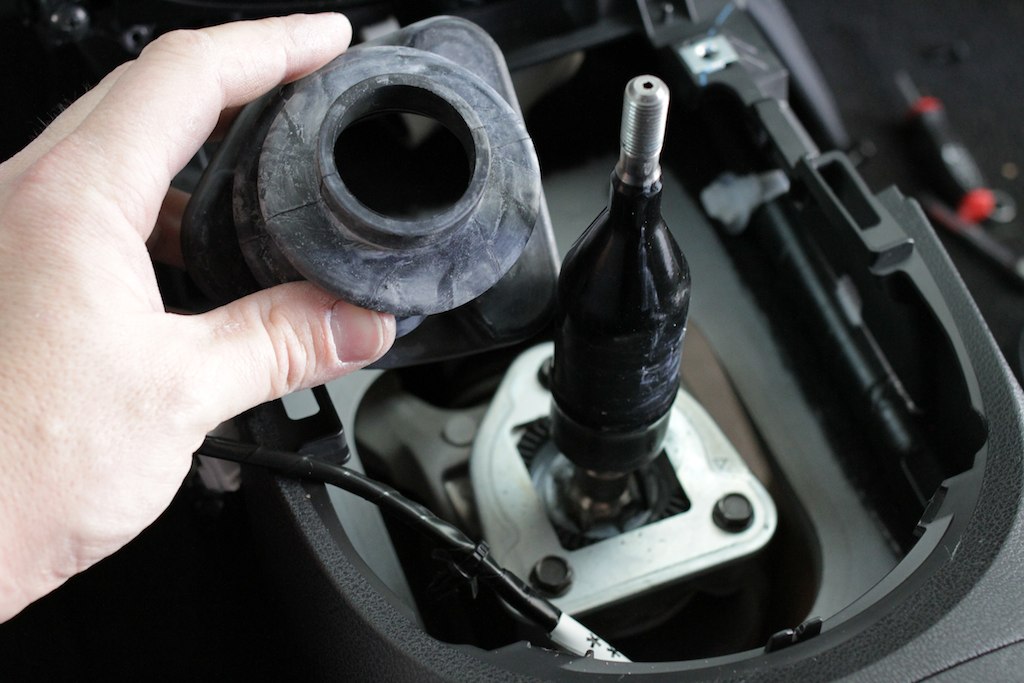
Place the shifter in 5th gear. Crawl under car, move rubber dust boot to access 12mm bolt holding the shifter linkage and shifter together,
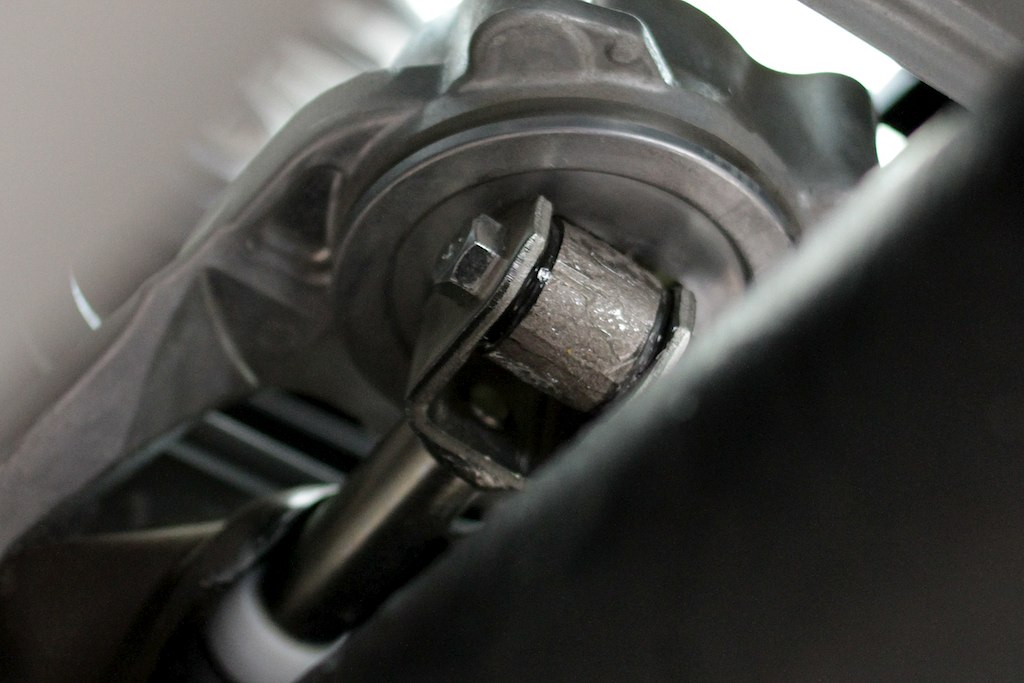 IMG_4333
 by
J M Gale, on Flickr
Stock shifter is out,
 IMG_4335
 by
J M Gale, on Flickr
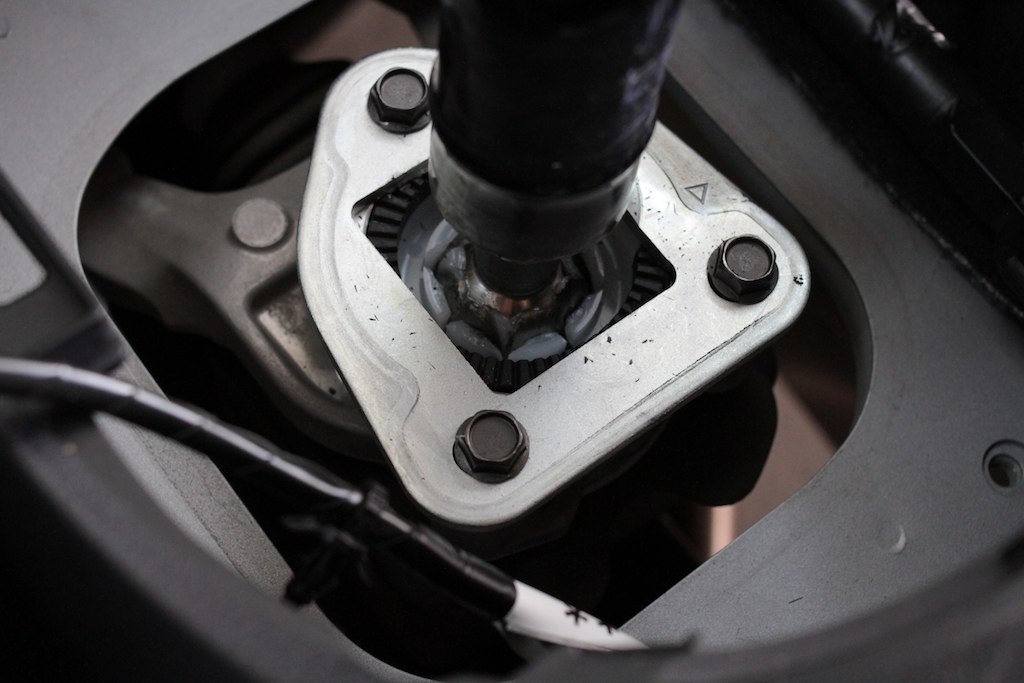
This is what you're left with in the car, waiting for new shifter,
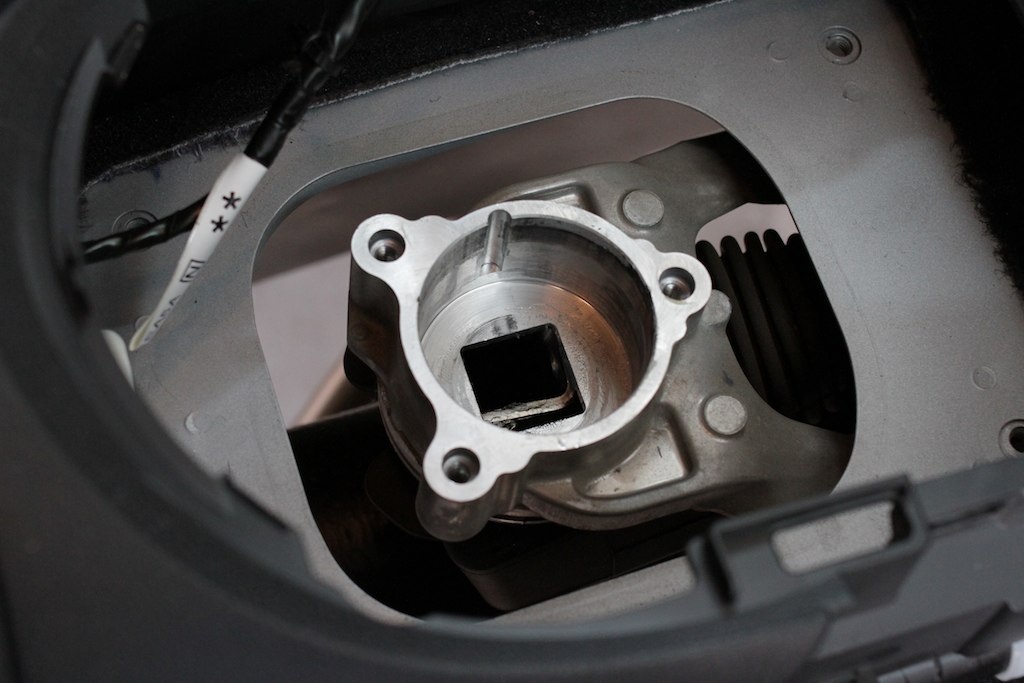 IMG_4334
 by
J M Gale, on Flickr
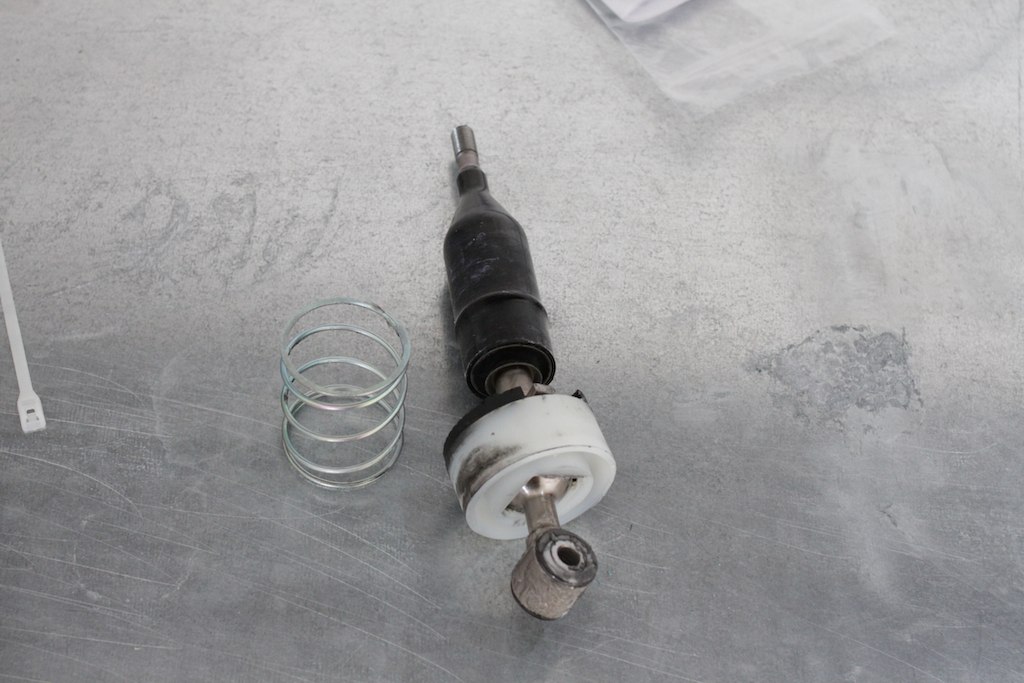
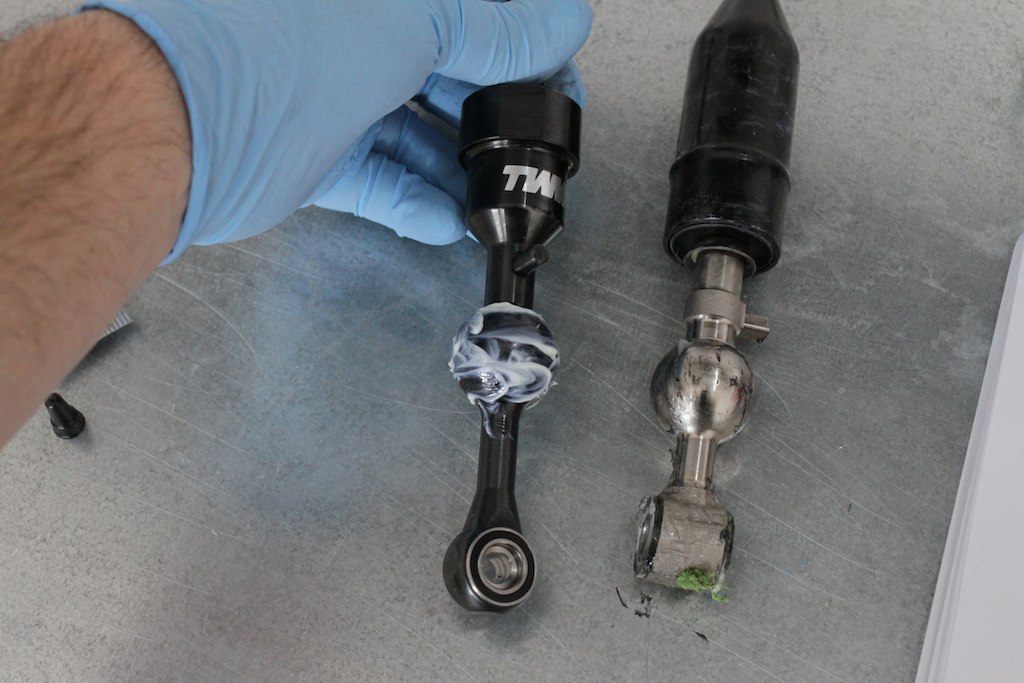
Comparison, TWM left, stock right,
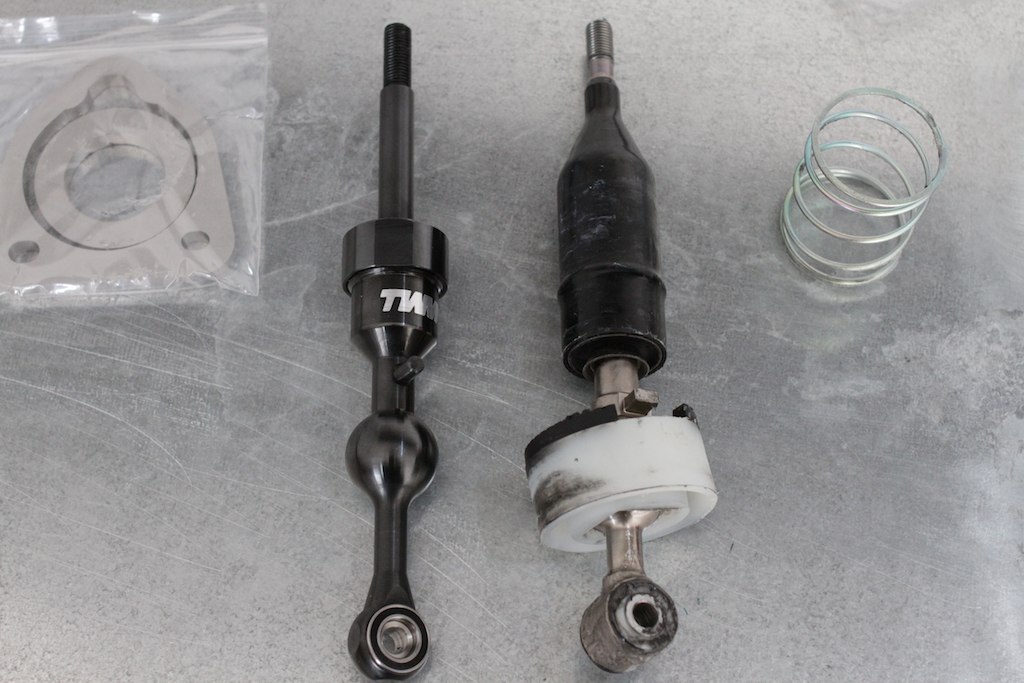 IMG_4337
 by
J M Gale, on Flickr
 IMG_4341
 by
J M Gale, on Flickr
Use a vice and a dead blow hammer to remove stock shifter from plastic cup,
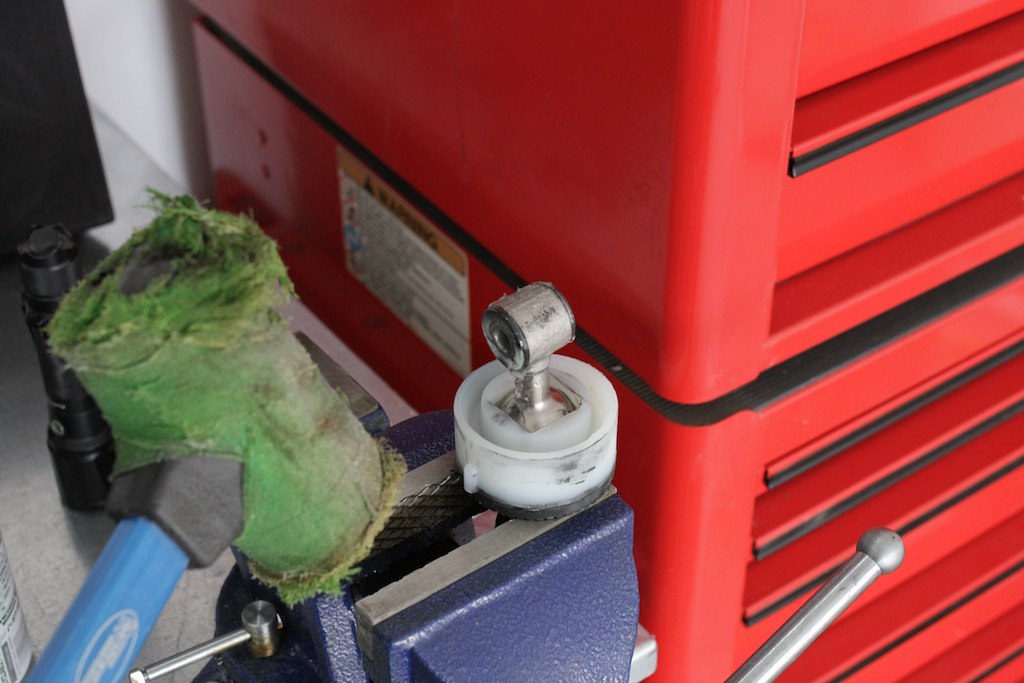 IMG_4340
 by
J M Gale, on Flickr
Grease new shifter and re-grease plastic cup,
 IMG_4342
 by
J M Gale, on Flickr
 IMG_4343
 by
J M Gale, on Flickr
Push new shifter into plastic cup,
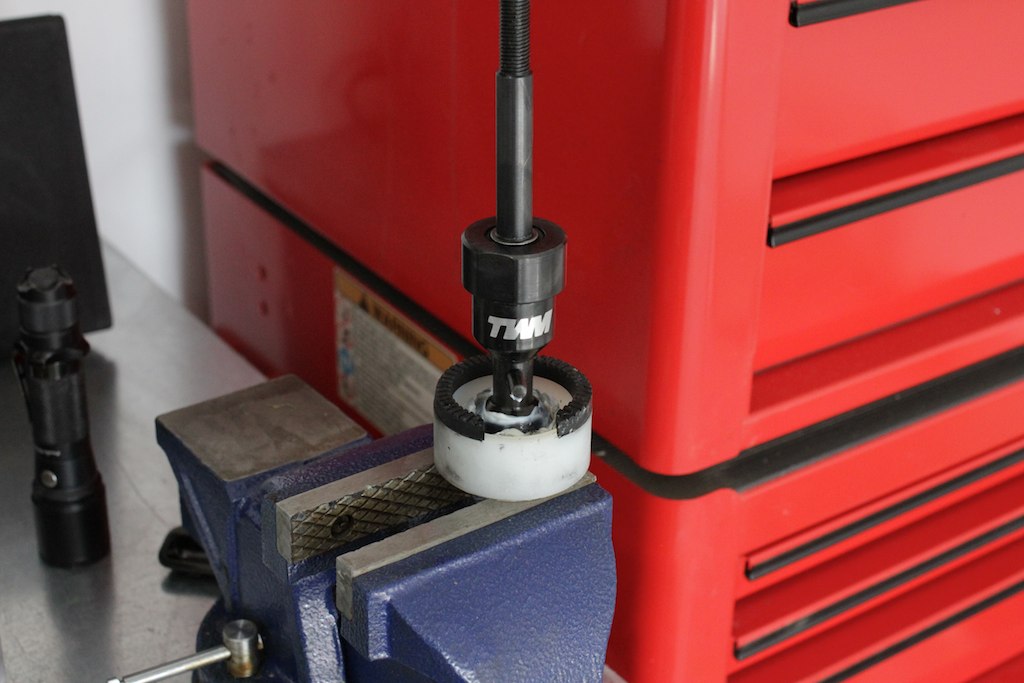 IMG_4344
 by
J M Gale, on Flickr
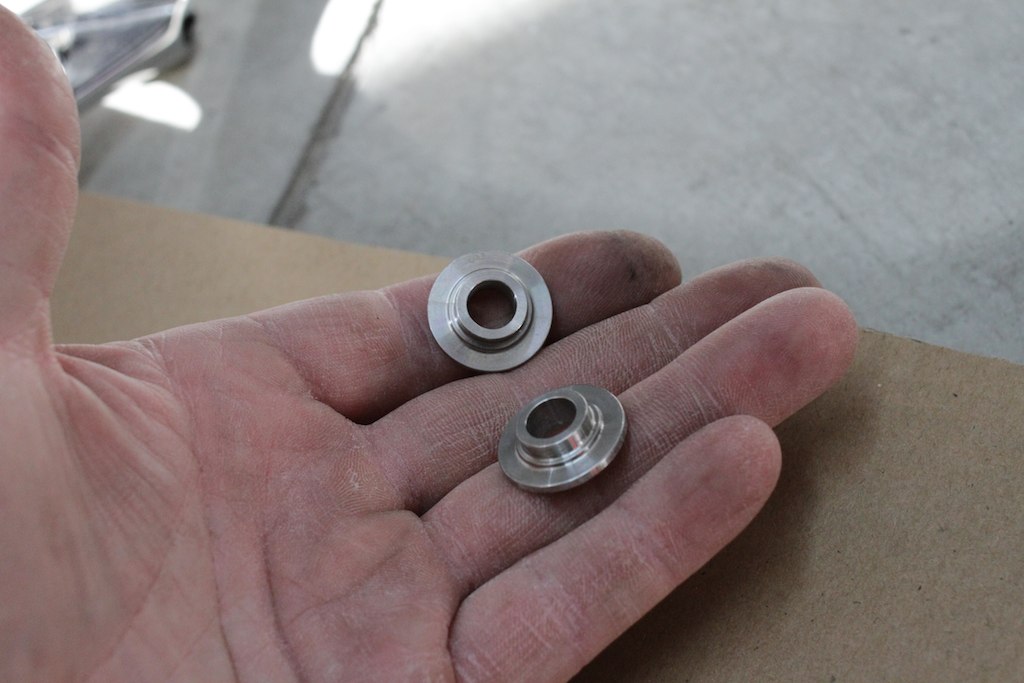
Burr on spacer,
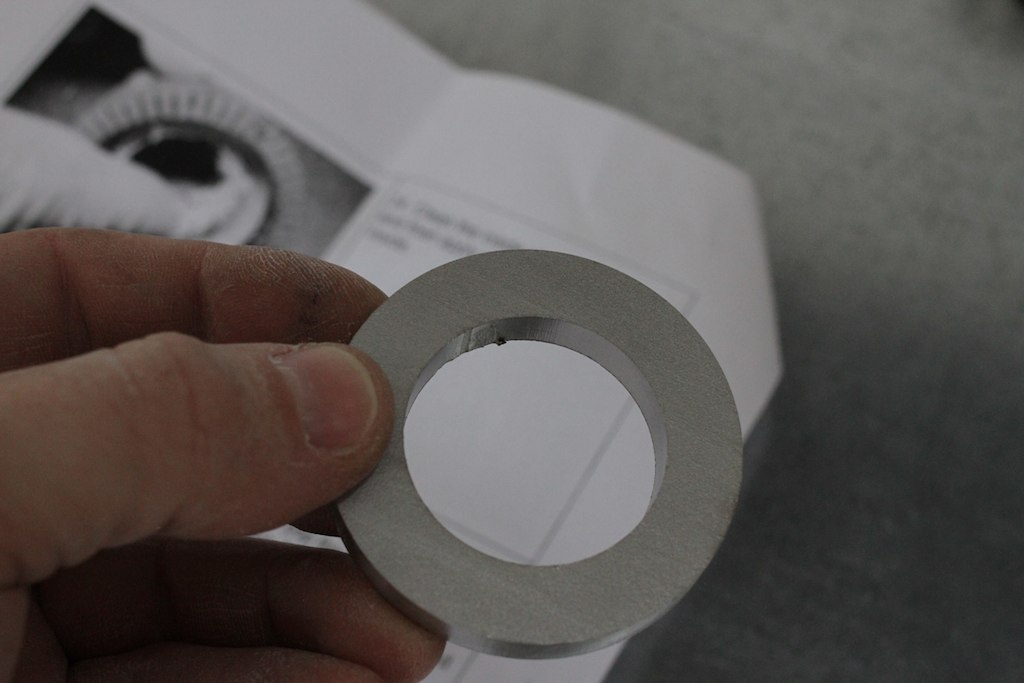 IMG_4346
 by
J M Gale, on Flickr
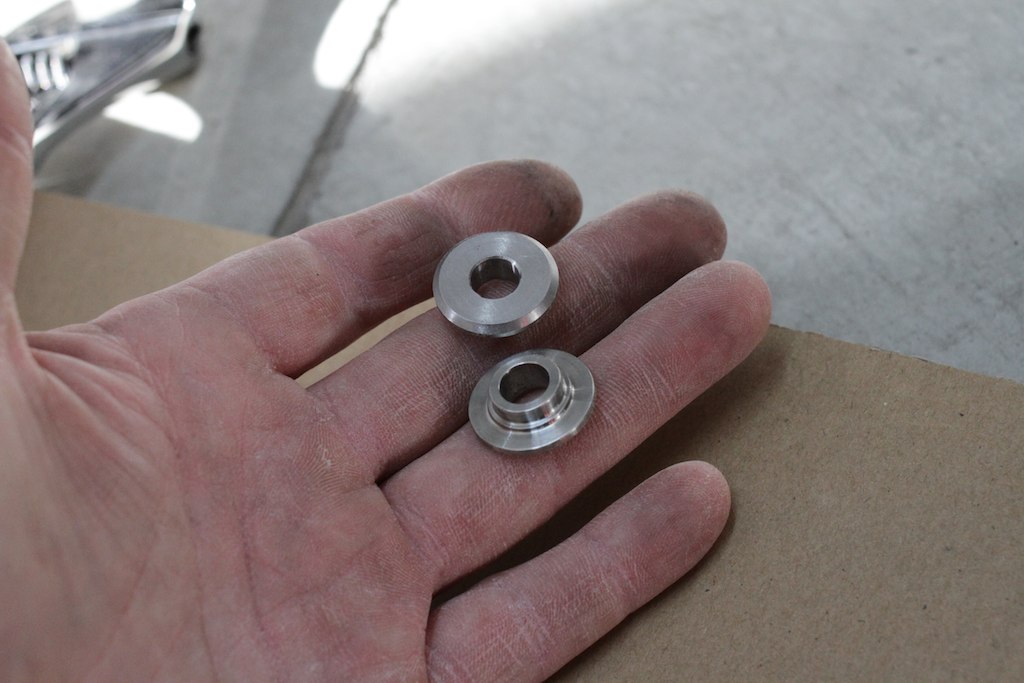
Burr removed,
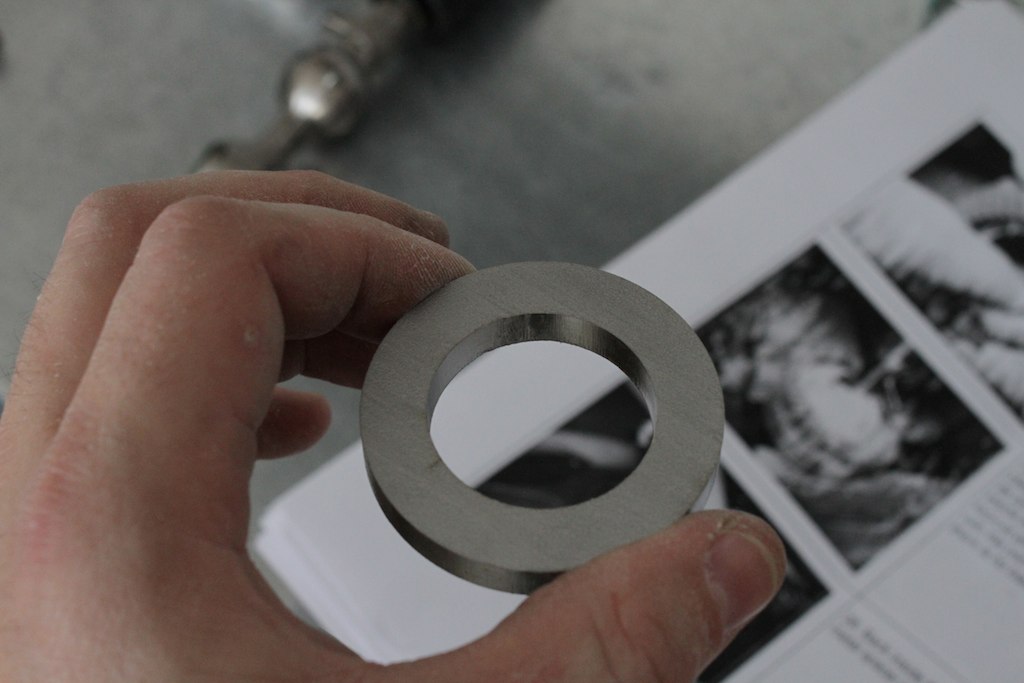 IMG_4347
 by
J M Gale, on Flickr
Install spacer,
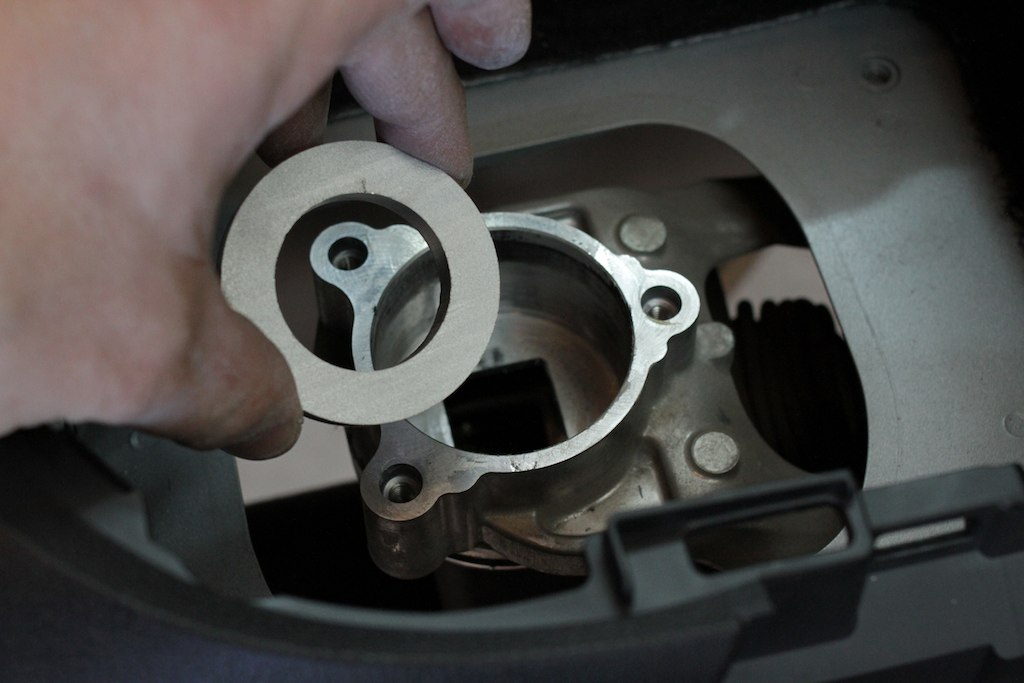 IMG_4348
 by
J M Gale, on Flickr
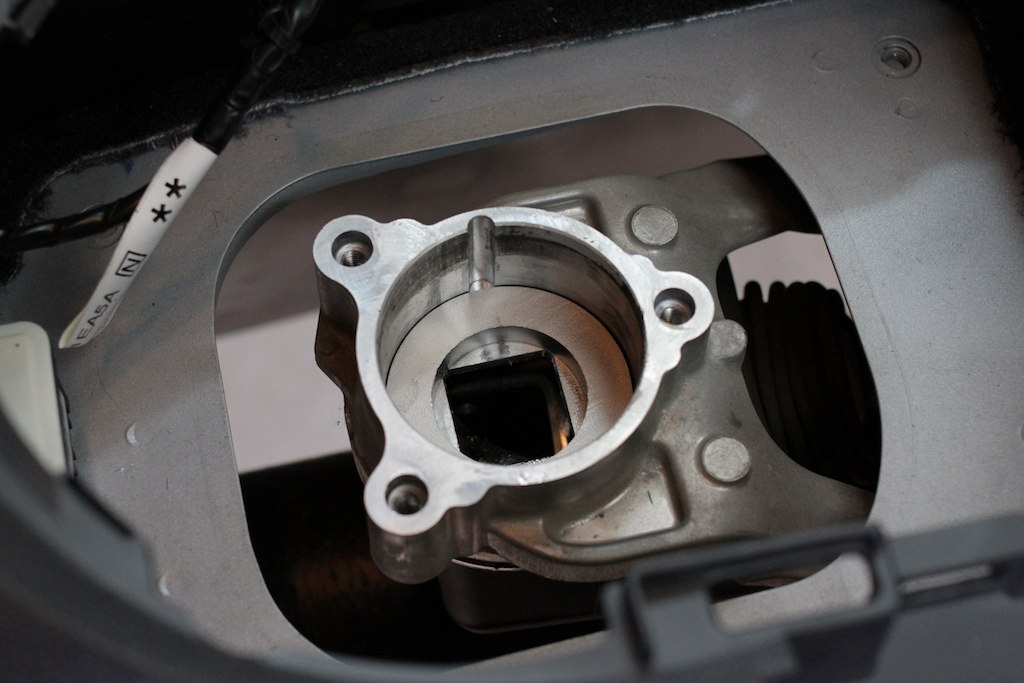 IMG_4349
 by
J M Gale, on Flickr
Reinstall spring,
 IMG_4350
 by
J M Gale, on Flickr
 IMG_4351
 by
J M Gale, on Flickr
Install top spacer,
 IMG_4352
 by
J M Gale, on Flickr
 IMG_4353
 by
J M Gale, on Flickr
Place shifter assembly in car,
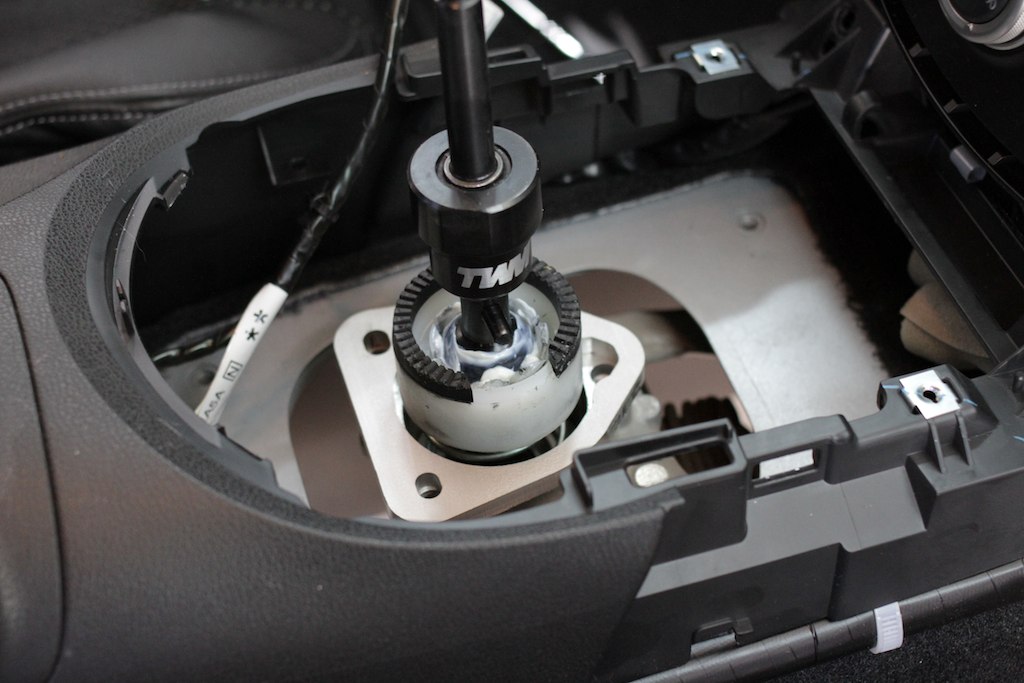 IMG_4354
 by
J M Gale, on Flickr
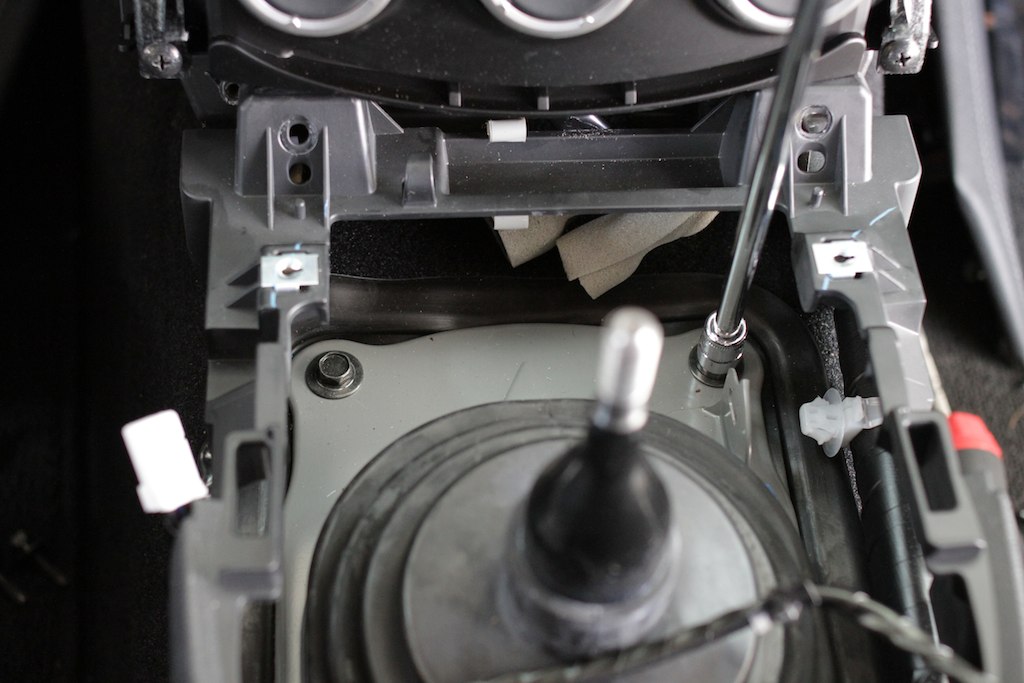
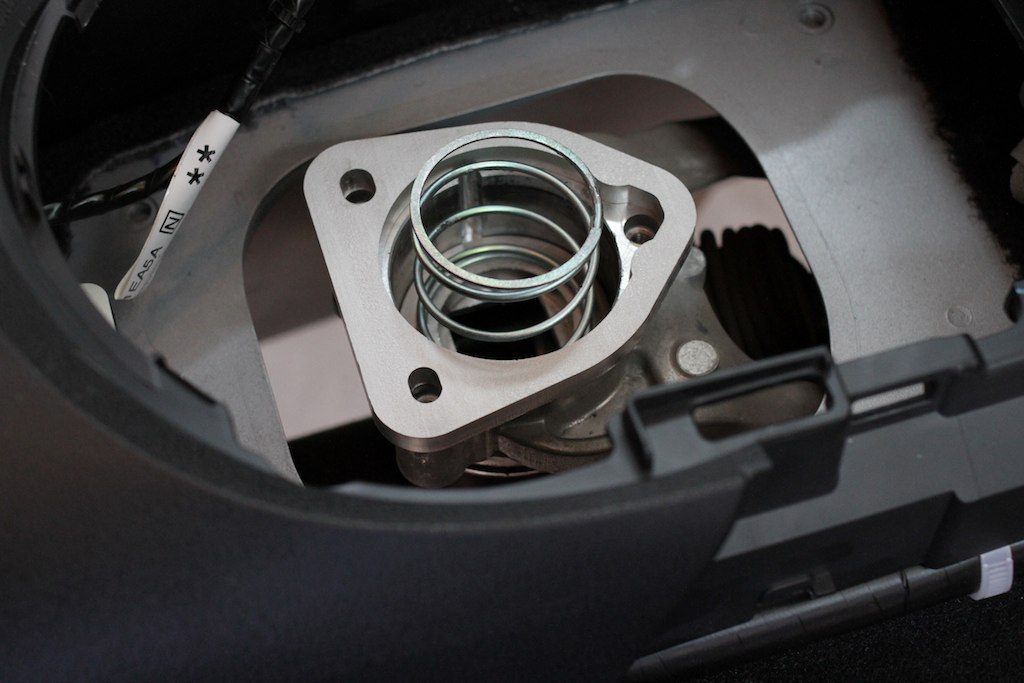
Reinstall reverse lock-out plate, make sure to leave bolts loose so you can make adjustments later,
 IMG_4355
 by
J M Gale, on Flickr
 IMG_4356
 by
J M Gale, on Flickr
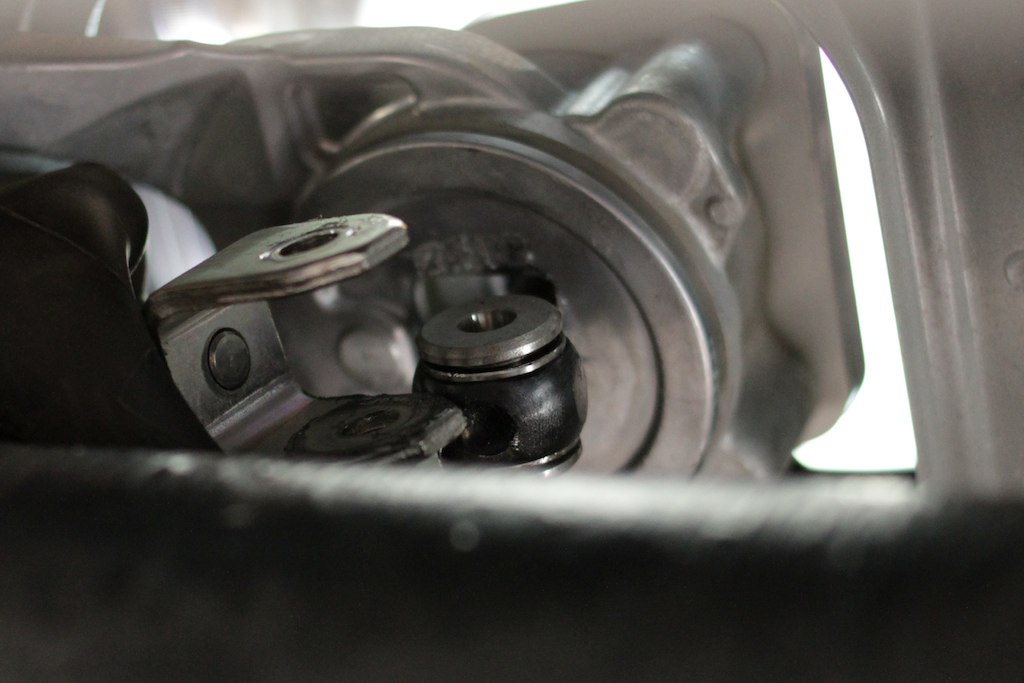
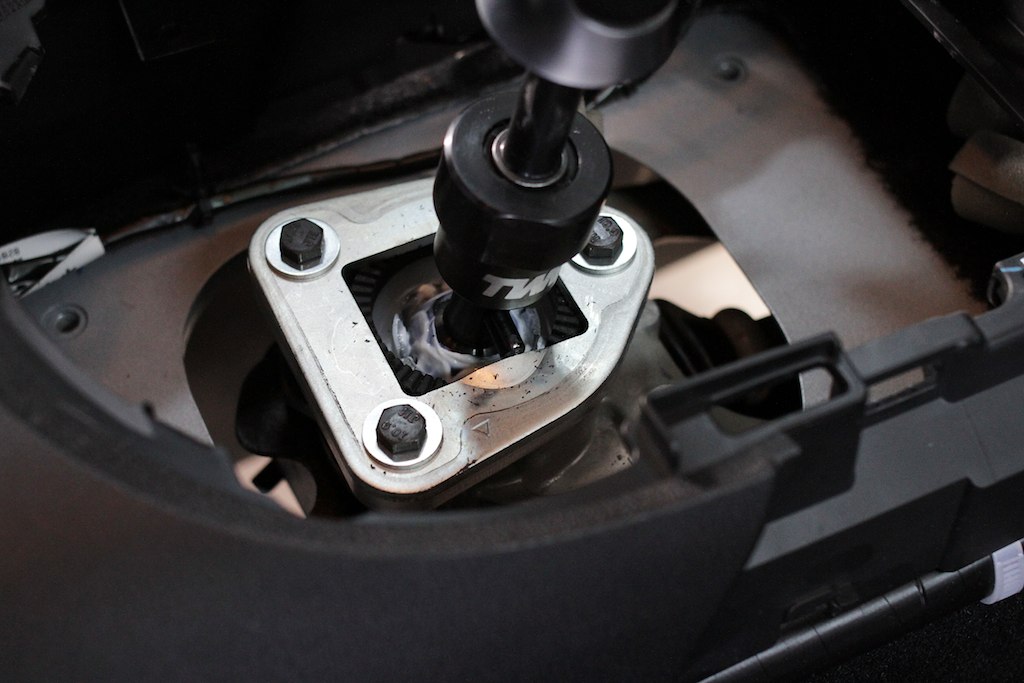
Bushings to be installed under the car on the bottom side of the shifter,
 IMG_4357
 by
J M Gale, on Flickr
 IMG_4358
 by
J M Gale, on Flickr
 IMG_4359
 by
J M Gale, on Flickr
Hook up linkage and install 12mm bolt,
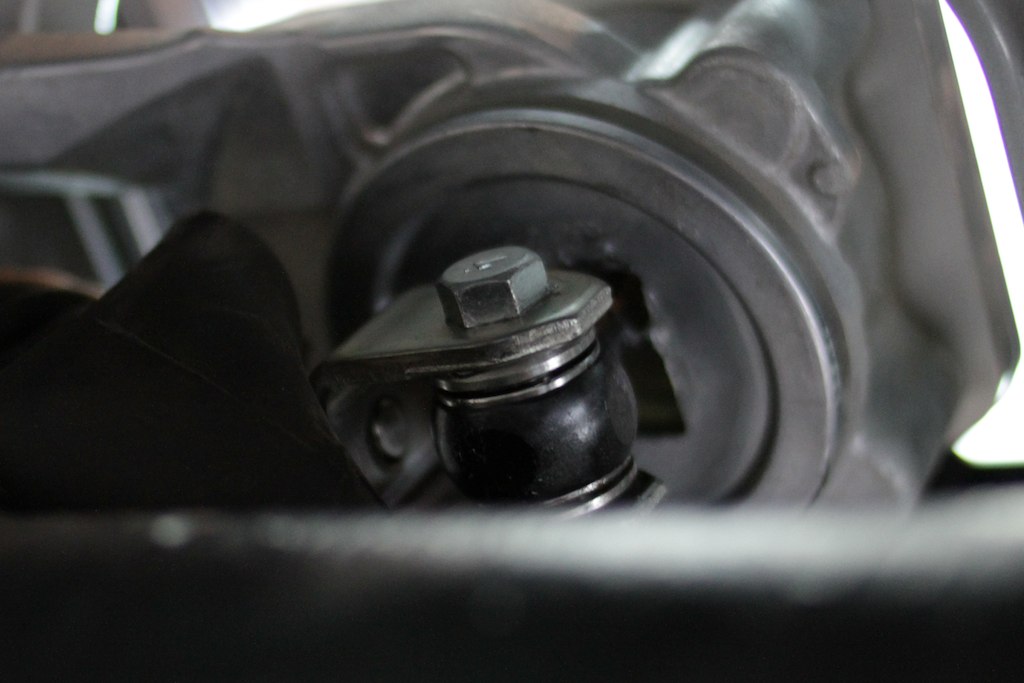 IMG_4360
 by
J M Gale, on Flickr
Now this was the hardest part of the whole install. Reinstalling the rubber dust boot. You need to work around the driveshaft and try to seat this back into a thin metal groove. This took me the longest to do, reminded me of the Demon bolts! My only suggestion, start from the front of the car and try to stretch the back of the boot to fit, hopefully the rest will fall into place,
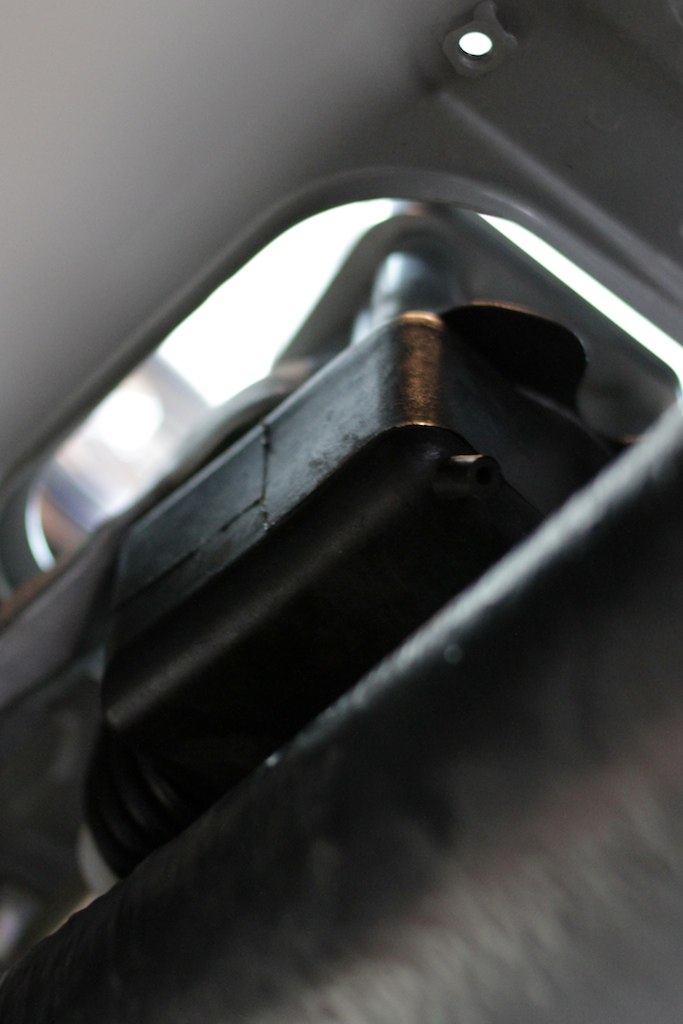 IMG_4361
 by
J M Gale, on Flickr
Back in the car. Make sure the shifter is in 5th gear and is touching the reverse lock-out plate. Tighten bolts when you are satisfied with the fitment,
 IMG_4362
 by
J M Gale, on Flickr
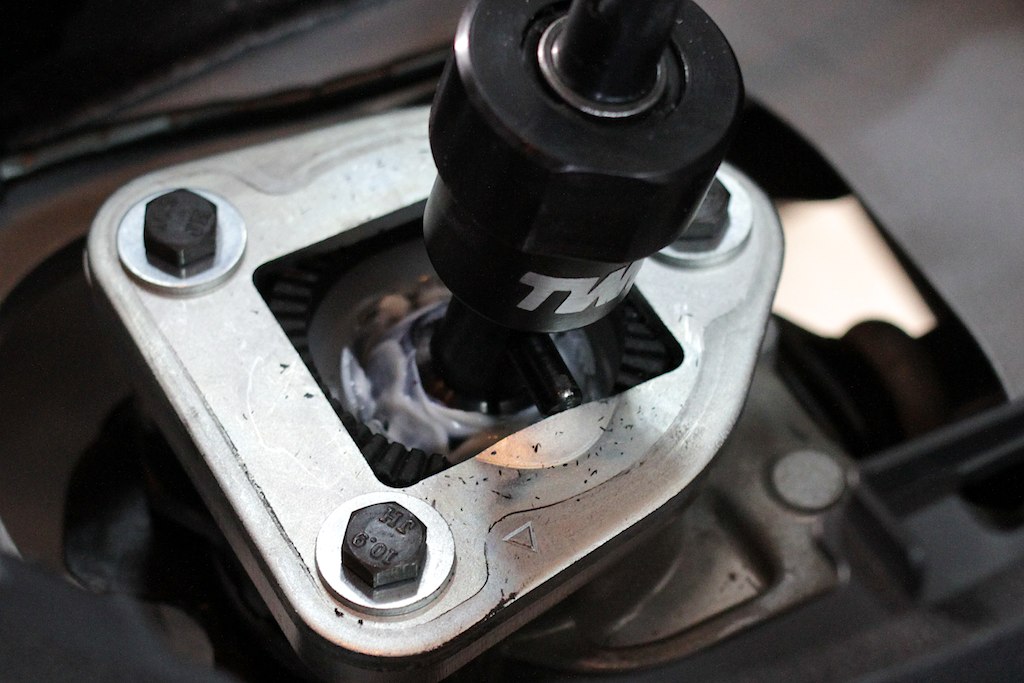 IMG_4364
 by
J M Gale, on Flickr
Start putting it all back together,
 IMG_4365
 by
J M Gale, on Flickr
Shifter boot comparison, stock left, TWM leather boot right,
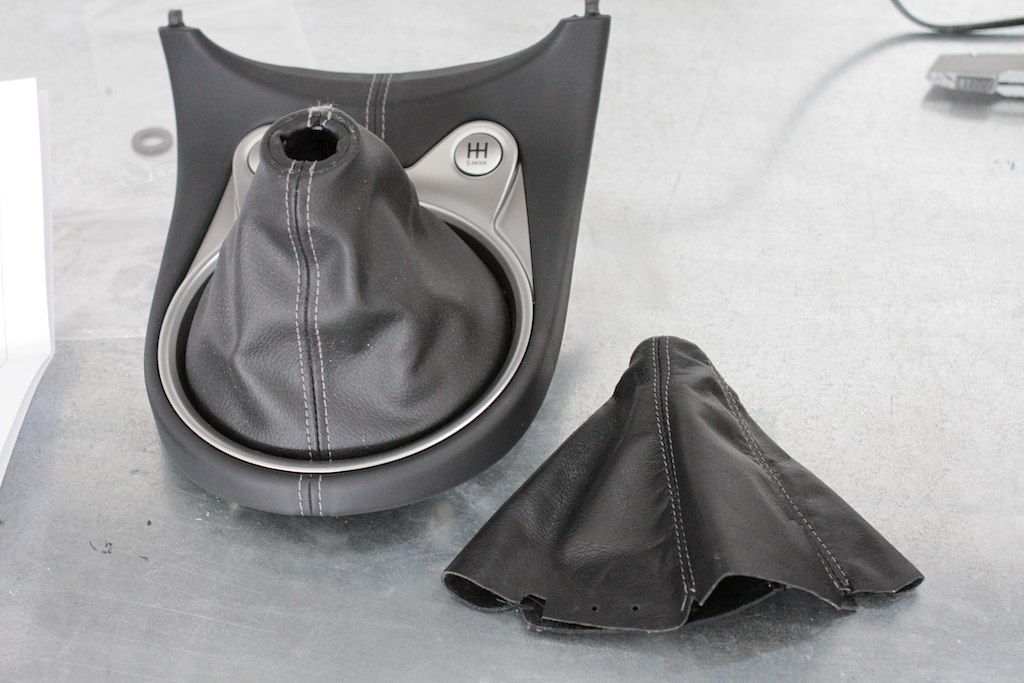 IMG_4366
 by
J M Gale, on Flickr
Remove the six screws and remove the stock boot,
 IMG_4367
 by
J M Gale, on Flickr
 IMG_4368
 by
J M Gale, on Flickr
 IMG_4369
 by
J M Gale, on Flickr
Reverse the process and install the new boot,
 IMG_4371
 by
J M Gale, on Flickr
 IMG_4377
 by
J M Gale, on Flickr
Ready to be installed,
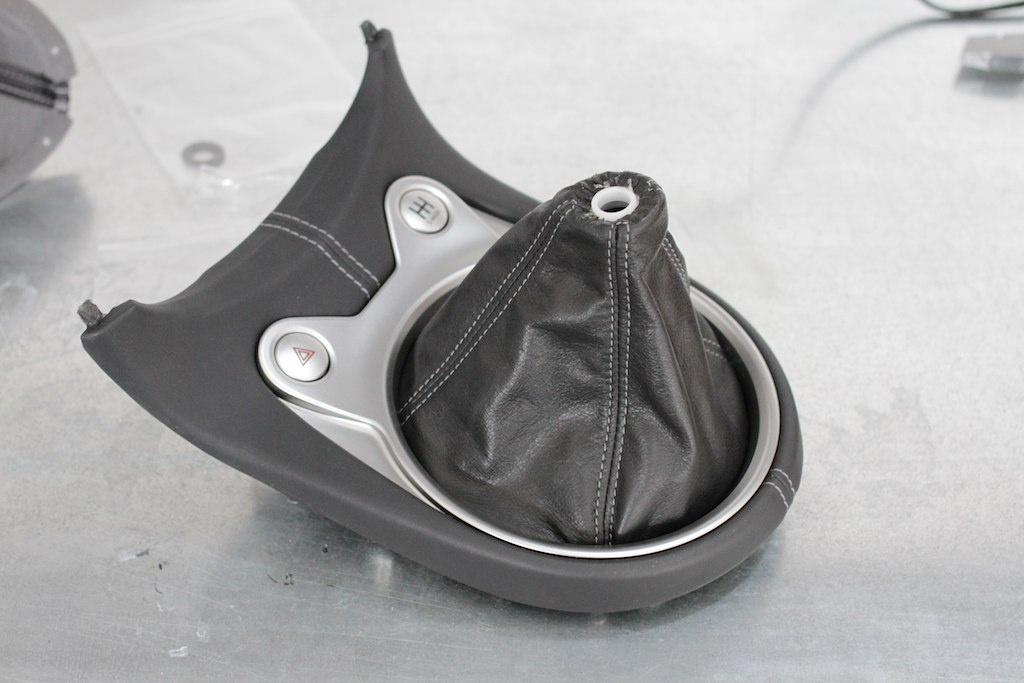 IMG_4378
 by
J M Gale, on Flickr
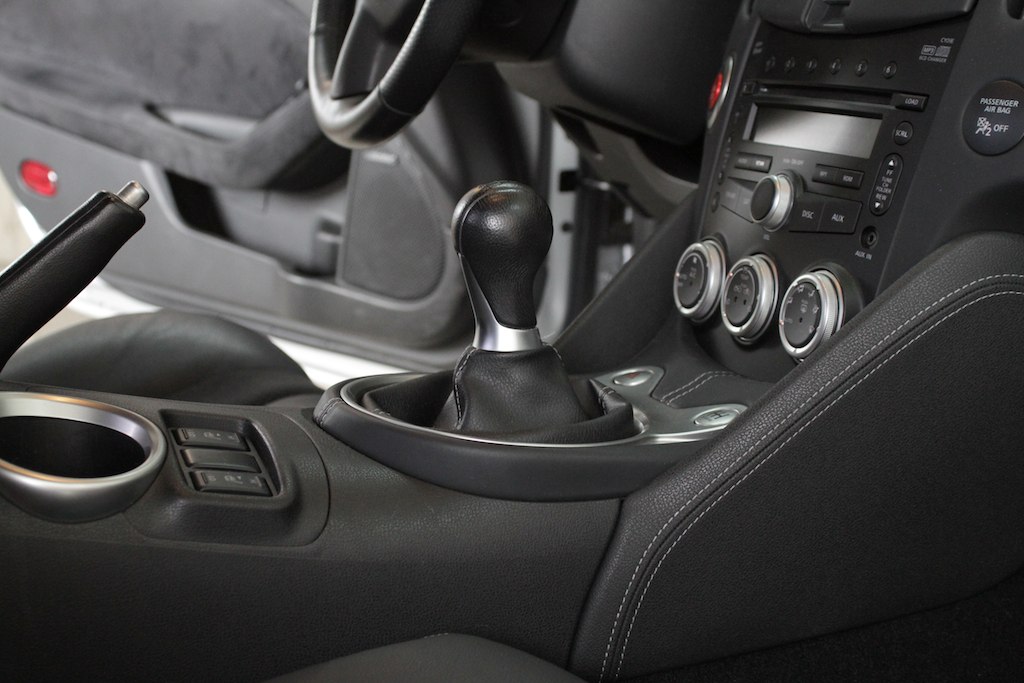
Finished with the stock shifter knob,
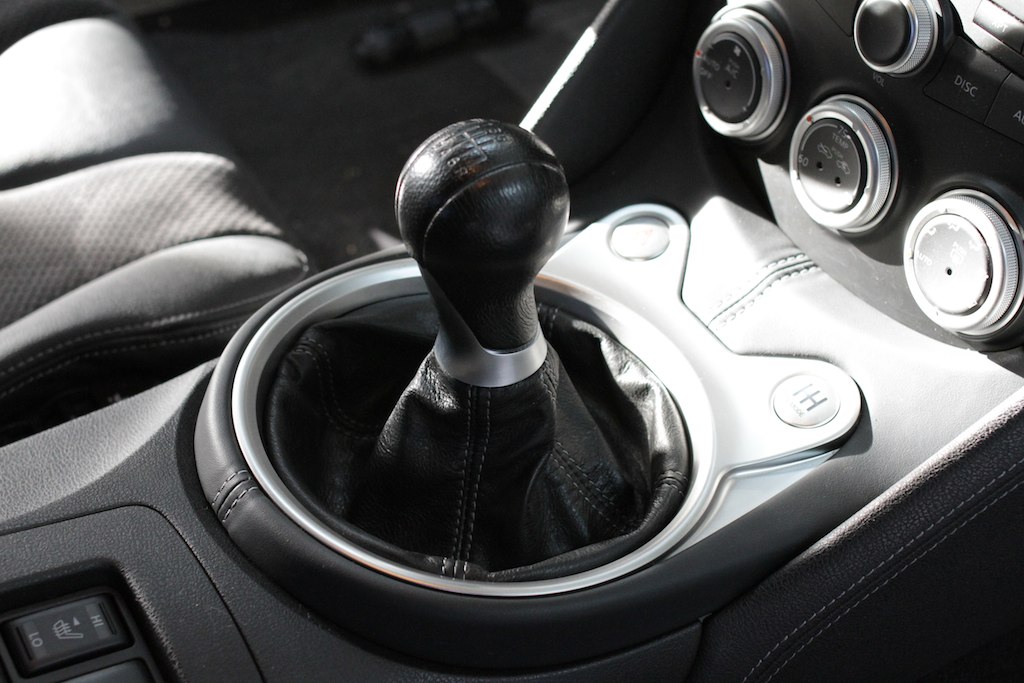 IMG_4382
 by
J M Gale, on Flickr
 IMG_4381
 by
J M Gale, on Flickr
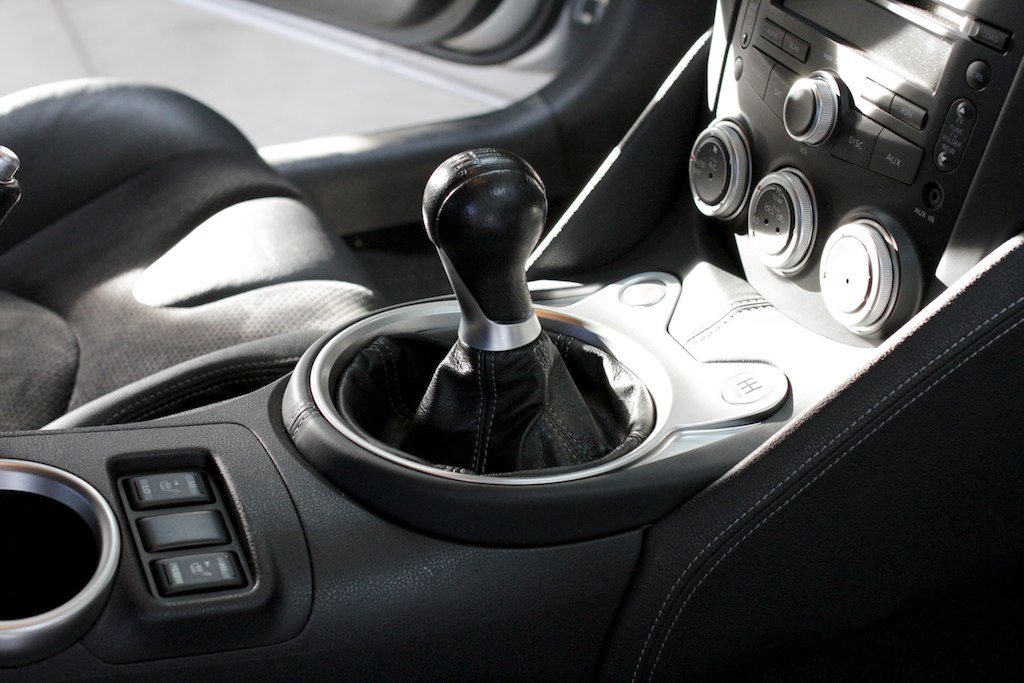
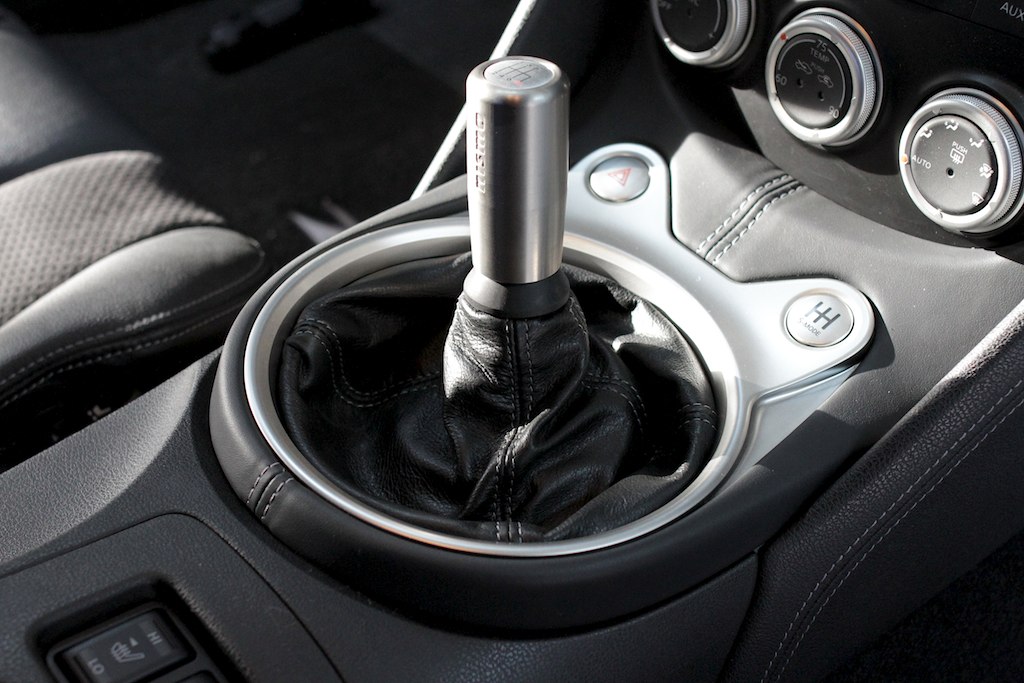
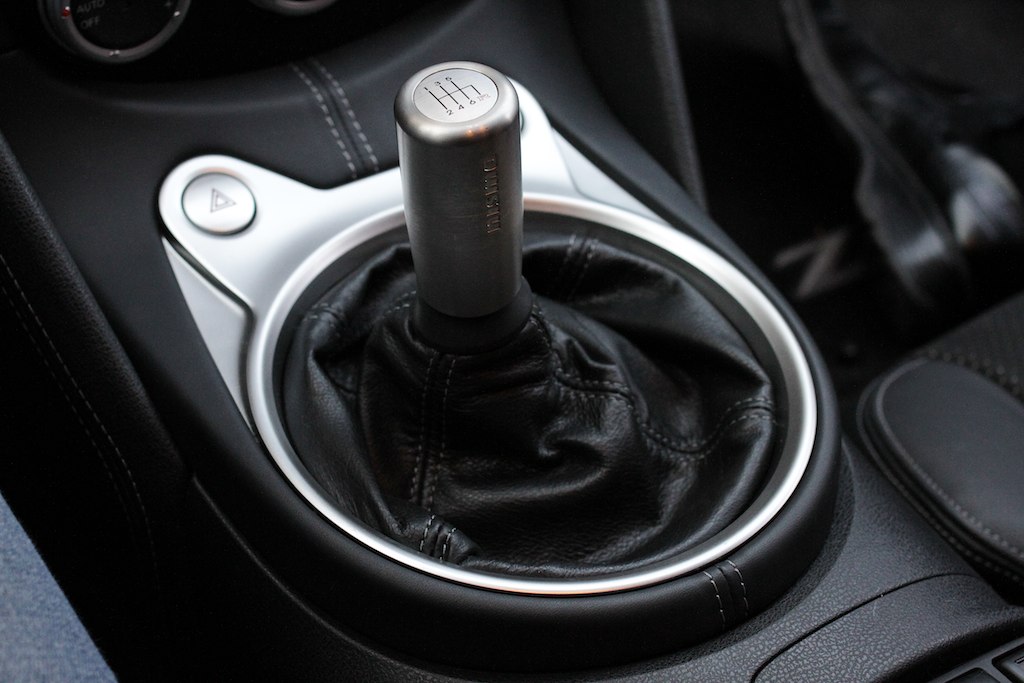
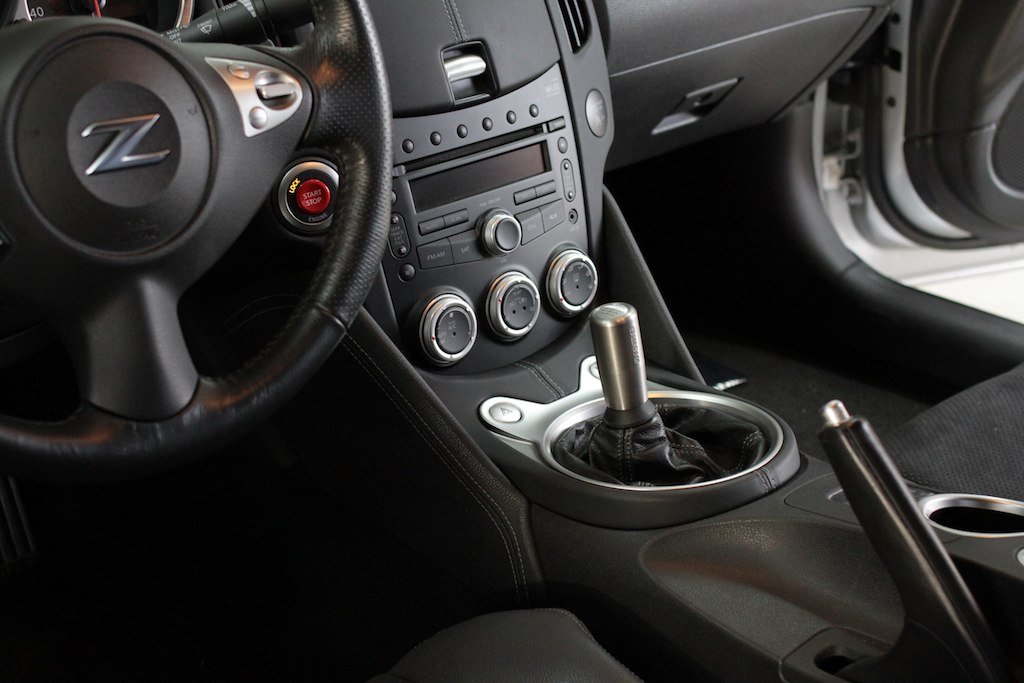
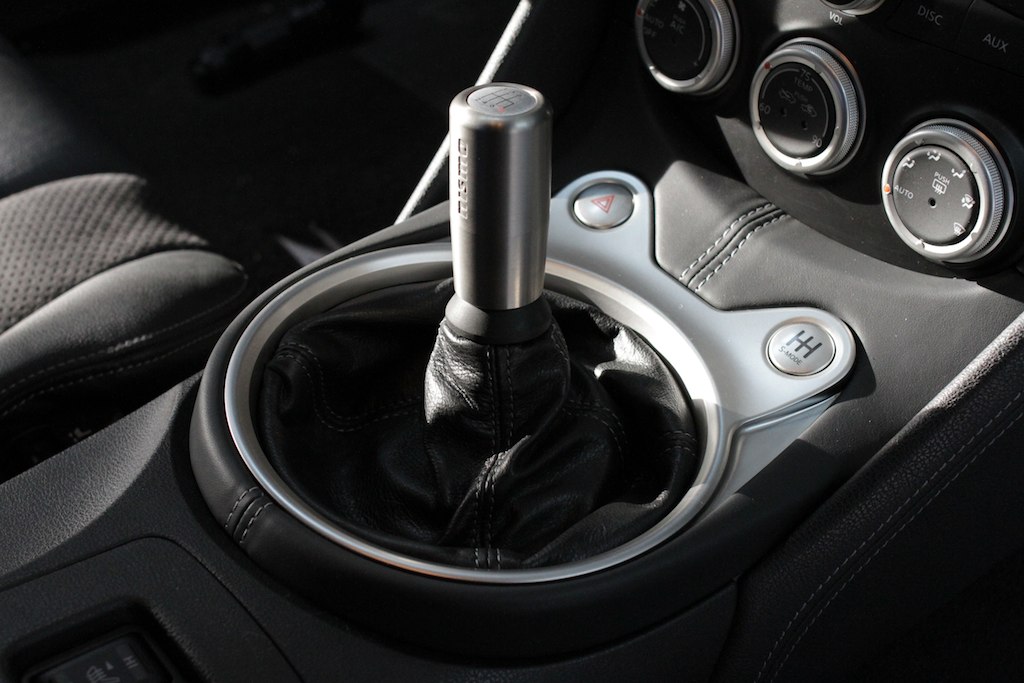
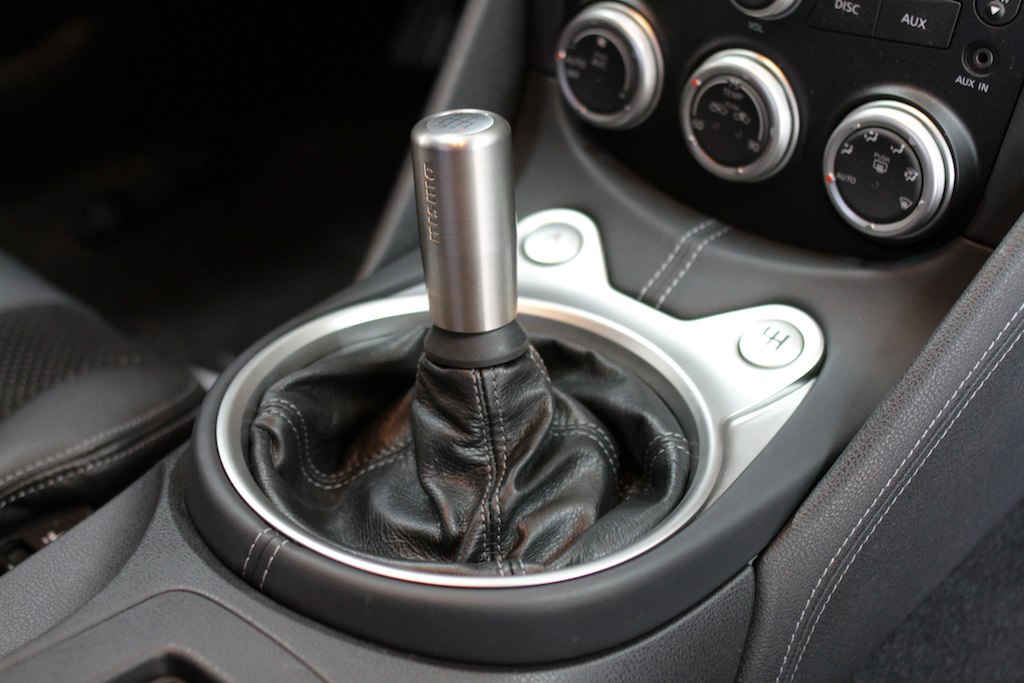
Finished with the Nismo Titanium shifter knob,
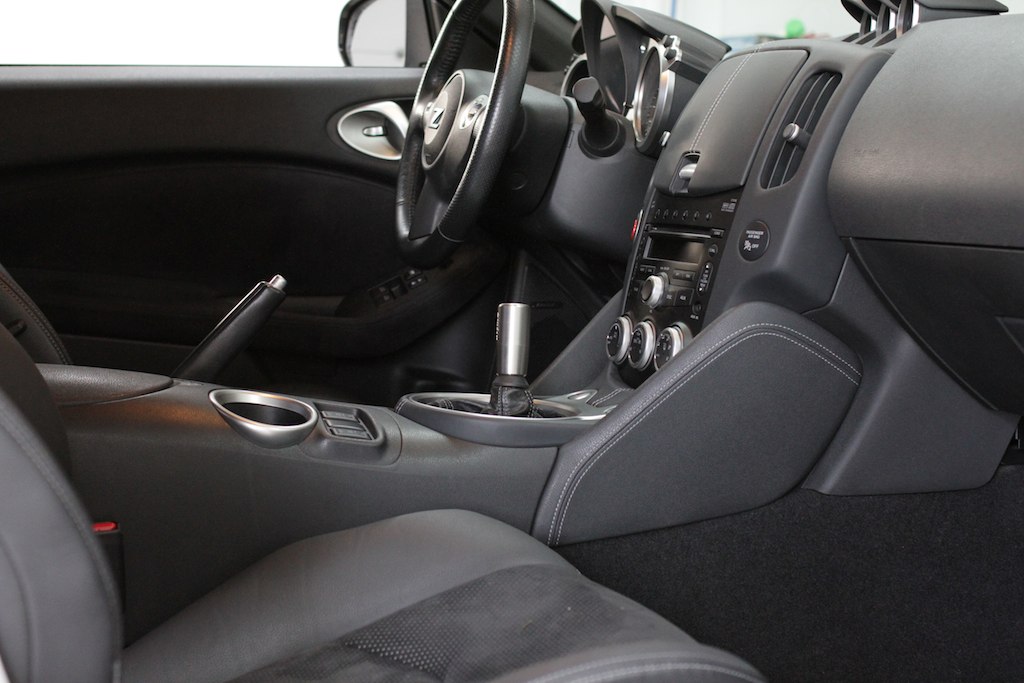 IMG_4387
 by
J M Gale, on Flickr
 IMG_4385
 by
J M Gale, on Flickr
 IMG_4394
 by
J M Gale, on Flickr
 IMG_4390
 by
J M Gale, on Flickr
 IMG_4386
 by
J M Gale, on Flickr
 IMG_4388
 by
J M Gale, on Flickr