Hey guys I never posted how I blacked out my side blinkers so why not now. This was a very simple mod and it looks so good!
Ok so Removal:
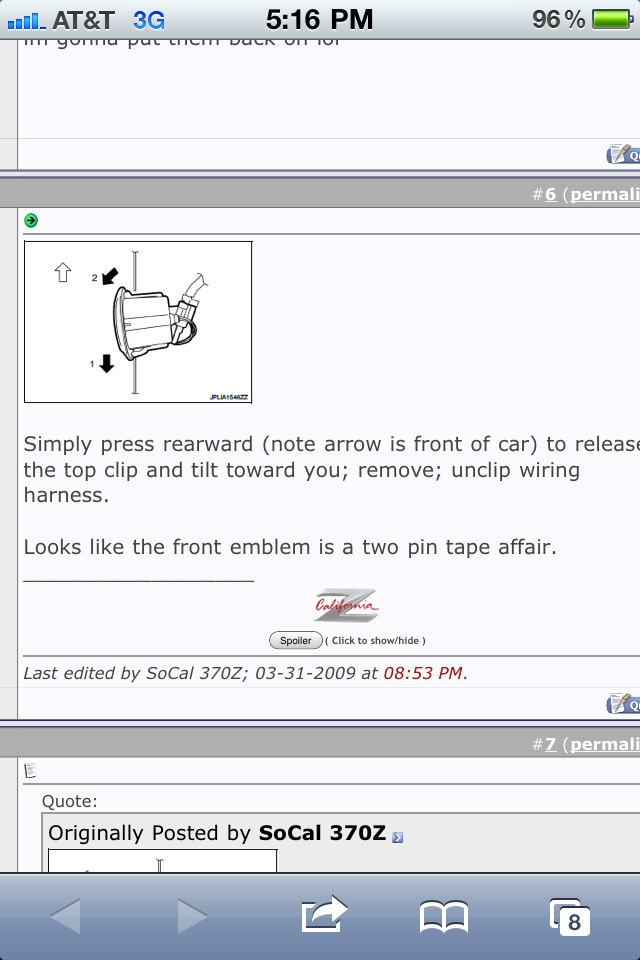
I didnt take any pictures of removal but it is VERY straight forward. All you have to do is pull on the blinker towards the back of the car and then pull outwards and it pops right out. then disconnect the wire from the blinker with a simple pinch and you will want to tape the wire to the car because it wants to pull itself inside the fender. There was quite a bit of dust around the circle area that the blinker covers so I went ahead and cleaned that before reinstalling them. I forget where I found this but here is a diagram showing how to remove it. This is a screenshot from my iPhone, so it's not the best.
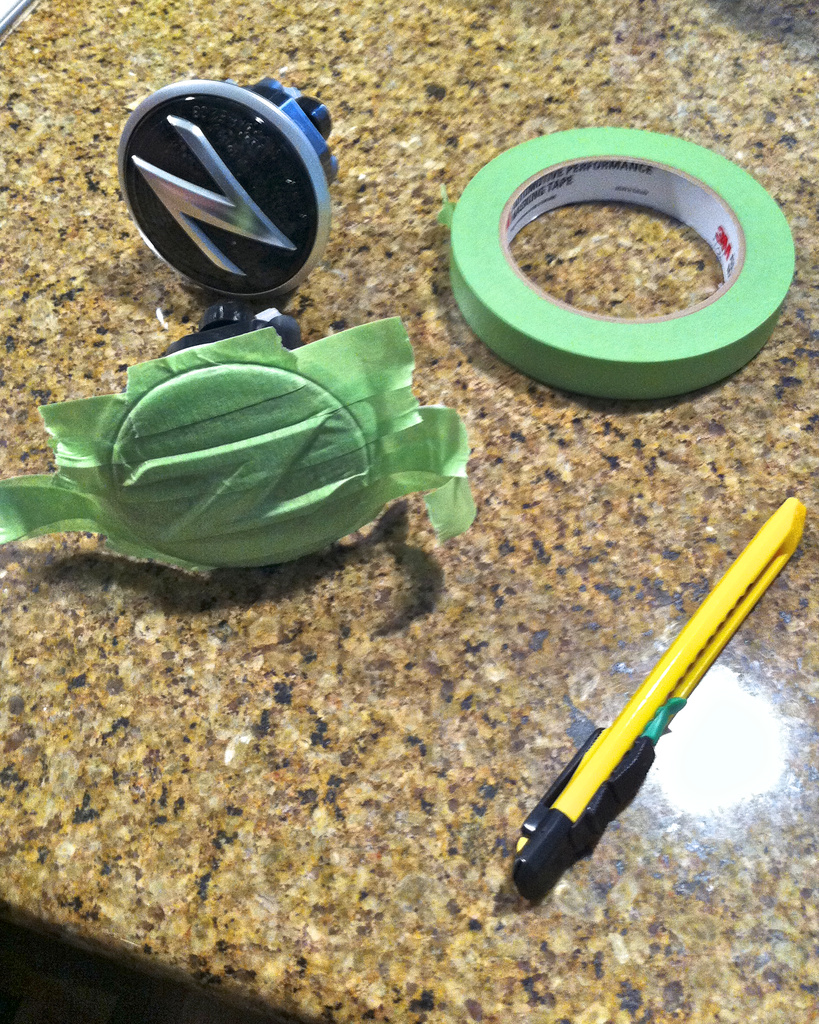
Ok so then I took everything inside and got to work. First things first, I used 3M masking tape (suppose any will do though), Krylon Fusion spray paint (gloss black), Krylon clear coat (spray can as well), a razor (the thin one in the pic is a good choice since you will be making precision cuts), paper towel (to wrap the back side of the blinker to avoid overspray on the wiring harness dealy wop).... I think thats it. All Items on this list can be purchased at walmart. The one thing I didnt do was use a primer but its coming up on 4 months and the paint is holding up great, and not much debris will hit the sides while driving so there is less chance of chips in the paint anyway.
The first step is to clean the blinker to get any dirt, dust, etc that may keep the paint from sticking well, off of the area that you will be painting. I may have used rubbing alcohol or nail polish remover or something... I forget.
Then tape off the blinker. I applied one strip at a time and pressed it into the creases (blinkers edge, and around the Z emblem) using my finger nails as I applied each strip. Then comes the Razor. I started by cutting the tape around the edge and working on the Z part afterwards.
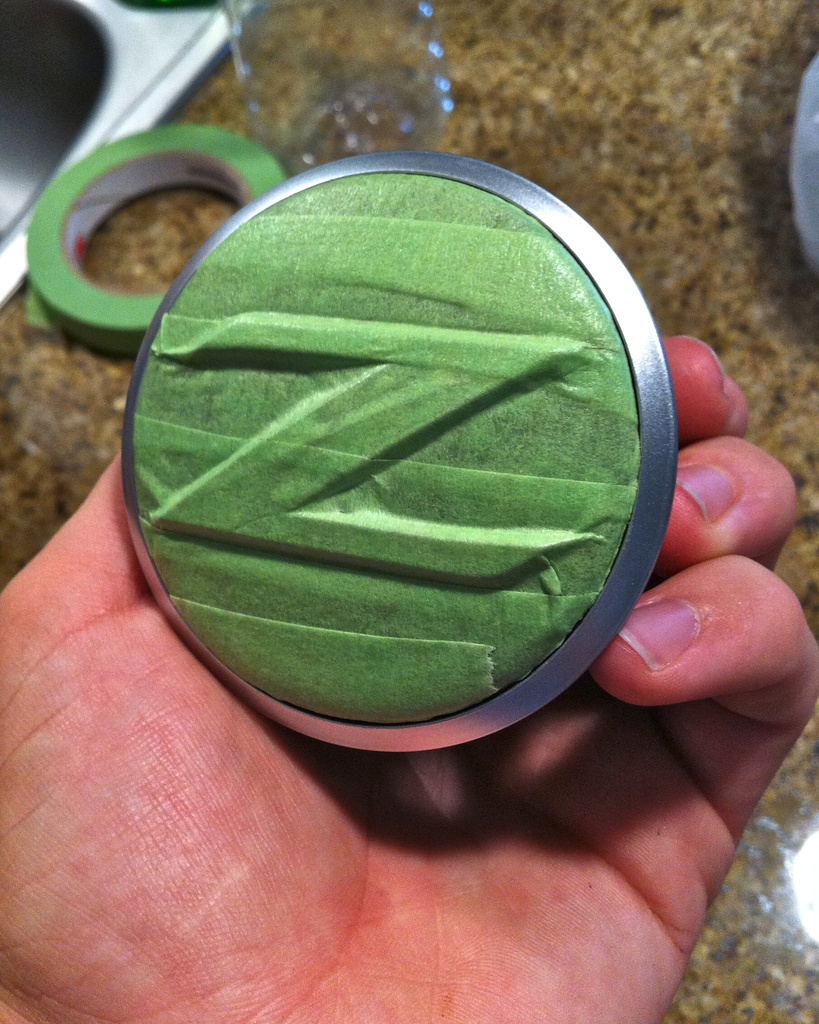
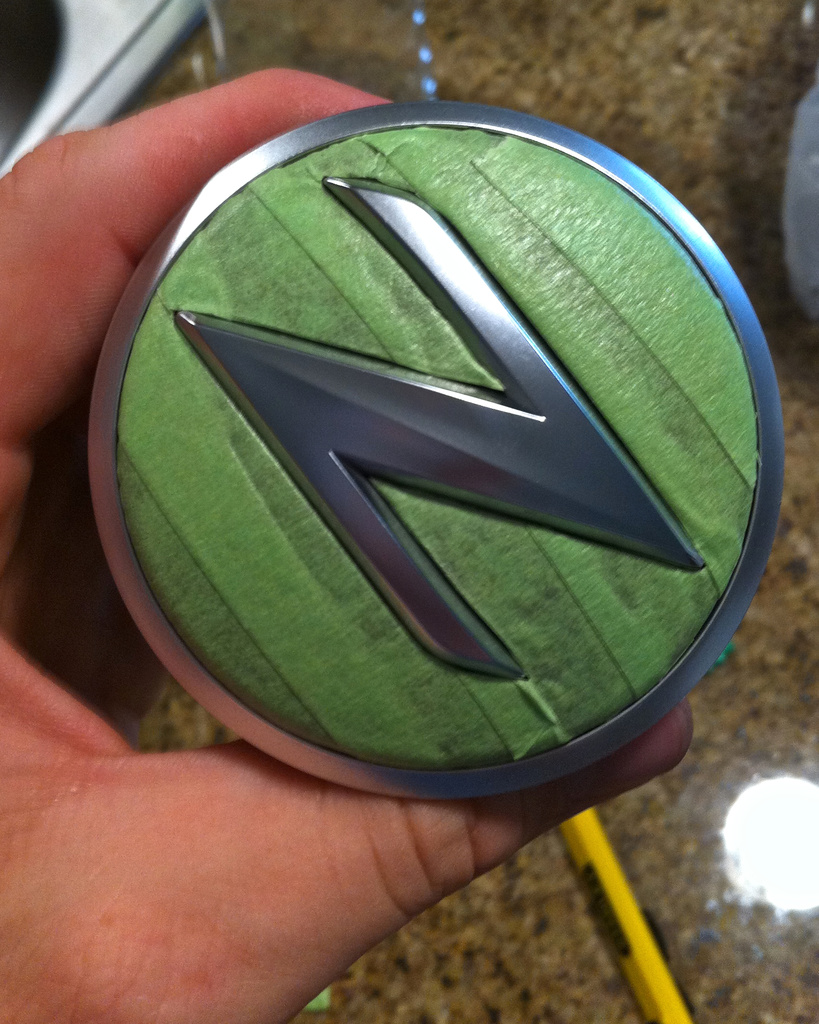
Then cut out the Z. just take your time, this is very simple but it would be easy to rush and accidentally slice the edge of the Z which would leave a scratch mark that would show through the paint afterwards. By the way I did no sanding on these.
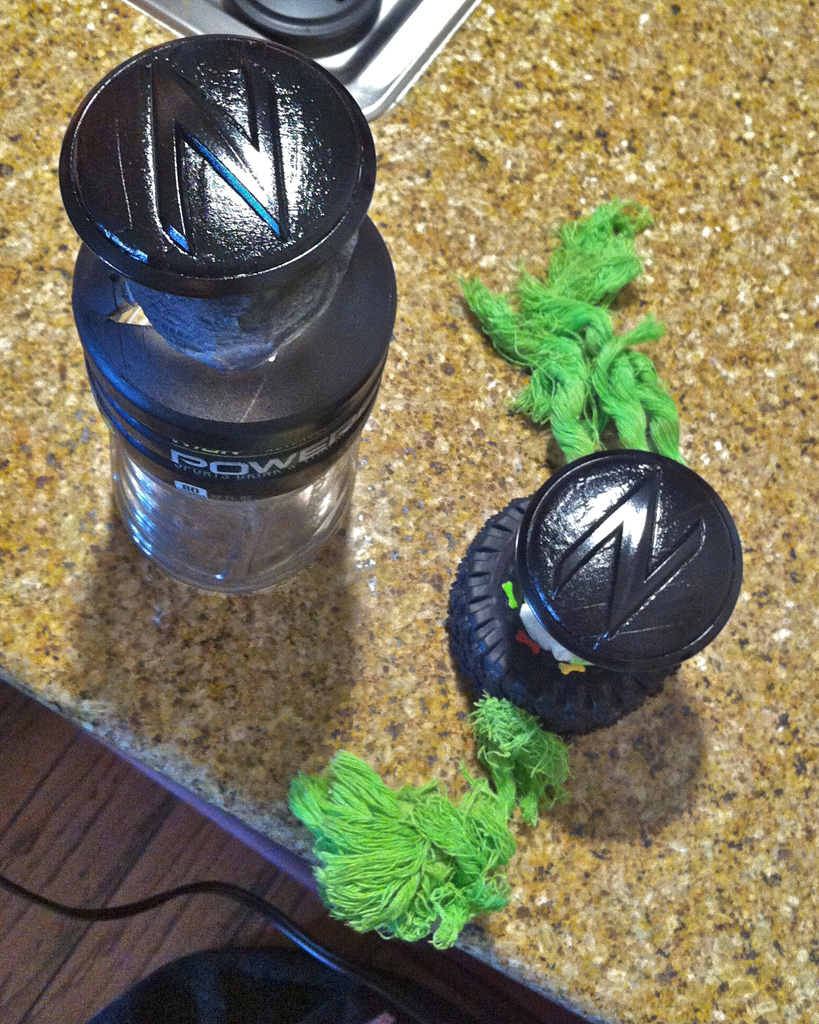
Next it's time to paint! I didnt take any photos of the process but I just took all of the stuff out to the patio and had a bunch of newspaper layed out and propped the blinkers upright using one of my dogs toys and a powerade bottle that I chopped the top off of (basically the first 2 things I saw, had to use the razor on the bottle though). Then I did 3 base coats of the gloss black and 3 coats of the clear coat, not waiting very long in between because it was very hot out and I figured it would dry quick.
Here is a shot right after painting and brought back inside
Alternate view showing my Genius (lol) paper towel idea

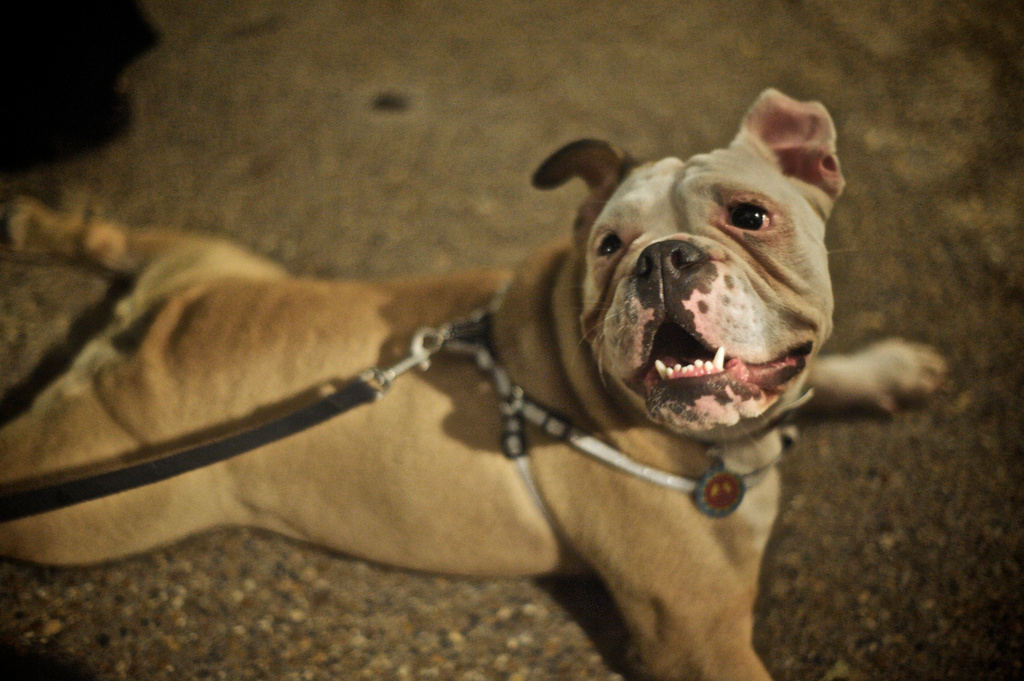
If anyone was curious here's the pup. Her name is Juno and she's right at 2 years now, this shot was taken Halloween 2010. She's a cutie!
All thats left after letting them dry is peeling the tape off. I used the razor to get it started and then just pulled it off slowly and when going around the Z I was pulling away from it. The white speckles all over is a combination of the crappy iPhone sensor's sensitivity making the photo look grainy and the clear coat settling on top of the base coat. It says on the can this is normal and that the cloudy appearance goes away shortly, and it did.
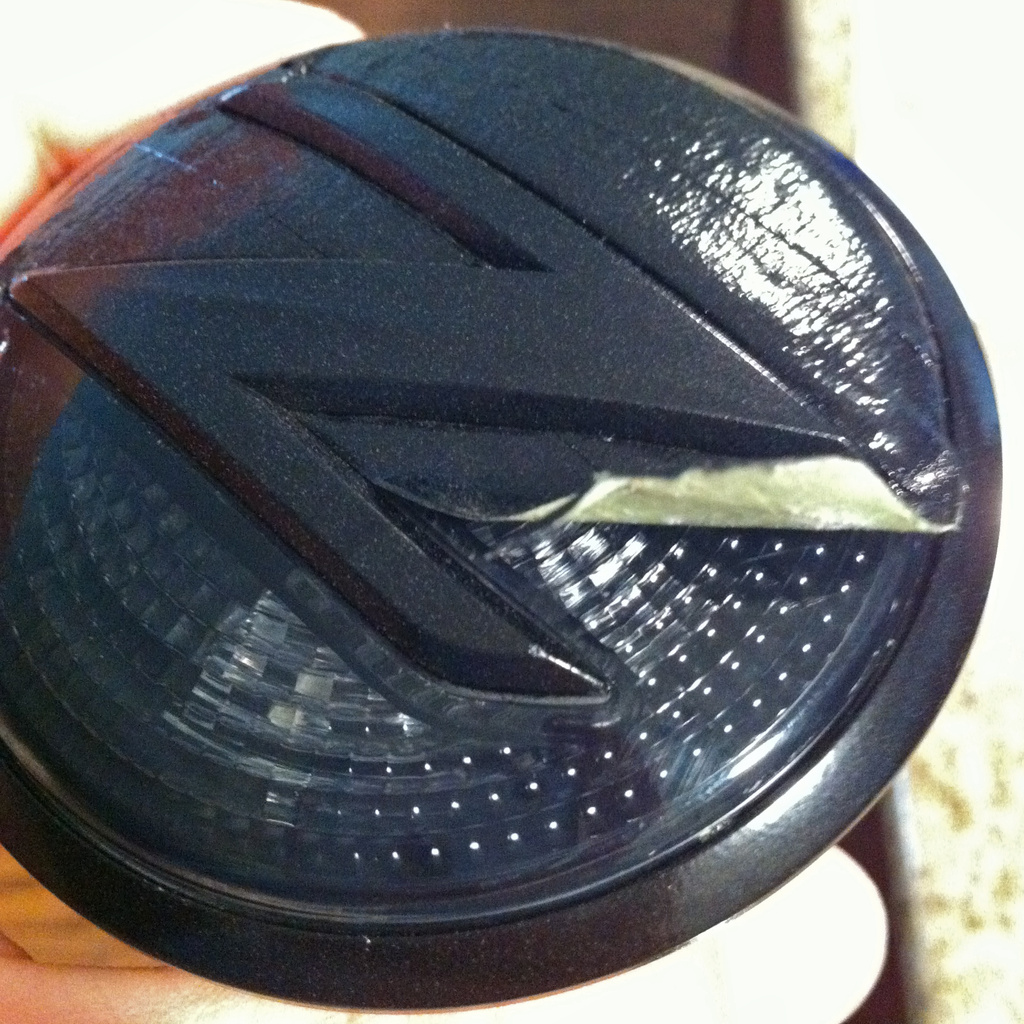
2 views of the finished product before reinstallation.
#1
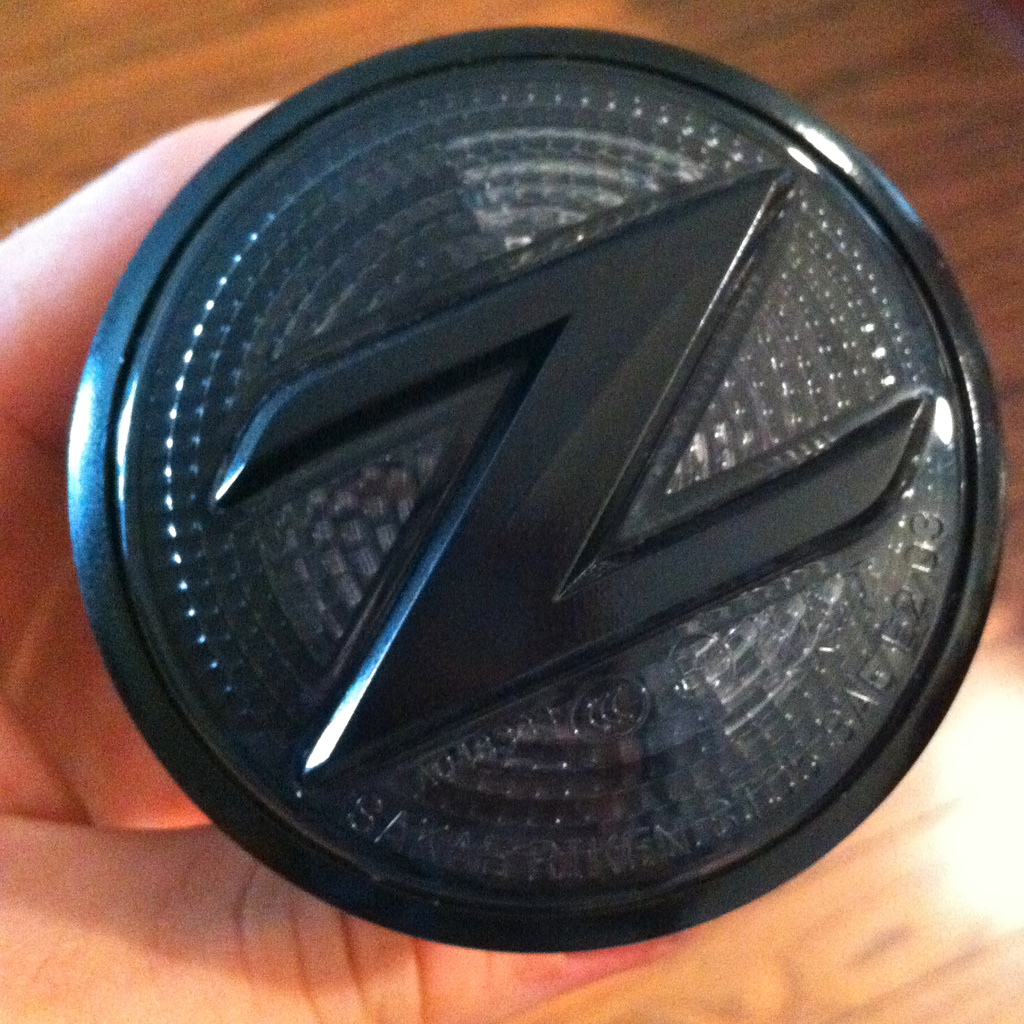
#2
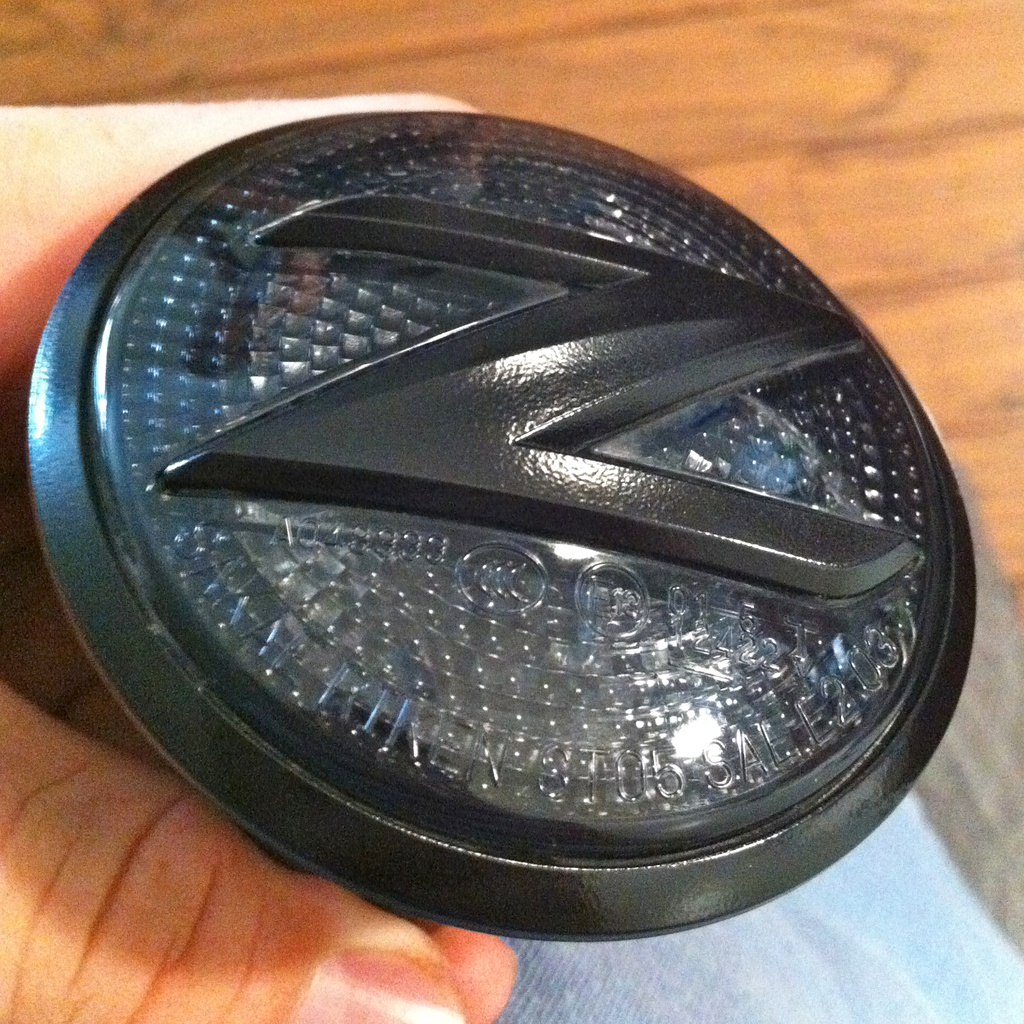
^^ Once again I did no sanding, but the slight texture you see on the Z's paint is invisible when viewing from anything past a few inches. Not noticeable what so ever.
last photo as I was taking them back down to install. In this photo you get to see the slight overspray since I did a second rate masking job on the back of these things, but it will never be seen so O'well. One more thing to note is that each blinker has a label so you know which side it goes and you don't have to mark anything. I believe it was just an L and an R on the back of each. And there you have it.
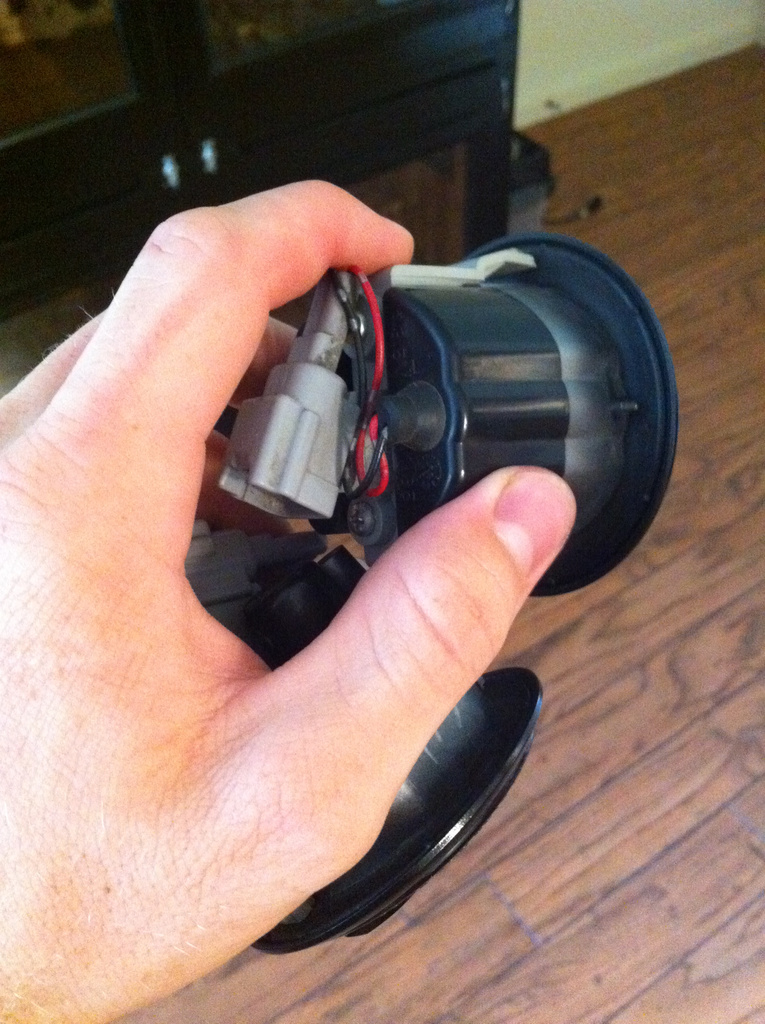
just pop the wiring back in the little attachment on the back of the blinkers and put them back in place. Who would have thought more time and effort would be put into a DIY than the actual process itself! Time to get some sleep!