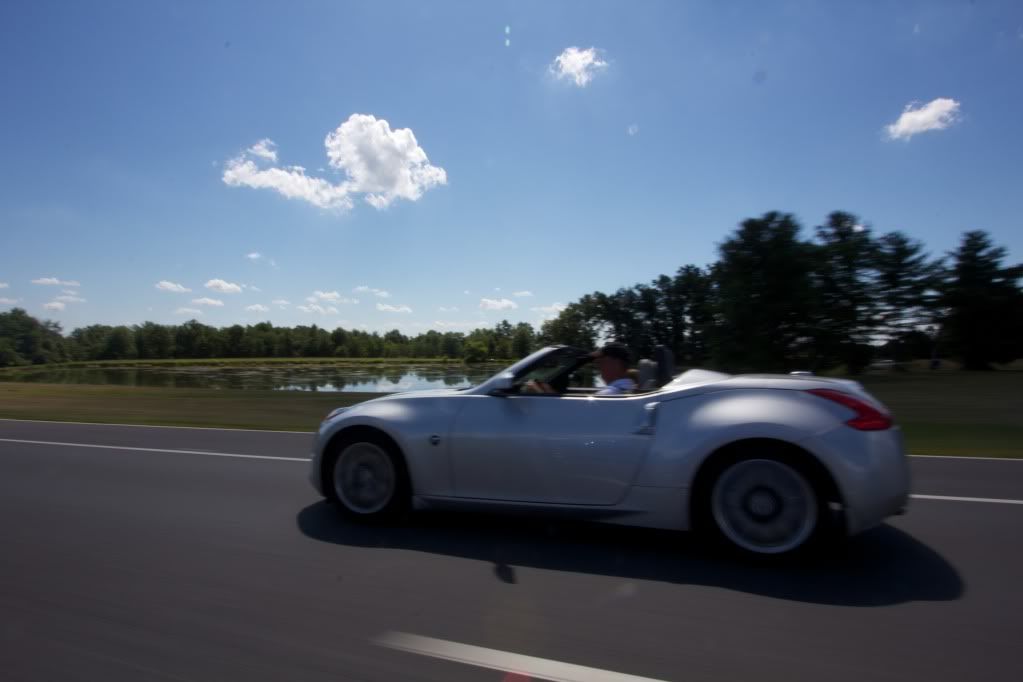
Lets start with the first one the ABSOLUTE biggest problem is the sensor dust. From a marketing and commercial stand point you would get fired if you had this, but seeing its the Z forums no hard feelings but you want to look like you can pretend what you're doing right...
Before you start duplicate the background and add a layer mask, (non destructive editing) the layer mask icon to add is the square icon with dot in there and click on the box of the car.
1st- Use the HealStamp tool, to do this you alt+left click a point where you want the brush to sample...

Looks alot better right? The image is under exposed, the background is fine, but the car (subject is) so lets do some selective HDR...
To do this add an adjustments layer -- "Exposure", this is where we're going to "Paint" the car in the layers mask.
You want too Add almost +2 stops of exposure to over all lighten up the image FOCUS on the car! Not anything else, until you're happy with how light the car is... The numbers I have I was happy with Do not screw with offset that is more localized contrast. Add a little gamma to the image as such.

Uploaded with
ImageShack.us
Once you're happy with that you see the white box next to the adjustment icon, click on the white black and invert it to make it black, CMD+I (on mac) the image will go back to its normal state, do NOT worry about this!
Next thing you do is hit "B" for brush change the hardness to 25% and the flow to about 50% ( I like working with flow more so than Opacity more control). Choose white (hit x & d till the main colors turn white)
Beginning paining over the car lightly.

See how much better this looks? Lighten up the trees too by painting white over them so its not a contrasty area.
Next lets crop!

I use alot of negative space in my photography because I shoot fashion, but with cars I don't find it works that awesome (just my opinion).
Next lets add some selective color! Add an adjustments layer, so what I did was work in the GREEN, YELLOW, and Blue channels, because I wanted the sky to yield bluer the grass to yield greener!

To take some of the blur away you can go to sharpen > smart sharpen and use the setting "rid of lens" blur 10 on the first line 25 on the second you'll get a little bit sharper image.

Again -- you have to be careful with what you paint cause you'll get crap haloing which I got, but just be careful with your painting.
So compare this with the first and what I got...

Do it to the second image you attached and Ill give an honest critique!
