So I've installed an Oil Pan Spacer now. The point of this mod is to add another quart of oil capacity to the oil pan, which should help with engine temperatures. The tradeoffs are mainly a slight addition of weight to the front of the car (the very light spacer + 1 qt oil), and that your oil pan will stick out more (with the plastic tray removed, it will now be the lowest metal object you can see in the front of the car, by a small margin). So you certainly want to be more careful about scraping the underside of your car on anything.
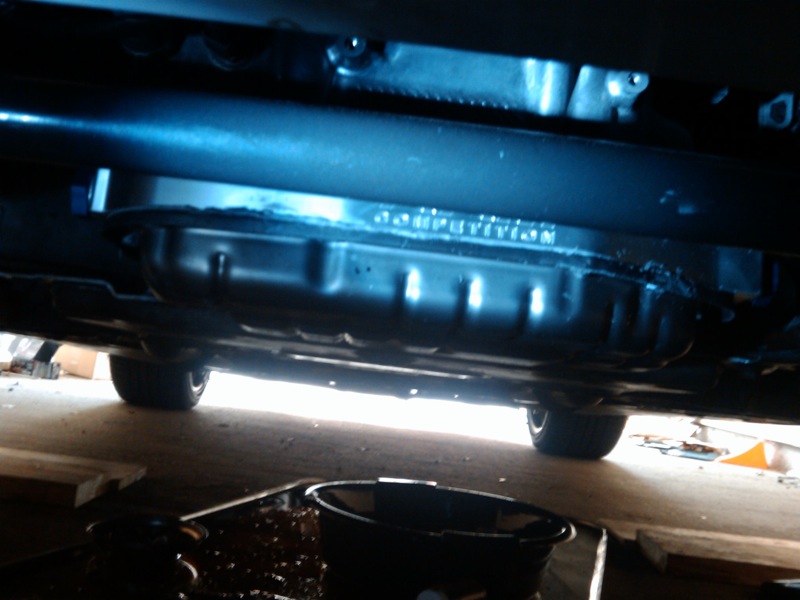
This is the spacer I bought from AAM:
AAM | AAM Competition G37 Oil Pan Spacer
For the most part, reading the appropriate sections of the Service Manual (under Engine Mechanical and Engine Lubrication sections) as well as the G37-based instructions that AAM ships will get you through this.
Obviously, you want to plan for this install during an oil change, as you have to completely drain the oil from the engine to install it anyways.
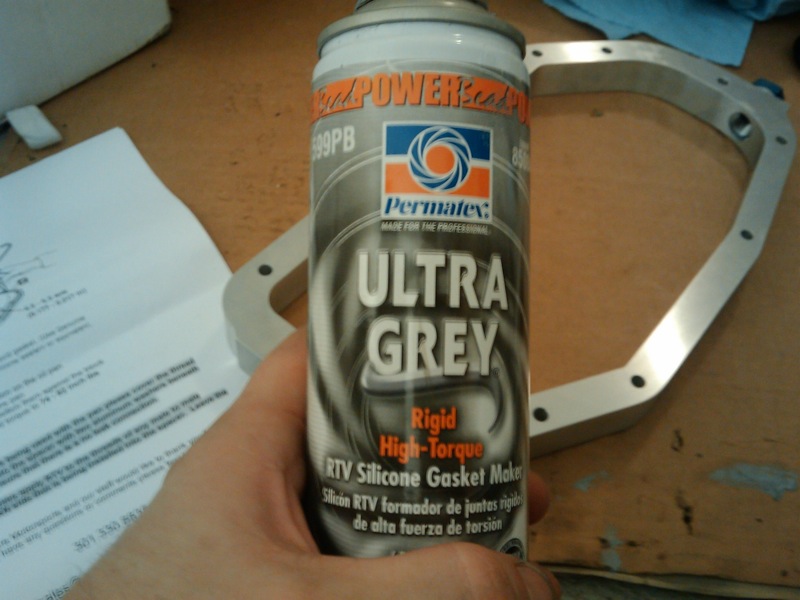
Aside from basic tools (like, everything you need for an oil change, basic sockets and wrenches in metric sizes, etc), the main thing you need is a tube of Permatex Ultra Grey gasket gunk for re-sealing the oil pan and spacer:
Having some kind of scraper or other very thin metal (or plastic is even better) object to help carefully remove the oil pan is nice too. I ended up using a dead credit card and filing one edge sharp.
And at least for my install method, you'll need a dremel tool with some good cutoff wheels and a willingness to cut a chunk of metal off of your car permanently. More on this at the end.
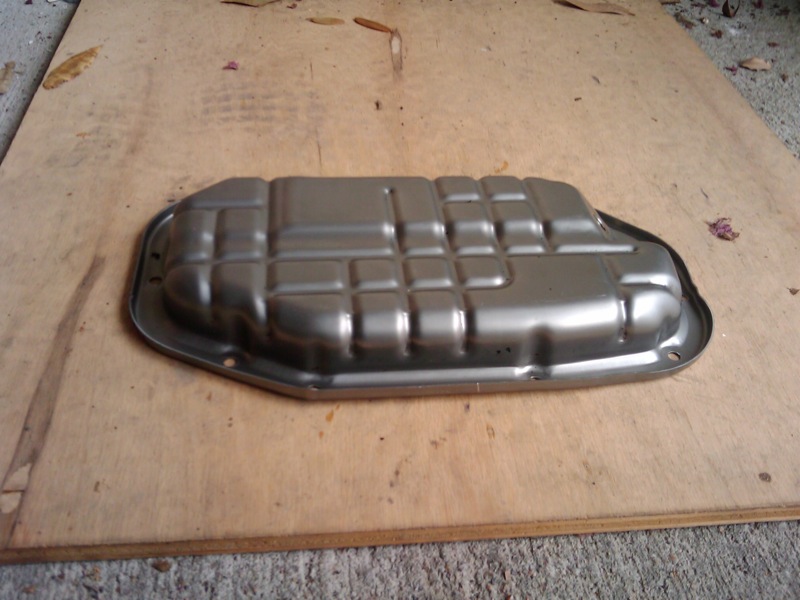
No matter what you read in the manuals/instructions, I highly don't recommend using any Gasket Remover spray, especially on the oil pan itself. That stuff is way too nasty and eats paint very vigorously and quickly. I quickly ruined the paint on my oil pan with it, so I went ahead and stripped the whole thing with it for now. May repaint at the next oil change once I find an appropriate paint, to prevent corrosion in the long run:
The basic rundown:
1) Prep the oil pan spacer. It's got 3 extra holes in it and it comes with threaded plugs for them. These are intended for turbo oil return lines, extra oil temp sensors, etc. Assuming you have nothing to put in these holes right now, simply screw in the provided plugs tightly using the provided pair of washers for each of the big ones, and be sure to put some Ultra Grey on the threads of all 3 before you screw them in.
2) Remove your Z's undertray, remove oil filter and drain plug, drain oil like a normal oil change.
3) Unbolt the oil pan. There's a torque sequence shown in the service manual, which you should follow. Note that you follow the numbers backwards during removal (start 10, work back to 1).
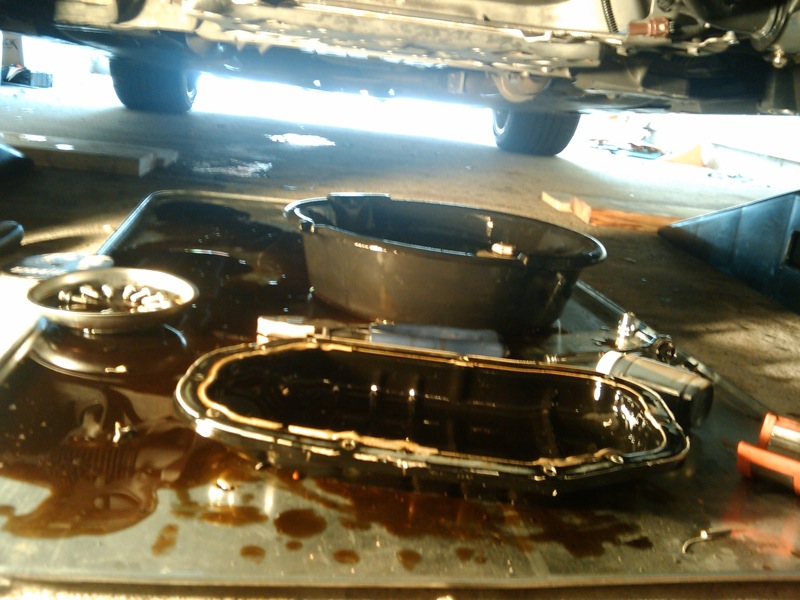
4) Remove the oil pan, without damaging the gasket surfaces or warping the pan. This is tricky, easily the hardest part. What you're fighting against is that the pan is basically glued to the block with Ultra Grey -like gasket stuff from the factory. Find a way to cut this without damaging anything or torquing on the pan edges and you're home-free. A credit card with one edge shaved down razor sharp really helped for me. Also, when you finally get it loose, watch out for the fact that there's a lot more oil than you would expect still in the pan, which will splash all over the place if you're not careful. Check out all the splash (which mostly landed in my large metal tray):
5) Clean off all the old gasket material on the mating surfaces of the pan and the block, by whatever means you can manage that doesn't damage the metal. It's a tedious but easy process. A razor blade at a very shallow angle helps a lot at times.
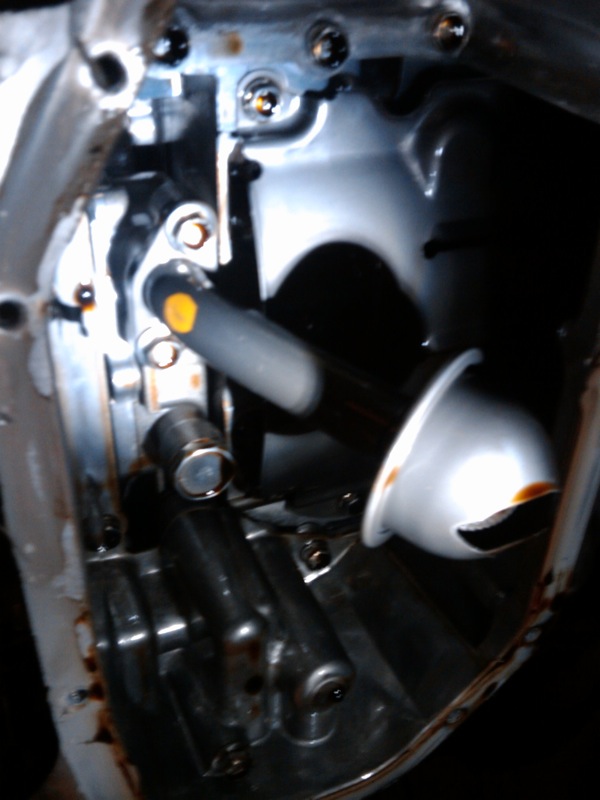
6) Remove the oil pump pickup. This is the arm with the round-ish head that you can see hanging out of the bottom of your engine with the pan removed in the pic below. There's two 12mm bolts holding it up, they're easy to remove.

7) Re-install the oil pump pickup using the provided spacer. The spacer makes the oil pickup about an inch longer, so that it still reaches to the bottom of the new, deeper oil pan area when you're done. Use a little bit of ultra grey on both sides of the spacer and bolt it up, not too hard. Follow the recommended torque specs, I believe it was 15-17 ft lbs, which isn't very much force at all. View from directly under the newly-spaced pickup:
8) Apply a good bead of Ultra Grey to the oil pan and to the new spacer, line them up on top of each other, and stick them onto the engine and get a few bolts started. Go ahead and put them all in, and snug them very slightly just to get the ultra grey all in the right place as it starts to rapidly dry. Then torque down the bolts in the order from the service manual to about 5 ft lbs, which is very light. You're trying to avoid overtorquing, which would warp the oil pan mating surface. Most of the real "sealing" is coming from the Ultra Grey, not from trying to smash the surfaces together super hard.
9) At this point you're basically done. Wait at least an hour for the Ultra Grey to cure some. The more you can wait (up to 24 hours) the better, but the label and the instructions seems to indicate that an hour should be ok. Then refill your oil as normal. However, you've now got a bigger pan, and additionally you've done a more complete drain than usual by removing the pan. 6 quarts would be a good starting point for this first fill, and then you can check the dipstick from there and probably add up to another quart or so as it indicates. Regular oil changes from now on will probably be close to 6 quarts to refill instead of 5, but not having done one yet I can't say exactly what it should be.
Sounds easy right? There's one big catch I left out above:
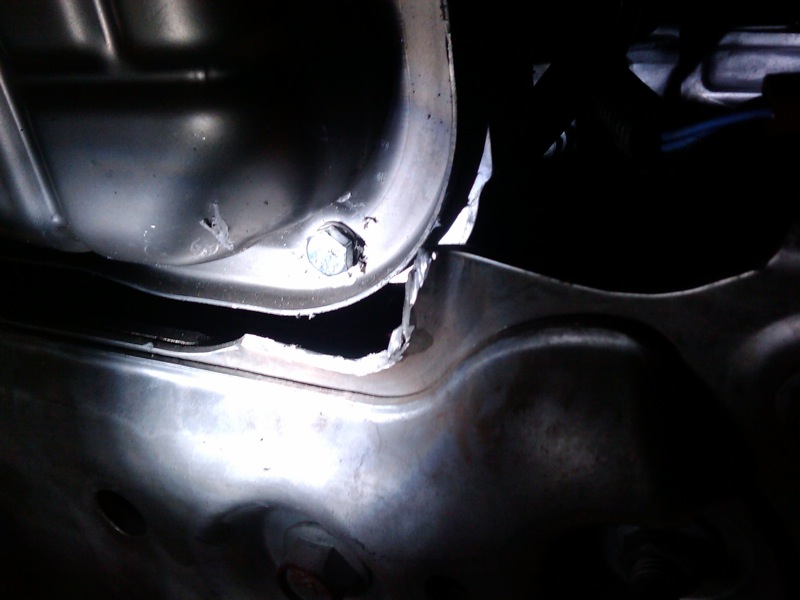
The spaced oil pan fits our engine fine. If you installed a spaced pan on our engine while it was out of the car, then installed the engine, that would probably work fine too. However, installing the spaced pan on our engine while it's in the car has issues. You'll notice if you look at the oil pan bolt heads that one of the corner oil pan bolts is directly under a metal tab with a threaded hole in it. This threaded hole is for one of the 2 center-rear bolts for the plastic undertray of the car, the metal tab doesn't really serve any other purpose.
I wasn't able to tighten this oil pan bolt (in spite of removing the spaced pan and restarting a few different ways with different tools in use) with that tab in the way. It's a tight spot all around, blocked on all sides by various metal bits, but that tab is the killer peice - you simply can't tighten the oil pan bolt behind it. I suspect if someone wants to try this method, that perhaps if you can hoist or jack the engine upwards (stretching it up away from its mounts so to speak), you *may* be able to get enough temporary clearance to torque down that oil pan bolt.
What I settled for instead was to use a dremel tool to remove this metal tab from the car, which makes the oil pan bolt easy to reach, and gives the plastic undertray 15 instead of 16 mounting points, which should still be plenty

If you're going to go this route, you may as well just do it at the start and get it out of the way, so that you're not throwing metal shavings around with the open underside of the engine exposed later.
UPDATE: But another person who wasn't as impatient and brutal as I was came up with a better plan: bend it out of the way temporarily, then bend it back. See his post here: DIY: Oil Pan Spacer
This is a pic of the spot where I removed this tab: