
|
A write up of my installation of a Joying 9.7" Android head unit into our 2020 base model 370Z. I also installed a Joying front dash camera and a generic
|
|||||||
|
|
LinkBack | Thread Tools | Display Modes |
 01-27-2020, 05:44 PM
|
#1 (permalink) |
|
Base Member
Join Date: Dec 2019
Location: NorCal
Posts: 3
Drives: 2020 Fairlady Z
Rep Power: 7  |
A write up of my installation of a Joying 9.7" Android head unit into our 2020 base model 370Z. I also installed a Joying front dash camera and a generic reverse camera.
For the TLDR folks, here's the end product. Further installation details down below. 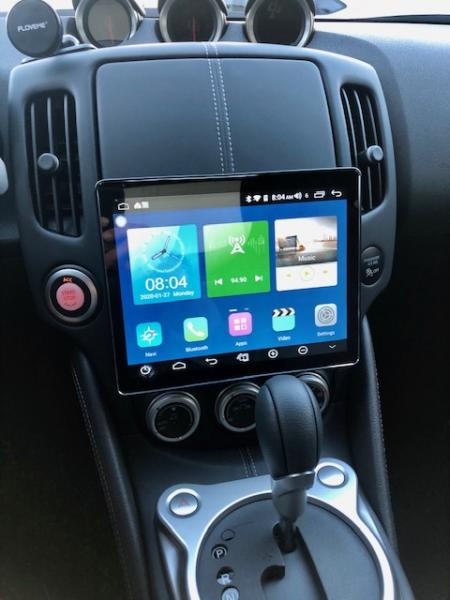 I was only able to find one other thread of a similar install but that OP (great job btw!) opted to manufacture a custom bezel to vertically mount the screen in the cubby storage location. My install simulates a basic head unit replacement with minor modifications to the OEM radio brackets. I hope this helps somebody. There are plenty of DIY/How-to threads on removing panels and installing a head unit on a 370Z so I won't go into details unless my experience differed from what I researched before hand. Parts list:
Here is the Joying head unit purchased directly from Joying's website. Received in 3 business days from China! Great communication and service. There are single din and double din variants with the same specs. Although, they both have adjustable screen heights, the screen of the double din variant would have partially covered the HVAC controls. 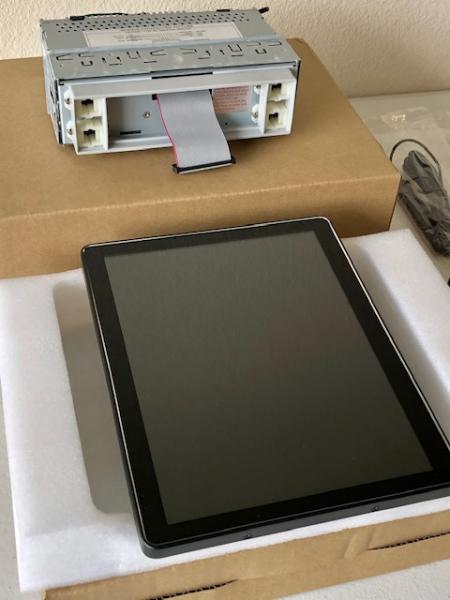 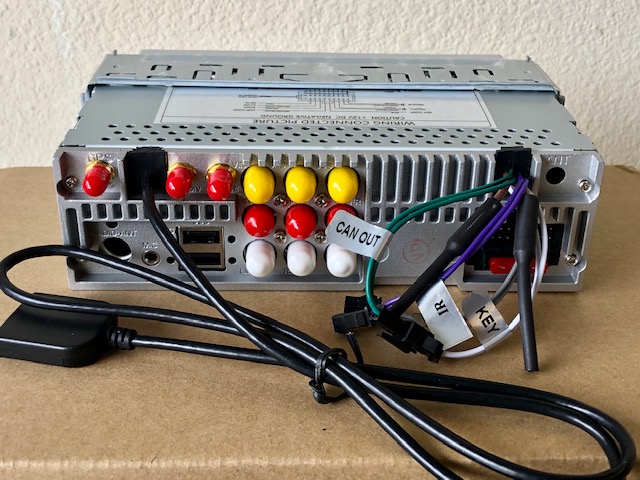 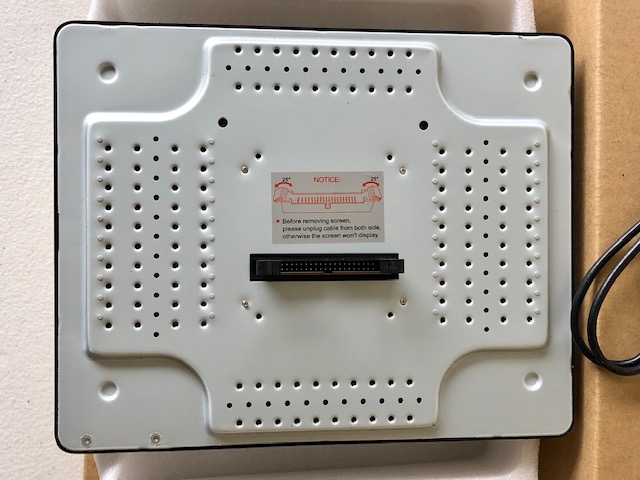 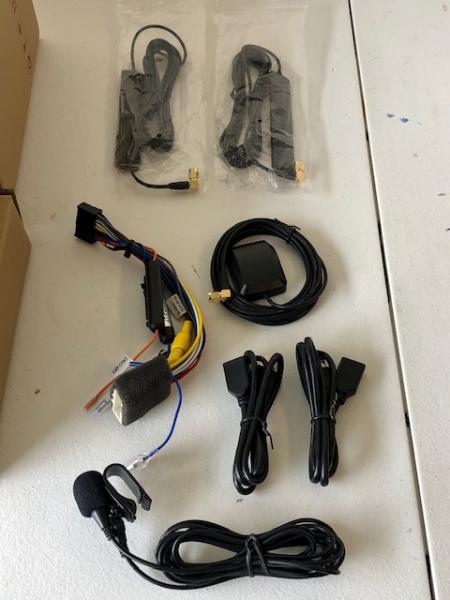 The holes on the OEM radio brackets do not allow for proper alignment with the Joying head unit. IDK, if this is the same for other brand head units. I drilled two 15/64" holes into each bracket so that once the radio is mounted, it sits within the OEM radio trim bezel perfectly. These pics show that I drilled 4 holes into each bracket..... because I messed up.  Measure twice and cut once!! Measure twice and cut once!!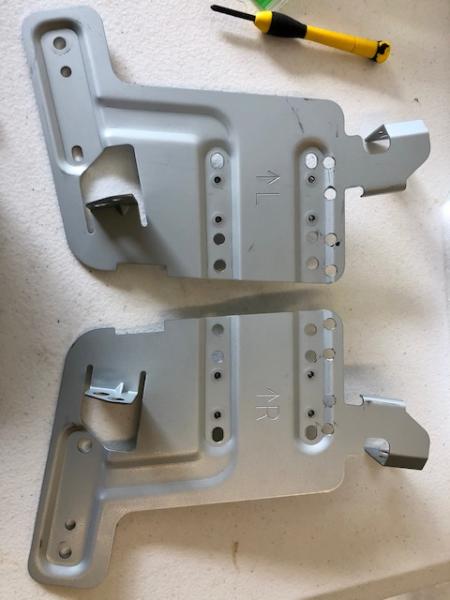 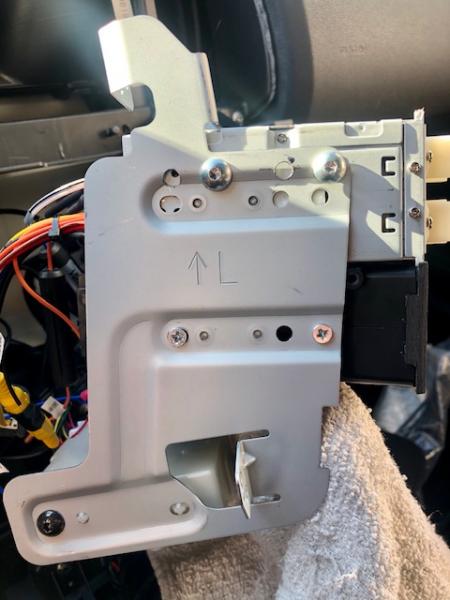 Since I opted for the single din version, I added an accessory pocket below the head unit to fill that space. It's not visible whatsoever once the screen is in place but it feels complete. Purchased on Amazon. Pictured below is missing the accessory pocket trim ring that was installed later. 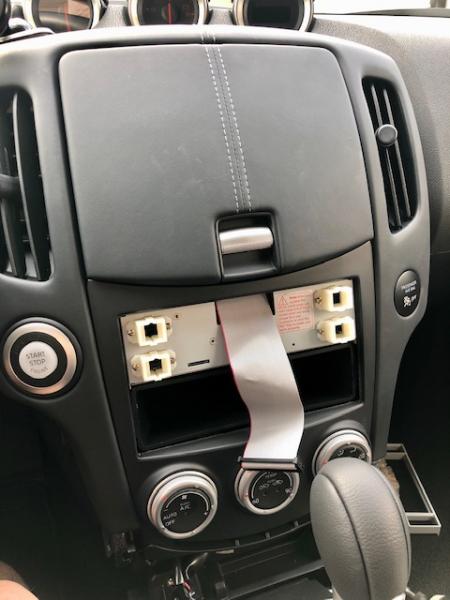 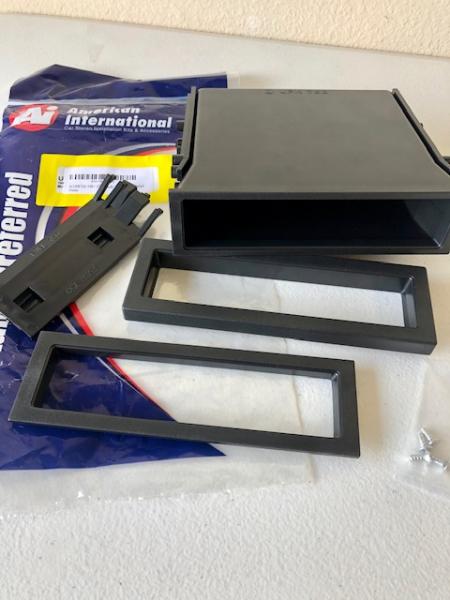 The GPS antenna was mounted on dashboard near front left speaker. Also shown here is the external microphone mounted to the left of the digital gauge (it looks like a foam ball). Both are held on by 3M automotive double sided tape. The wires were ran down through the bottom of the A-pillar, then across and above the steering column and into the radio console. 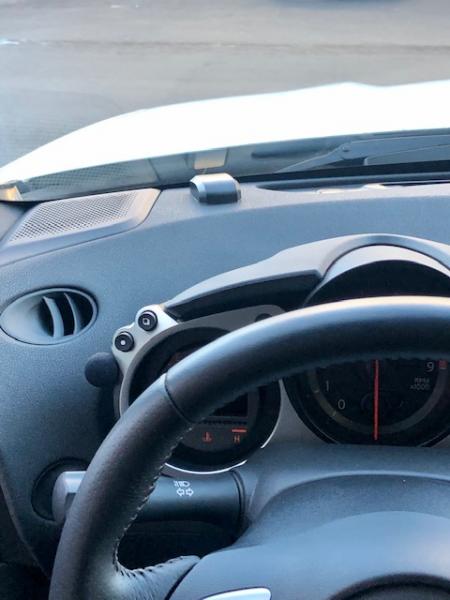 The reverse camera was a bit trickier. My original plan was to tap into the existing OEM camera based on some instructions that I found here in the forums. Unfortunately, those instructions are outdated. Apparently, some of the wiring has changed since that post was written years ago. Rather than spending time trying to figure out the correct wiring, I opted to install a second camera from Amazon. It replaces the left OEM license plate light housing and includes all the necessary wiring. There's a cheap $12 version and the $35 version I bought. The major difference I found is that the $35 version uses a Sony lens. Both cameras are visible from the outside and it looks a bit redundant but I don't mind it too much. 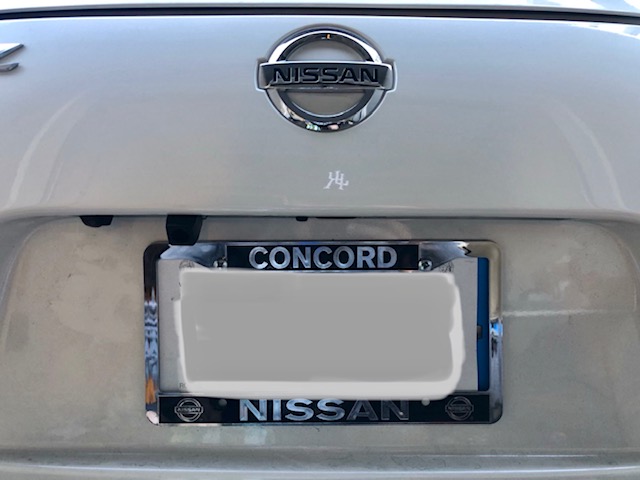 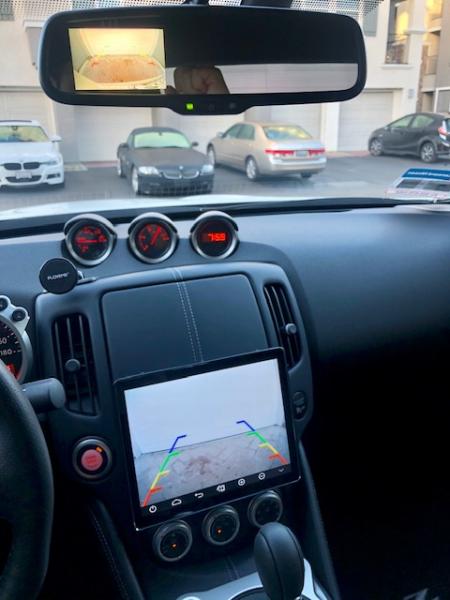 The last component was the dash camera. It's a Joying brand dash camera that plugs into the head unit via USB. It doesn't have a built-in screen so it's form factor is nice and compact. The awesome part is that you can view live and recorded videos right from the 9.7" screen! It's mounted to the windshield just to the right of the rear view mirror. I ran the wiring inside the headliner, down behind the A-pillar cover, then across and above the steering column and into the radio console. One thing to note when removing the A-pillar cover panel is that there is a plastic clip that must be cut in order to remove the cover. Therefore, you need to replace it with a new one upon re-installation. It's part number 76988-JM00A and costs $1.75 from your local Nissan dealer. Pro tip, install the clip to the cover first. THEN attach the other end of the clip to the actual metal A-pillar. 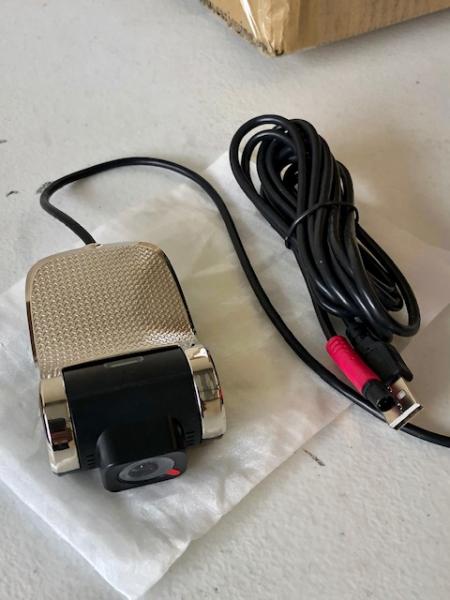 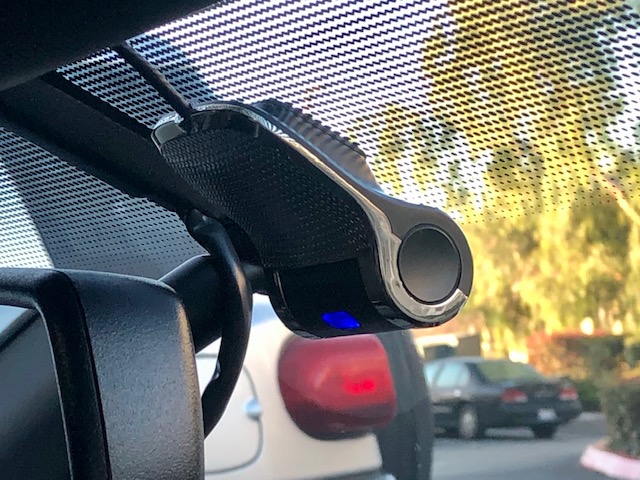 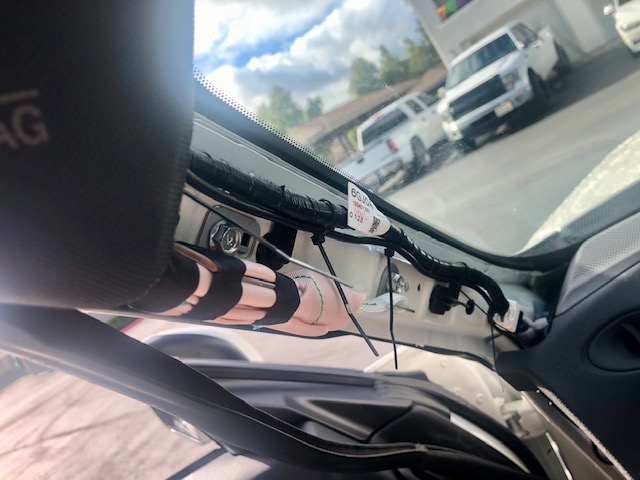 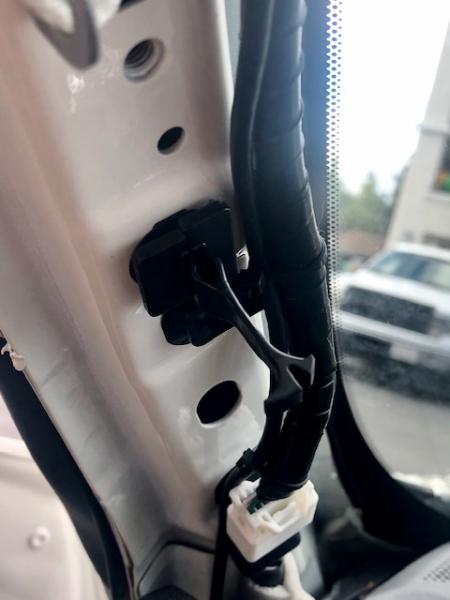 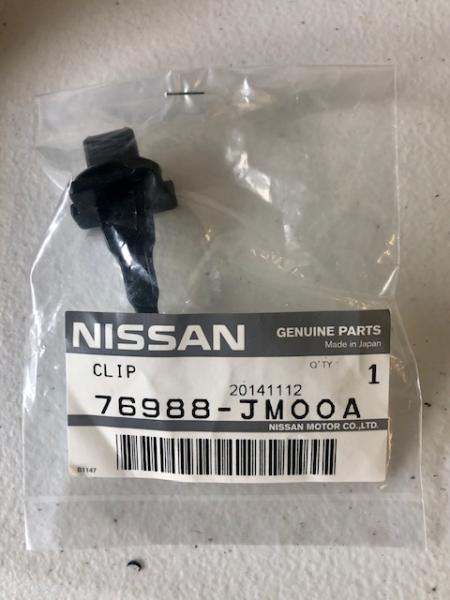 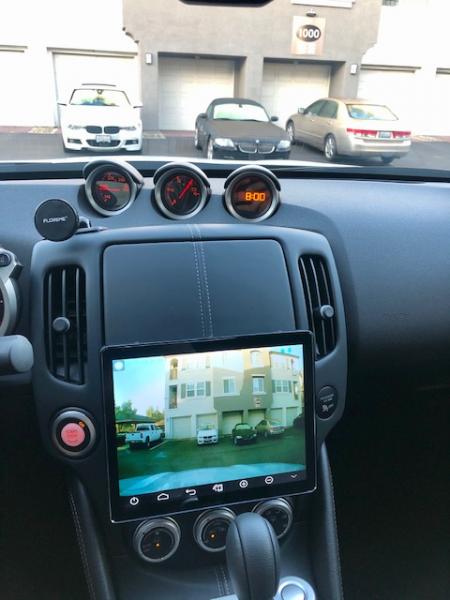 Overall, I'm happy with how it turned out. Aesthetically, I wish the screen could sit higher up but that would require a custom made bezel. That's likely out of my skill set so I'm happy with the way it is. It's only been installed for less than 24 hours at the time of this post so I'll comment on the actual functionality later. If you're planning on a similar project, take your time, take lots of pictures and share them on the forum! Good luck!! Last edited by Joe29; 01-28-2020 at 10:55 AM. |

|

|
| Bookmarks |
|
|
 Similar Threads
|
||||
| Thread | Thread Starter | Forum | Replies | Last Post |
| DIY: 9.7 inch Vertical Android Head unit install (Picture Heavy) | NOT 332hp | DIY Section (Do-It-Yourself) | 30 | 04-09-2020 08:58 PM |
| What do I need to get and Android head unit installed? | J_ruger | Audio & Video | 20 | 10-21-2019 03:43 PM |
| [FOR SALE] Joying Android radio | Fhjkalfhu | Parts for sale (Private Classifieds) | 12 | 01-21-2018 12:42 PM |
| [FOR SALE] 2009 Navigation Head Unit + trim and control + Nav Screen | Megan370z | Parts for sale (Private Classifieds) | 10 | 02-06-2016 05:20 PM |
| [FOR SALE] FS Pioneer touch screen head unit | Big J | Parts for sale (Private Classifieds) | 3 | 11-23-2015 06:45 PM |


 4Likes


 Threaded Mode

