OK... hey everyone since quite a few of you requested this ill write it up... alright here goes...
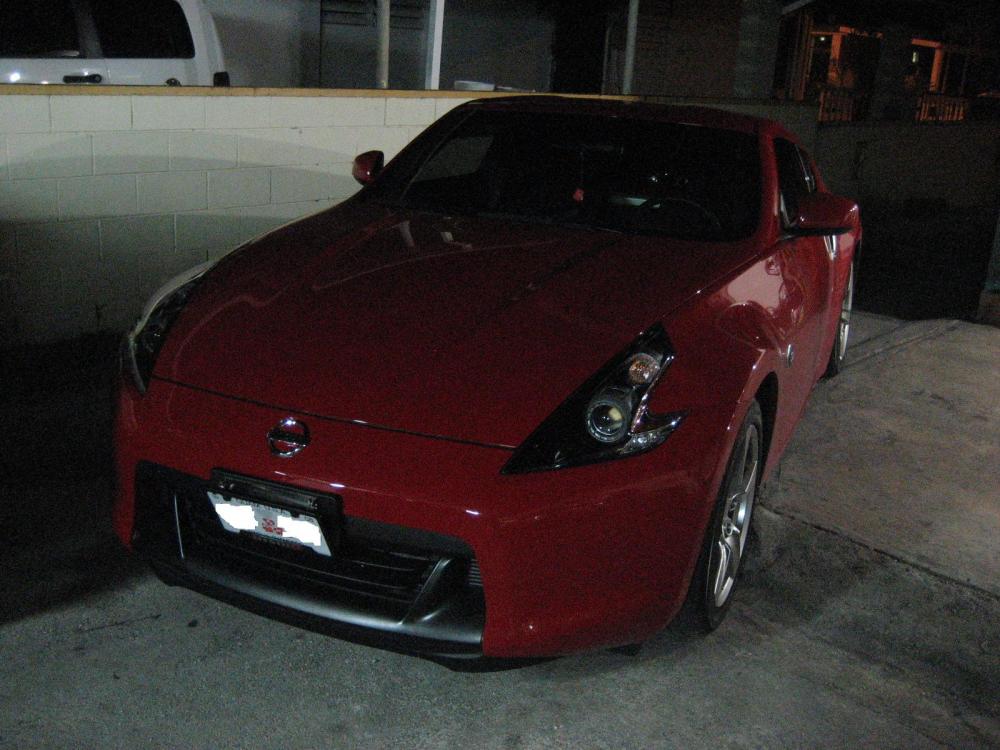
BEFORE

AFTER
FIRST off i just want to let everyone know... opening your headlights is really really scary if your not patient enough and you pry it to soon ull damage ur headlight.... This is actually my first time using the heat gun method on opening headlights so if i can do it you can do it... I usually use the boiling water technique really great!!! you dont warps on the plastic and its more clean.... the reason why i didnt do this technique is cuz well... i dont have a pot that huge... that technique is good for hondas cuz there headlights are tiny ok anyways.... the advantage of heat gun method? you dont have to remove the harnesses if you dont want to.. and the heat is directed only to were u point the heat gun... my friends do the oven technique also and it works great too but... i was super clueless in this technique thats why i didnt do it this way...
The tools you will need is as follows...
HEAT GUN
SILICON SEALER
FLAT HEAD SCREW DRIVER
CAN of satin black KRYLON FUSION!!!! (highly recomended no sanding!!! or prep)
and color you wish to paint your accents... you can color match your body if you want...
Before anything first remove your headlamp... below is a link to the removal of your headlights... created by digitonium
DIY: Headlight Removal
please note: due to frustration and fatigue... i sort of didnt take a lot of pics during the process... soo this is mainly gonna be a write up... i only have a couple pics...
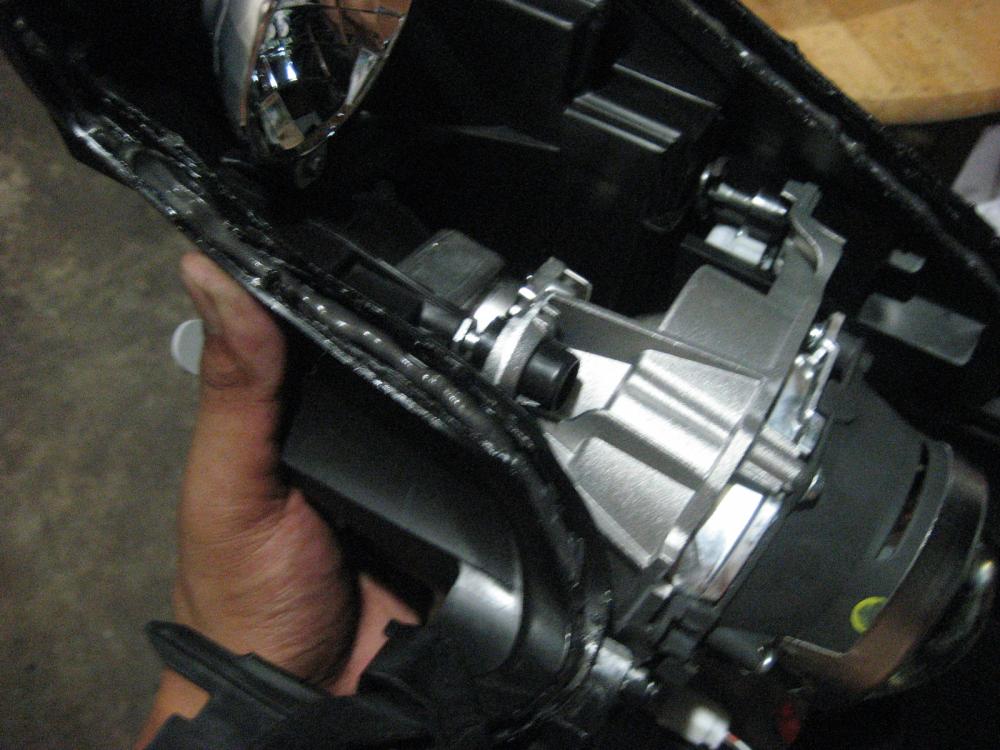
STEP 1 SEPERATING the lense from the housing (hardest part)
after you remove your headlights.... remove the phillip screws in the back of it holding it together.... now carefully start heating up the sealant on the headlight... now when its hot enough try carefully sticking your flat head in between the gap and prying slowly... if it moves just a lil then your doing it right... if not... then its proly not hot enough so heat that sucker good...
ok when you are prying... first start prying from the bottom of the headlamp...then work your way around your headlamp... breaking the seal is the hardest part.... but once u hear that crispy glue sound and u see u have a gap then ur life gets a whole lot easier...
please note do the boomerang area LAST the reason for this is that the ample amounts of sealant is mainly on the top and on the bottom... the boomerang area has very little....
so you guy get the idea... HEAT it up pry PRY PRY PRY keep prying... dont rush or else u might crack ur headlamp lense...
once ur able to separate the housing from the lense... there will be 3 phillip small screws holding the lense and the chrome housing together... unscrew them and pull the chrome housing up and away from the lense....
STEP 2 Take apart the chrome housing....
Now that you have the chrome housing out... begin to remove all of these things...
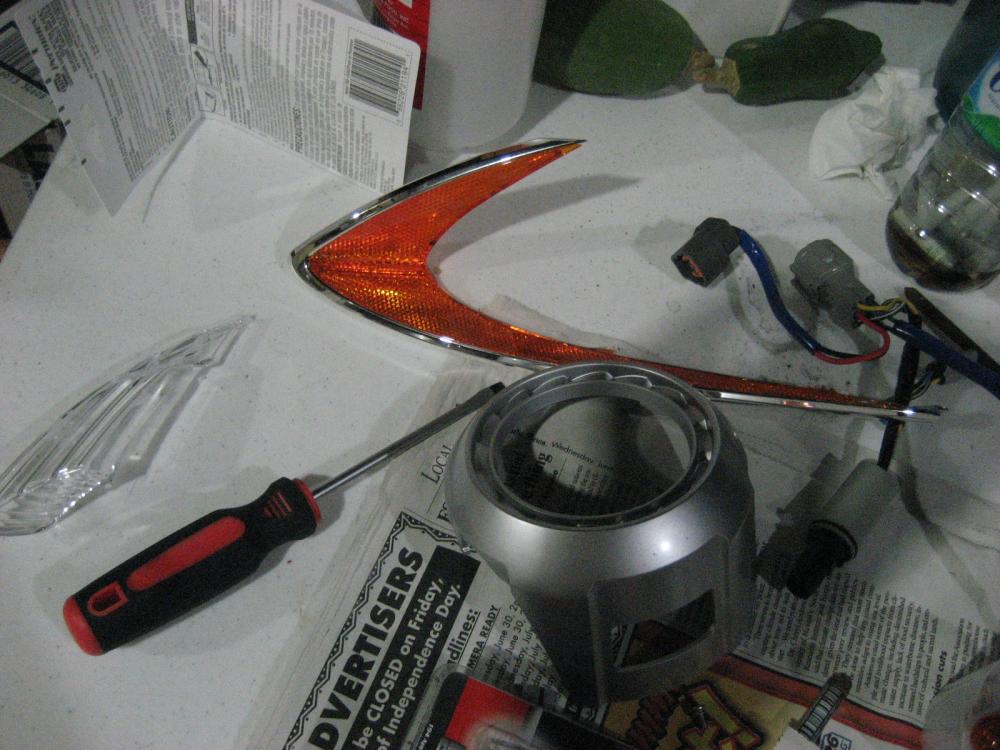
unscrew all the screws in the back of the and pop everything out... the order to take it out is take out the clear lense below the amber reflector first... then the amber reflector... (u will the tab of the amber reflector if you try to take it out b4 u take out the clear lense....)then the big round silver thing and then the turn signal lense cover....
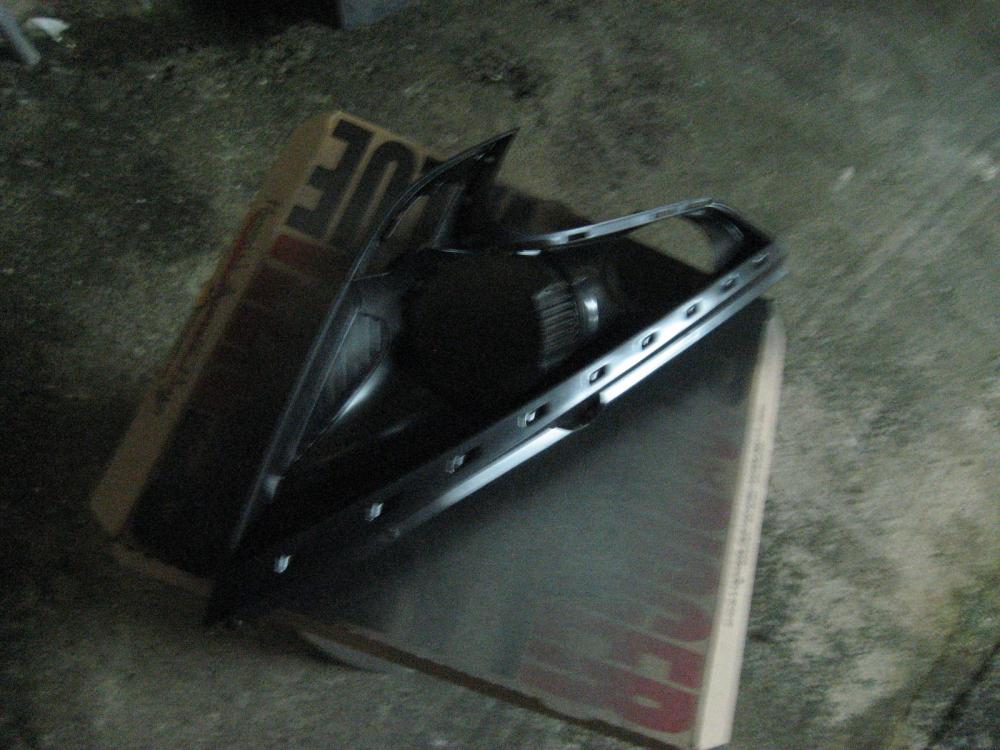
Step 3 Painting the housing
Now i recommend KRYON FUSION satin but you can choose any color u want... but just make sure u use the brand krylon fusion this is because its meant for painting plastics... if you use any other spraypaint it may not stick and peel off....
Do 3 coats of the satin black on your headlights.... WAIT!!!! 10 mins in between coats!!!! u dont want the paint to be wet inside then when u touch it when ur putting back ur headlights together ull have a ugly fingerprint on it...
now for the accent pieces the two silver peices u can color match it to ur car or leave it silver... the way i did mine was i actually painted it a gun metal so it woudnt be so brite silver... i was tempted to color match but im thinking long term what happens if you change the color of ur ride... ur gonna have a green car with red accents on the headlight? lol yuck

Be creative and paint ur housings the way u want to... when your done wait till the parts are fully dry and put everything back together....
PLEASE NOTE!!!! and i cant stress this enough WHEN YOU ARE PUTTING THE HOUSING U PAINTED BACK WITH THE LENSE MAKE SURE THERE IS NO FINGER PRINTS ON THE INSIDE OF THE LENSE OR ELSE THEYLL BE THERE FOREVER...
Step 4 Resealing your headlights...
When everything is done and put back together its now time to reseal ur headlights... this is the most CRUCIAL part.... if you do this part wrong ull have moisture in ur lights and over time it will be a swimming pool in ur headlight so be very tedious when doing this part... ATTENTION to DETAIL......
first scrape off the old sealant.... and clean the passages of where the new sealant is going to be applied....
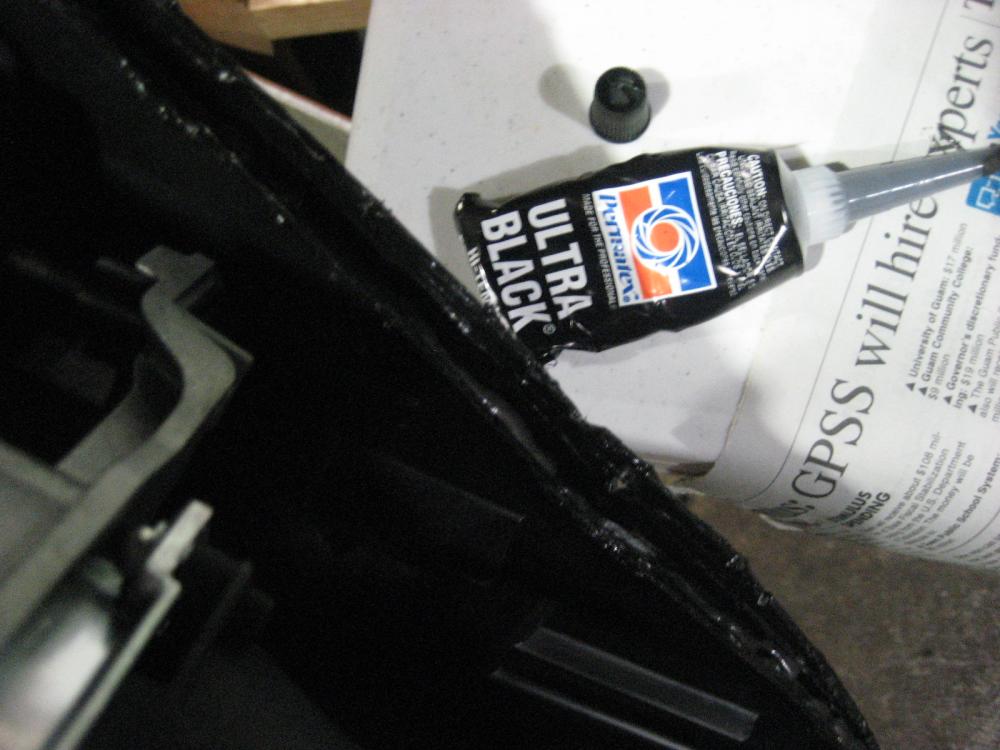
now apply ur silicon in ample amounts DONT BE SHY jam that sucker with alot of it...
now press ur headlight together and reinstall the screws... wipe of excess amounts of silicon... let it dry... now reapply a second coat of silicon around the headlight to INSURE no leaks will occur or even possible... let it dry and sit for 30 mins until dry... then reinstall everything.... and do it to the other headlight and ur done...

NOTES: please please please be patient when ur doing this... dont RUSH or else u might break something... this mod took about 6 hours to do from start to finish.. removal of bumper healights and black housing the headlights.... and remember the more silicon u use... the less u worry about moisture... and last but not least i swear to god ull do a

when ur done with this mod cuz ull feel so accomplished... and u can have a

stroll around the city to show off ur sexy new headlights...
GOOD LUCK TO ALL
P.S i am not responsible for any broken headlights that occur this DIY is a guideline only!!! it is ur choice to try it out or not....