IF YOU FIND THIS GUIDE HELPFUL, GIVE ME SOME REPPPP!! :-)
Hey guys, I picked up a set of TEIN lowering springs, and since I searched around for a DIY and couldn't find one, I decided to make one!
Tools required.
- Metric Socket Set
- Breaker bar
- Ratchets
- Metric Wrenches
- Spring compressor
- Jack and Jack Stands
- Vice
Recommended:
- Car Lift
- Air tools
- Pizza & Beer
Install time (with all of the right tools and a lift): 2.5 hrs (with pizza and beer breaks)
Install time (estimated without a lift and no air tools): 4.5hrs
Difficulty: (scale 1-10) Solid 2 TEIN Springs (4 if you don't have access to a lift and air tools)
Solid 4-5 if you have different springs, (Eibach, Megan,ect)
Camera: Nikon D60 w/speedlite
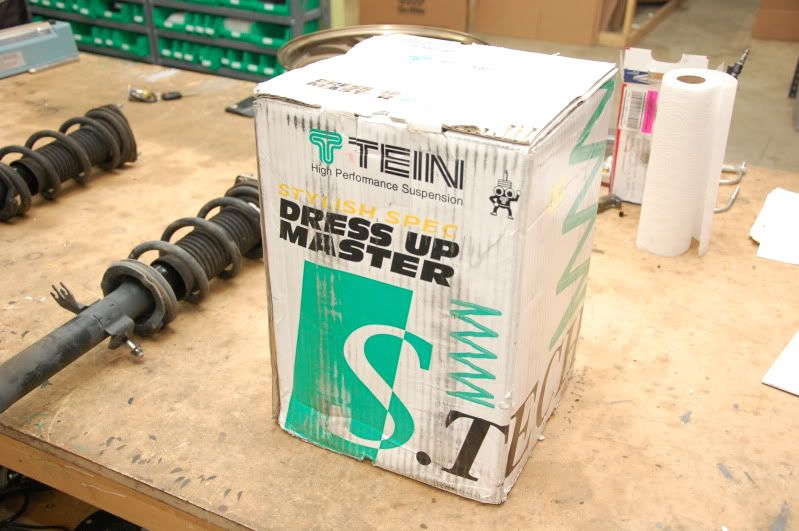
For this guide, I used TEIN S-Tech springs, but the idea should be the same for all other brands of springs.
**Update**
Different springs, other than TEINs seem to be wound closer together so there is some difficulty if you don't have the proper thin spring compressor. Make sure you compress enough of the spring so that you can put the hat back on. Because of that, I'm going to update the difficulty.
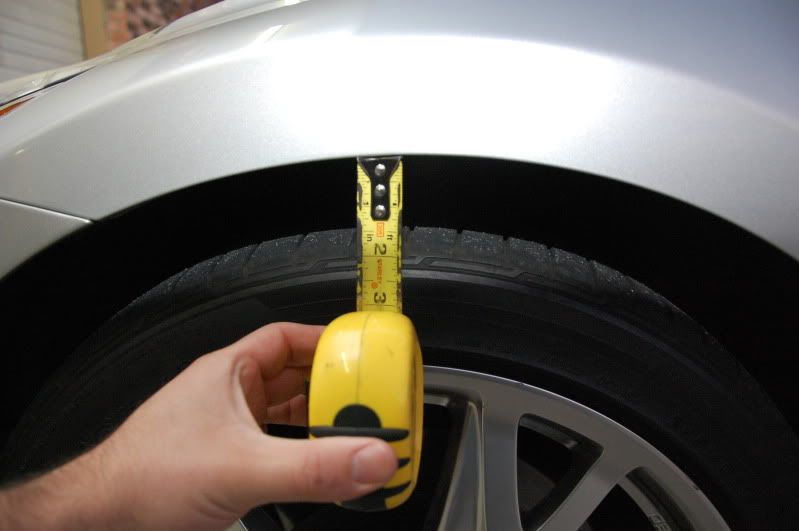
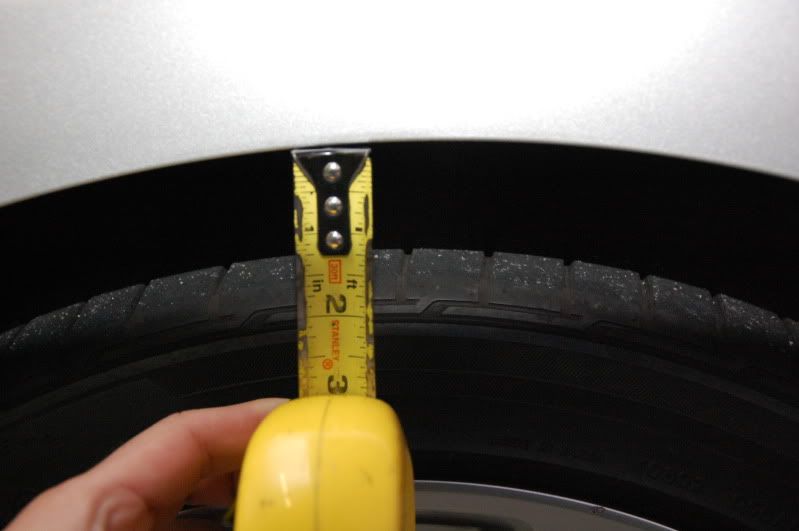
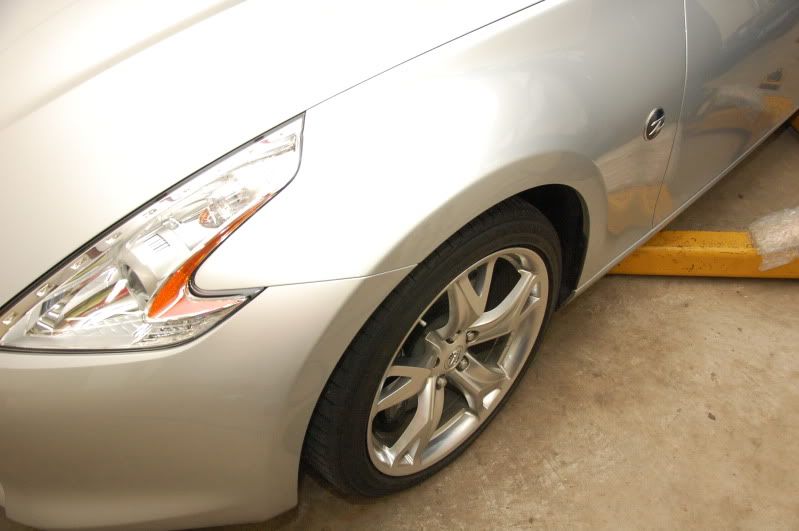
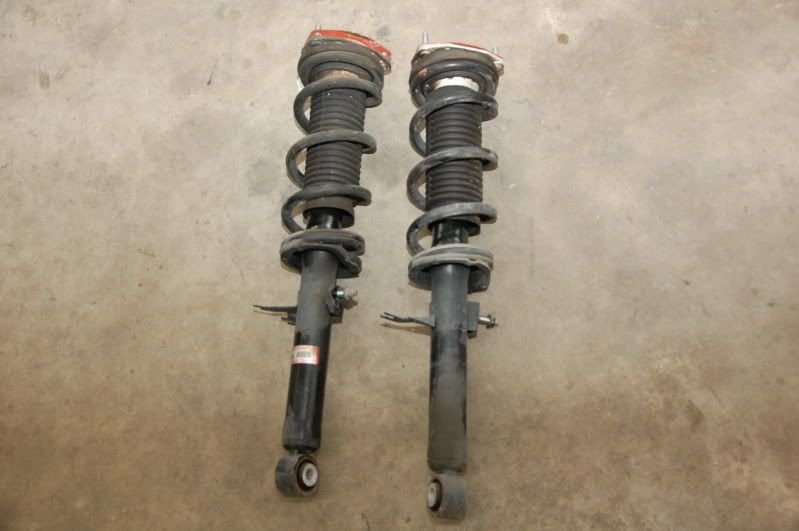
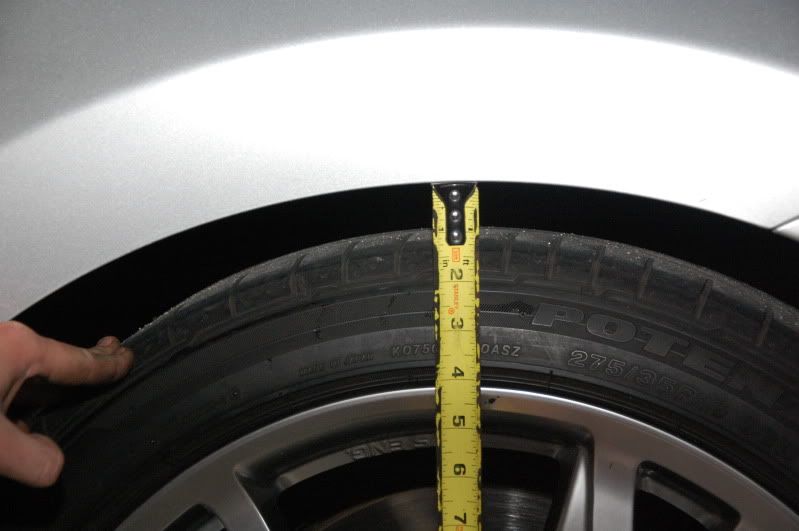
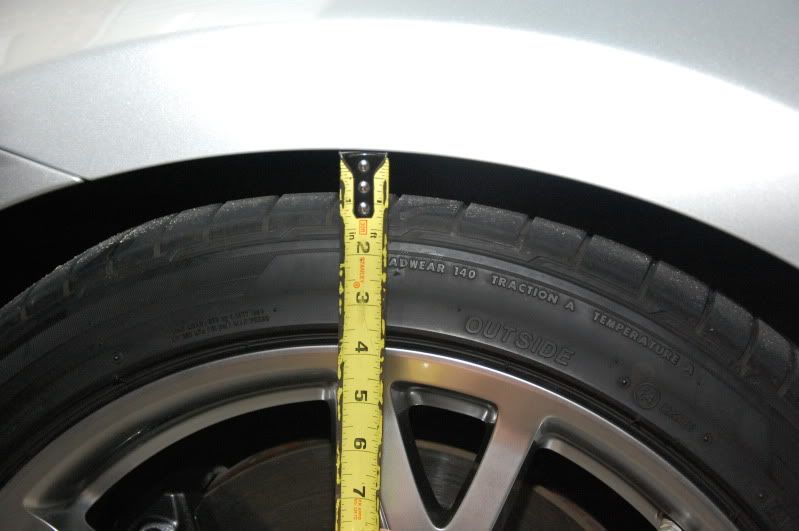
Stock ride height before
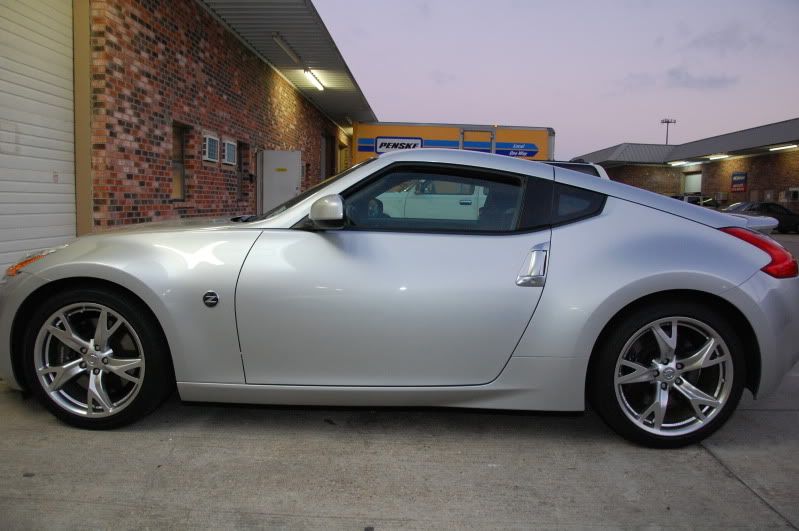
Front
Rear
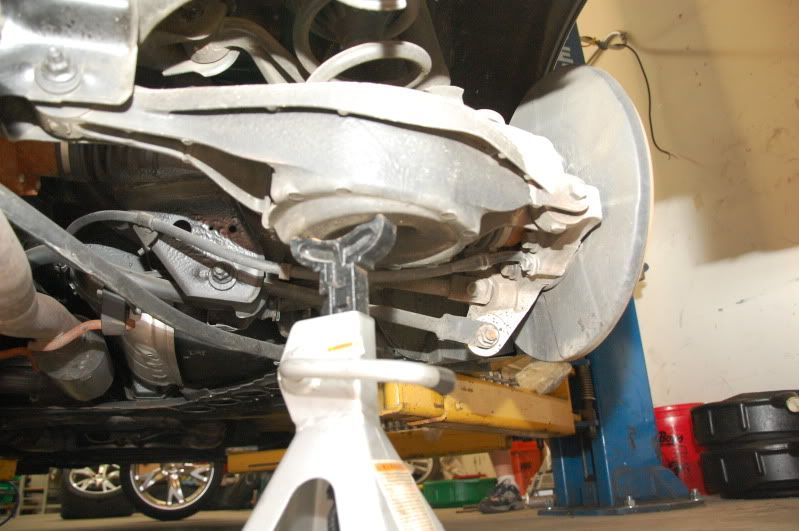
 Removal of the front struts
Step 1.
Removal of the front struts
Step 1.
Loosen all of the lug nuts. This is generally easier to do if you don't have the car in the air. Break them free on the ground so you don't have to hold the wheel from turning.
 Step 2.
Put the car on the lift, or jack up the front.
**Make sure you visit the OEM manual for the proper jackpoints**
 Step 3.
Remove the wheel and keep track of your lug nuts.

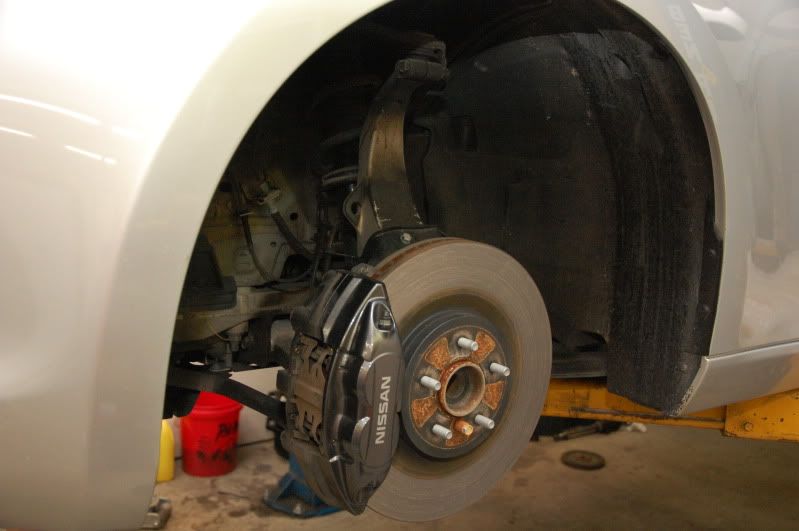
Step 4.
Pull the ABS wiring off of the lower strut mount.
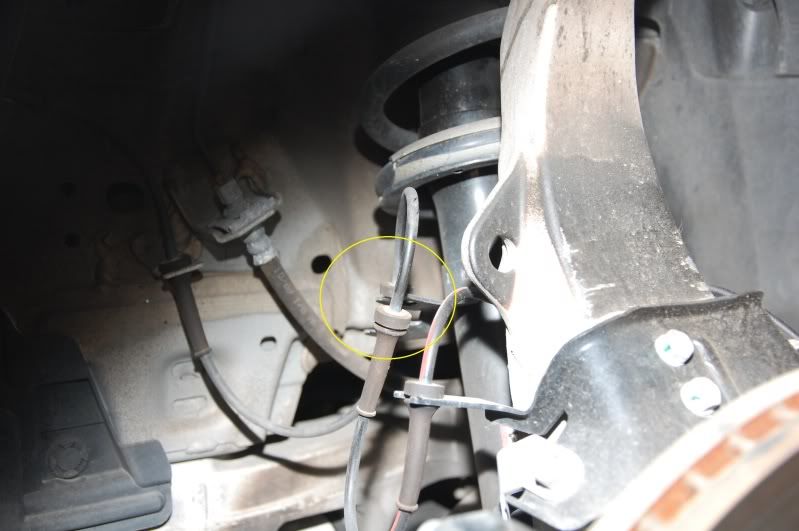
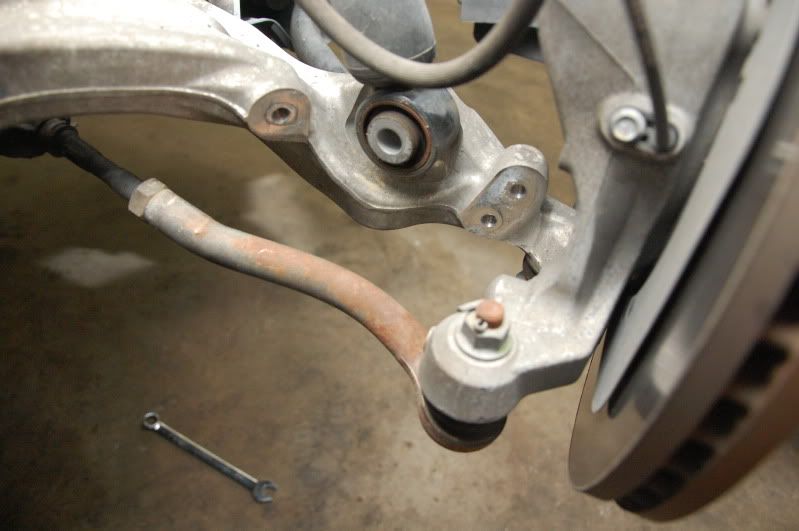
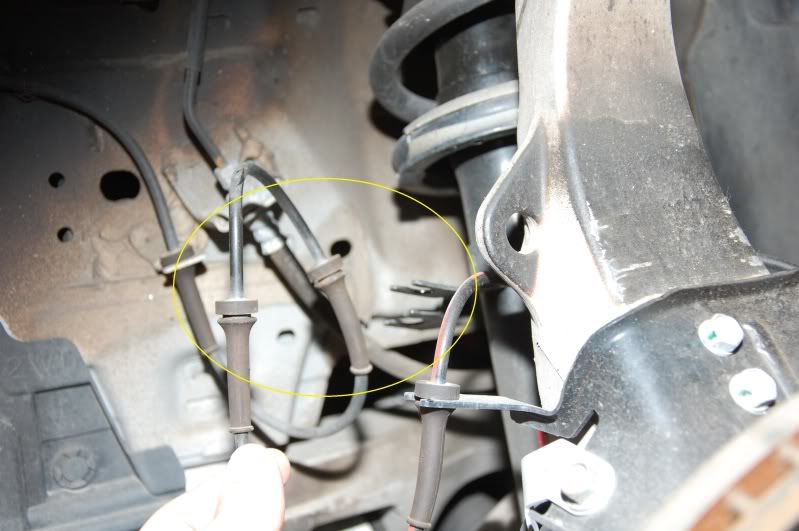 Step 5.
Remove the 12mm nut holding the brake line block on the other side of the lower strut.
**NOTE** I held the block with a wrench because the bolt was so tight, it wanted to bend the bracket. Hold it while loosening the bolt so you don't bend or break anything.
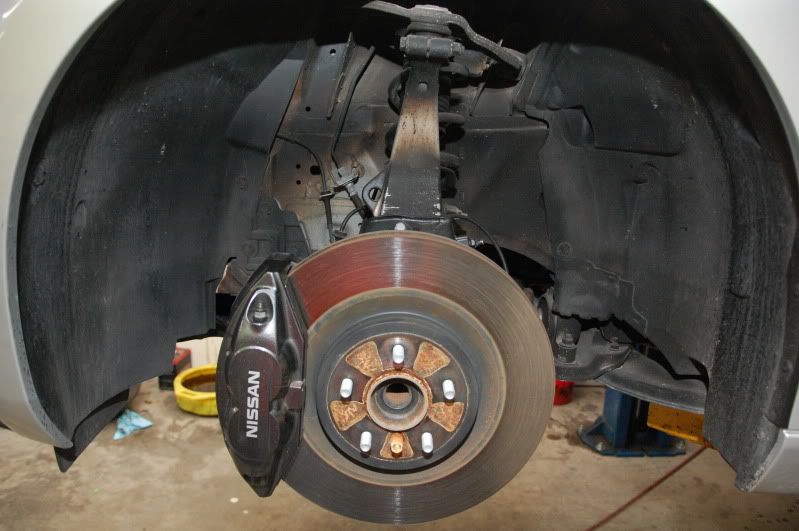
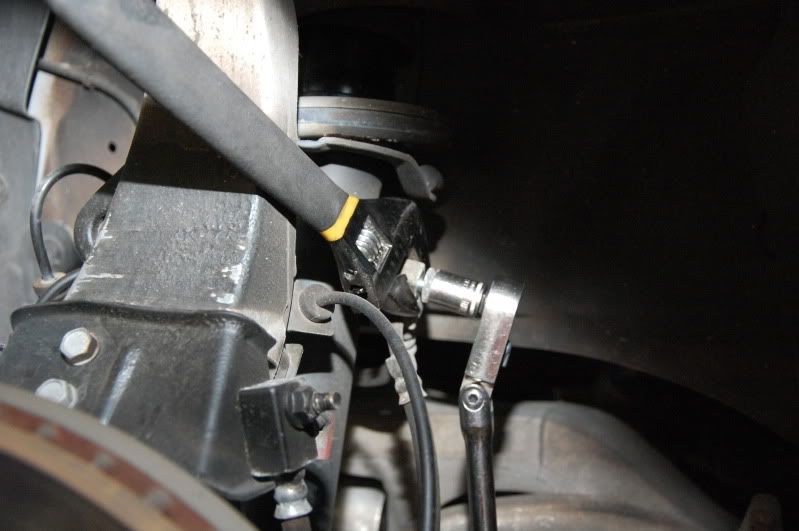
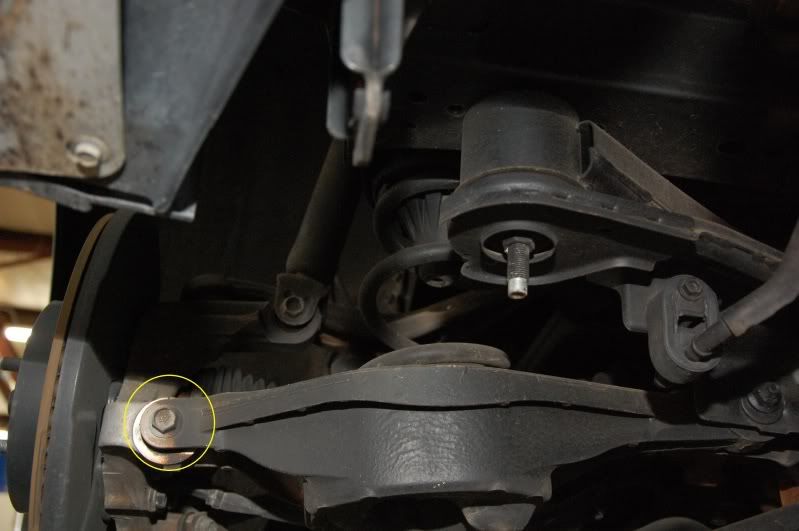
Step 6.
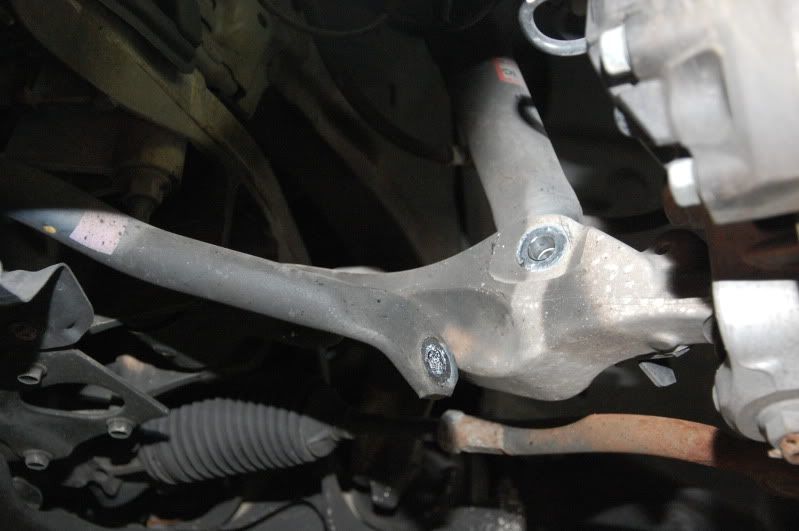
Remove the 17mm lower control arm bolt & 14mm sway bar link
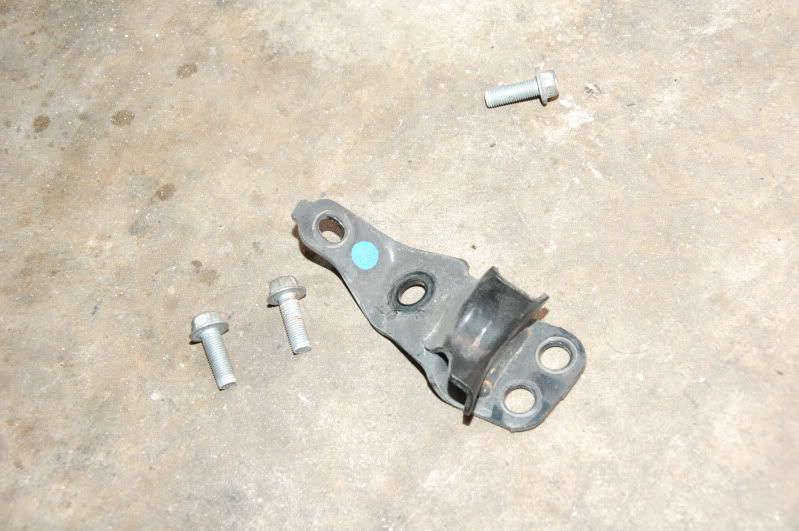
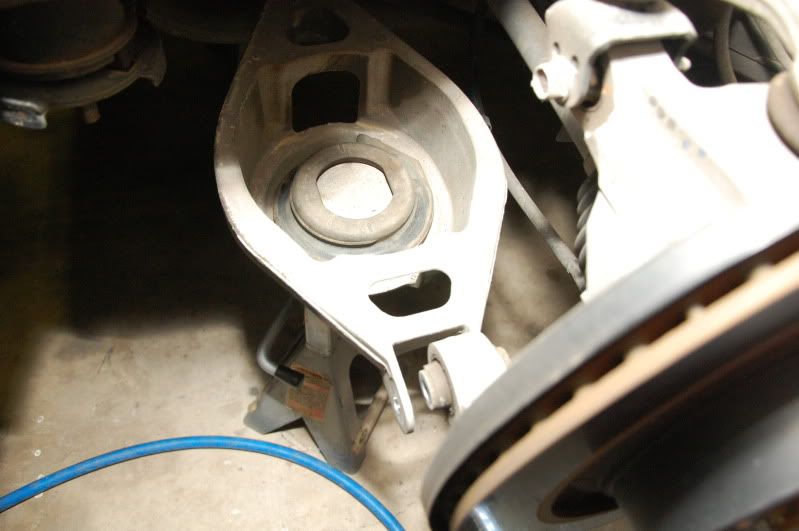
 Step 7.
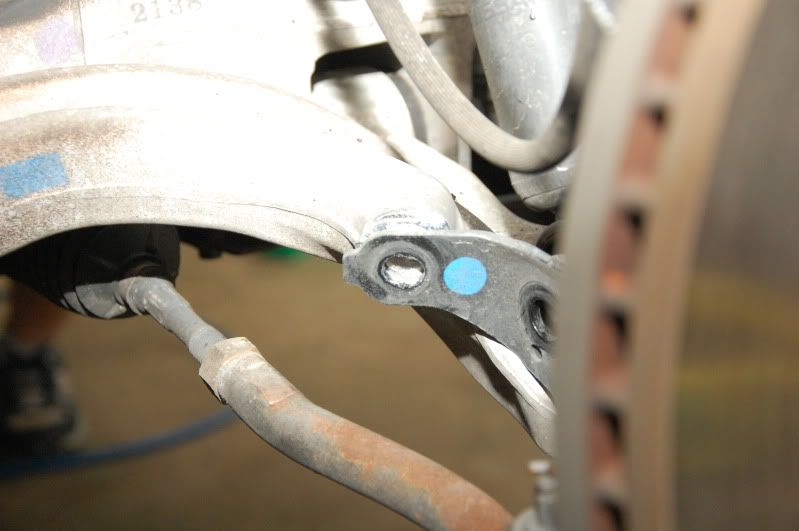
Remove the 14mm lower strut mount plate bolts
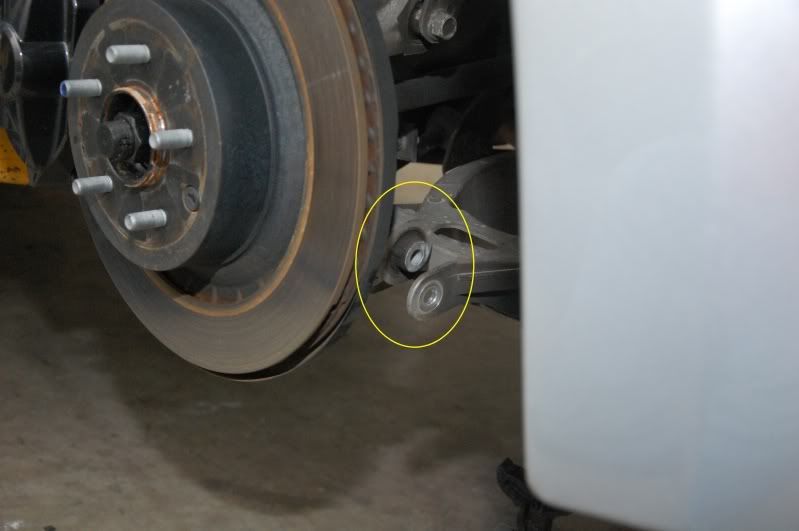
Step 8.
Remove the 12mm upper strut mount nuts
 Step 9.
Remove the strut.
*NOTE: You may have to have a buddy pull down on the knuckle to allow enough room for the strut to come out. You can the struts out without removing any other parts.
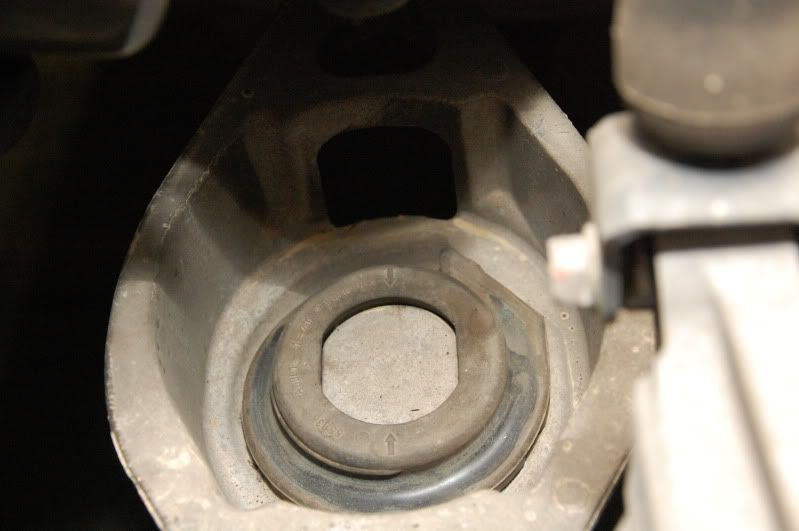
Removal of factory springs
Step 10.
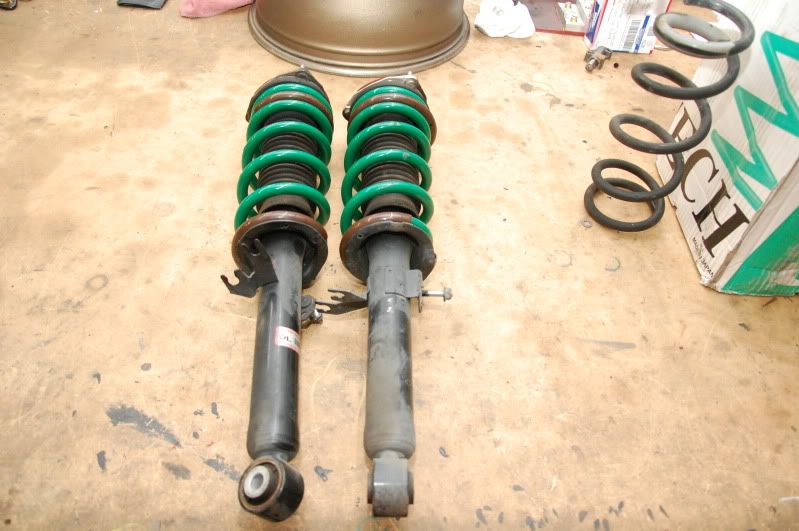
This is probably the hardest part of the install. Hold the strut in the vice, apply spring compressors and compress the springs. Once the springs are fairly compressed, remove the 14mm nut holding the strut top on. Impact wrenches are your friend.
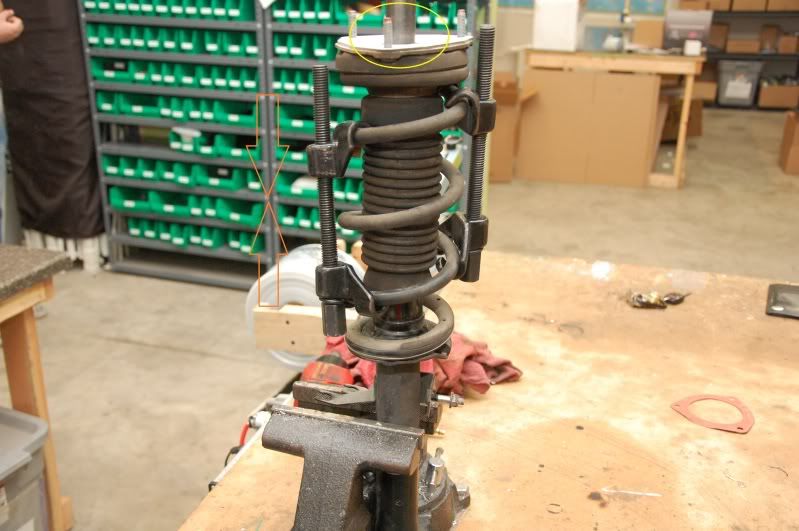
Once the top hat comes off, remove the spring and decompress the OEM spring.
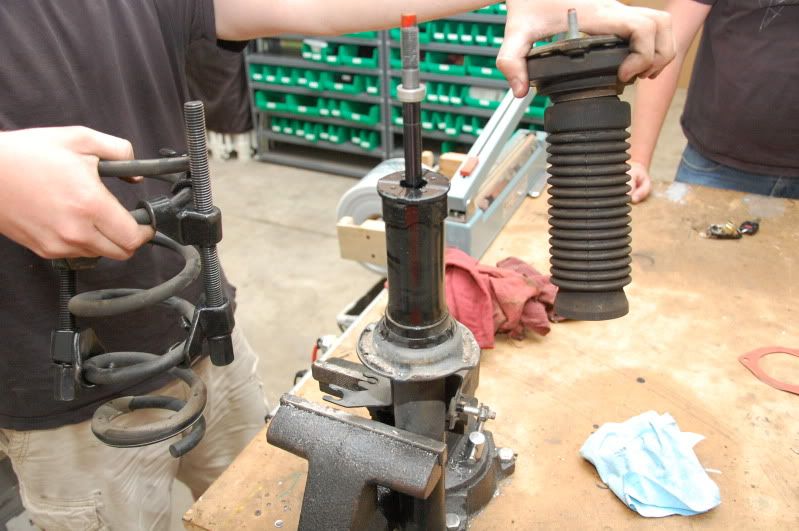
Step 11.
Time to install the new lowering spring on the stock strut. I can't speak for all brands of springs, but the TEIN springs must be compressed in order for you to be able to put the top hat back on. So....

Installation of the top hat is the reverse of removal. Put the hat back on, and make sure you put the hat back on the right way. It has to sit on the spring a certain way, look on the rubber piece and you'll see what I mean.
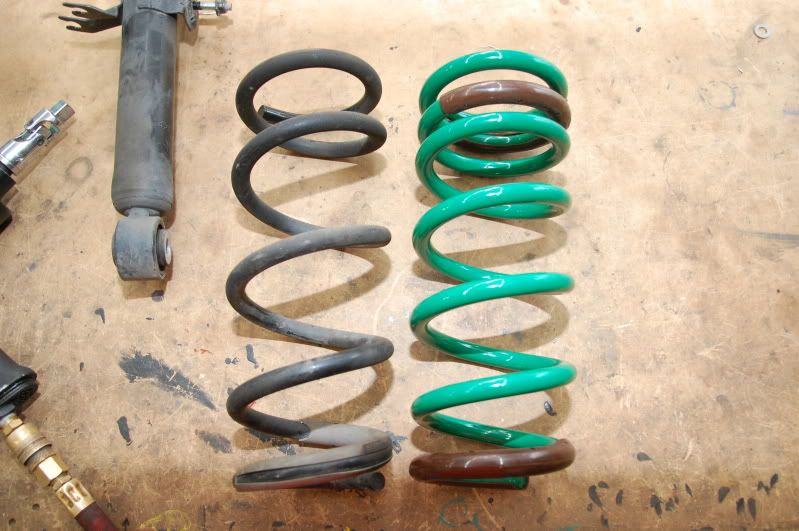
TEIN Spring - OEM

Both done and ready to go back in, installation is reverse of removal. Make sure you impact all of the lower control arm bolts.
Done.
 Rear Spring Removal & Installation
Step 12.
Remove the rear wheel (keep track of your nuts!) and support the car on a jack and jack stands or use a car lift. (as pictured)
Step 13.
Support the rear spring perch with a jackstand.
Step 14.
Remove the lower perch nut and bolt and jack (or raise) the car up slowly to let the spring decompress.
Step 15.
Pull the lower perch down and pull out the spring. The rubber bottom part may come out with the spring, make sure you put it back in and align it properly.
Step 16.
Install the spring back into the perch and lower the car back down to compress it. Reinstall the lower perch bolt and nut.
Step 17.
Reinstall wheels and torque to proper specs.
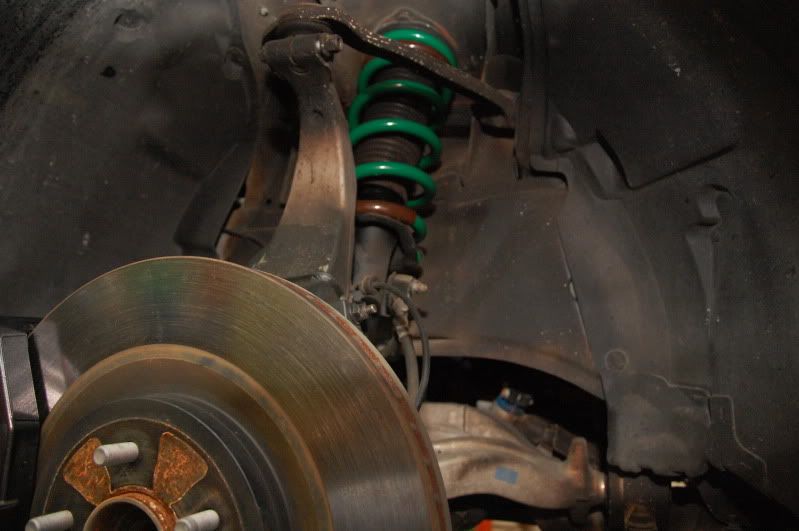
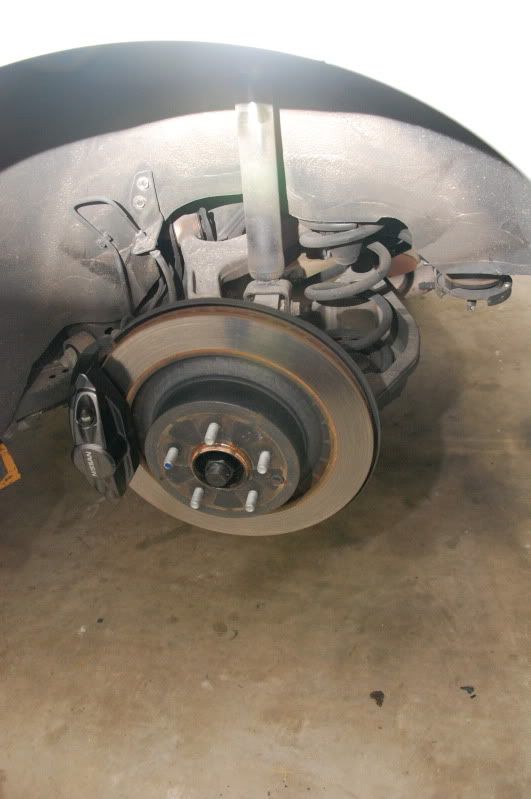
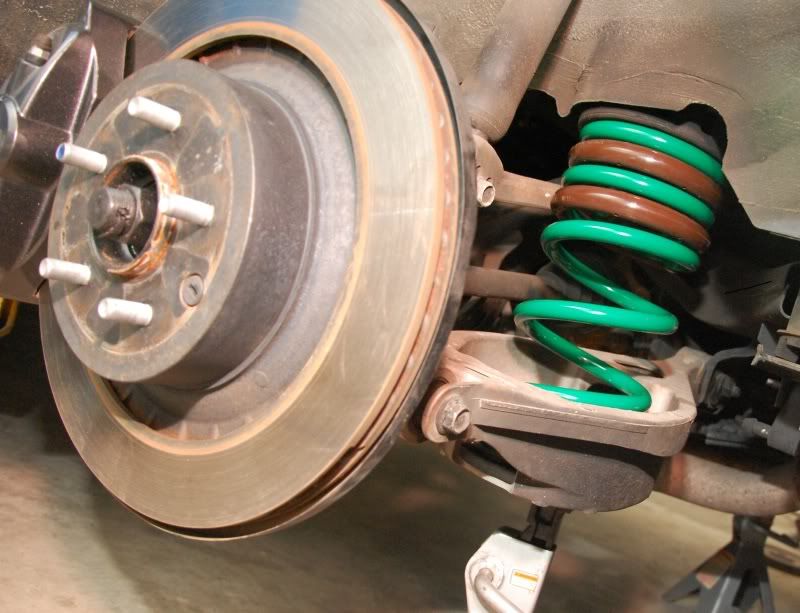
Front w/ TEIN Springs.
Rear w/TEIN Springs
That's it! Go over all of your bolts and lug nuts, test drive the car for any squeaks, rattles or odd sounds. If everything is good, enjoy!
I'll be doing another DIY front lip install soon, if this is helpful, give me rep!

-David