Removing the Nissan mirror
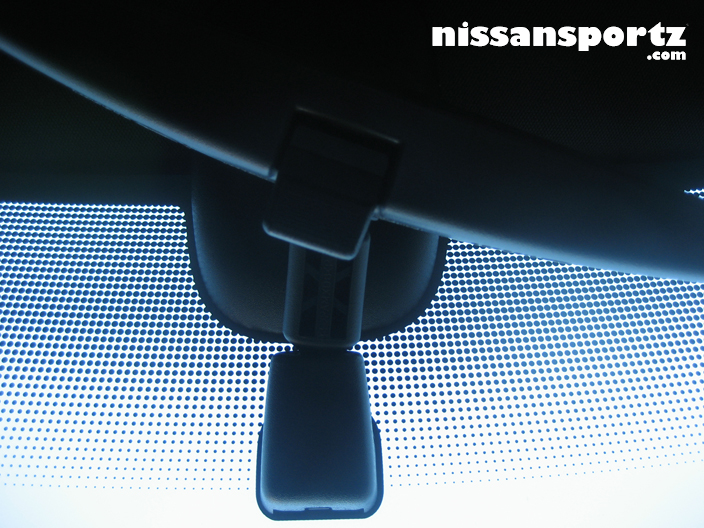
The Nissan mirror clips onto a metal plate that is securely fixed to the windscreen. In these pictures you can see the fixing (note also the rain sensor above the mirror):
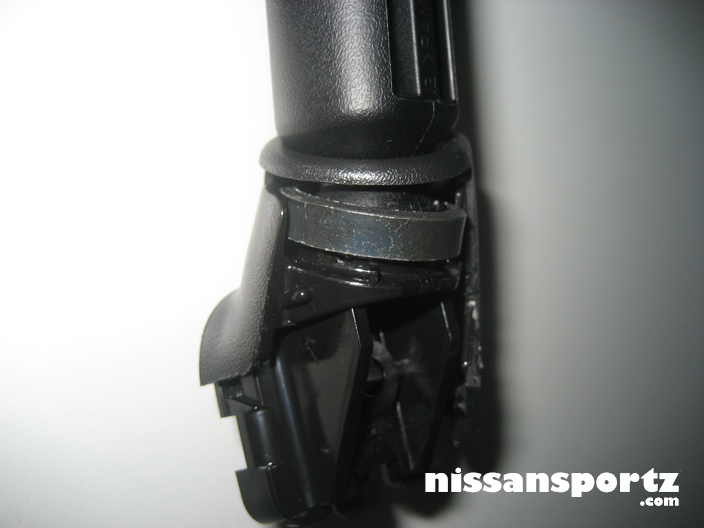
In this shot (from beneath) you can just see there is a plastic clip that need to be opened so the mirror slides off it's mount.
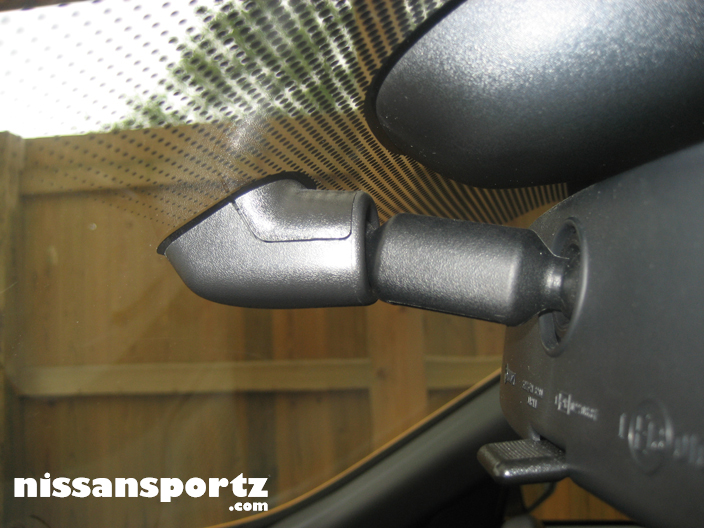
In this shot you can see that the mount can be parted into 2 which gives better access to that clip
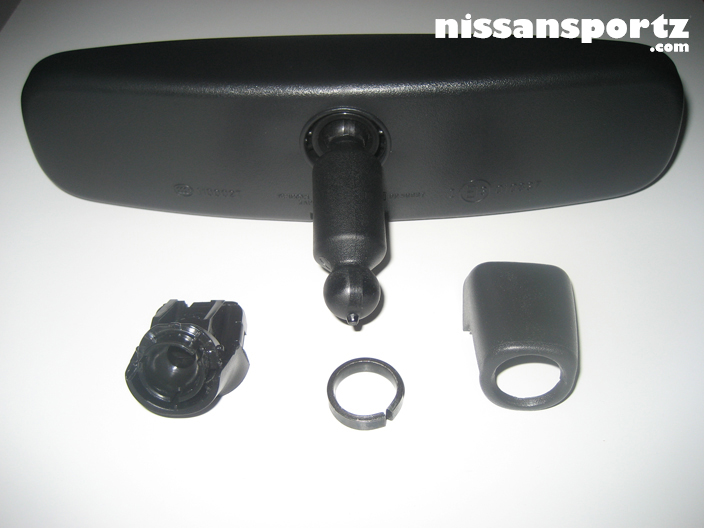
With the Nissan mirror removed I then dismantled the mounting bracket. I did this as I needed to cut the bracket off the Nissan mirror. I later decided that I did not need to dismantle the ball joint and that it was very difficult to put back together!
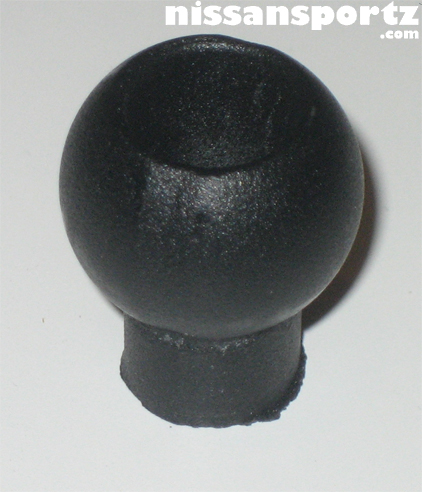
Close up of ball joint - the metal ring needed to be removed to pull the jpint apart - in hindsight I would not recommend doing this as putting it back together is really hard!
Ball joint dismantled:
Cut the joint as close as you can to the mirror using a hacksaw:
 Preparing the BMW mirror
Open the mirror by prying the bezel off the front. I used a credit card for this and found it to be quite easy:
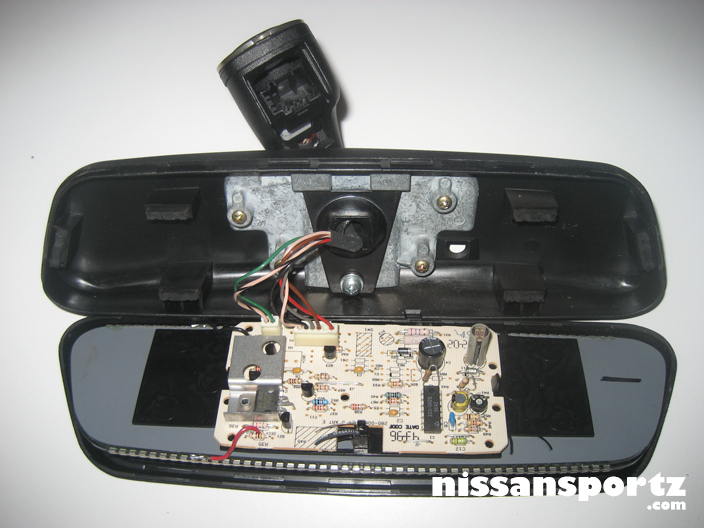
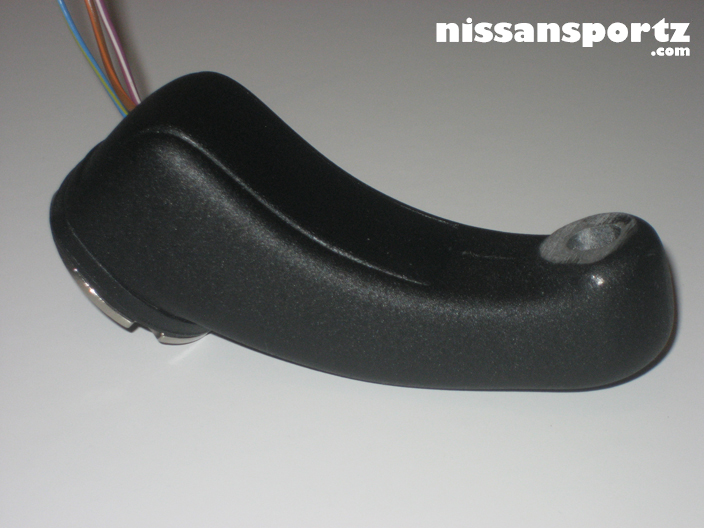
Unclip the cables from the PCB on the back of the mirror. Next, unscrew the black sprung-metal clip in the mirror back to release the ball joint. Remove the plastic cap over the ball and the bracket is free. Snip the cables - you will only need the Red and Brown cable for power. If you wish to wire in a reversing signal then keep the Grey cable too (see later).
With the BMW bracket free I used the hacksaw to cut the ball off the end: