It is that time. I researched these quite a bit before I went downrange and on my way home I pulled the trigger. I went with ClearMask. They co-designed a film with 3M and is supposed to be user friendly. I have some experience with window tinting and vinyl graphics. I know this is not the easiest thing to do or people would not be charging $$$ for installation.
I am stationed in Germany and I did not even bother to search around for an installer. I figured $260 was worth the effort. Plus I like a good challenge!
I just want to share my experience with others so if they are thinking about trying it out for themselves they can. I will post an update after I get it installed. Any tips or comments welcome

Here is the link to the kit:
http://www.clearmask.com/
(it also includes installation supplies, headlight protection and door guards when you add it to your cart)
Update #1
ok, well I started on the bra tonight right after I got back from getting the windows tinted. I figured since it will need to cure I might as well do it all at once.
First off, I am very pleased with how easy this kit is to install. It is way easier than window tinting IMO. I got done with the hood, fenders, and A pillars tonight. I will finish up the rest tomorrow.
If anyone is thinking about trying this out and are mechanically inclined it is really easy. Just make sure you read the instructions, watch the videos, and take any tips they include for their specific material. Also, make sure you keep everything clean and well organized. It makes for a easier install.
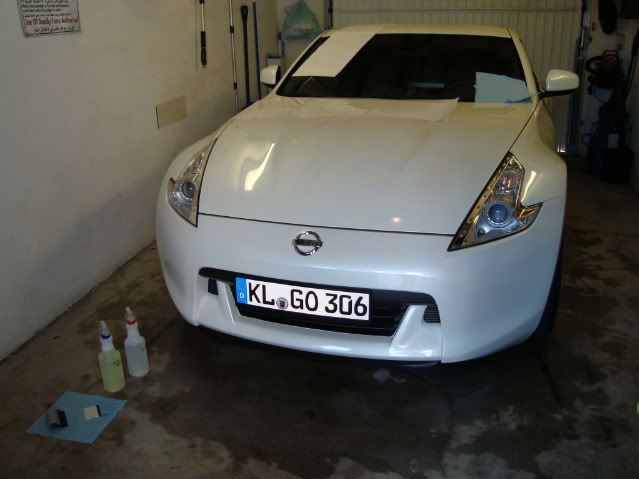
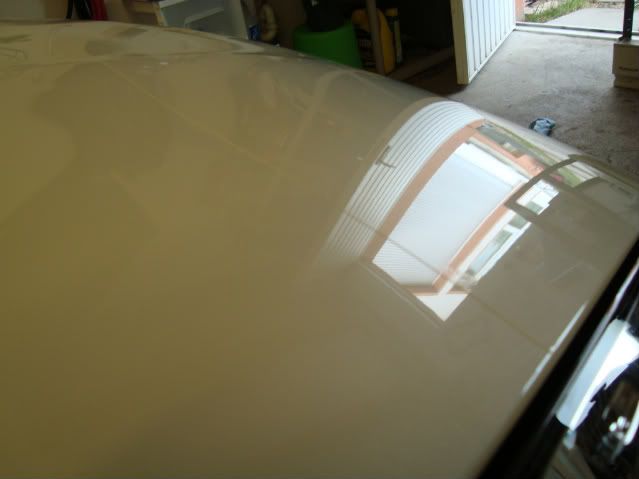
Here are some pics. You can only see it from a certain angle. The A pillar is completely invisible and the fender is really hard to see.
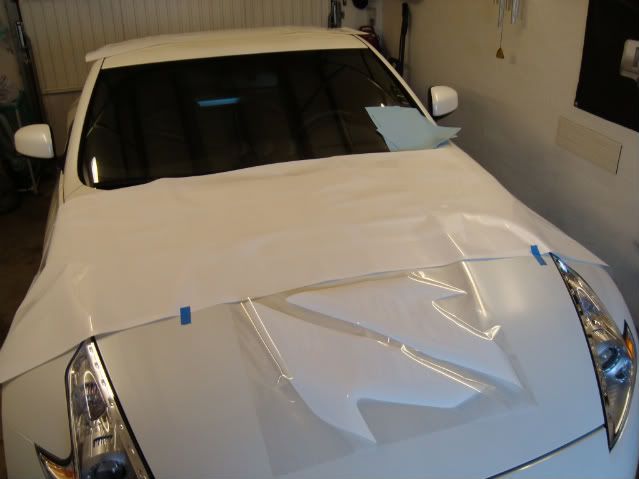
Cleaned and prepped for install.
Hood after install (top view)
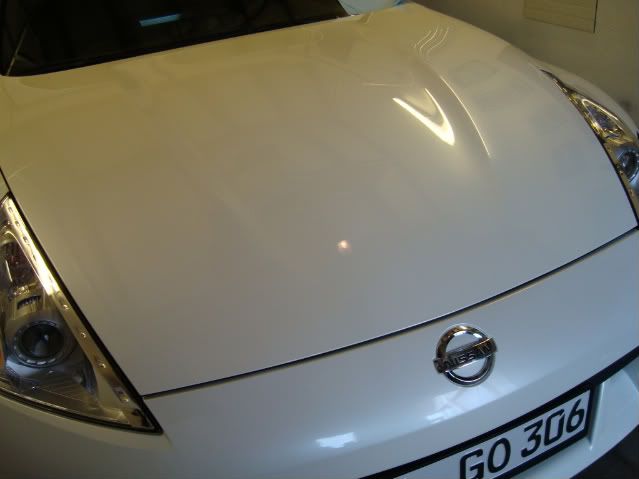
Hood after install (side view)
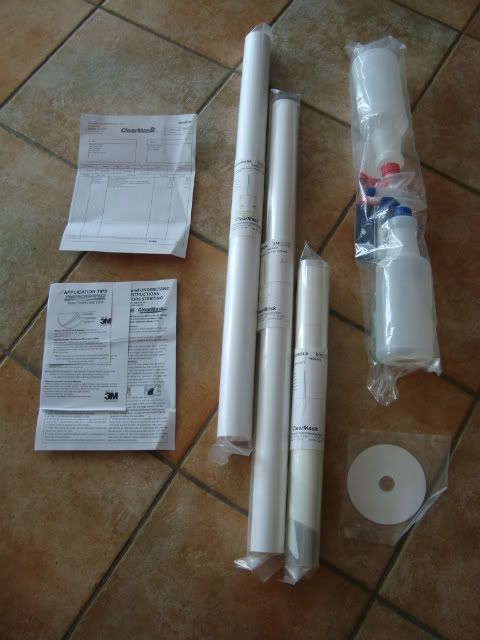
Separating the rest of the kit.