Day 4, 5, 6:
Sorry for the late update everyone. I’ve been working hard on the install all weekend and did not have a chance to update the thread.
Mounting the turbo: The installation manual tells you to prepare the turbo by attaching the oil return drain and mounting the wastegate actuator. Don’t do it. If you leave the oil drain and actuator off, the mounting process is 100 times easier. It’s very easy to install those things after mounting the turbo anyways. Also, I would suggest that you install the engine mount spacers before attaching the turbos. It will give you more room to work with. You do not need to remove the clutch lines to install the driver side turbo but you need to take off the starter.
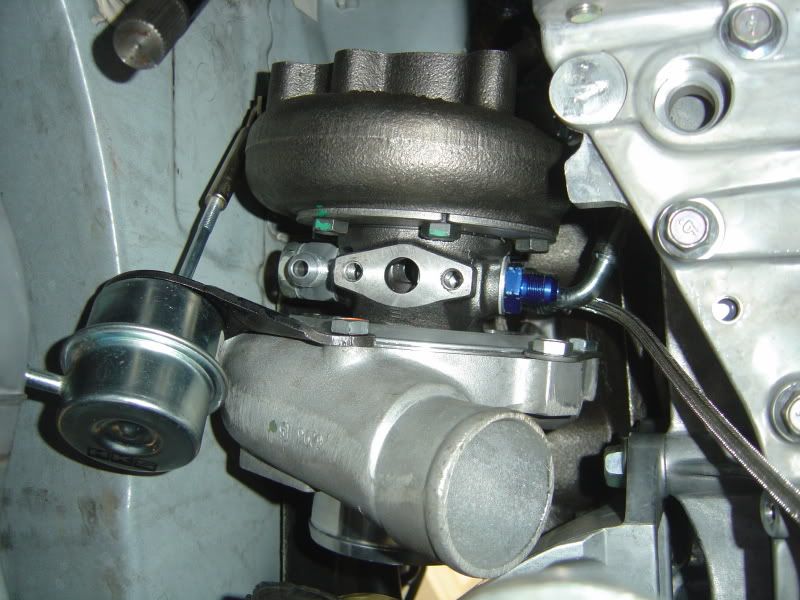
To mount the turbo, you need to add two studs to the rear side of the turbo manifold, place the gasket, and then attach the turbo. Orient everything as pictured. For the passenger side, you want the air intake side to face towards front of the car and the charge air pipe to face up towards the hood. For driver side, you need the intake side to face forward and the charge air pipe to face downward. You need to orient both turbos to have the drain tap face downward. Secure the two turbos with two nuts in the rear and two allen head bolts in the front.
Passenger side:
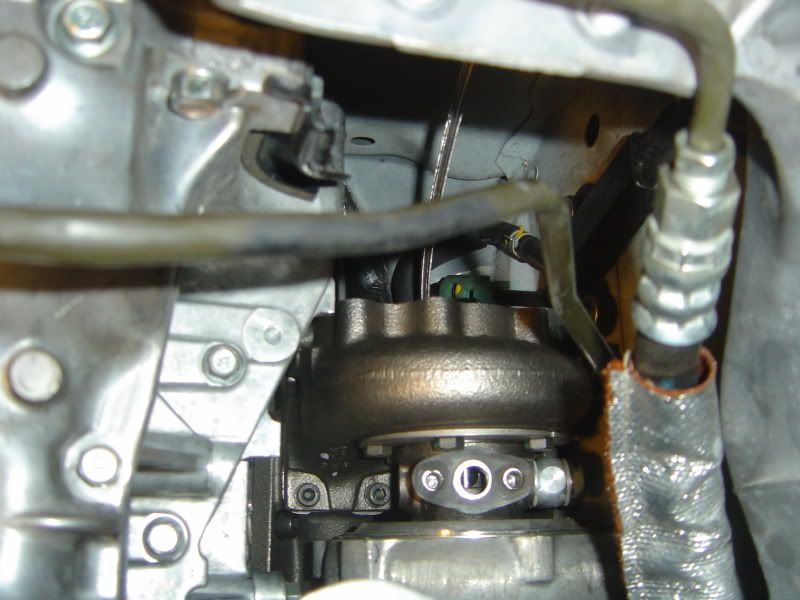
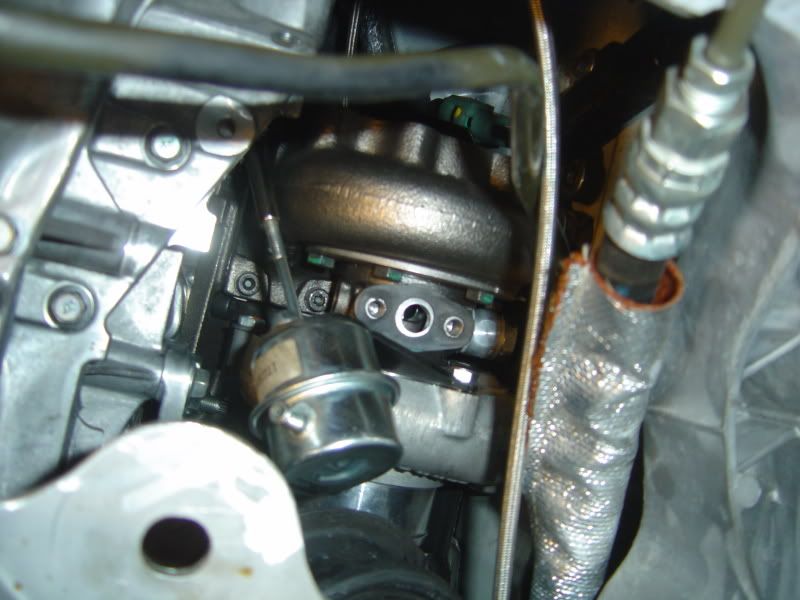
After mounting the turbo and orienting everything, you need to tighten all the brackets that secure the turbo housing. There are 6 bolts for the hot side and 6 for the cold side. Some of the bolts will be tricky to get to. Use crow’s foot attachments to help you secure the bolts. Leave the 2 bolts for the wastegate actuator on the cold side.
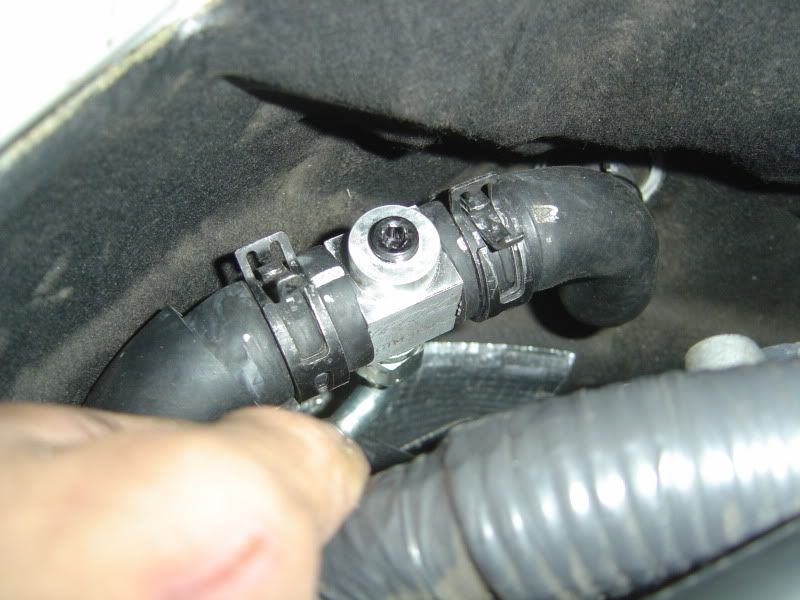
Then you need to add the coolant fitting:
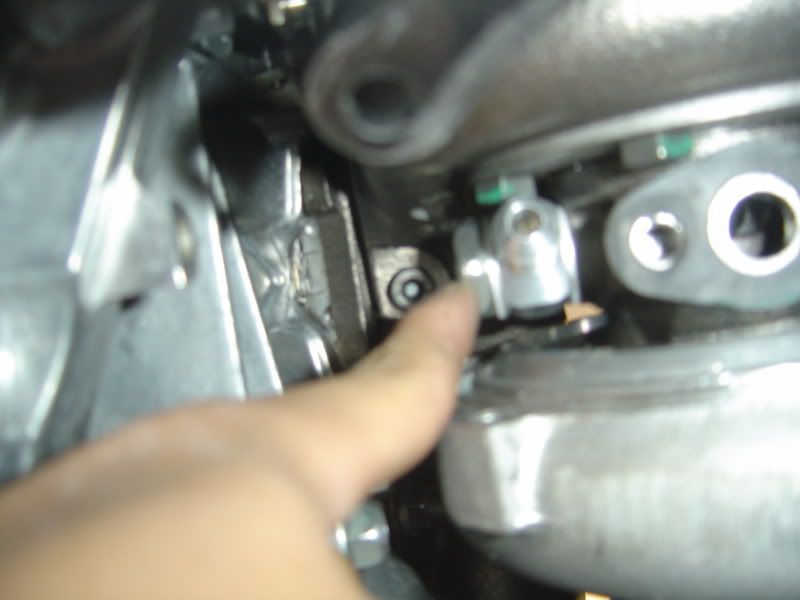
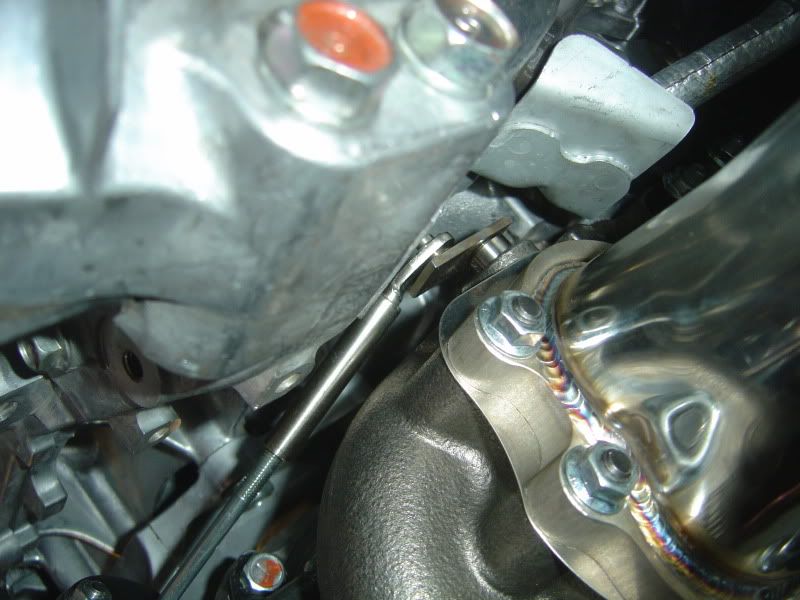
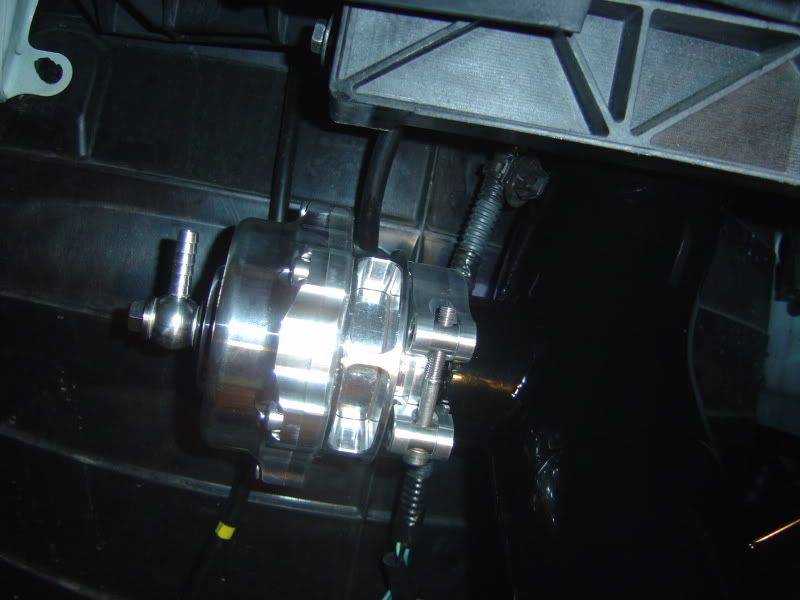
Then you mount the wastegate actuator. This is a very important step and is a little tricky. You have to make sure the wastegate is just fully closed normally. You can adjust this by twisting the arm bracket on the actuator. Notice I had to bend the tip of the arm at a small angle to make sure the valve opens smoothly. Then tighten the bracket onto the turbo housing.
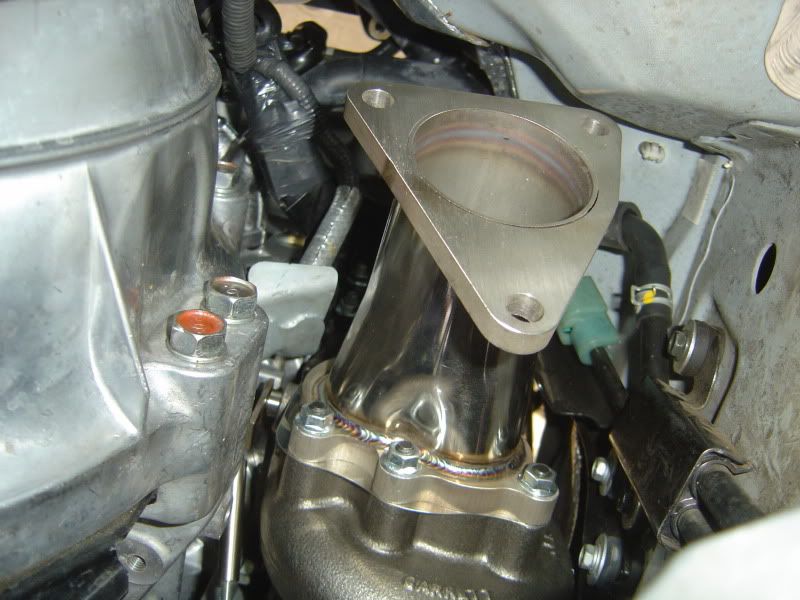
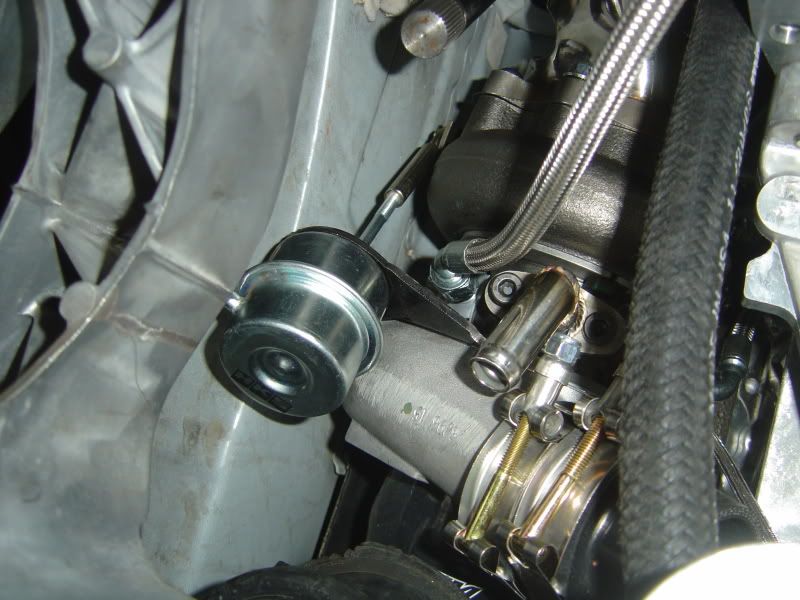
Now you can mount the oil drain. After that attach the exhaust manifold:
Do the same thing for the driver side.
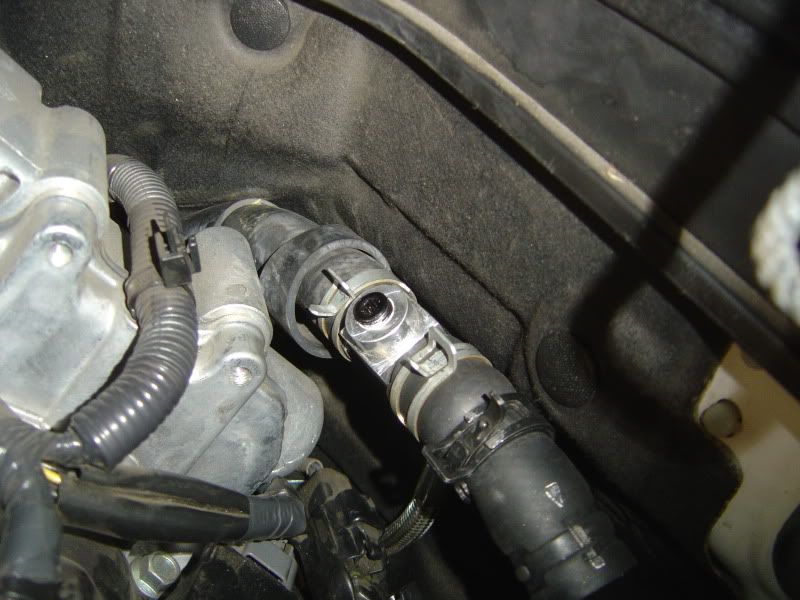
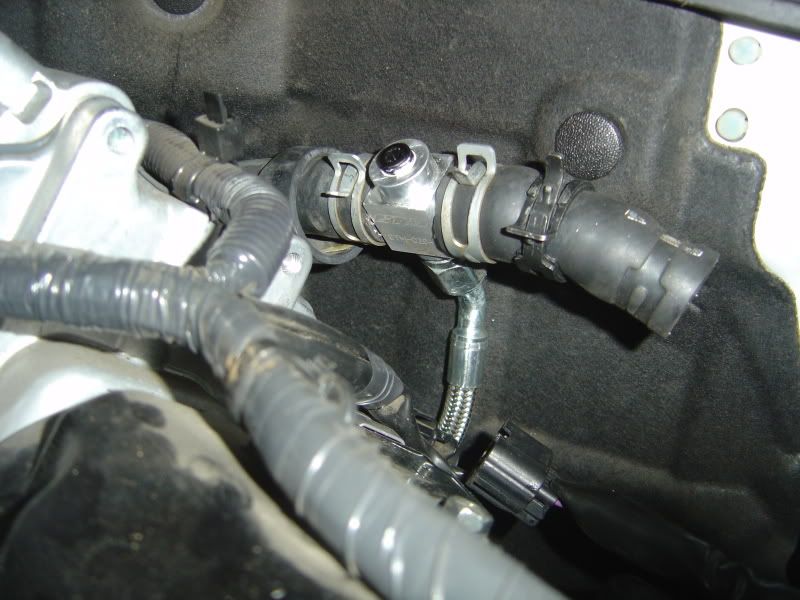
Running water lines:
There are three different water lines. One line goes from driver side heater hose to turbo. Second line goes from turbo to turbo, and third line goes from passenger turbo to passenger heater hose.
Turbo heatshield:
These are very easy to install. Just move them around to get them to fit.
After attaching the heatshield on the driver side, you can reinstall the coolant piping:
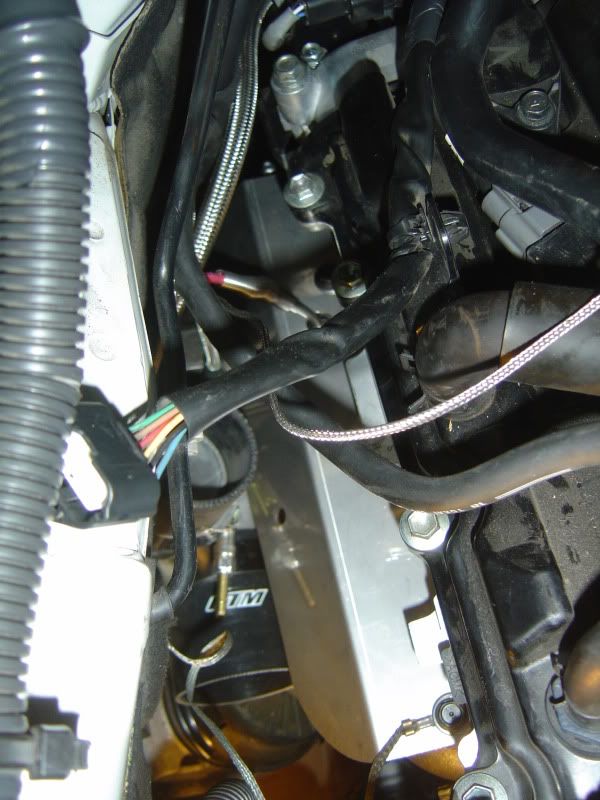
Remounting the starter:
First you need to straight up the wire terminal that bolts to the starter. You have play around with the bracket and make it mount sideways as seen here:
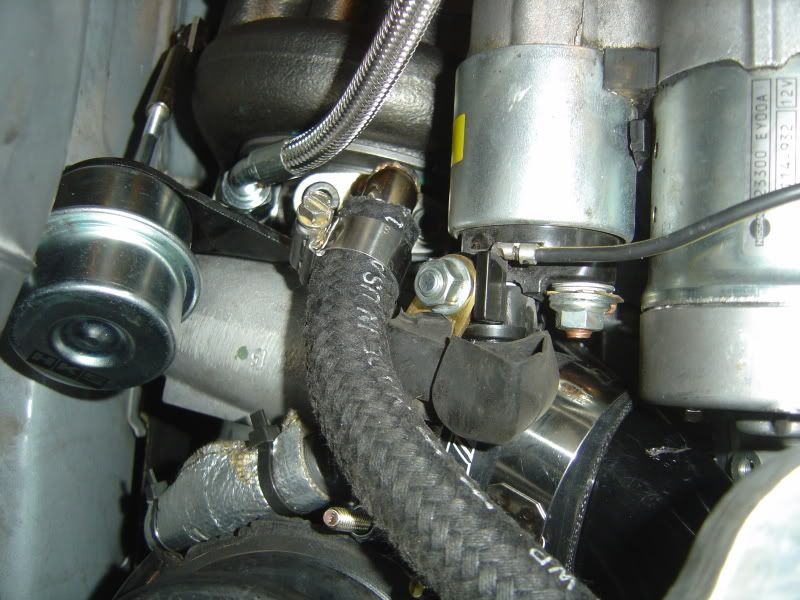
You can also see the oil drain tubing.
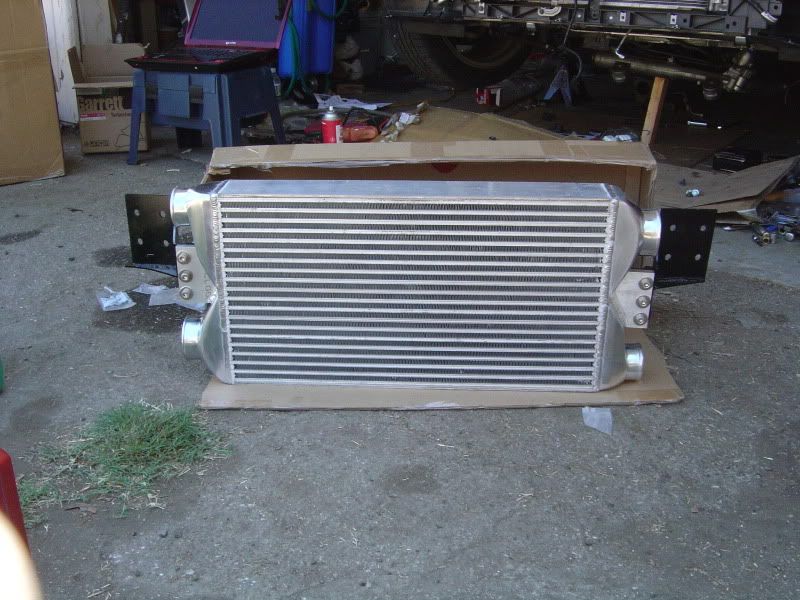
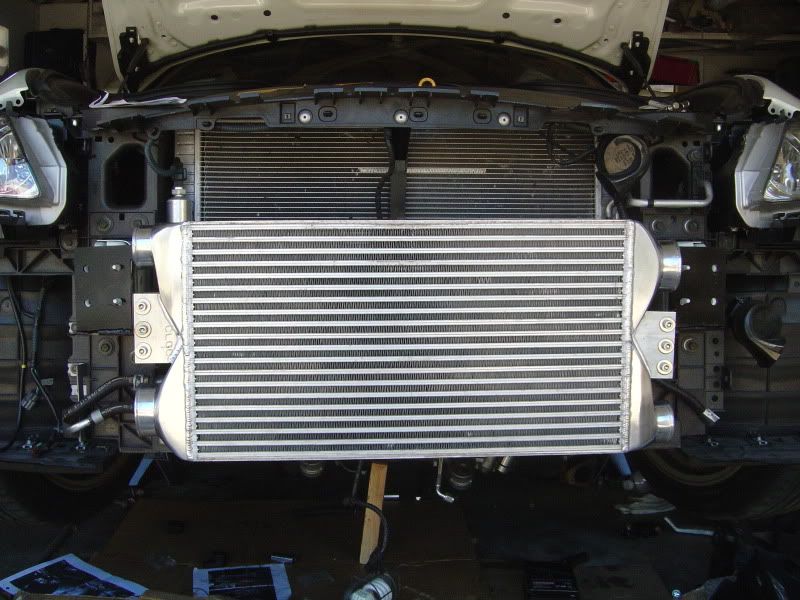
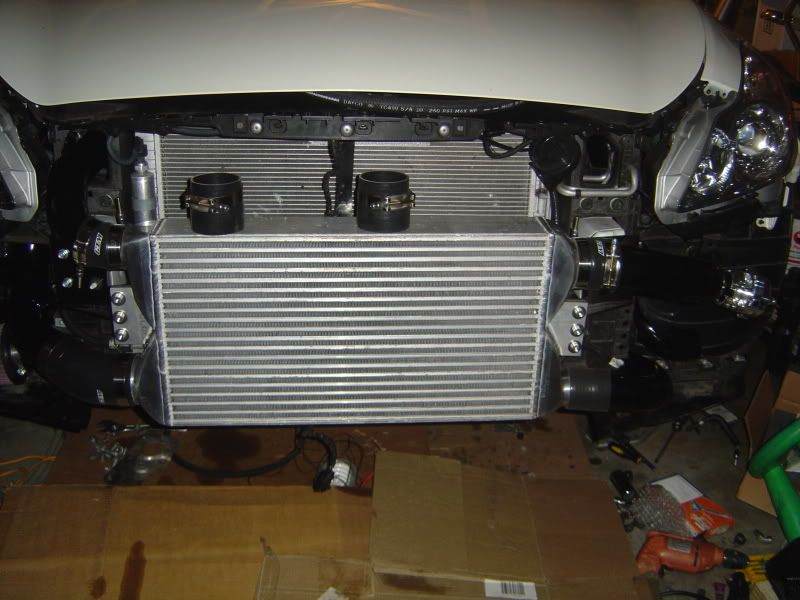
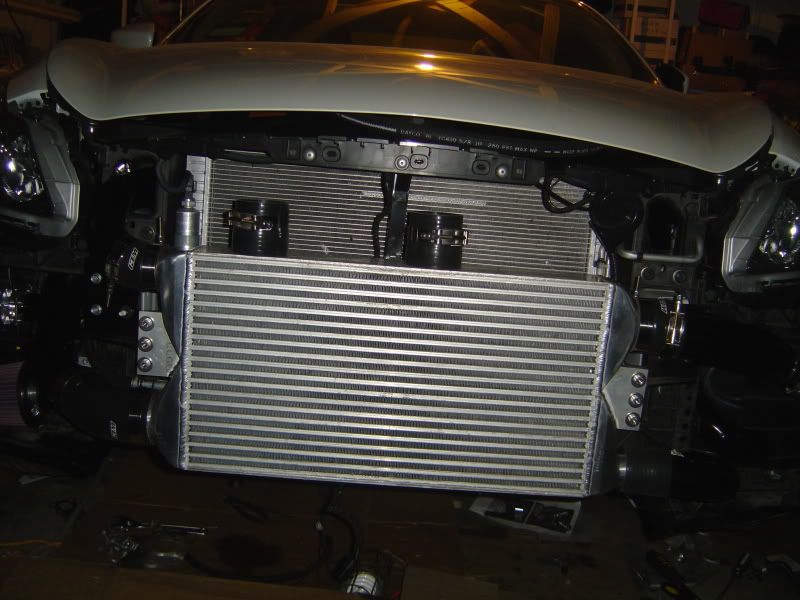
Mounting the intercooler:
This is probably the easiest step. First line up the bracket correctly. Attach brackets to the intercooler but keep them loose. Then just attach to the car.
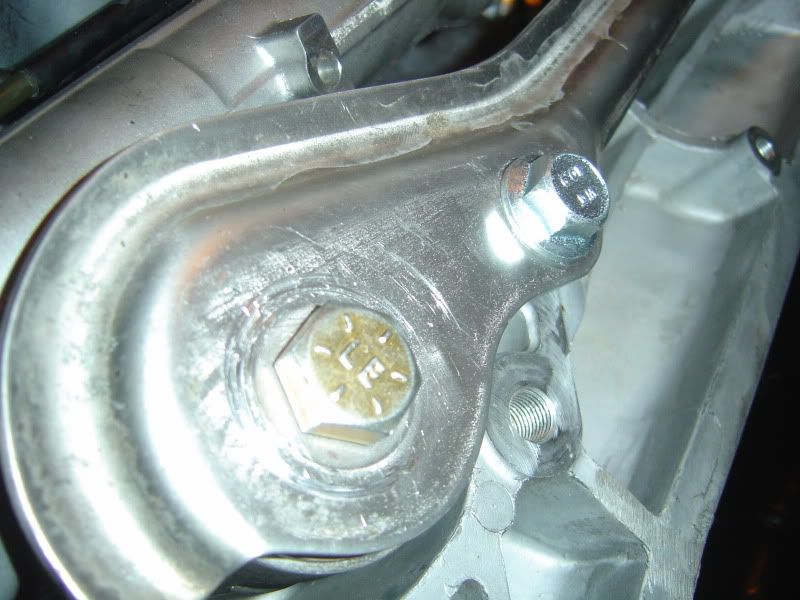
Remounting the steering column:
Push everything back in and use the provided spacers and longer bolt to mount the column. This makes sure that the steering column does not hit the turbo housing:
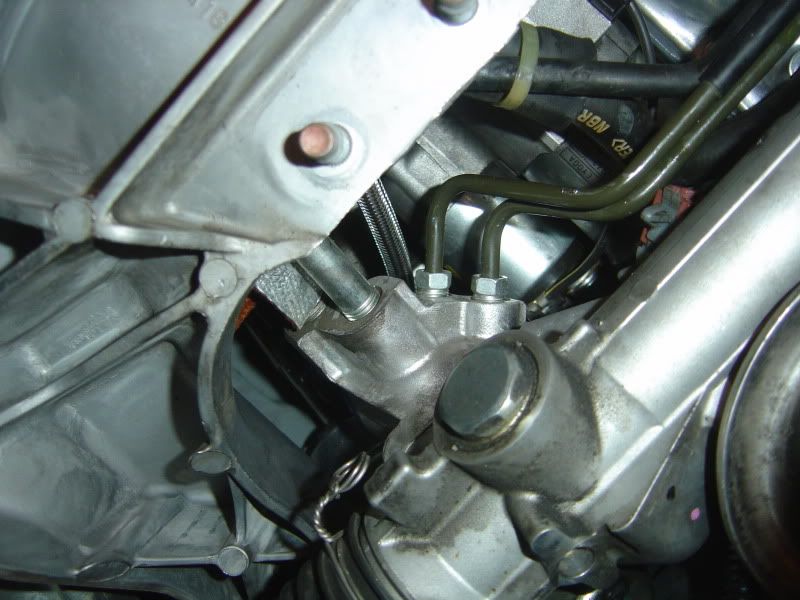
I did run into a problem while mounting the steering knuckle.
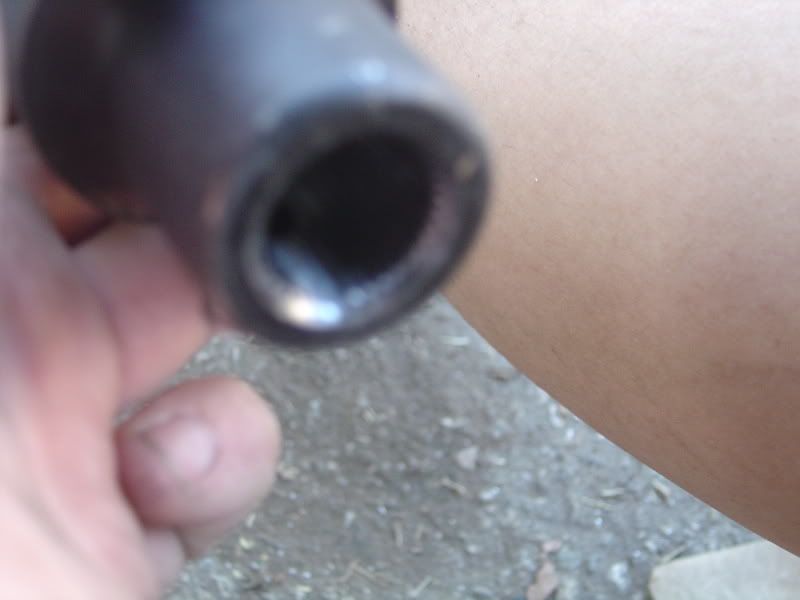
The factory steering rod has 2 alignment groves like this:
However, the GTM knuckle only had 1 grove so it wouldn’t go in the steering rod. I had to drill another alignment grove to make it fit. Assemble the knuckle like this:
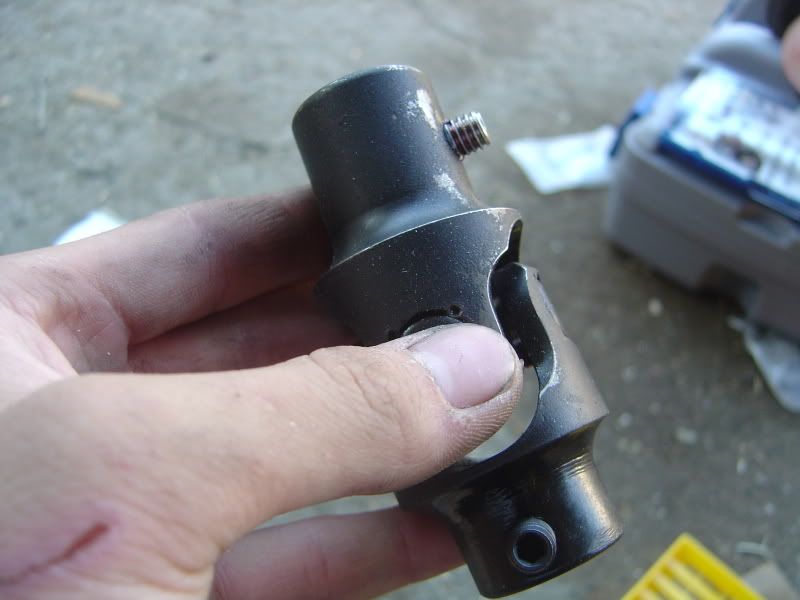
The longer portion goes into the steering rod and the shorter section goes into the blue steering column.
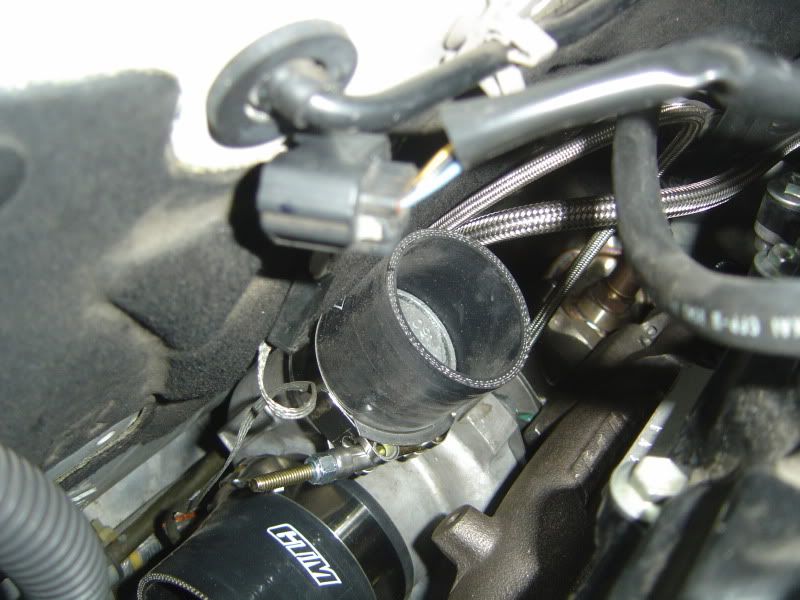
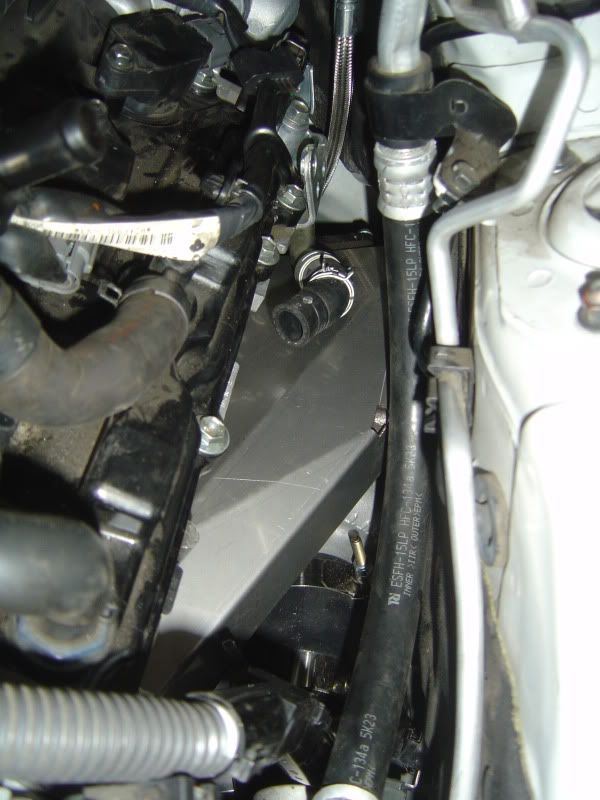
Running the IC piping:
It is very difficult to describe this process in words, so I’ll just try to provide a lot of pictures. One little advice, be careful when distinguishing the two pipes coming of the turbo charge housing. They look very similar and can get mixed up if youre not careful. I would suggest installing the passenger side first because only 1 of the pipes will fit the passenger side while both could fit the driver side.
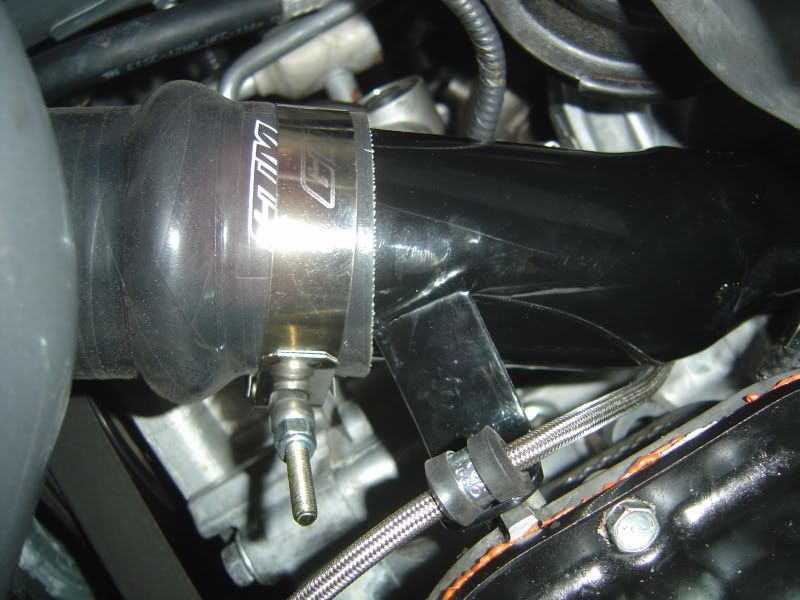
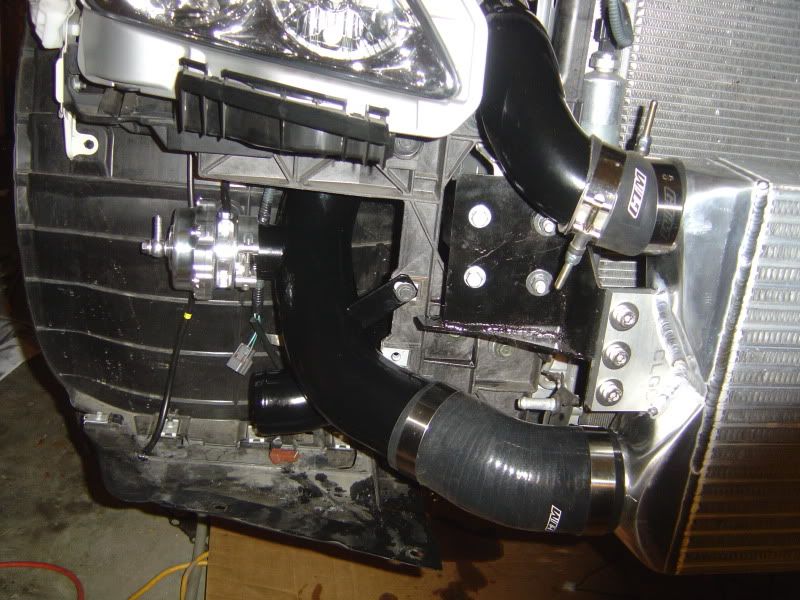
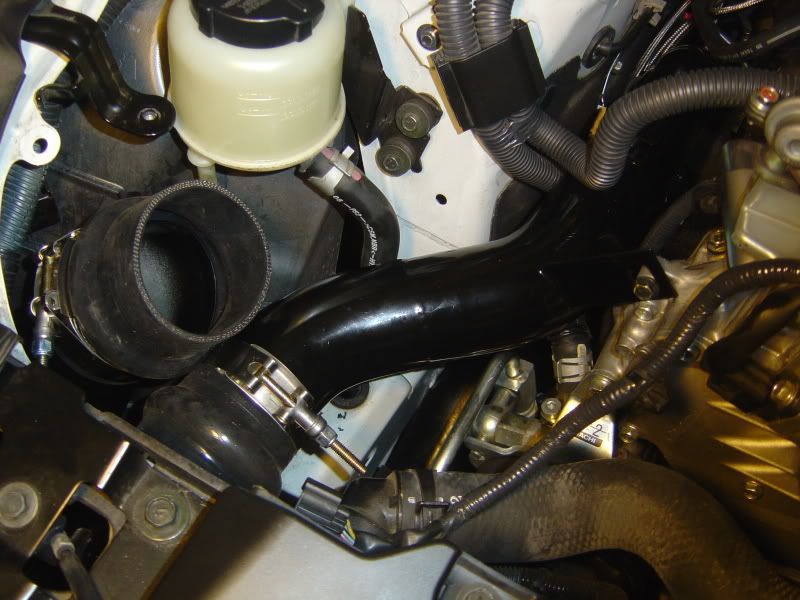

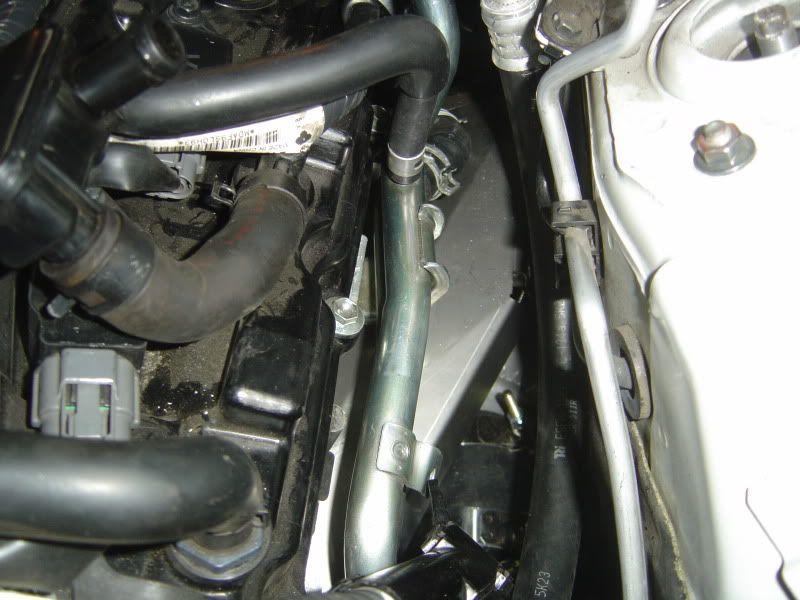
You will have to rerun the power steering tubes on the passenger side to clear all the IC tubing.
That’s it for now. I’d say my project is 90% complete at this point. Will still need to:
-secure the IC piping
-run the vacuum tubing
-install boost controller
Update!!
09/29/09
The car was about 95% done. The vacuum lines were ran and all the brackets were tightened. But the sensors have not been setup yet. However, because Sam sent me the ECU flash, I was eager to fire her up to see if the install went okay.
So i went on to flash the ecu with Osiris. It's really straight forward. Plug in the cable, run osiris, load the tune and press flash. It takes about 2-3 minutes for the flash process. However, at the end of the flash, i got the error "Soft Reset error, contact Uprev"

I was getting ready to panic but decided to try to start the car anyways. Pressed the start button once, and then car cranked for 2 seconds and did not start. (Starting to really panic). Tried it again and the car seemed to start for a second and then dies. (Heart pounding now) I turned the car off and checked under the hood for any harness or tubes that I forgot to connect. But everything was fine. Went back into the car and gave it another try.....and......vroooommmmmm...She's alive! :BOUNCE:
Just as I was about to celebrate, coolant started pouring from the bottom of the car. :52: Back to the drawing board...
09/30/09
Had to backtrack a few steps to figure out where the coolant is leaking from. It turned out to be from the water lines to the turbos. Apparently, you need to tighten the water lines very tightly. If not, coolant will pour out like a drain. Given the tight spaces, it's almost impossible to torque the water lines enough. I had to get really creative and create a special socket. I'll post pics tomorrow. :biggthumpup:
10/04/09
Car is up and running! I got a little impatient with the install and just wanted to get the thing done. So I did not take much pictures. All the coolant leaks have been fixed. Will post videos soon.
I went for a couple of test drives and all I can say is WOW! I havent even pushed the car yet but the difference is already astonishing. I'm still doing some preliminary road testing to make sure there is no leaks, rubbing, or overheating. This project is 98% done!
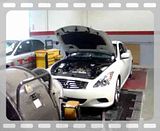
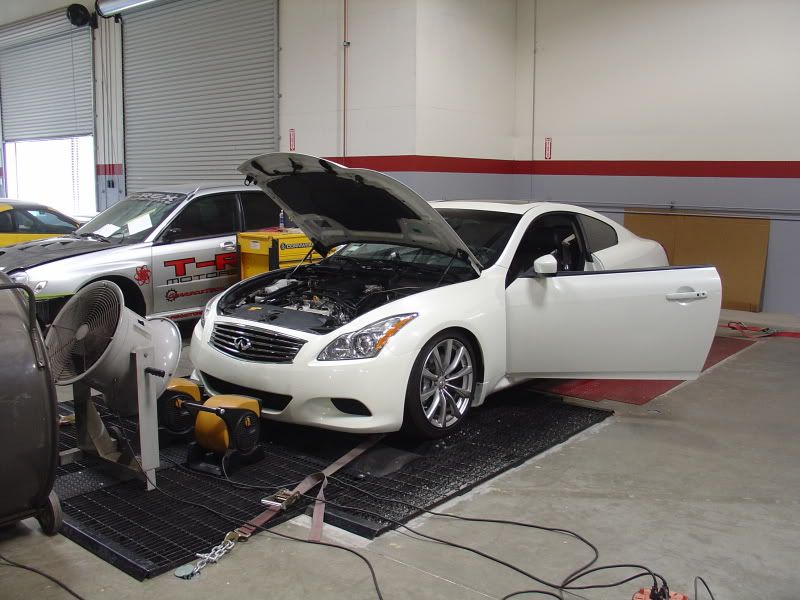
10/15/09
Brought it to Sam at GTM today for a dyno + tune. Apparently, Sam had sent me a low power tune, just to make sure everything is safe until I get the car on the dyno. First run pulled 380whp. Sam did a couple of things and the car is up to 430whp:
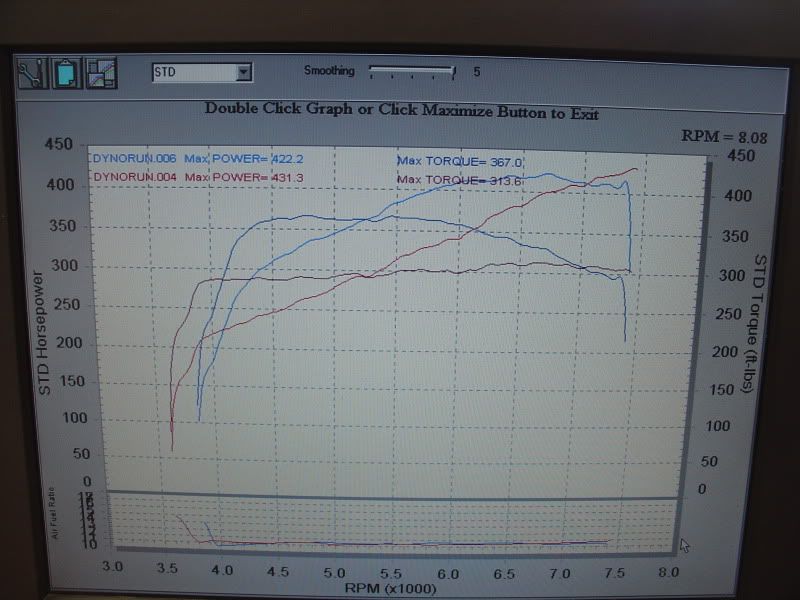
This is at about 6 psi. Keep in mind that I am running Berk HFCs and 2.5" FI exhaust.
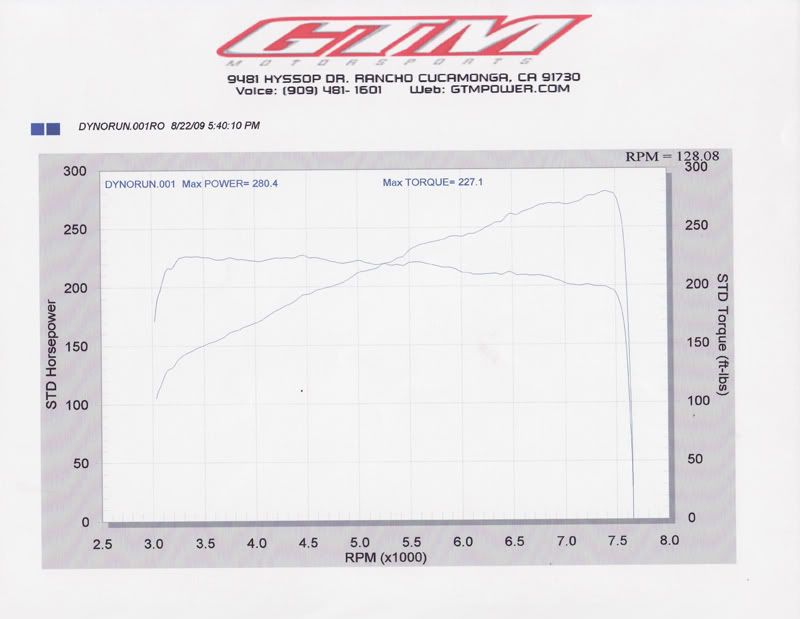
This is the before turbo dyno:
We wanted to turn up more boost but the car won't boost any higher. I'm pretty sure that I did not set the spring preload tight enough, so the internal wastegate is opening up. I'll get that fixed soon.
Here's a video on the dyno: