Rear AP Racing Caliper Installation
Special tools required:
8mm hex socket that will fit your torque wrench
Torque Wrench
10mm flare nut wrench (for brake line, optional)
4"" hand held angle grinder or dremel to trim backing plate
Sharpie
Jack
Jack stand
Other tools required:
19mm box wrench
19mm socket (optional)
Flat tip screwdriver
Removal Rear
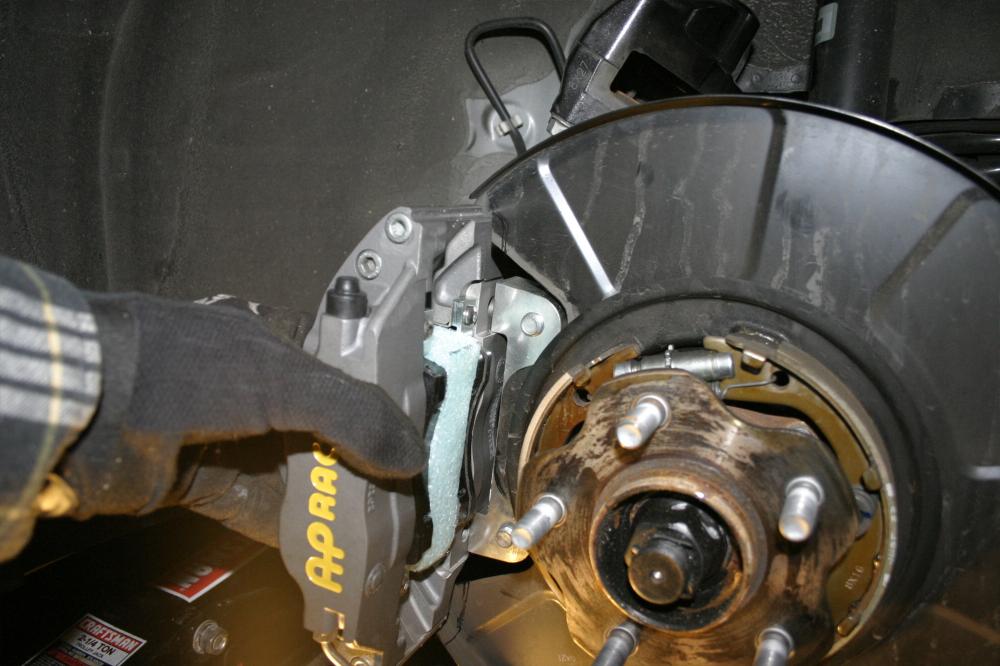
Jack and support the vehicle, and remove the rear wheel. You'll be presented with something like this.
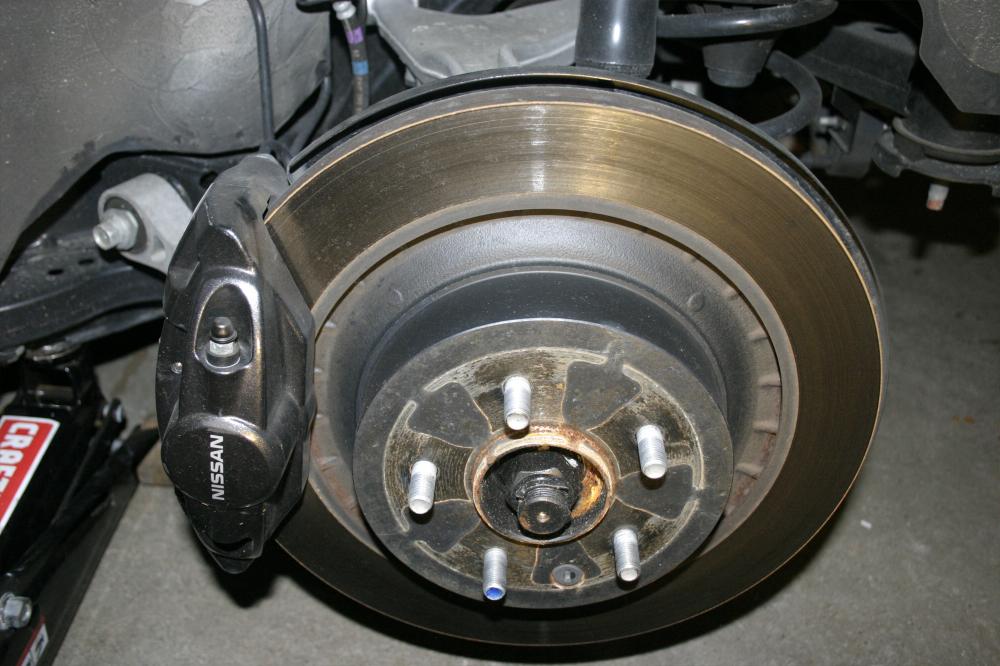
Look behind the caliper to locate the 2 19mm bolts. The lower one is somewhat space restricted so you will not be
able to use a socket. I used a box wrench to get it halfway out and then removed it by hand. Hold onto the caliper
as you remove the last bolt so that it doesn't drop suddenly.
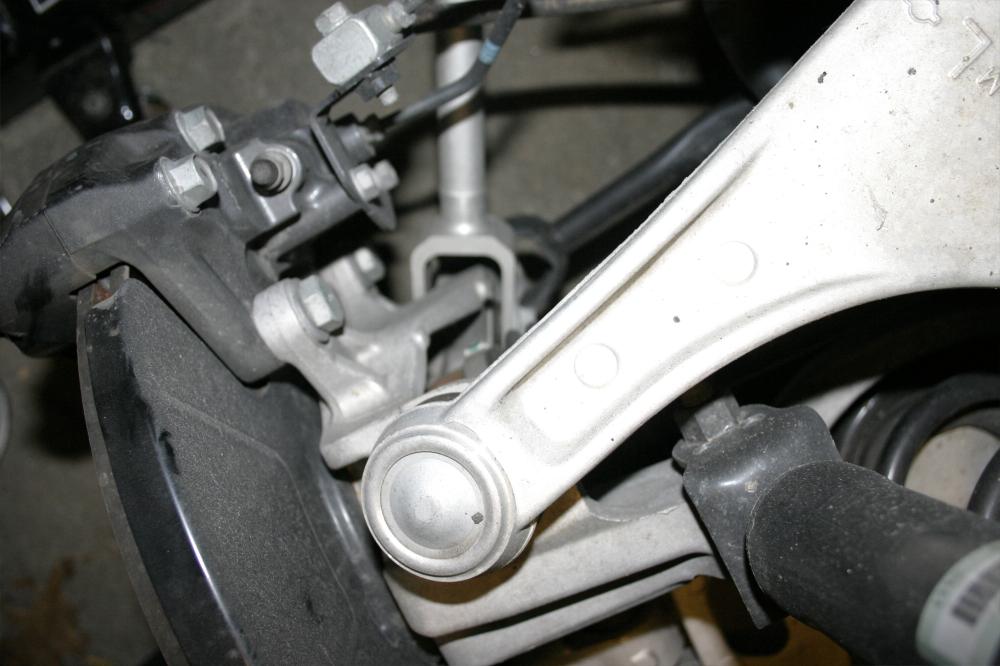
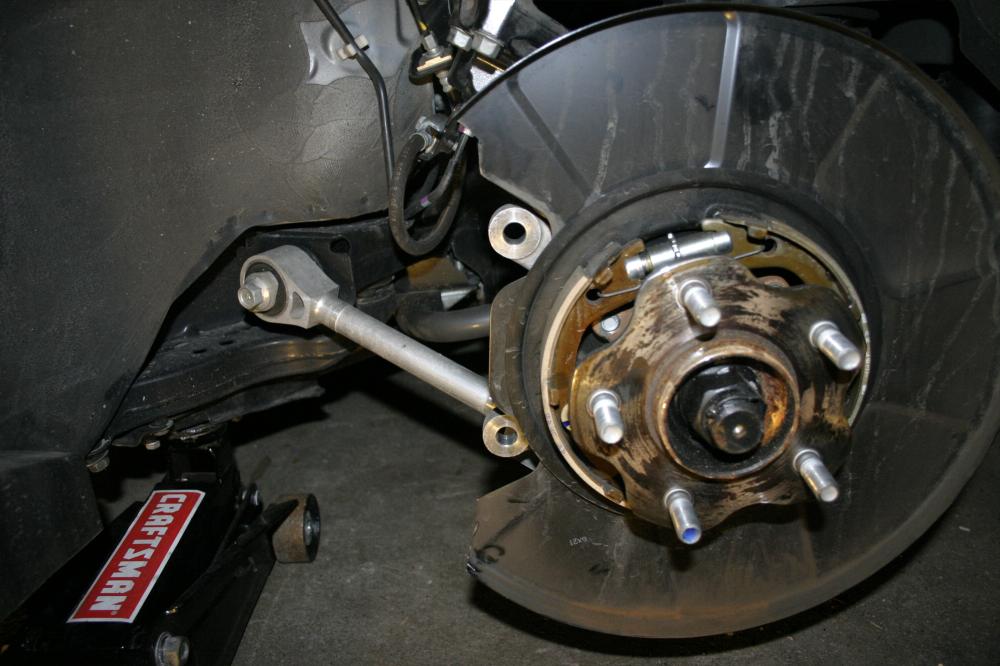
Rest the caliper on top of the control arm for now, and you should be left looking at the rotor.
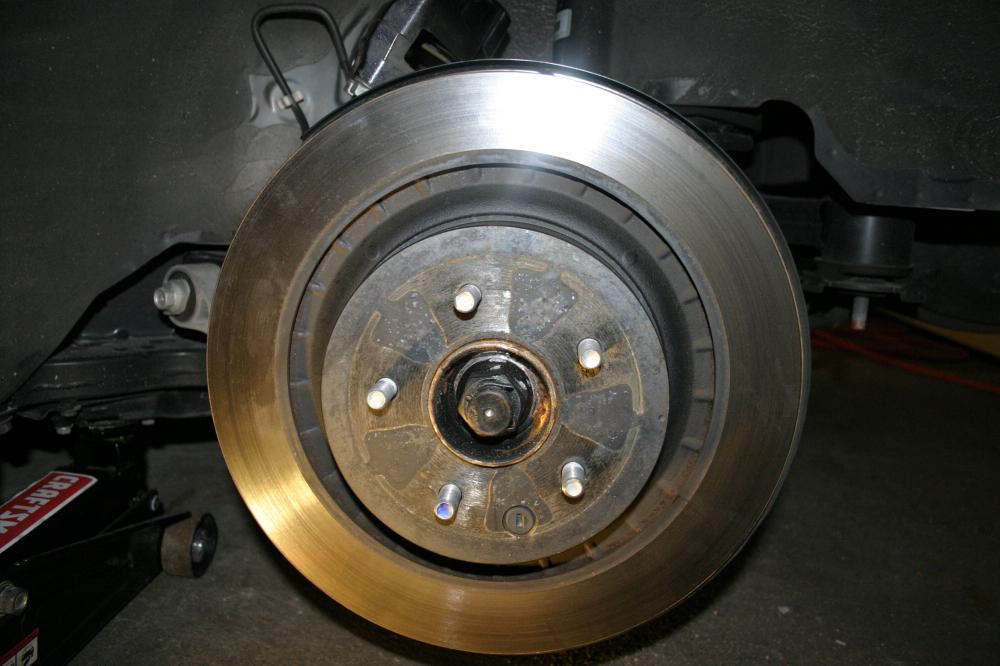
The rotor should pull right off without too much resistance. If it appears to be jammed, then it is possibly
because of the e-brake shoes being pressed against the inner drum. This isn't normally the case but if necessary
rotate the rotor so that the rubber access hole grommet is on top. Remove the grommet and push the top side of the
adjustor away from you to loosen.
Installation Rear
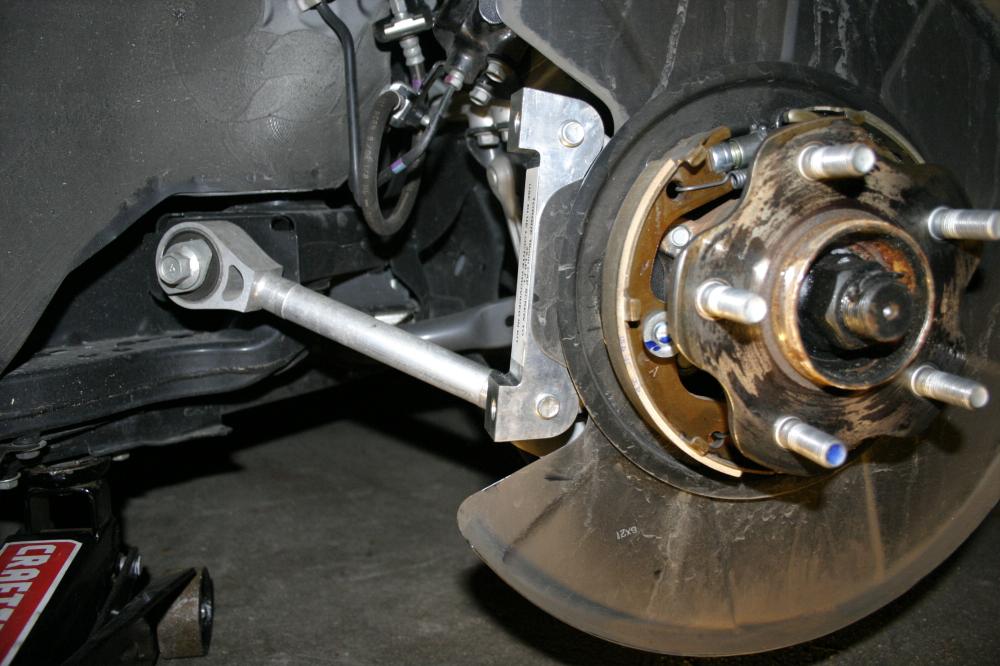
With the rotor off, temporarily mount the adapter bracket to the stock mounting holes using stock bolts.
Hold the new caliper with bleeders facing upwards against the caliper bracket and backing plate such that the
recesses in the caliper line up with the bracket. Use a marker to mark around the edges of the caliper against the
backing plate, leaving a few millimeters for clearance.
Remove the caliper bracket and trim the backing plate using an angle grinder with cut-off disc or dremel with cut
off wheel. Debur the edges with emory cloth or grinding stone on a dremel. Hold bracket and caliper in place to
confirm clearance. Remount caliper bracket, torque to between 53-71 lb/ft.
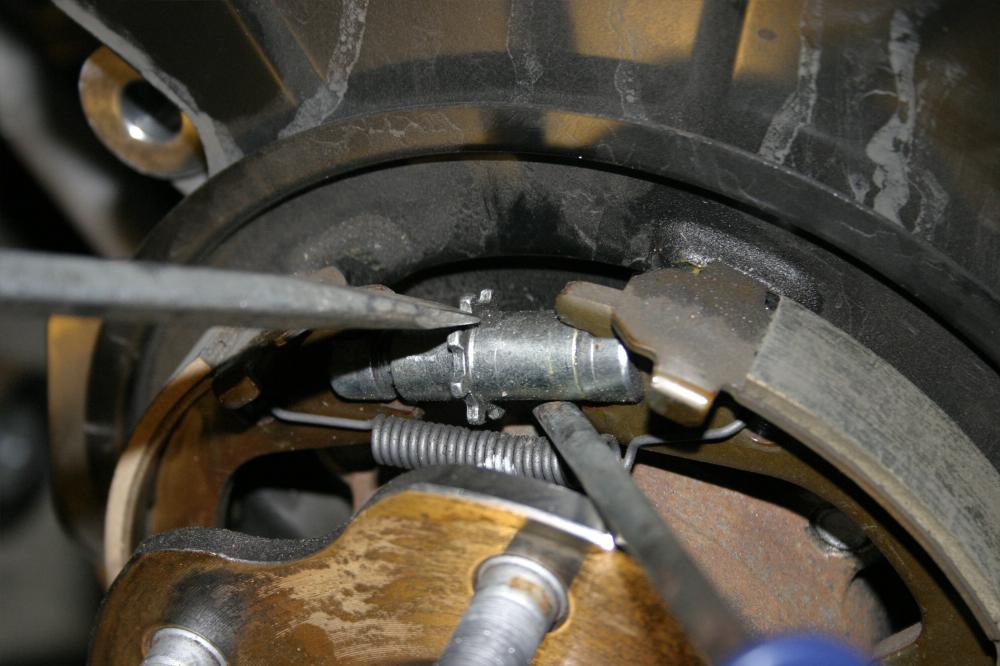
Test fit new AP Racing rotor. Important! If you find that the rotor doesn't fit over the e-brake shoes or is
extremely tight, you will have to adjust the e-brake setting by a few clicks. To loosen the shoes use a screwdriver
to retract the spring and push the top teeth away from you with another screwdriver. Retest fitment after every 4
or 5 clicks. Make sure rotor slides all the way onto the hub, hold in place temporarily with 2 lug nuts.
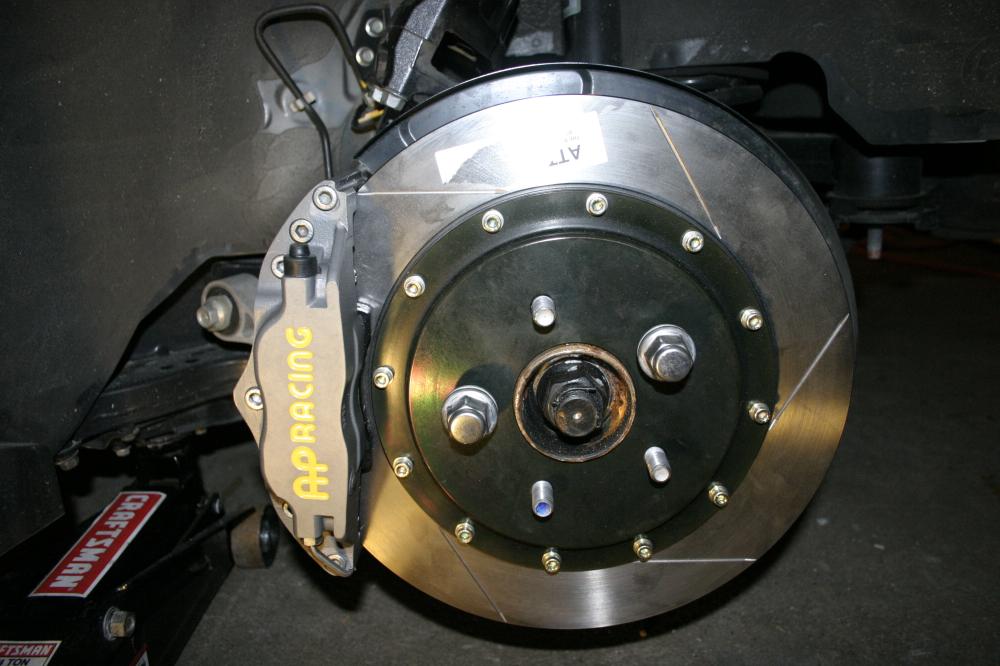
Mount the caliper to the caliper bracket using supplied M10 stud bolts and washer with an 8mm hex driver. Apply
blue locktite to end of threads, torque to 35 ft/lbs.
Attach new SS brake hose to caliper using supplied banjo bolt and the 2 copper crush washers, torque to 18 lb/ft.
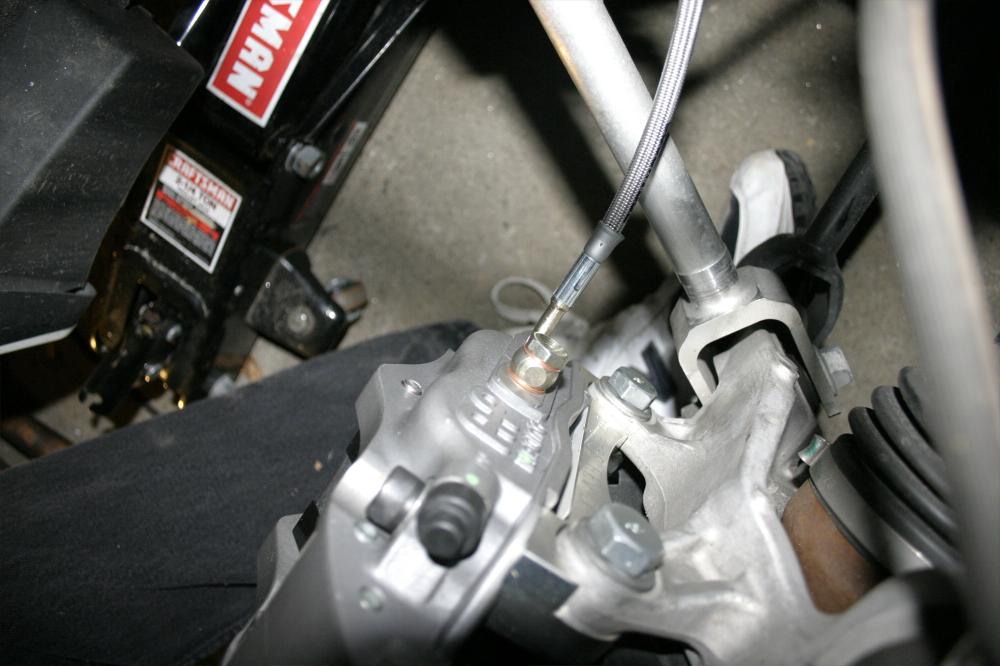
Crack brake line open using 10mm flare nut wrench but keep loosely closed to prevent leaking.
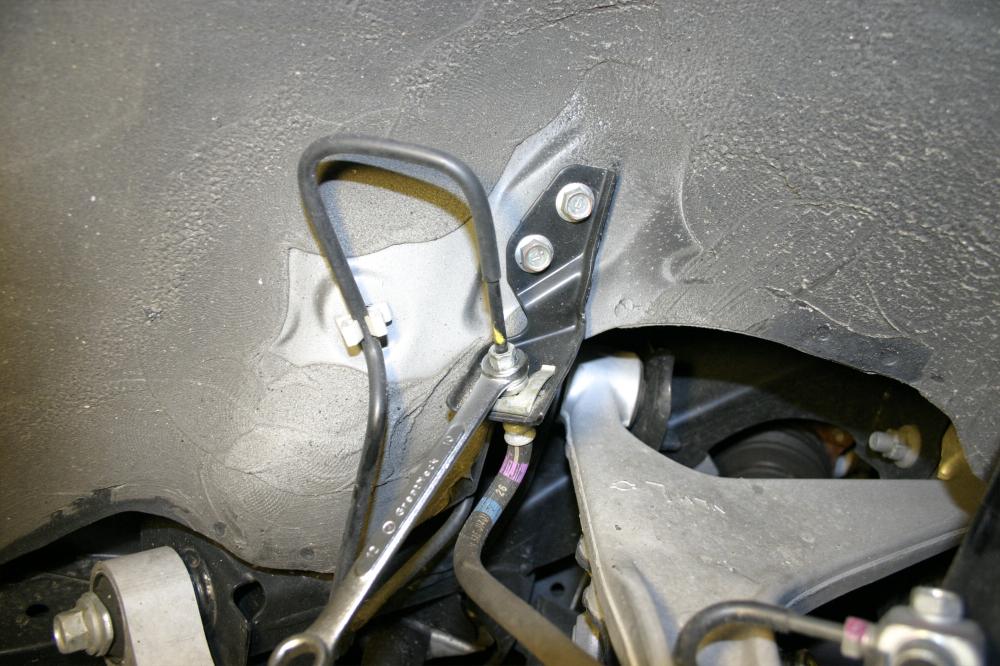
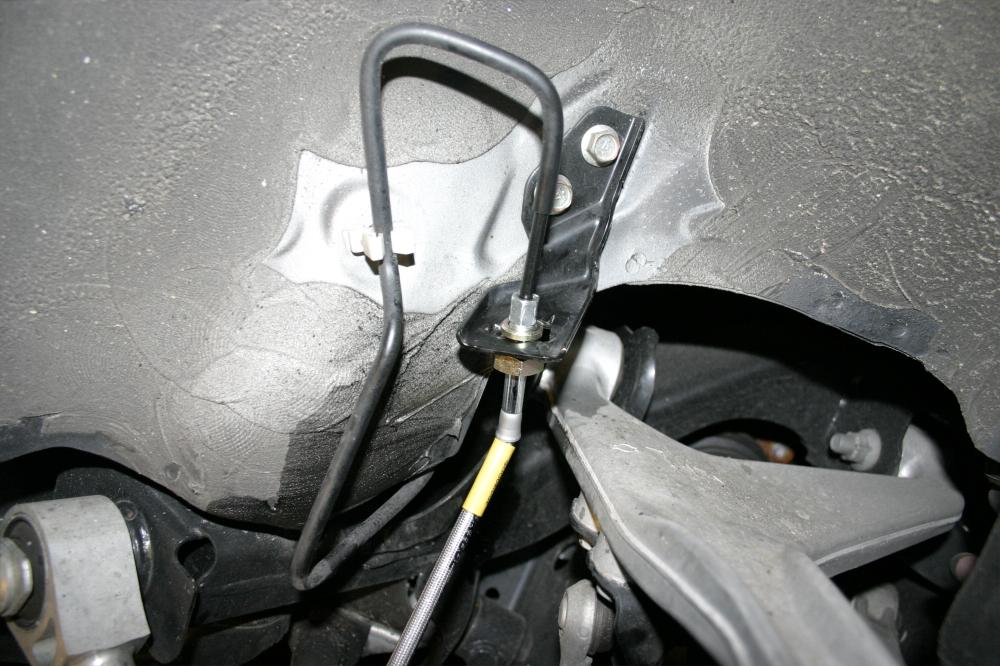
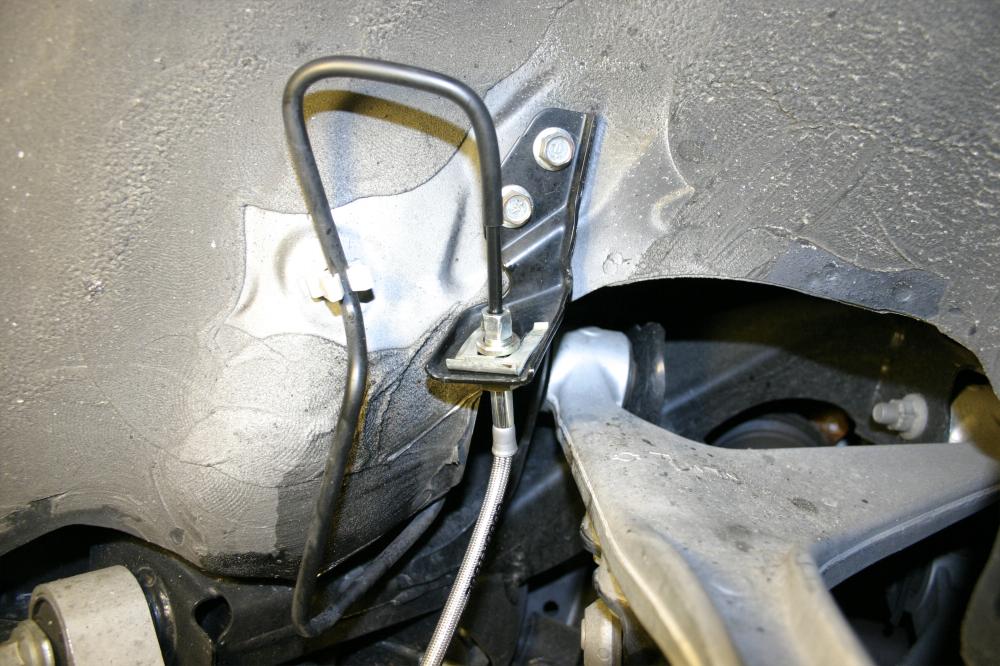
Use flat-tip screwdriver to pry brake hose clip free. Once removed blow off any excess dirt from the area to
prevent it contaminating your new brake hose.
Disconnect stock hose from brake line and connect new SS hose to line snugly but don't tighten yet.
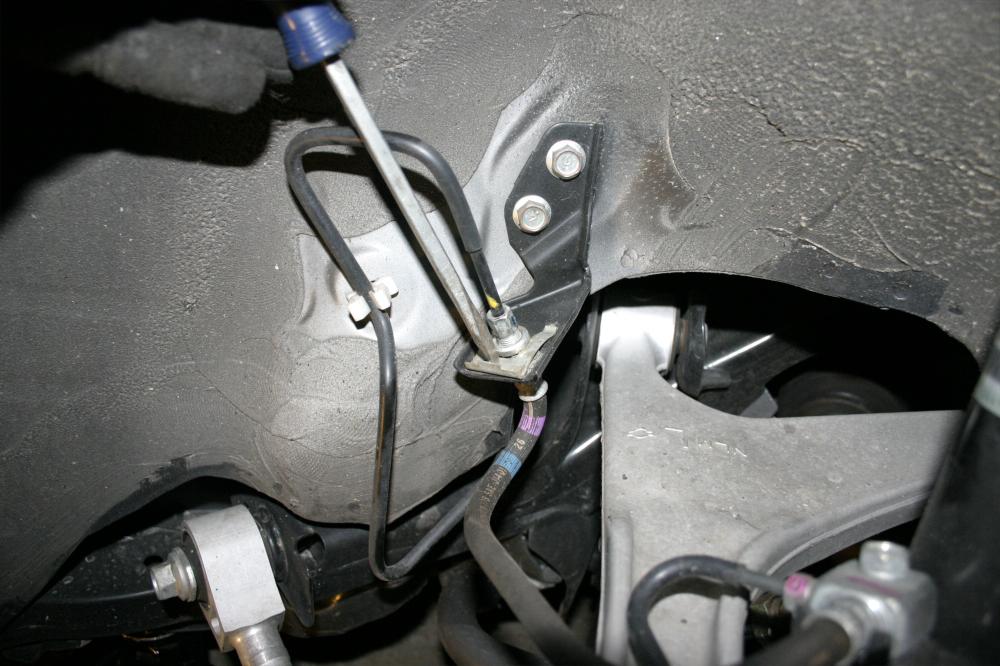
Reinstall brake hose clip. Tap it home with a small hammer.
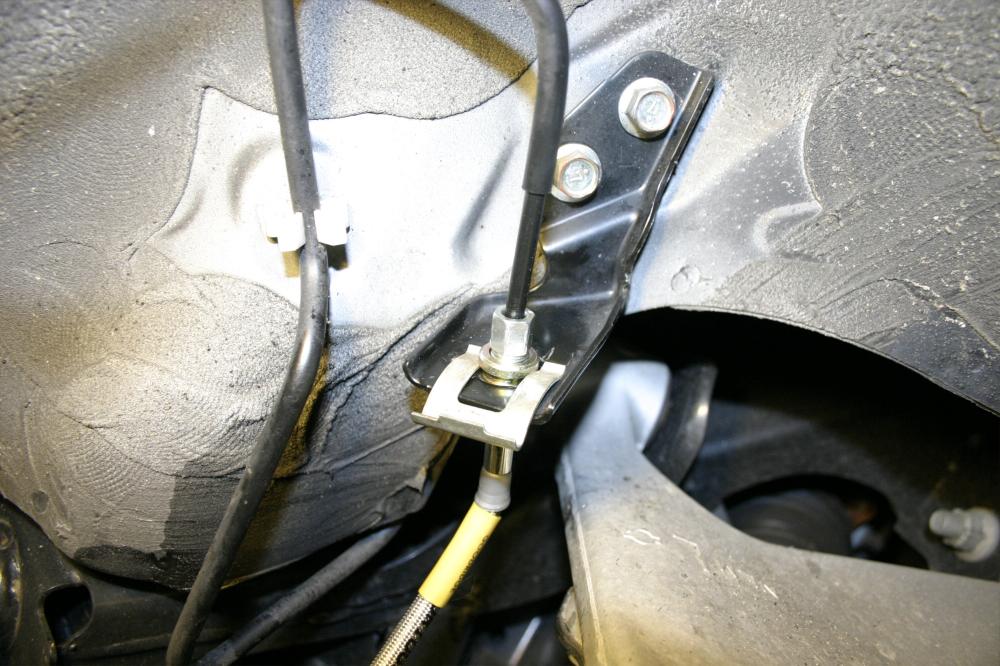
With clip in place tighten brake hose to line, to approximately 12 lb/ft. Don't over tighten!
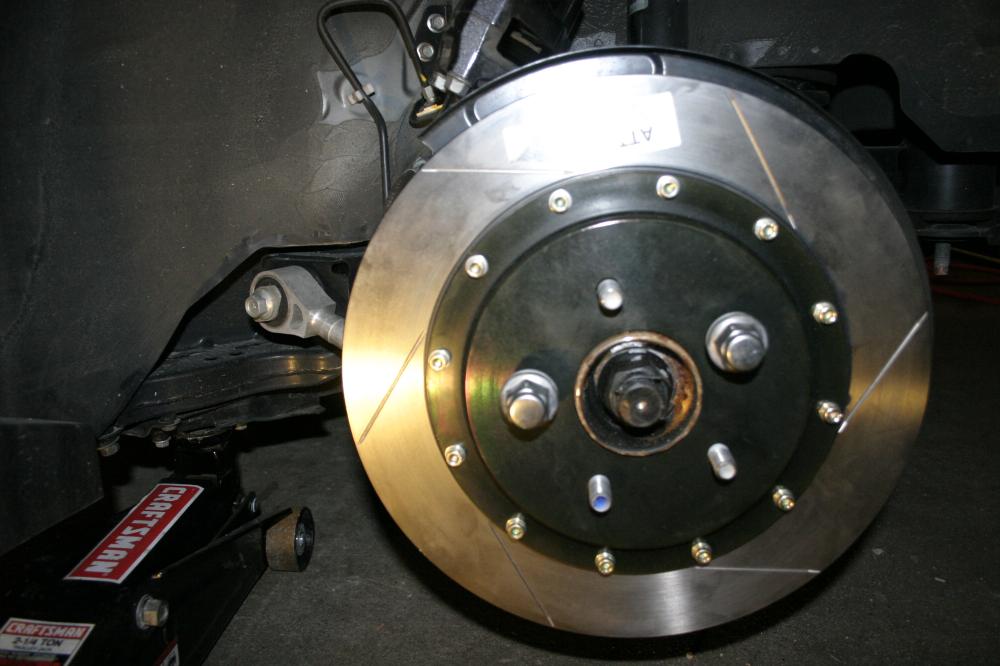
Stand back and admire your work.
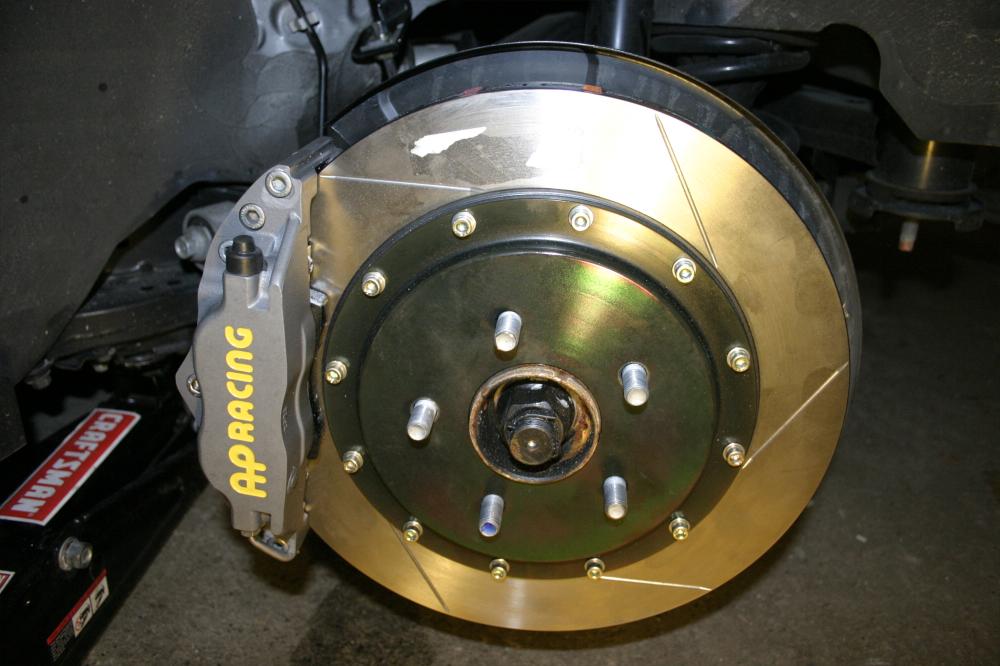
Bleed brakes, clean off greasy fingerprints with brake cleaner, remount wheel, you are done!