Do your buttons on your Z Key Fob look worn out and terrible? Mine sure did until I replaced the button assembly with an inexpensive replacement Fob shell. I got the shell from Amazon.com.
Here's the web address of the part:
https://www.amazon.com/gp/product/B0...?ie=UTF8&psc=1
Replacing the button board and shell parts is a simple process. All you need is some patience and a small flat blade screwdriver. What follows is a photo essay of the procedure. It should take you no more than 10-15 minutes to do.
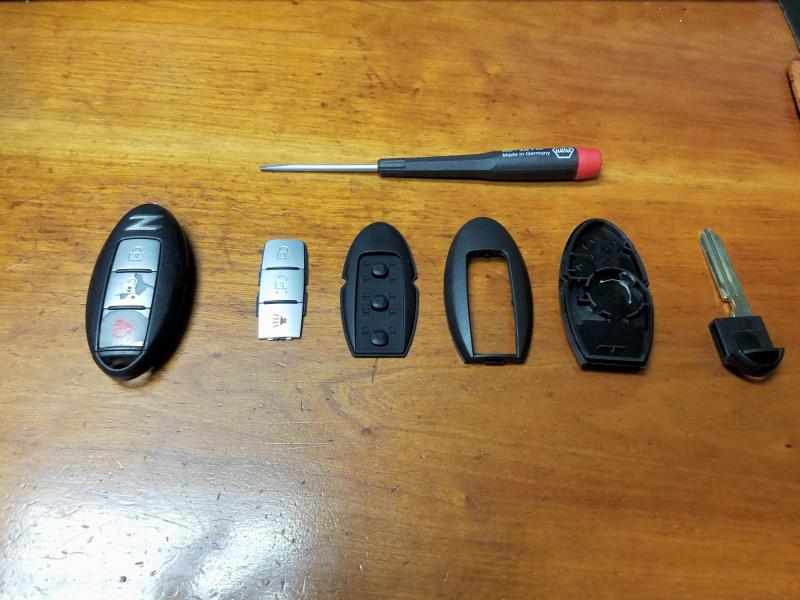
Step 1. Gather your parts.
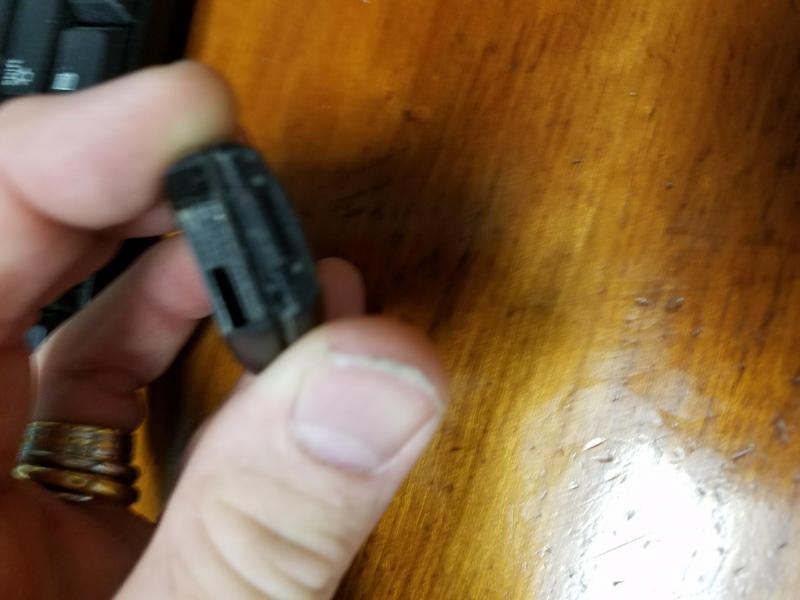
Step 2. First remove your key. Now you can open up your key fob. Pry at one of the corners either left or right side of this part of the fob.

Step 3. This is what your fob should look like while try to split the case carefully.
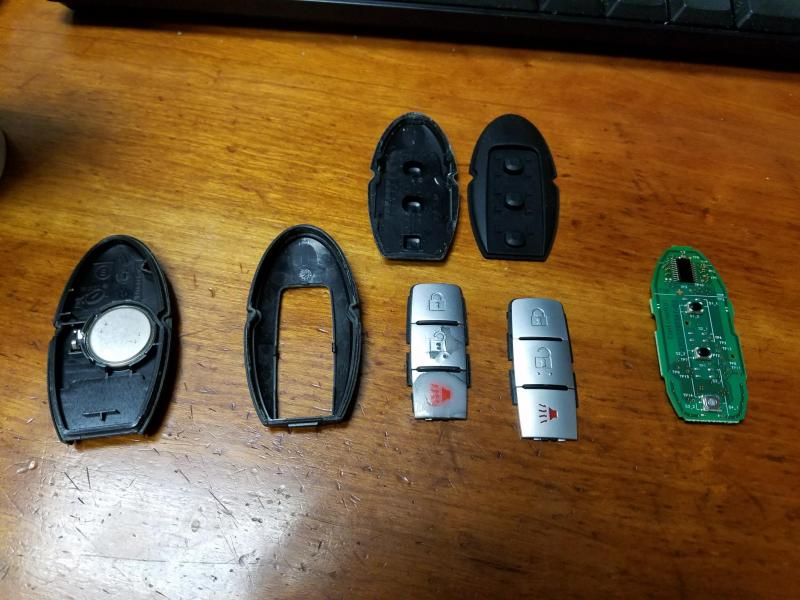
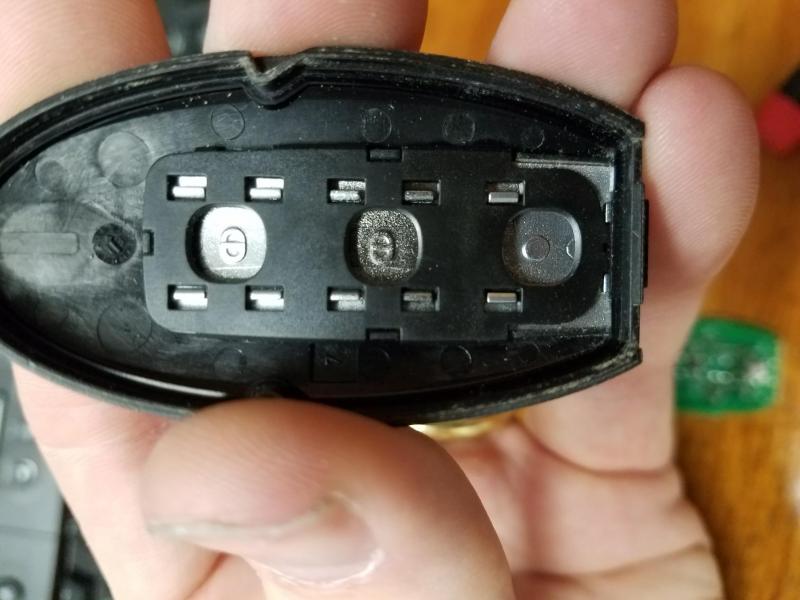
Step 4. Gently extract the button assembly and rubber gasket from the upper case shell and lay them out. All the replacement parts should match your worn out parts in the fit and how they attach.
To extract your old button assembly, pc board and rubber button gasket, the flat of the screwdriver can carefully pry up the gasket and remove it and the pc board. The button assembly snaps in and out, use the blade to pry the 3 snaps apart or bend the upper case gently to loosen the old button unit.
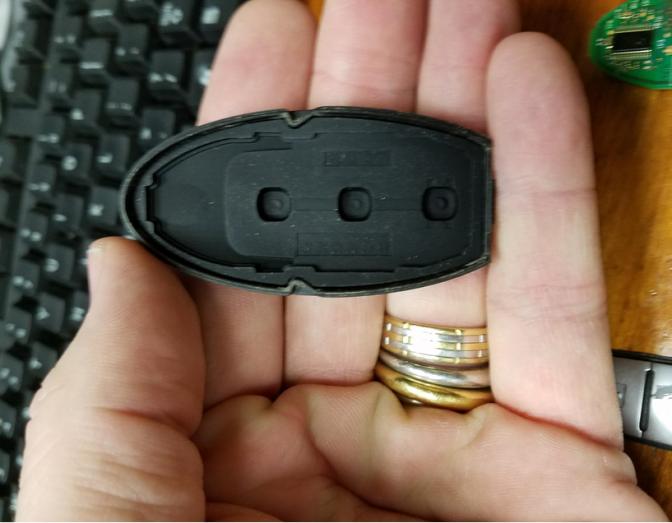
Step 5. Replace your button assembly. Take your new button unit and place it in the upper case with the alarm key seating in first as shown.
Be sure to snap the new button assembly in using the 3 plastic attachments.
Step 6. Replace your rubber button gasket. The gasket should fit nicely in the upper case as shown.
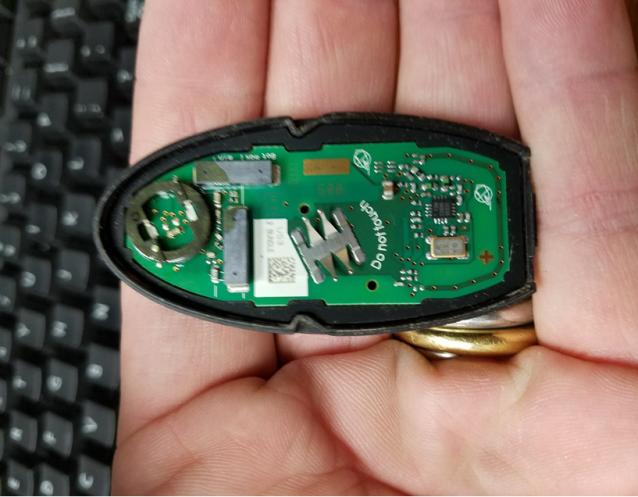
Step 7. Place the remote pc board in the rubber button gasket as shown. it should tuck in to the gasket and look integrated. See photo.
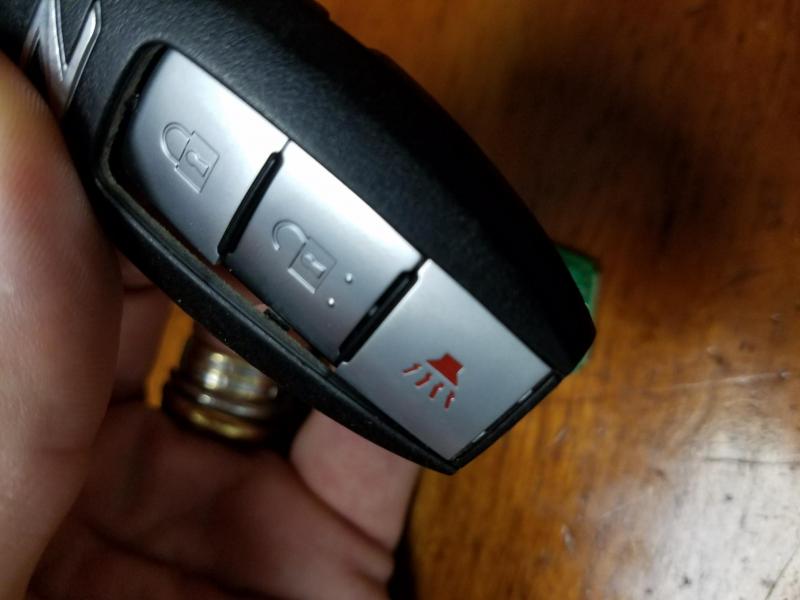
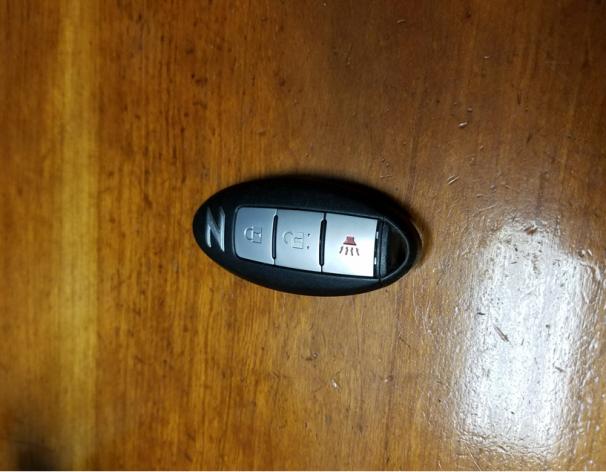
Step 8. Snap your remote back together now. Start at the Z end and work your way gently around until it snaps closed and looks like this.
Hope this helps. I found that the button assembly only lasts about 3.5 years if you use the remote alot. I'm glad the spare case assemblies are available in-expensively from Amazon.com.
These photos are all stored on the members album area in this forum. Hopefully you can all click the links to see them.
PM me if not and I'll try to re-write this post.