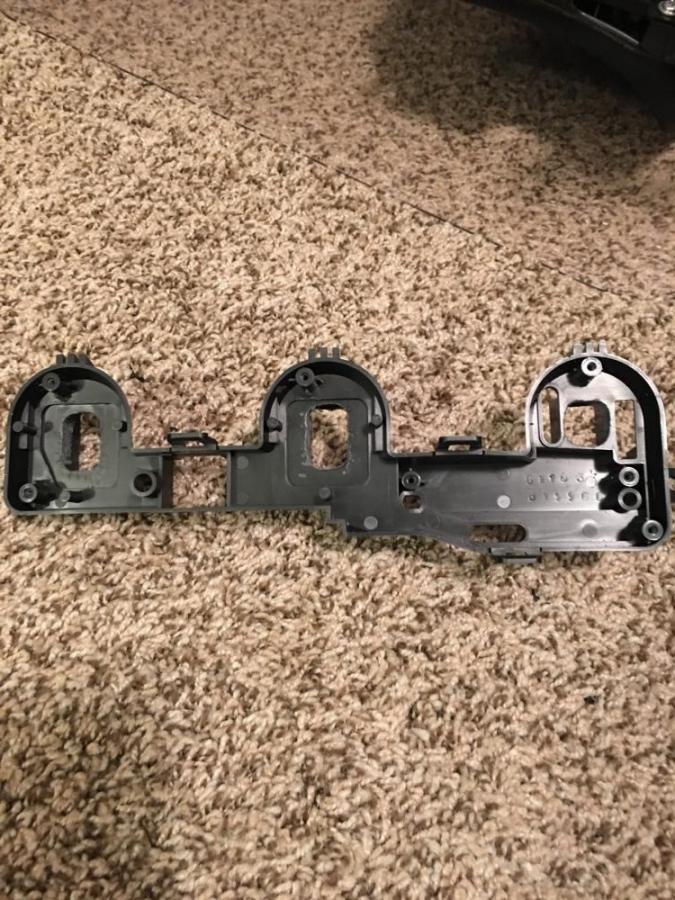
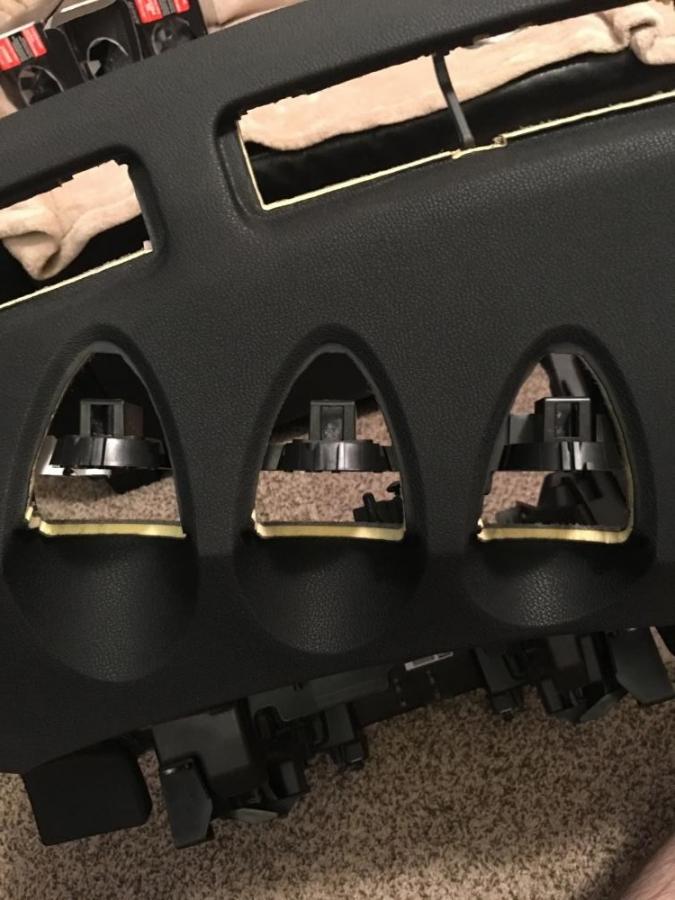
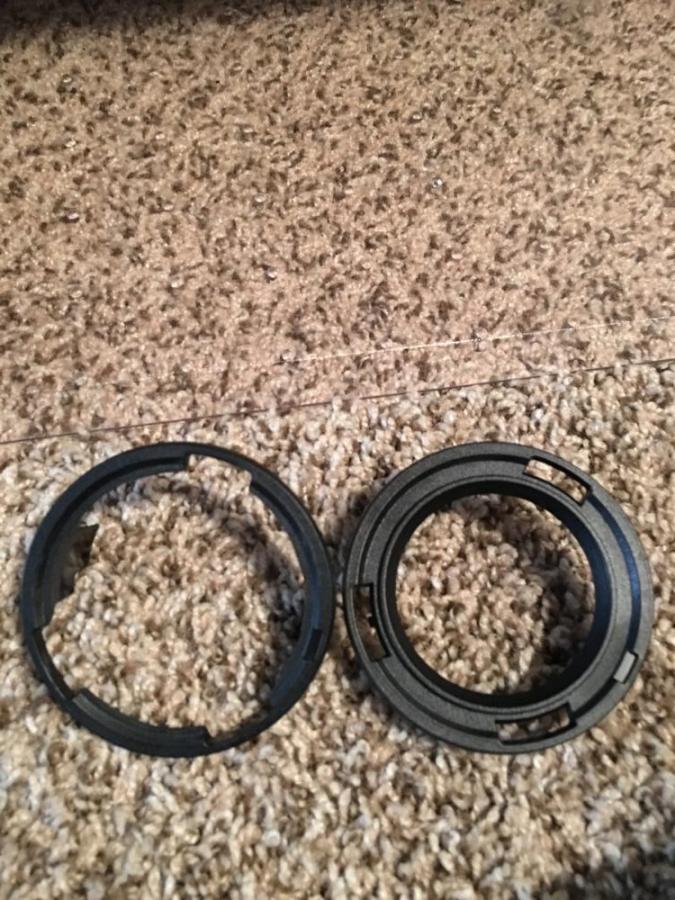
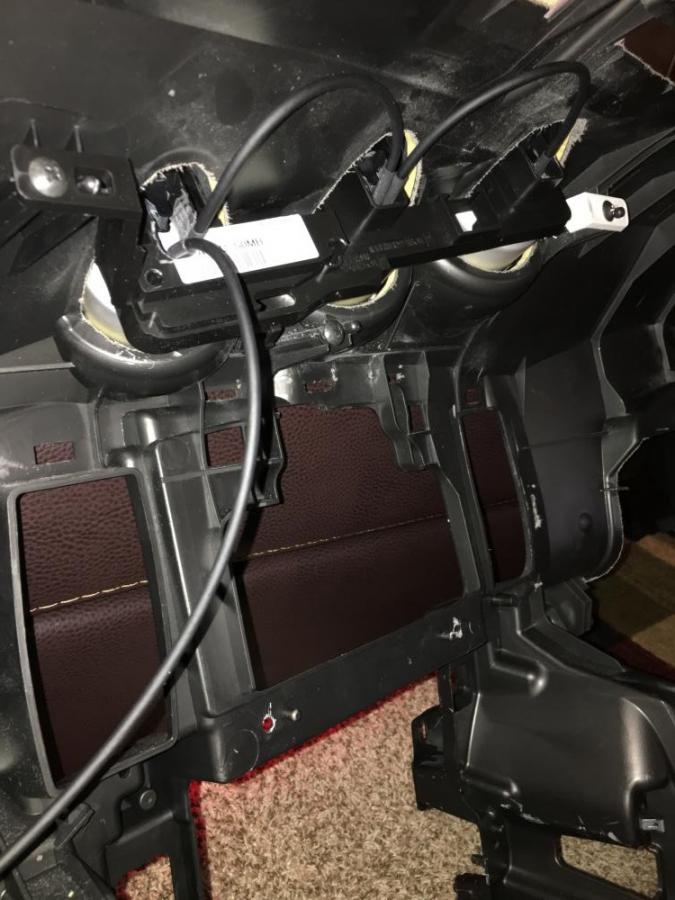
This bracket is what the top hats click into, so i am adjusting it for reuse, this way i don't need anything extra and the gauges can get installed fairly close to how the oem ones did.
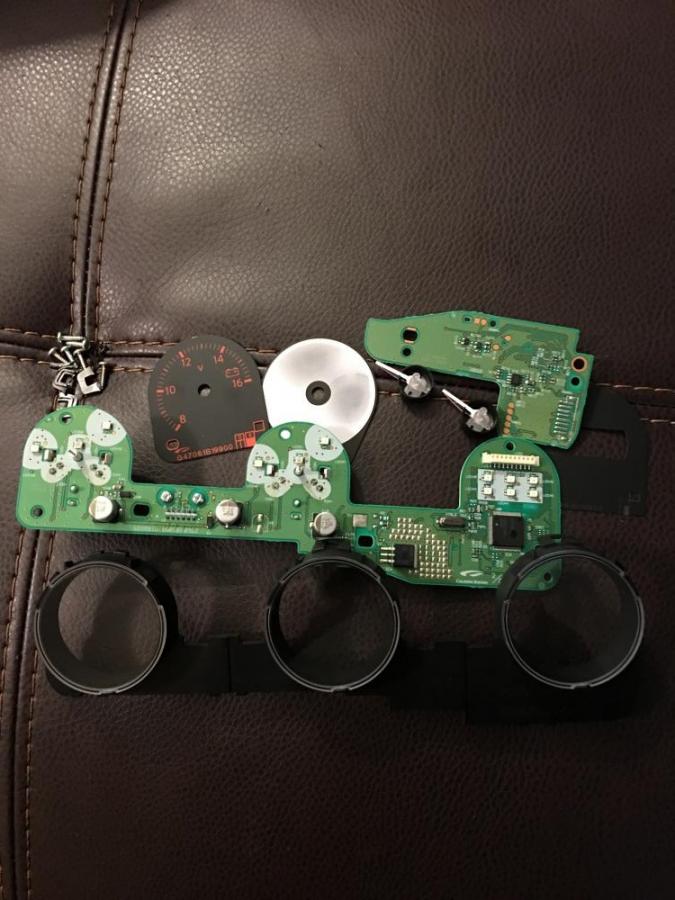
so this is when i tore out the guts of our factory OEM gauges, i know a few others on here who attempted and used there own hardware and make the gauges stay. I figured out a way to use the original hardware to remount my gauges which always me to service them as well once the dash is back in the car. The black bracket i opened up some more with the dremel so i could run the gauge wires throughs. This bracket will also retain the OEM hats so they will just click back in place with the gauges, boom no extra hardwhere, though i did have to dremel carefully on the white bracket so i could have more than just one screw holding the gauges back in.
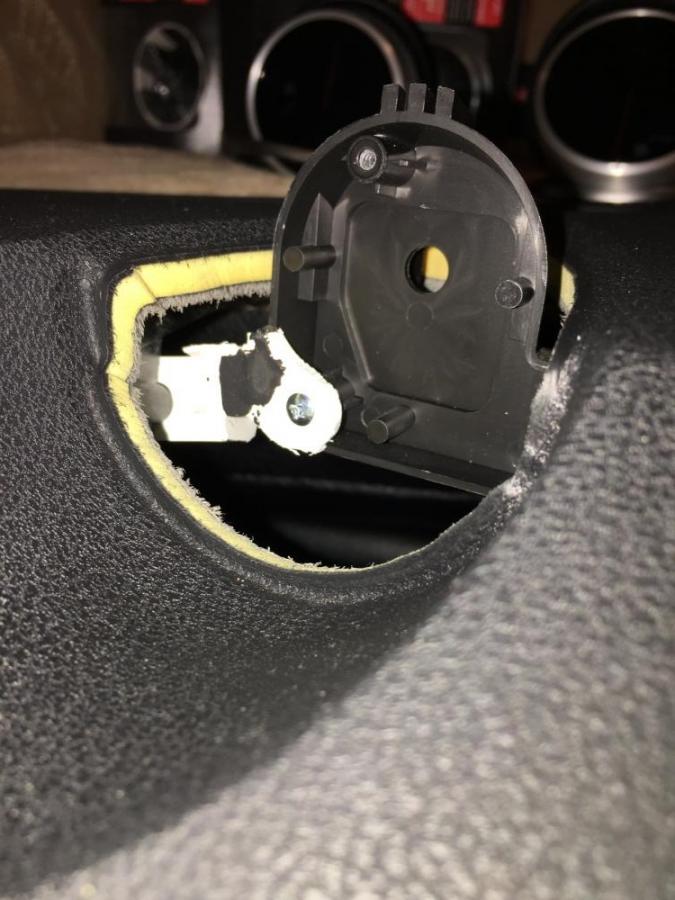
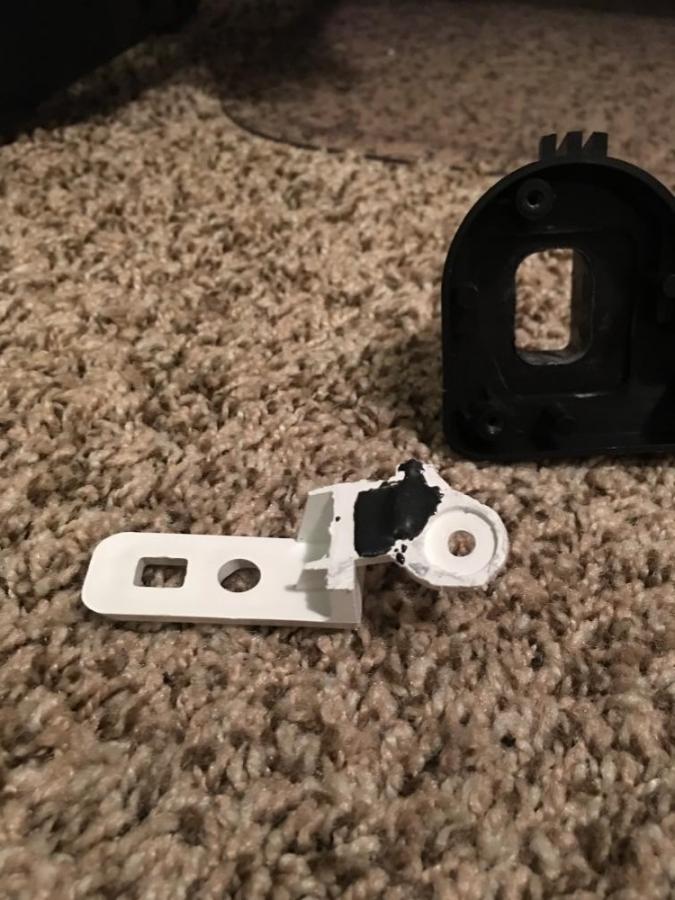
The original bracket back in with my modified corner piece, you can see i need the space as the defi gauges arn't the most compact things in the world.
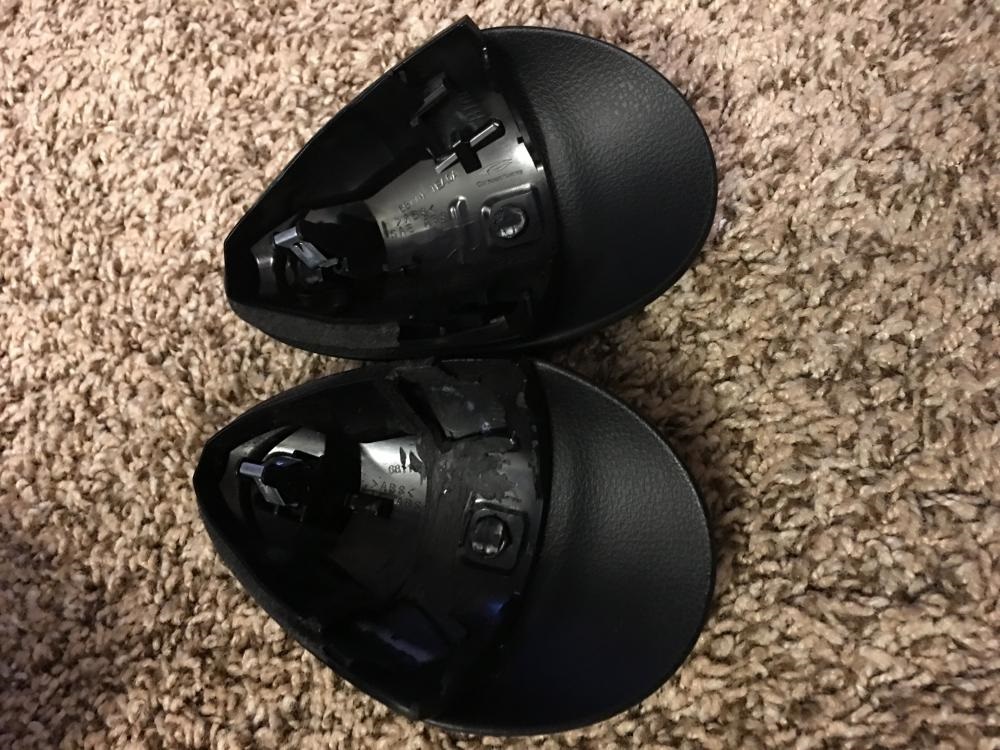
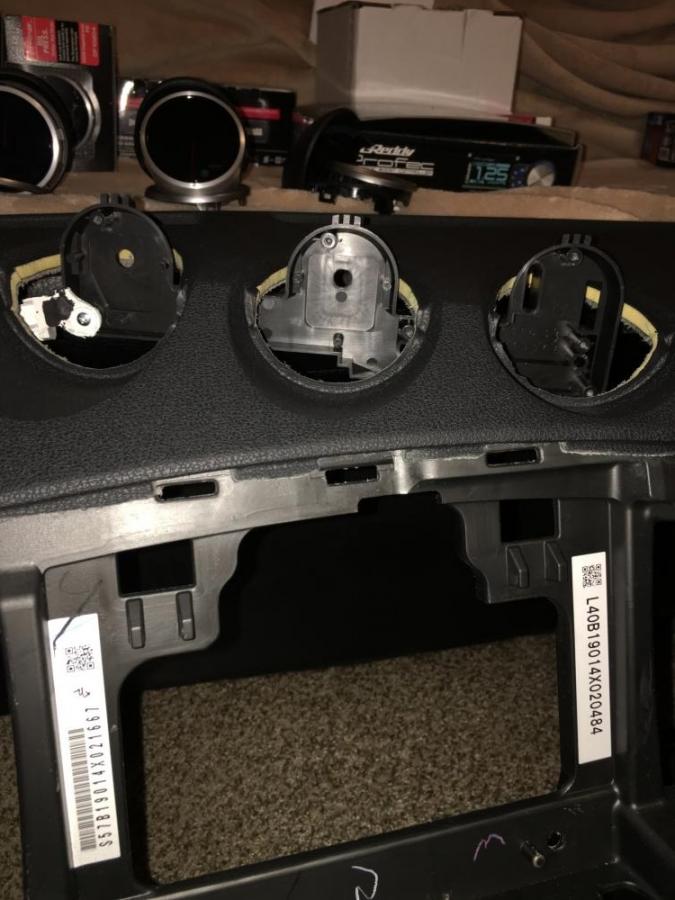
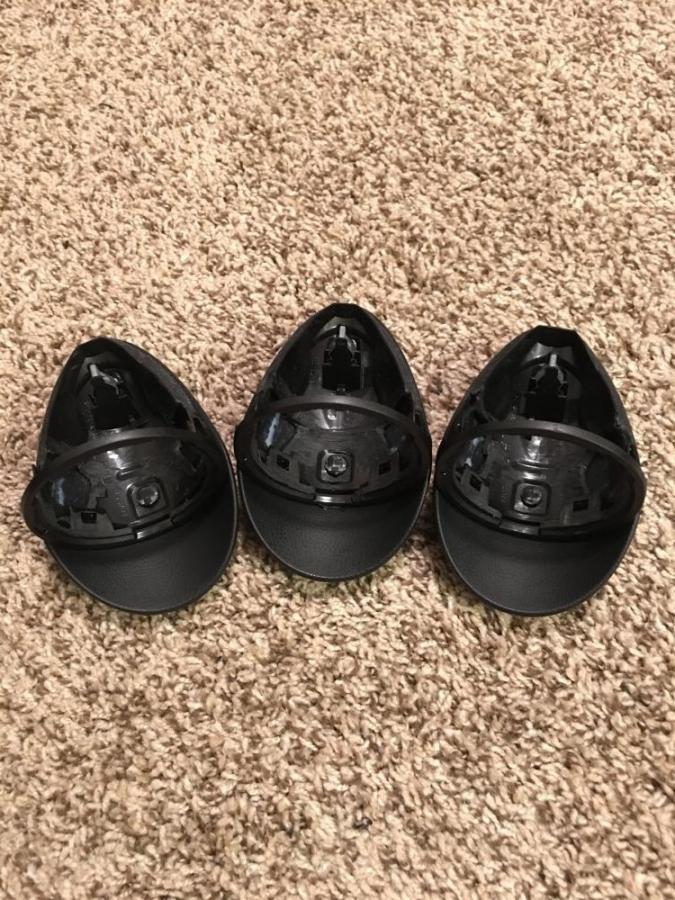
Dremeled the hats down to make room for the longer gauges

Fitment after i took off a lot of excess plastic to get the hat to hug the gauge nice and close.
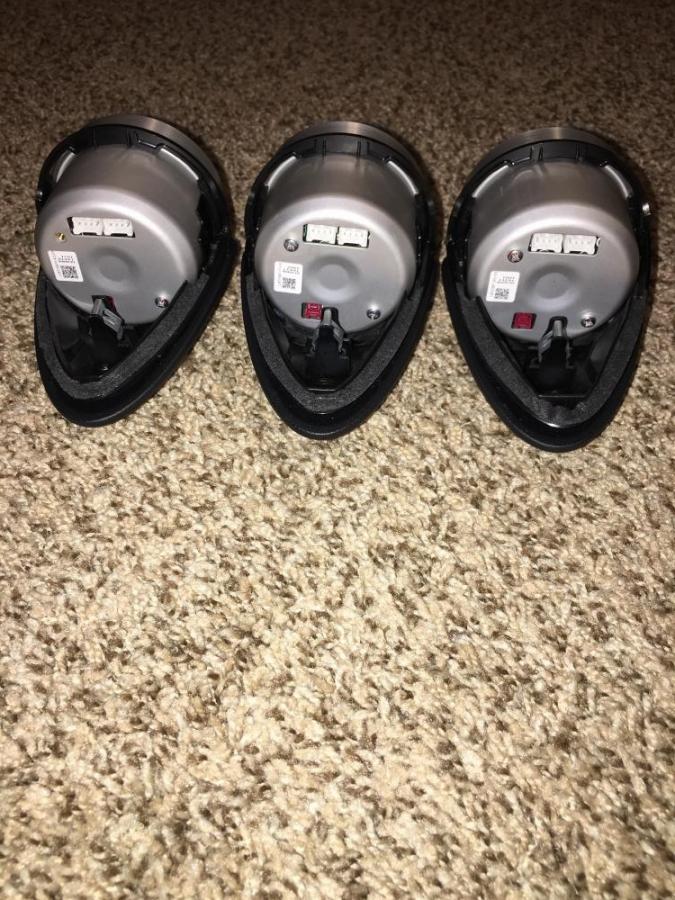
The key to not having to use any extra hardware when installing new gauges is to dremel the OEM rings only a hair bit smaller than the diameter of the gauges takes time and lot's of back and fourth checking, once i got real close and a nice bit of resistance putting the ring on i make sure the gauge is oriented how i want it in the car and carefully and slowly push the ring all the way on for a nice tight fit, once the ring is all the way on it should be pretty hard to hand turn the gauge-boom tooless install, rinse and repeat for all three.
all three hats and rings finished up, whipped up some JB weld and set the rings in their place
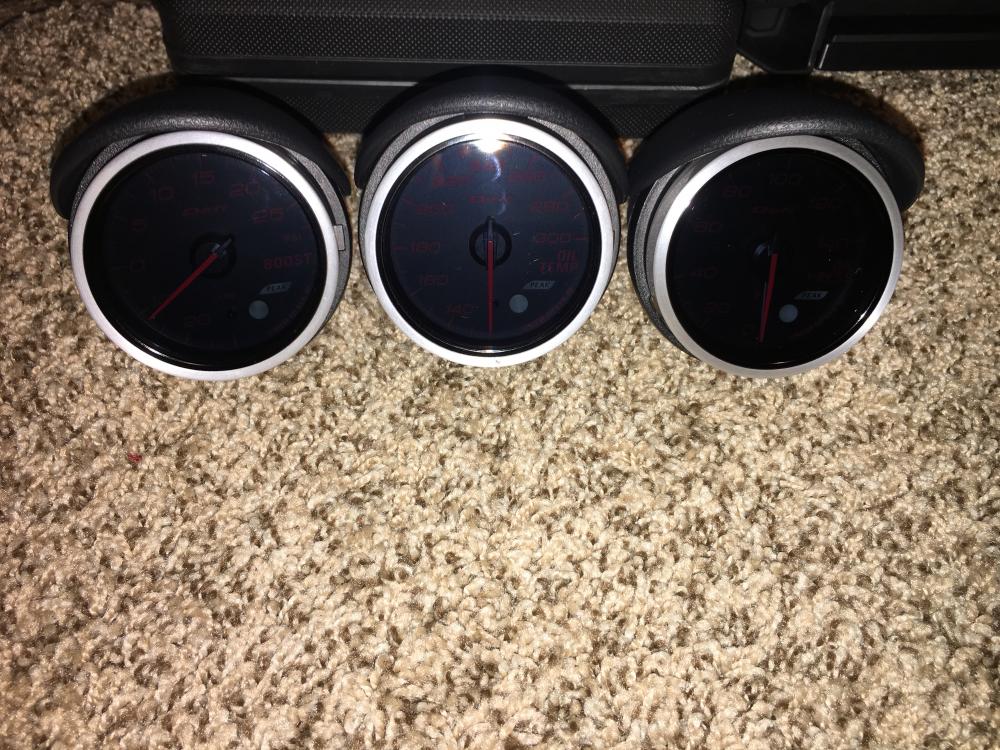
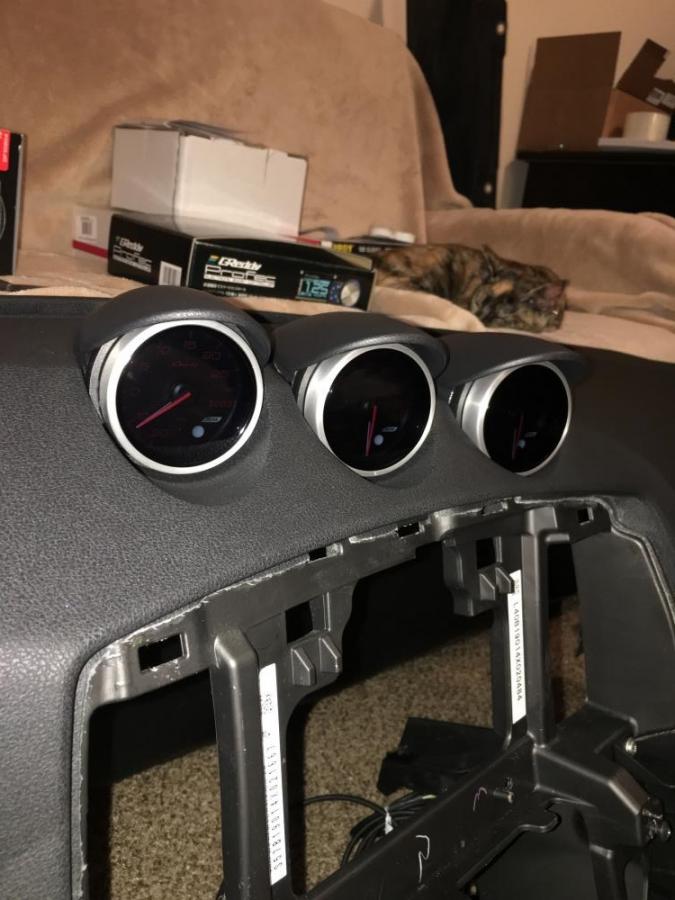
gauges set in place and set aside to let the rings and the JB weld to harden overnight.
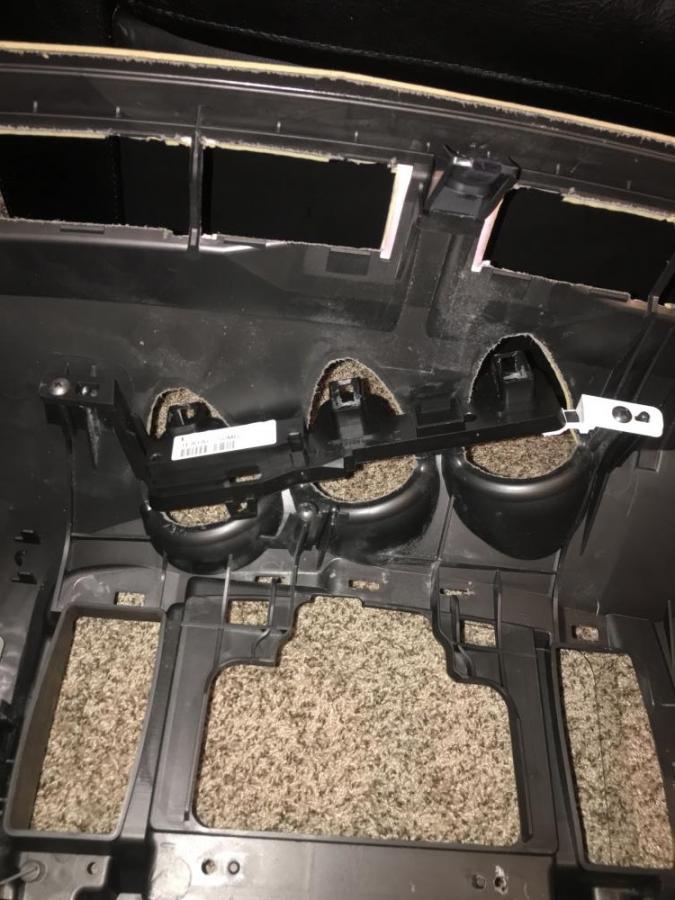
Getting the dash ready to go running the daisy chain wires, what i love about these is they plug into one another and the command module runs all three so you only have one set of wires which was a time saver

Defi gauges in place and hooked up, very minimal wiring, super clean install and in my opinion if you have time, worth it to remove the dash instead of resorting to vice grips and destruction lol.
Cat not amused...gauges in their final resting place, literally snap the hats back in and play. I couldn't be happier how this turned out and reusing the OEM brackets and hardware with just a few little tweaks. What do you guys think?
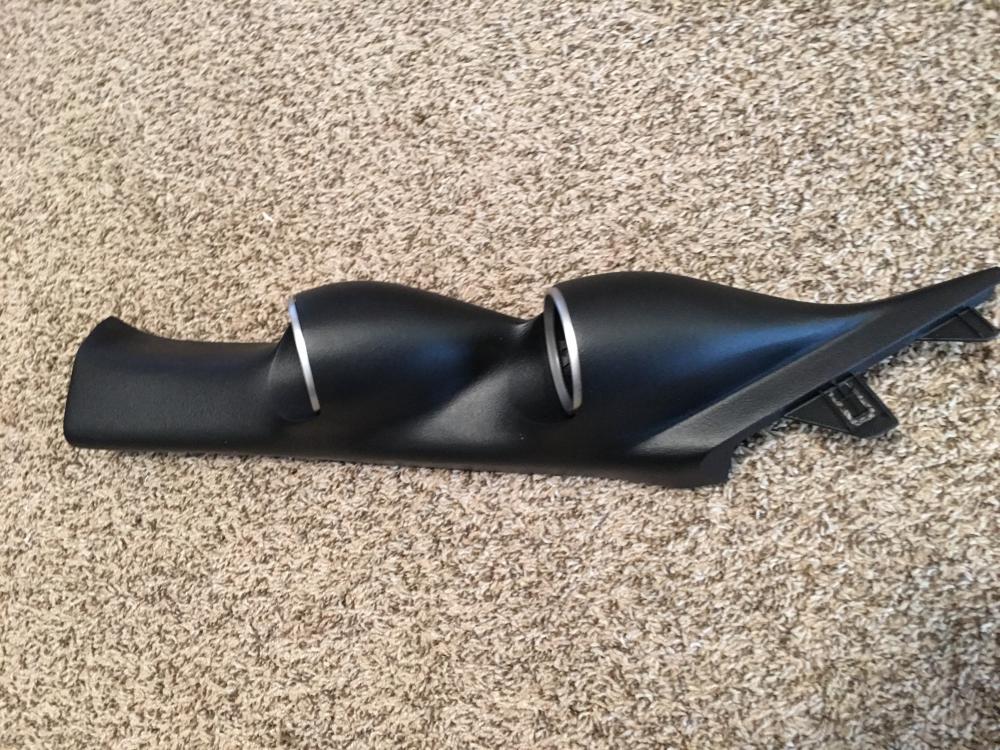
Shout out to galeforce and his handy work on his kick butt gauge pillars that helped me tie all this together. it will be home to my Auquamist methenol gauge and my AFR gauge, thanks again for the awesome piece!
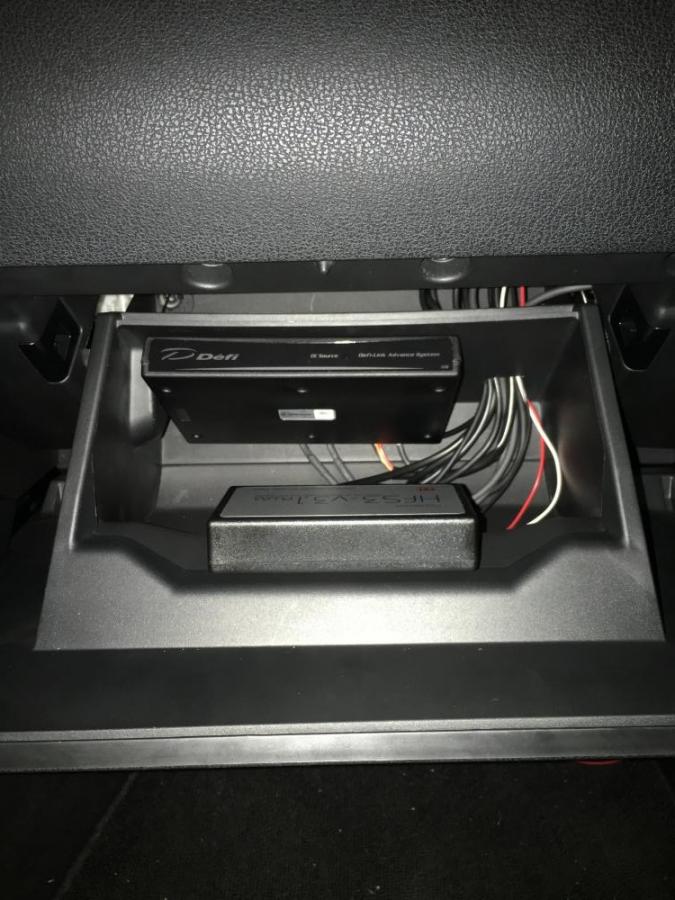
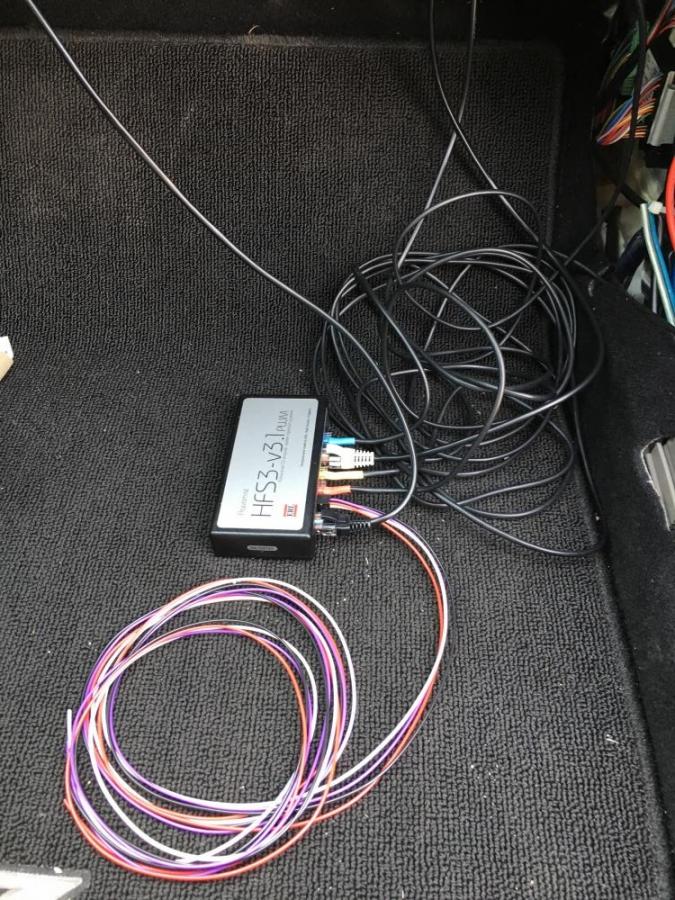
Ran my aquamist and defi computers into my glove box for easy access, all the wiring for the meth kit looks like a lot but wasn't too bad with instructions and pictures.
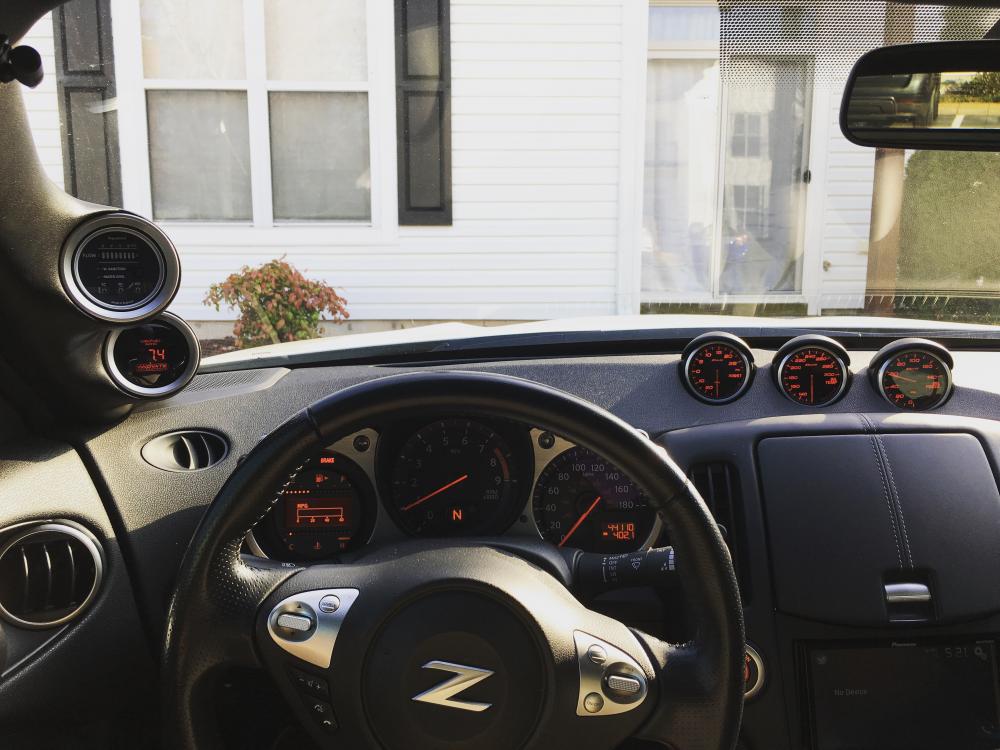
Last but not least, the finished product for your viewing pleasure. Everything fit back the way it should no rattles no surprises. If a gauge ever goes bad in the future i can now simply pull up on the hat slide the gauge out and replace in 30 seconds and be up and running again.
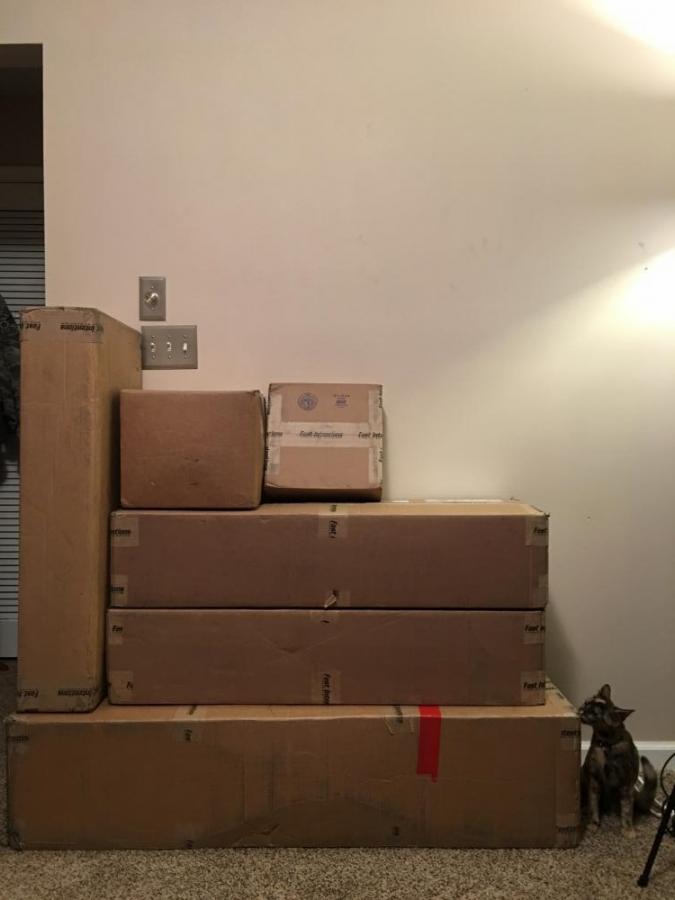
all of that work so i can monitor my motor when the treats inside these boxes get installed

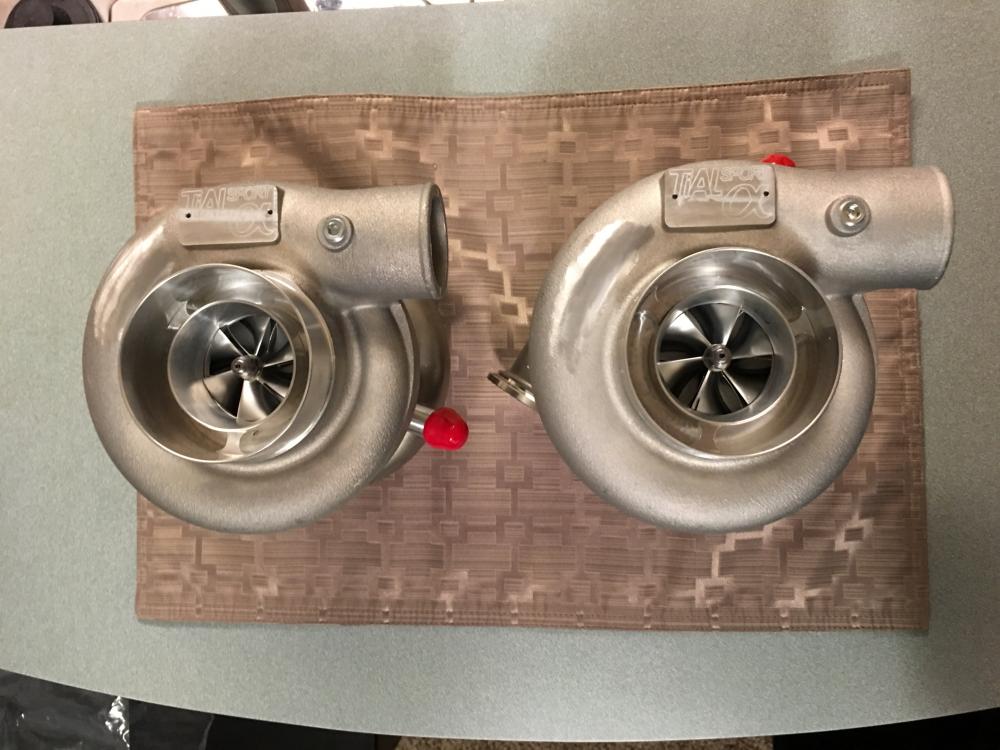
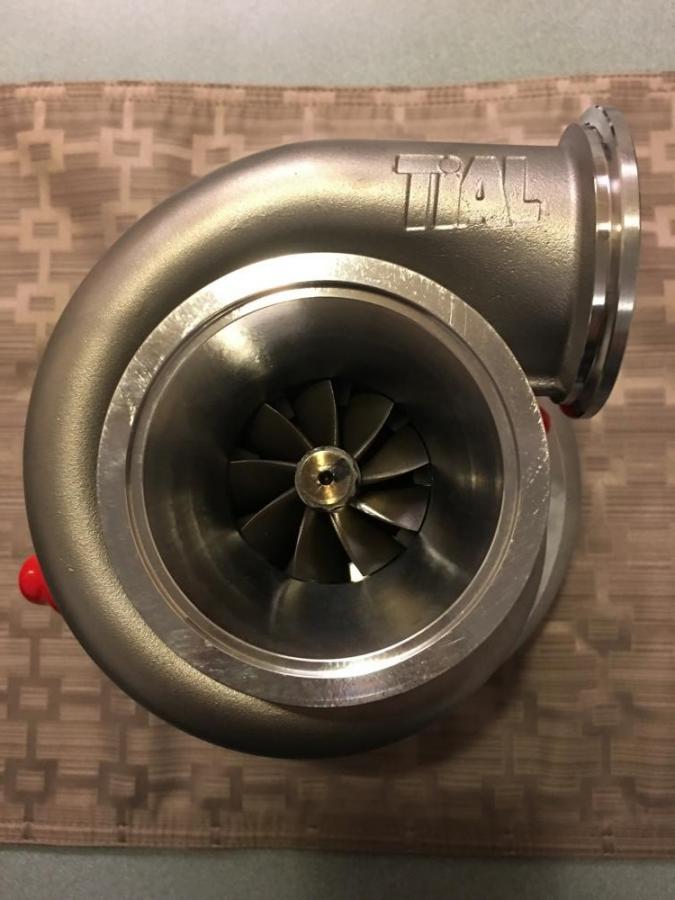
By treats i mean the beautiful stage 2 twin turbo kit that Fast Intentions has put together that i'm thankful for and get to install and have the pleasure of enjoying, and none of this could have been possible without their countless hours and dedication, thanks again for such a beautiful kit and I cannot wait to get back from my deployment in october so i can throw this beauty on my car and take her for a spin. I promise to take all the pictures so i can add it to this build and share my info for those who would like to know more.
