Great news...after months of craziness with life priorities my friend and I finally found time to work on installing the A2A kit at his shop. Here's my review of the install.
Overall the Kit is awesome. Believe it or not we did not find removing the intake manifold as a problem. It was actually one of the easier things to do. I guess maybe because I retained the original tool that Stillen gave me with the kit. On a side note I can't believe how restrictive that heat exchanger in the manifold is. Once we pulled that sucker out I was blown away at how much room the intake manifold had with the internal heat exchanger gone.
Anyways, on to the review, here were the areas that were time consuming for us.
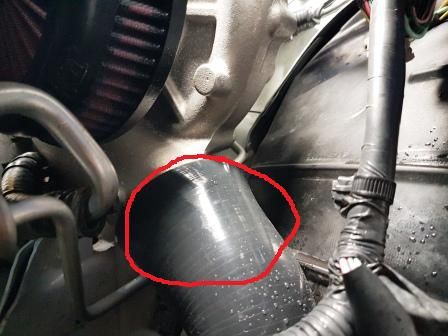
1). The removal of the Supercharger and Lining up of the Volute to make that perfect 45* angle was tough. We initially tried to take the supercharger out with just the 4 bolts on the bracket, but after dealing with everything we figured that it would have been a whole lot easier if we just removed the entire bracket. Also because of the limited space we installed the filter on the supercharger first before remounting it back. I really don't think you can put that filter on with the S/C mounted back in.
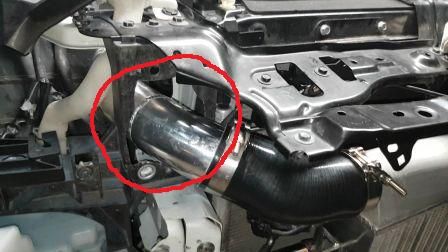
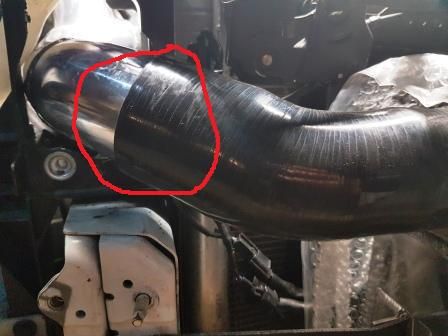
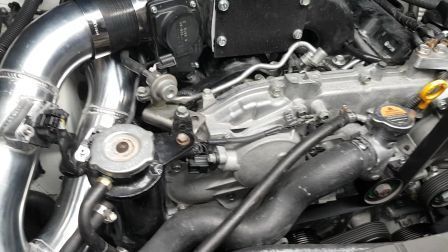
2). The Y Pipe was the hardest thing to get set. It was slightly off with the TB's and we didn't have much room to move the Y Pipe around to angle the fit with the IC, so we ended up cutting more than recommended on the instruction manual. (Refer to pics)
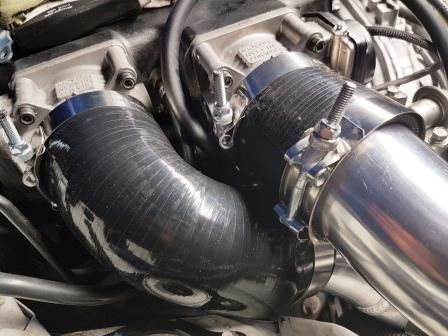
After several hours of test fitting and cutting we were finally able to get the Y Pipe to fit. Putting on the 80mm T-Bolt Clamps was also taxing as the space was limited. This also presented challenges with the couplers sliding off the TB's when we were making fitting adjustments. Definitely a 2 man operation. I don't know how my friend or I would have been able to do it alone. He tried one day without me around and gave up. We weren't successful until the two of us were able to work on it together the following day.
3). I went back to this page during the install and noticed that only a total of eight (8) T-Bolt Clamps come with this kit. Four (4) 80mm and Four (4) of the smaller ones. I found that you actually need six (6) 80mm, as four are used on the Y Pipe Throttle Body areas (Top and Bottom) and you need to use one at the bottom end of the Y Pipe that connects to the coupler and one at the end of the volute connecting the volute to the other coupler. (Refer to Pics) This may be a personal preference, but I feel more secure having T-Blot Clamps in place on these areas for extra security. The kit may have came with more, I'm not sure...... but eight (8) T-Bolt clamps were all I got, so I ended up buying two (2) more 80mm T-Bolt Clamps locally to ease my mind. I personally think that the T-Bolt Clamps that come with the kit could be of better quality. Again this could be a personal preference, don't get me wrong, they work......they just seem a little too flimsy for my taste.
4). Also a very minor issue, but during the install the prefabricated holes on the brackets for the IC and the block off plate for the manifold were off so we had to drill and make the holes slightly bigger to line up with my kit.
5). This last part is a cosmetic and personal preference. I personally didn't care to put back the stock radiator overflow container as I wanted to have easy access to the belts in the future, and less clutter in the front, so we went ahead and modified an area to mount the small black one that came with the original Stillen Kit.
I want to point out that these were challenges that we faced during my install and have nothing to do with the performance or reliability of the kit. Every install presents different challenges for different people thanks to "Murphy."
Once the install was complete I went ahead and flashed the map from Seb and fired her up. She was buttoned back up and taken out for some data logging. Seb has me currently at simple idle and highway cruising, but let me just say that this kit makes the Stillen kit feel like a whole different animal. The Z feels so much more responsive. Even at cruising speeds I can see on the boost gauge that the car is closer in going into boost earlier in the RPM range. Throttle response is a whole lot better, and the car feels zippy as though its itching to giddy up and go. Can't wait to do some WOT pulls and stretch her legs out.
Thanks Topz for making this kit and affording me the opportunity to get my hands on one of them. Also a big thanks to everyone else on here that has done the install and has contributed by sharing their experiences.