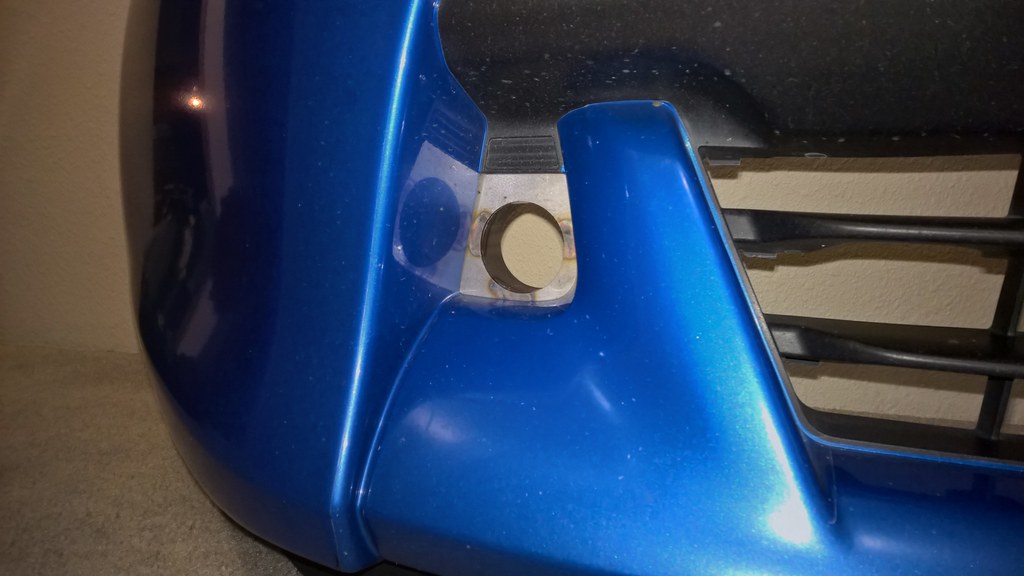
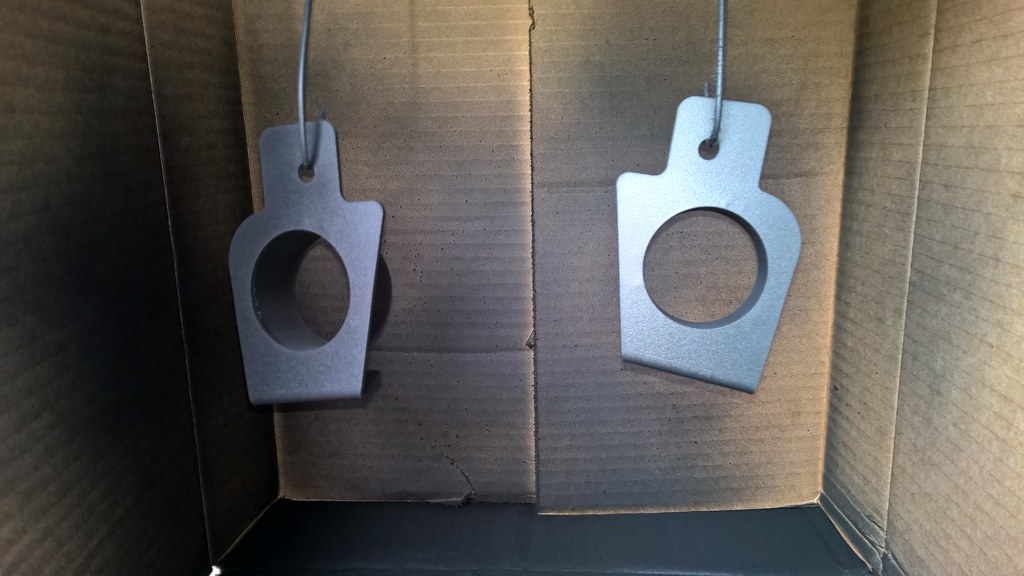
Moving right along, next up is installing the fittings. This is pretty straight forward on the bumper, but as shown, my fittings were unpainted/unpowder coated when I received them, and thus look rather shoddy. I do not know if this is how they are normally shipped or not, I just shrugged, hung them up in my "paint booth" and painted them black.

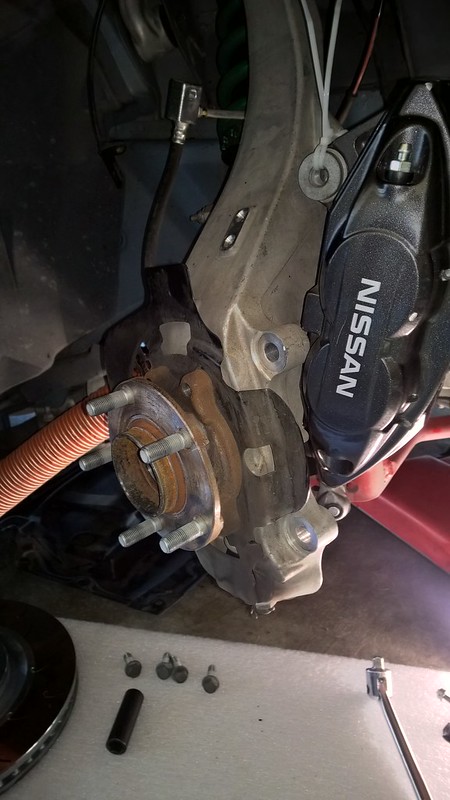
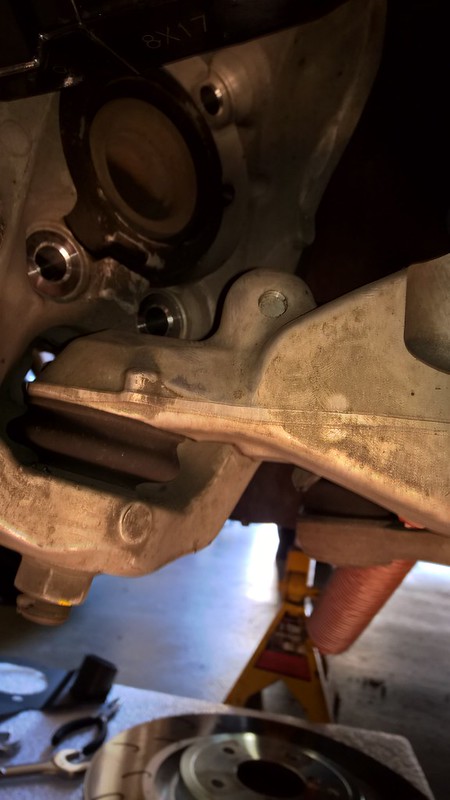
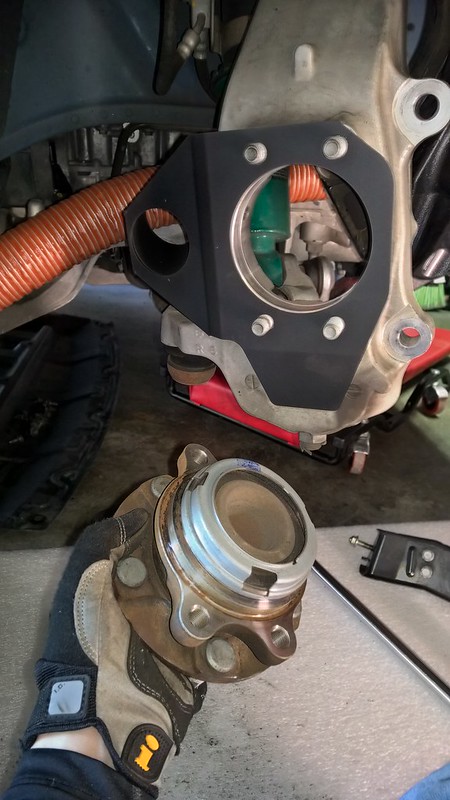
Having installed new rotors last fall, pulling the brakes and hub apart and installing the duct bracket was fairly straight forward for me and the MotoIQ walk-through does a good job outlining those steps. I will add that I found if you steer the caliper outward, you have fairly easy access to 3 of the hub bolts before you have to steer to the opposite bump to get to the 4th. Also, when you remove the hub, make sure you know which side is up because that matters. A lot as I learned...
Here's a few quick views of where exactly the forced air exits into the center of the rotor. I shined a light through for a bit of clarity.


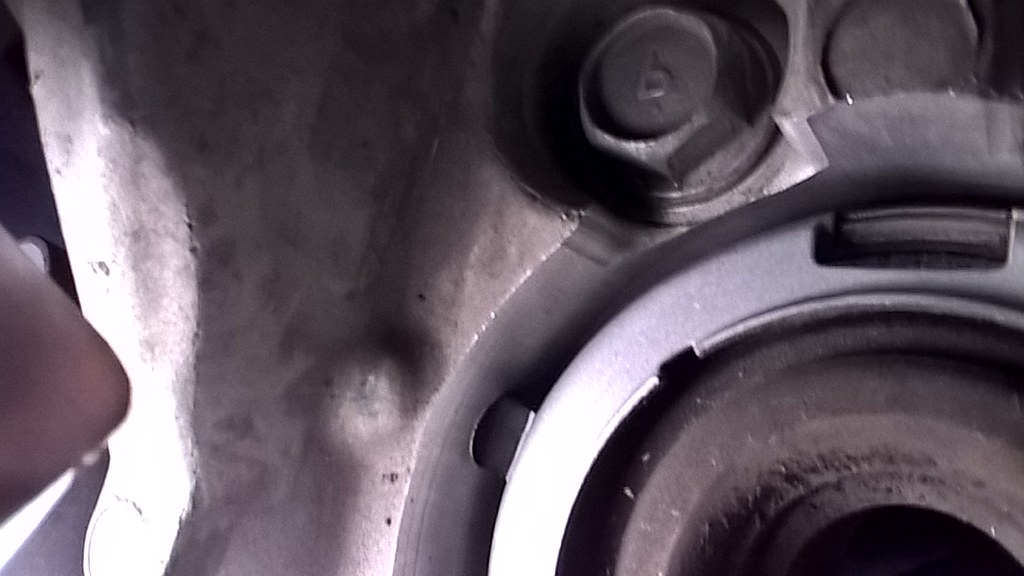
This is why you need to make sure you re-install the hub right-side up, the ABS sensor was the last thing for me to re-install, only to find out it won't go in! There are gaps as shown on what appears to be a dust shield or something for the bearing that allows the sensor to pass through it....opps.

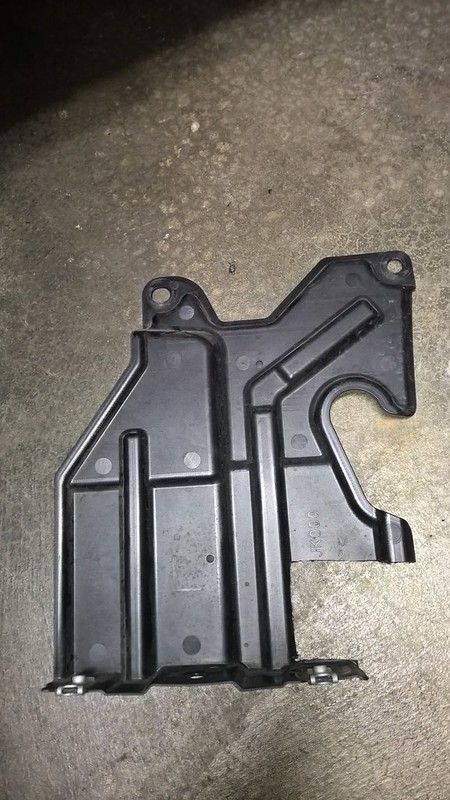
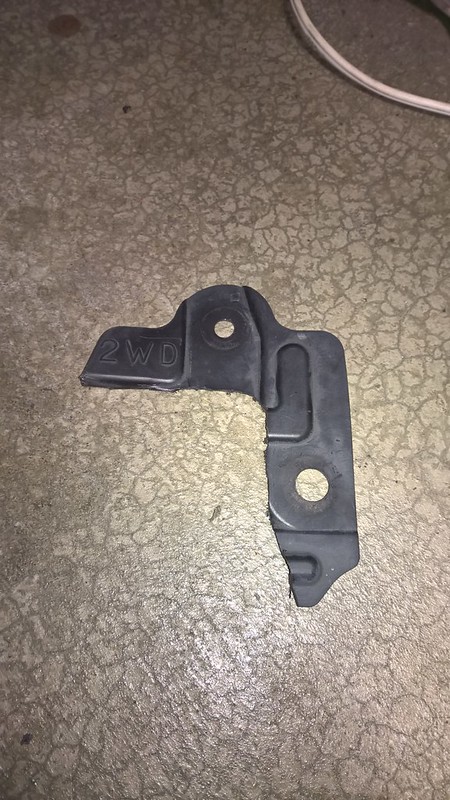
Here is the drivers side lower shroud support, don't need to cut nearly as much out of it for obvious reasons.
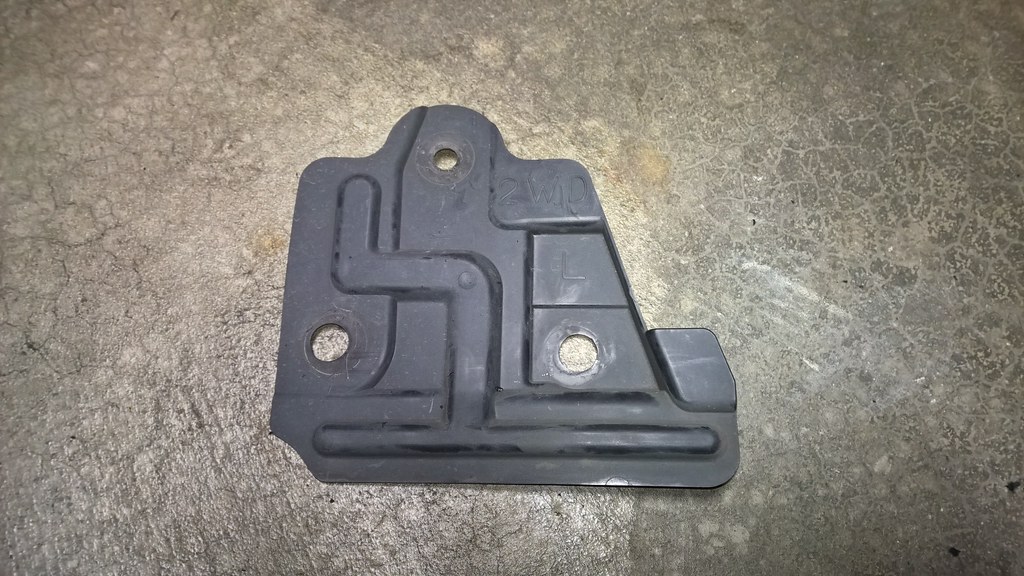
This is a piece from both wheel wells that the instructions seem to imply that you toss. I decided to notch it out to allow re-installing it such that the fender liner retains a couple speed bolts. It looked good originally, but during the rigging process, I discovered that it prevents the brake hose from getting as close to the inner wheel well as it possibly could so I cut the entire rear portion off.
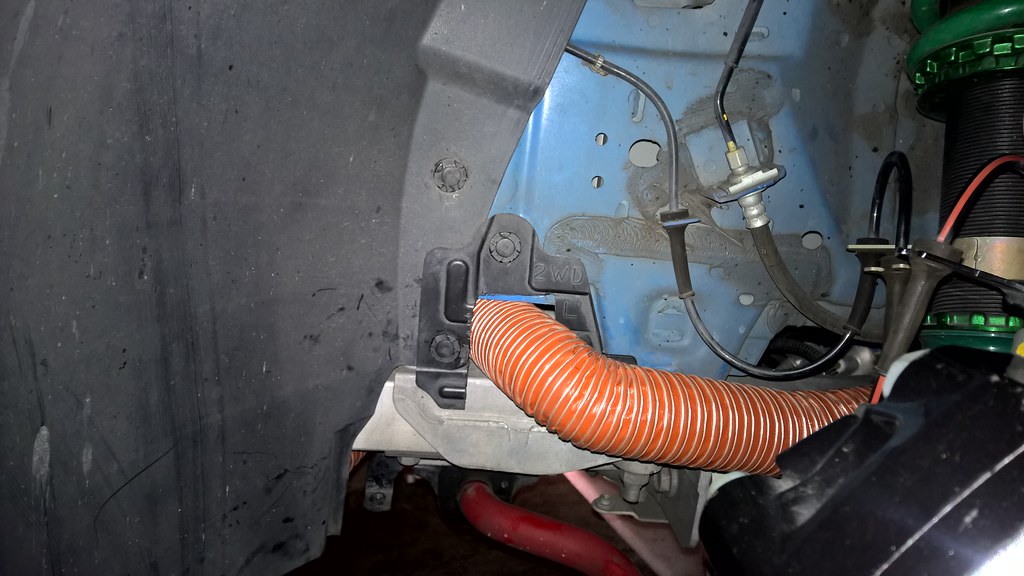
The final, as-installed part shown below is from the passenger side wheel well and is an exact opposite part to the driver side part shown above.
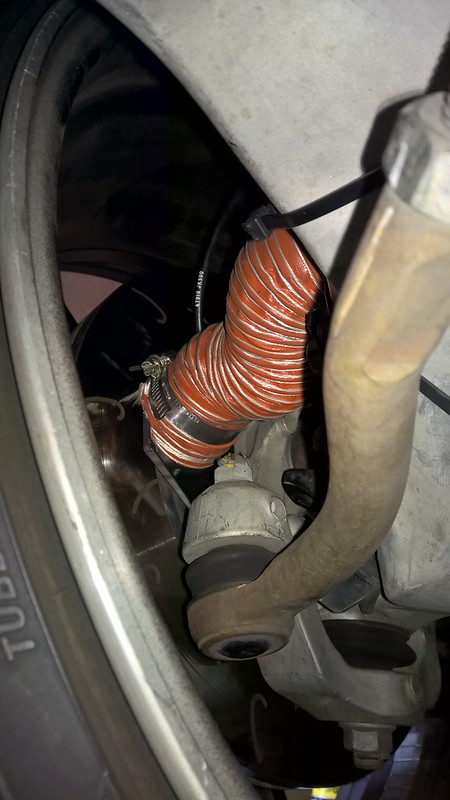
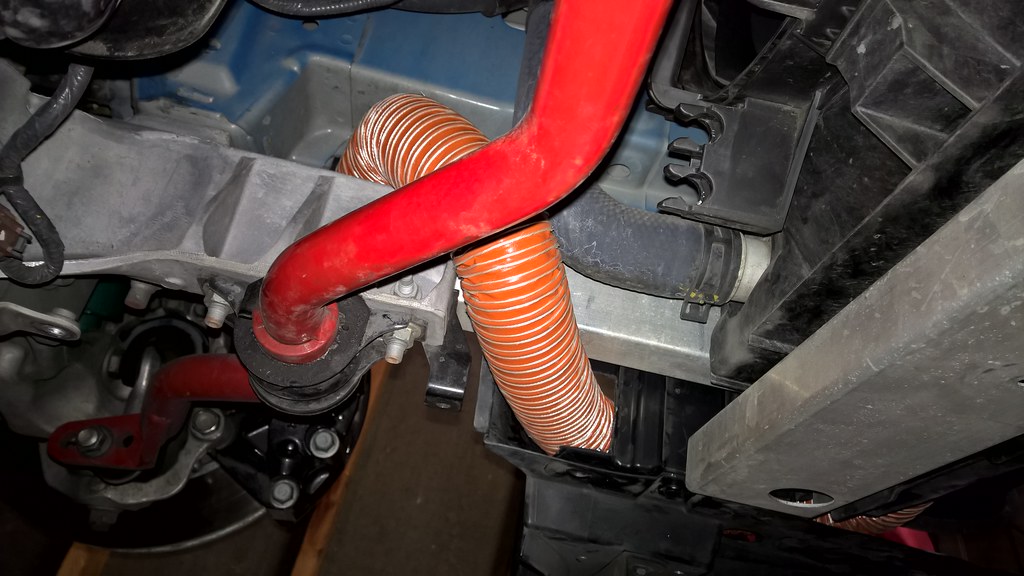
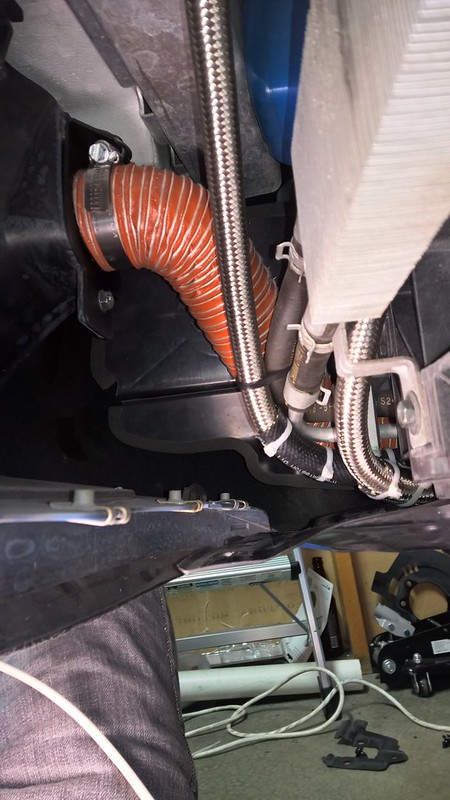
This is where the fun begins. I started at the hub and worked my way forward, first making sure I had enough length at full extension to reach where I would zip tie to the lower control arm. For this, I followed the manner in which the Stillen instructions described in pictures how to zip tie the hose to the LCA, which is not the clearest in the world but it worked. I was a little frustrated with how MotoIQ did theirs, maybe I misunderstood or missed a spot where they added a zip tie, regardless, their clearer pictures didn't work for me as I could not get the hose to bend and compress where I needed it to. I ended up using two zip ties for securing the hose to the LCA and get it to compress as shown. As I secured and tightened the zip ties, I pulled the tube slack forward and into the bumper area. It helps to have a buddy steer the wheels for you so you can watch the articulation as you go.

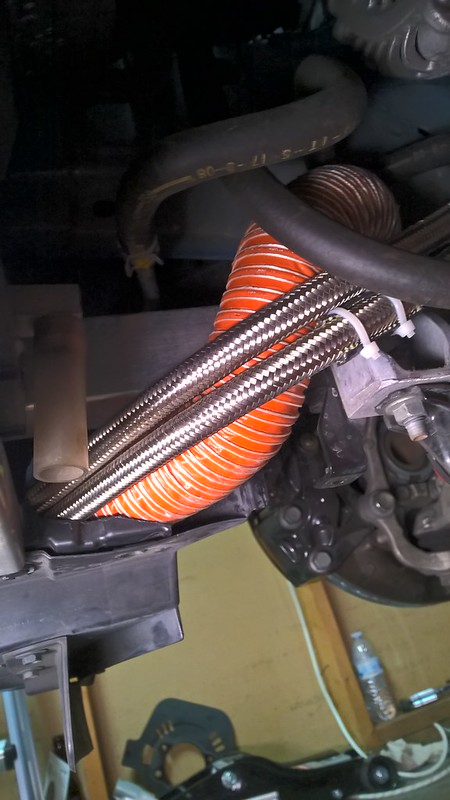
Here's some views of the final routing on the drivers side....
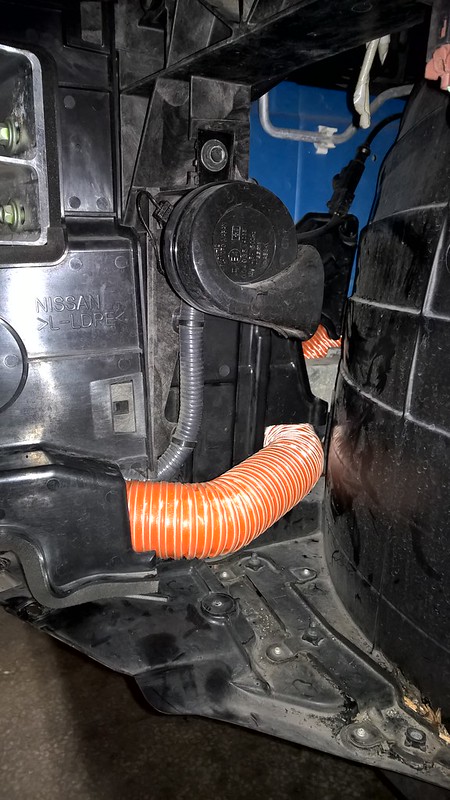
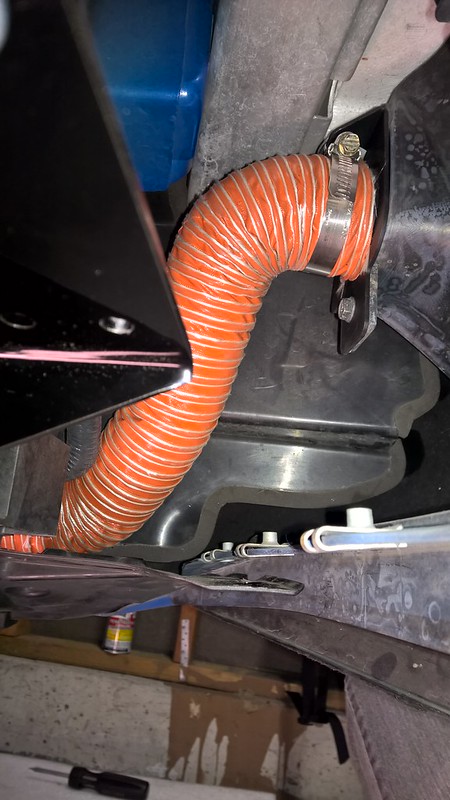
...and on the passenger side.
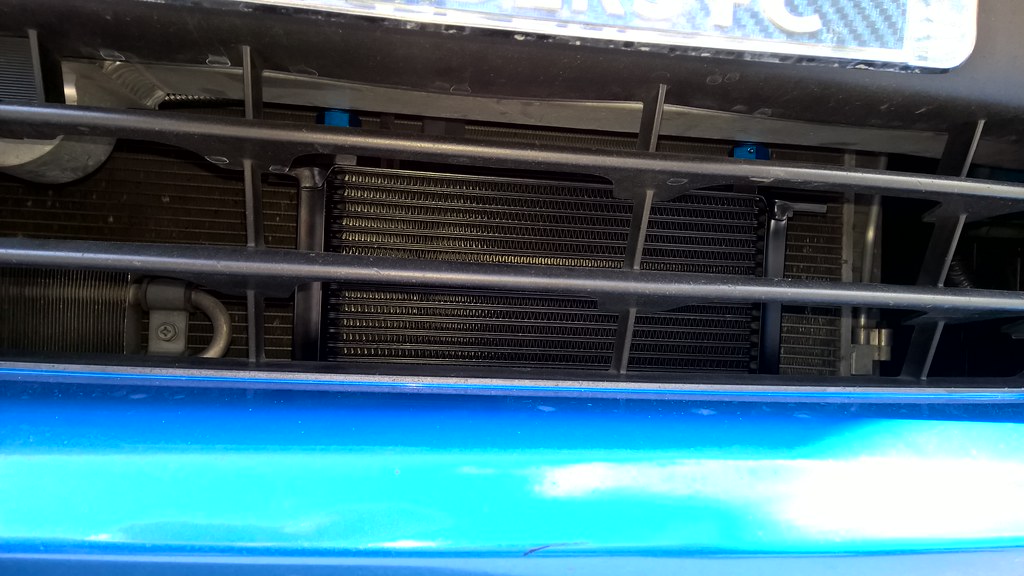
And with that, here's the final look! Hope this helps you out when you're doing both the oil cooler and brake cooler. Let me know if any of this confused or other-wise steered you wrong!

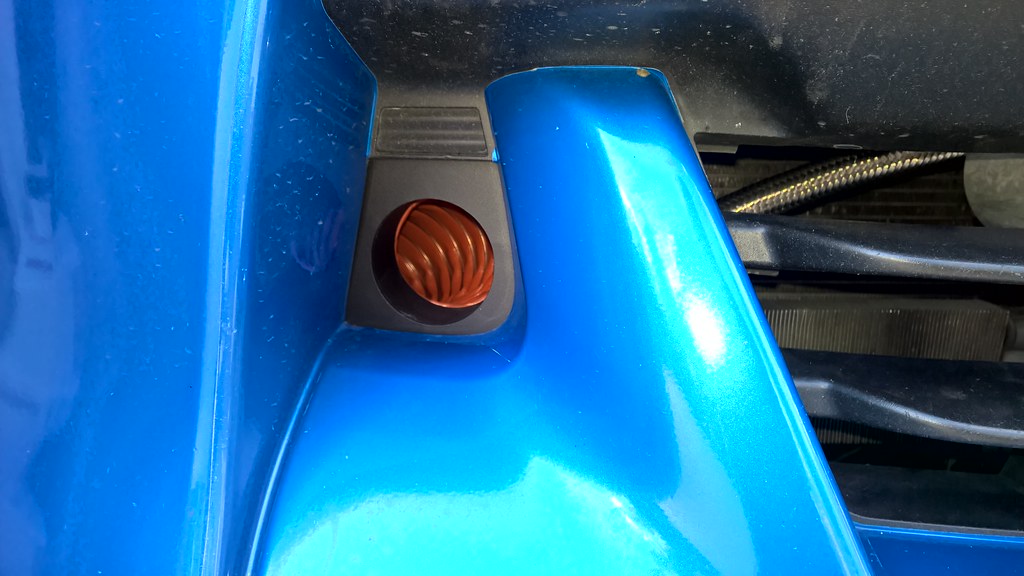
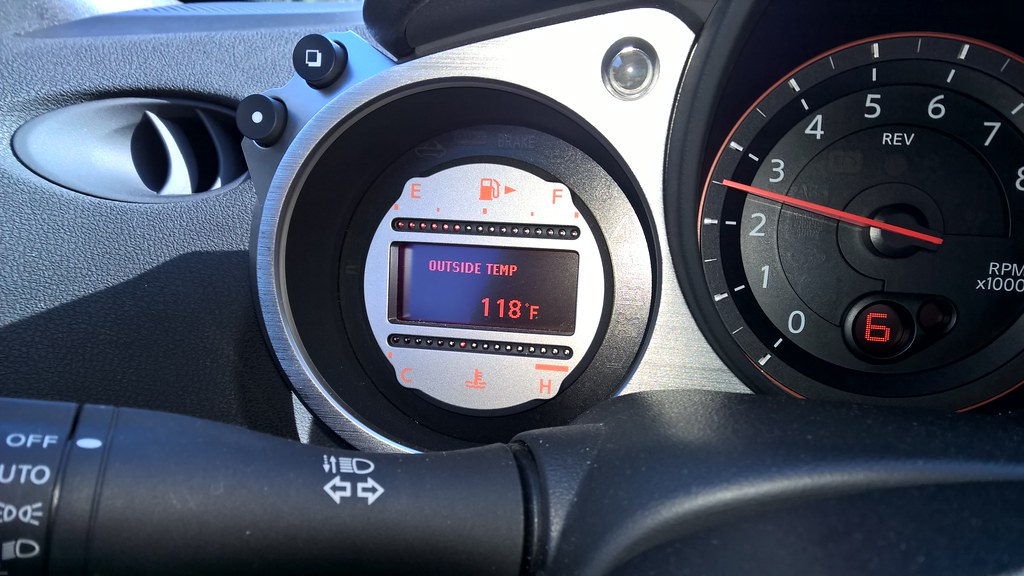
Oh, and one more thing, this is what happens when you install an oil cooler directly in front of your ambient air temp sensor, REALLY hoping this doesn't throw off the ECU!