This is my meandering walk-through of installing the 19-row oil cooler kit as well as the brake cooling duct kit, both from Stillen. The directions that come with both kits are not the greatest so I relied on a combination of their instructions as well as the following useful DIYs that I will try not to duplicate here too much
 DIY: Front Bumper Removal
 by DIGItonium
DIY: Stillen 19 Row Oil Cooler Install - driver side (stock PS cooler unmoved) by djpathfinder
While I'm at it, a big thanks to DIGItonium and djpathfinder for the helpful walk-throughs and to JT at Stillen as well for getting me the parts as soon as they were ready!

Also useful was the brake duct installation write-up from MotoIQ on their Project 370Z, primarily from their much clearer pictures. Apart from the typical hand tools, you'll need something to cut plastic with, such as a Dremel, a strong 1/4" drill bit for drilling through the steel oil cooler mounting bracket, and extra zip ties, since you can never have enough and I ended up using and then cutting off several while I was rigging the brake hoses for steering motion.
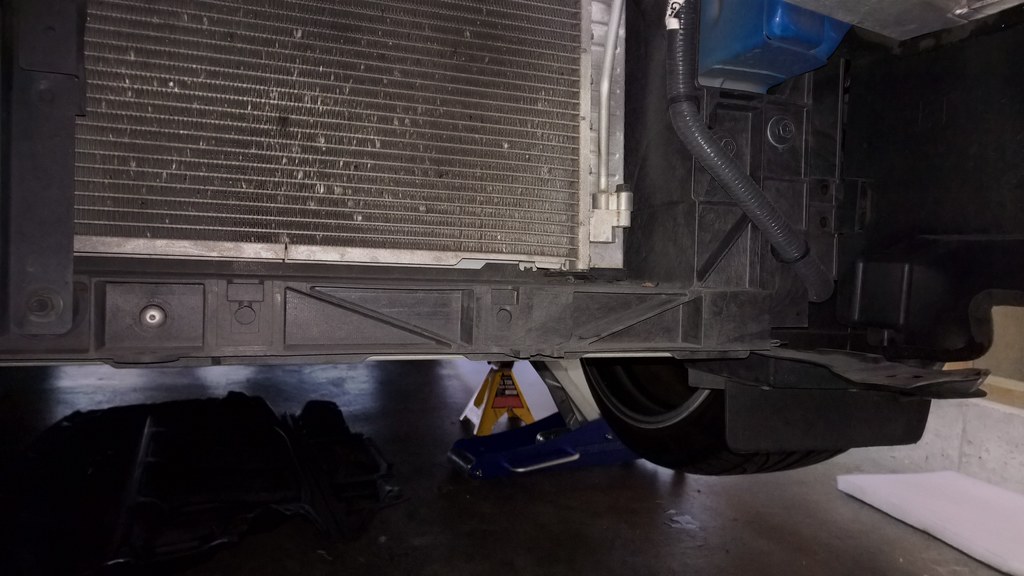
Starting off, I removed the bumper cover and decided to leave the power steering cooler alone and mount the oil cooler on the driver's side:
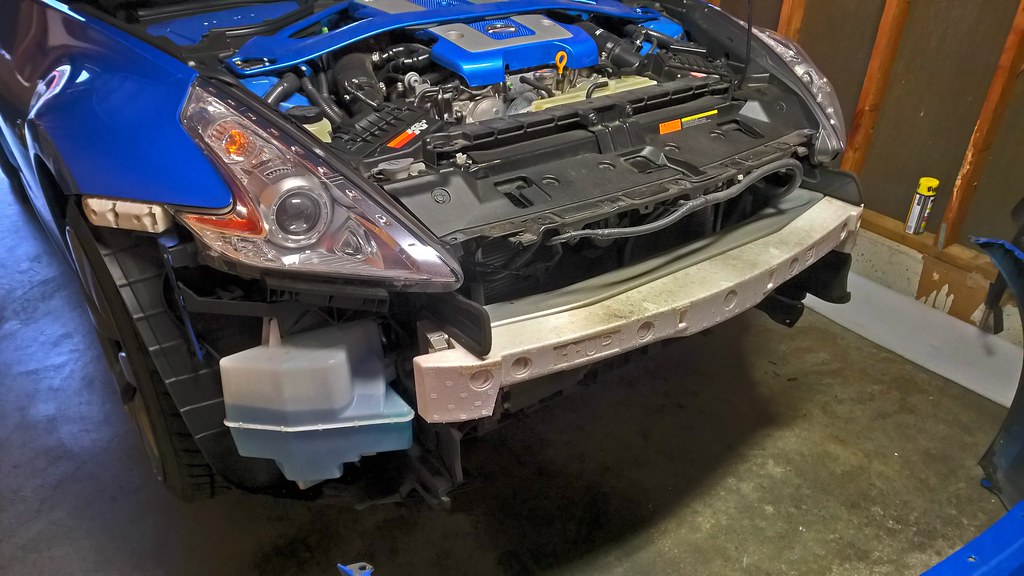
There are two existing locations on the radiator support where you'll need to pick up some speed nuts and bolts from a dealership parts counter or wherever, it took mine a few vain search attempts in their computer to find the parts before I convinced him to just take the sample I brought with me back to their shelves and find the closest thing.
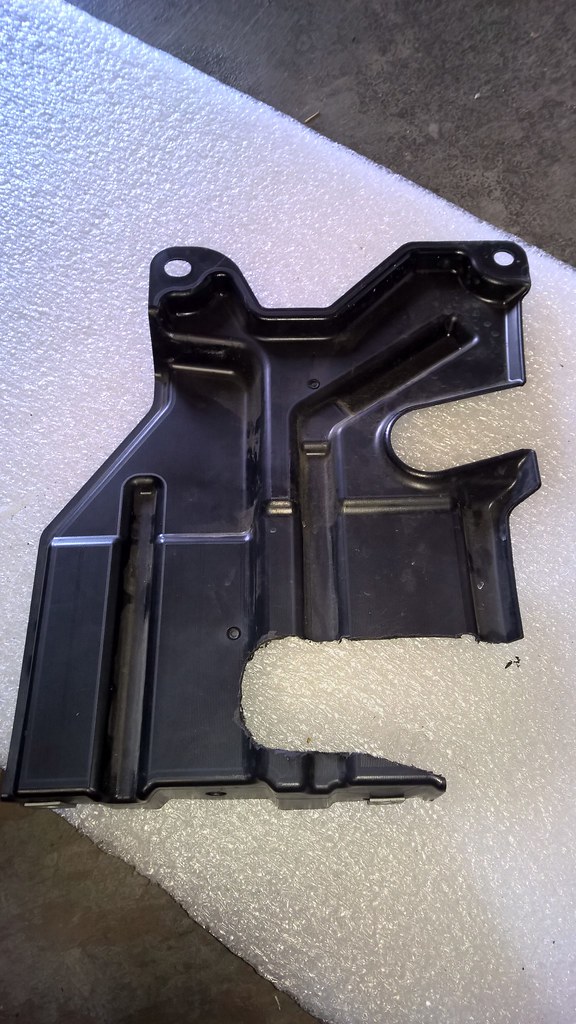
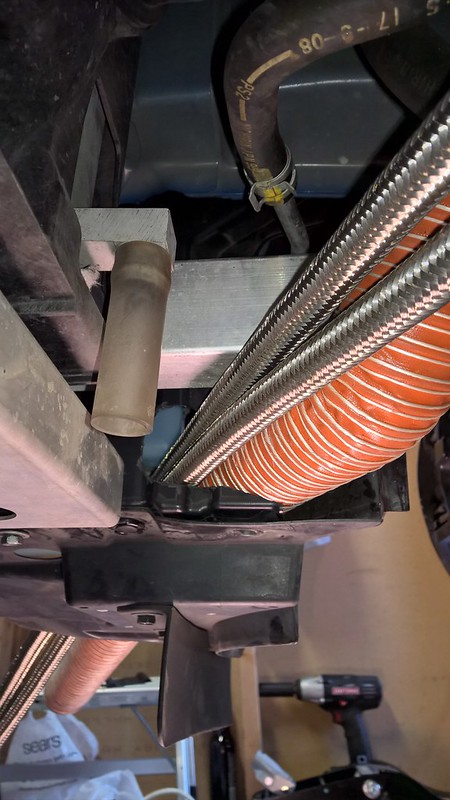
Here is the lower shroud support from the passenger side. As you can see, I cut out quite a bit to accommodate both the brake hoses and oil lines that will have to pass through the same area. I did not want to cut through the vertical radiator support as some here have done, which in retrospect, would have given me some extra length in the oil lines as you'll see later.
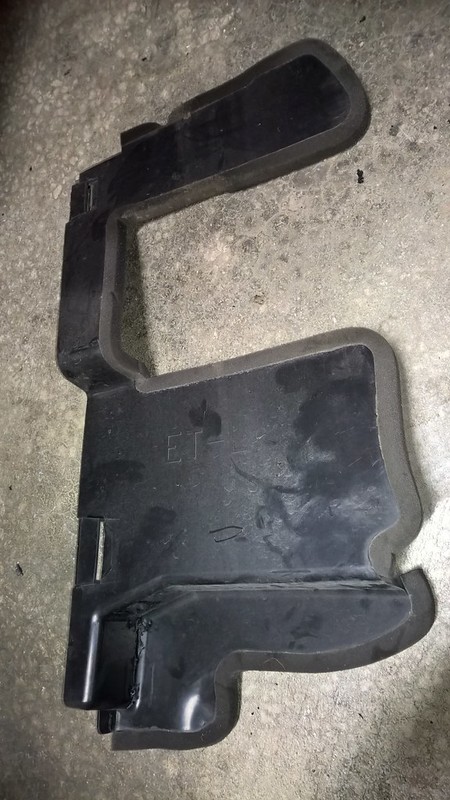
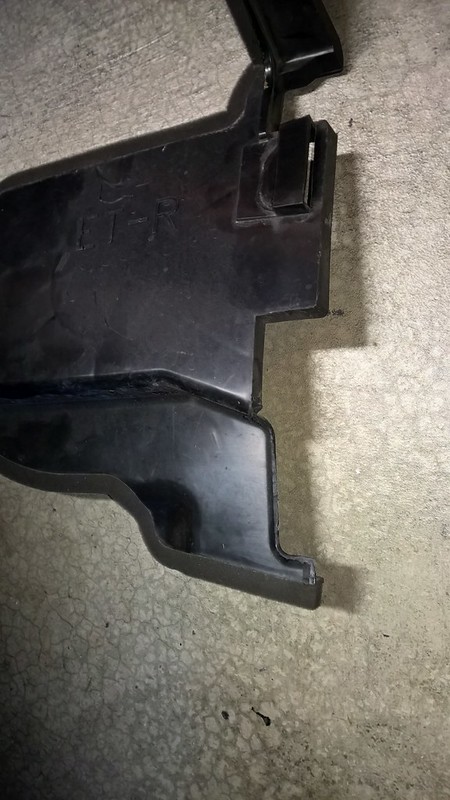
Here is a before/after set of pics of the piece forward of the radiator support that appears mainly to control airflow behind the bumper cover. You will need to notch out a small section on the bottom on both parts (the drivers side has a symmetric part) to allow clearance for the hoses.
Test-fitting everything to ensure I had enough clearance. As the process carried on, the stiffness of the oil lines would force the gaps here to close up but there's still plenty of room.
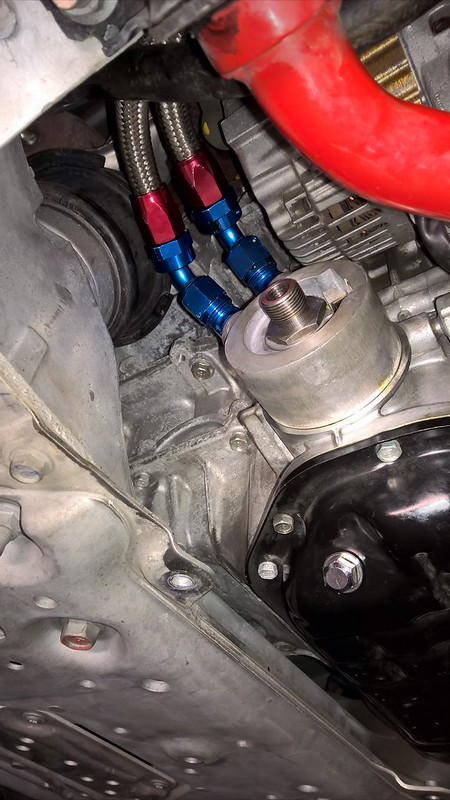
Moving along with the oil cooler first, I pre-installed the lines to the filter fitting and oriented the hose fittings to approximately 10:00-11:00 as you look up. Refer to the write-up above as to which length line goes where, typing this up now after it's been a couple days, I do not recall which is which but it is driven by how the oil lines route forward that decides which is the best way to orient them. There is a gap in the engine mount that allows the oil line to clear when you orient them equally between the mount and the alternator. This gives you more room to work when replacing the filter during future oil changes at the expense of length you would use to push the oil radiator further to the driver's side. (Thanks to djpathfinder!)
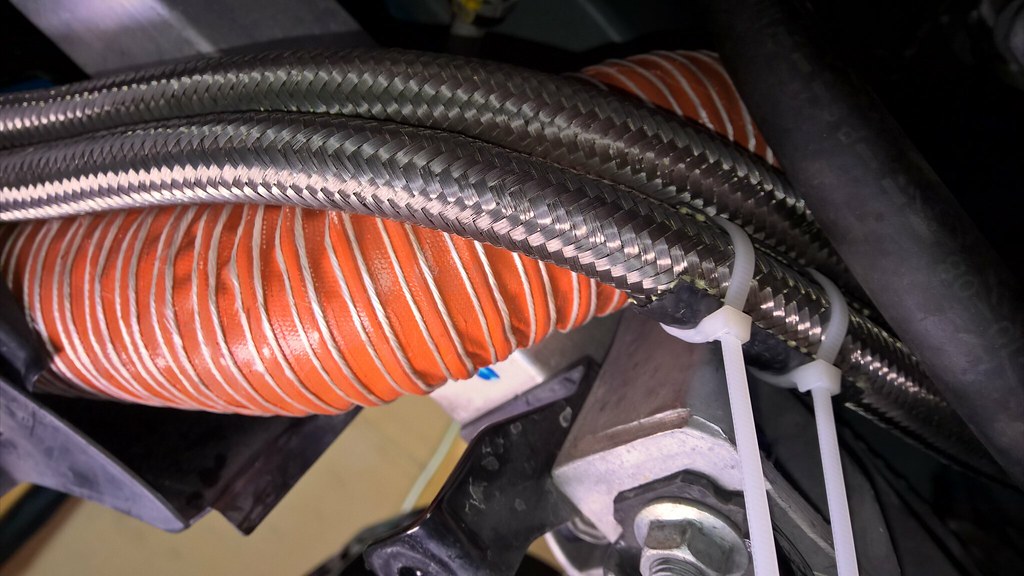
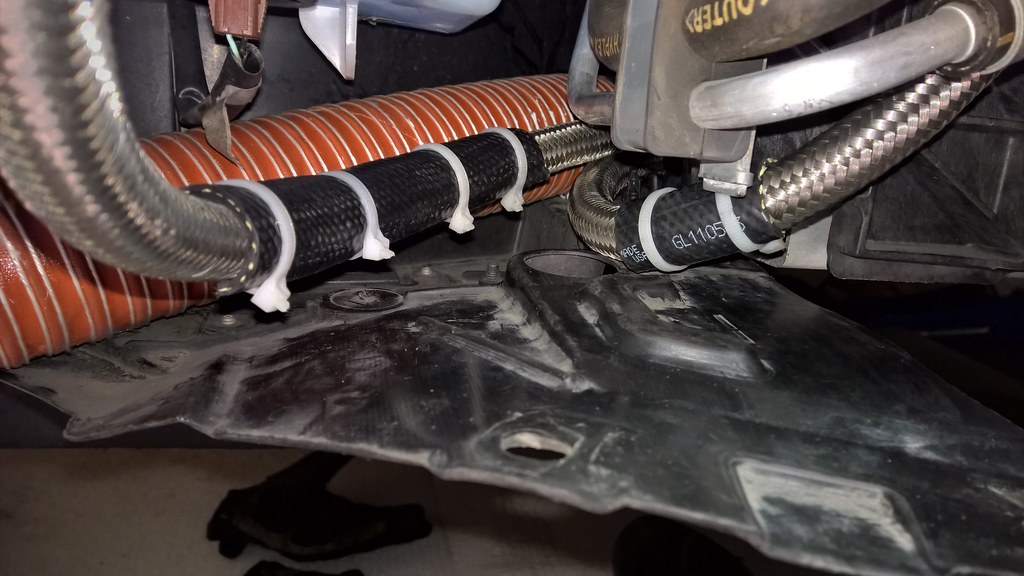
The Stillen kit includes a length of fuel hose that is originally intended to re-locate the power steering cooler. It is re-purposed as protective sleeving in areas where the oil lines are close to, if not rubbing on structure, shown below in the engine bay and routing forward of the radiator.
Now here's where I messed up, I routed the longer line
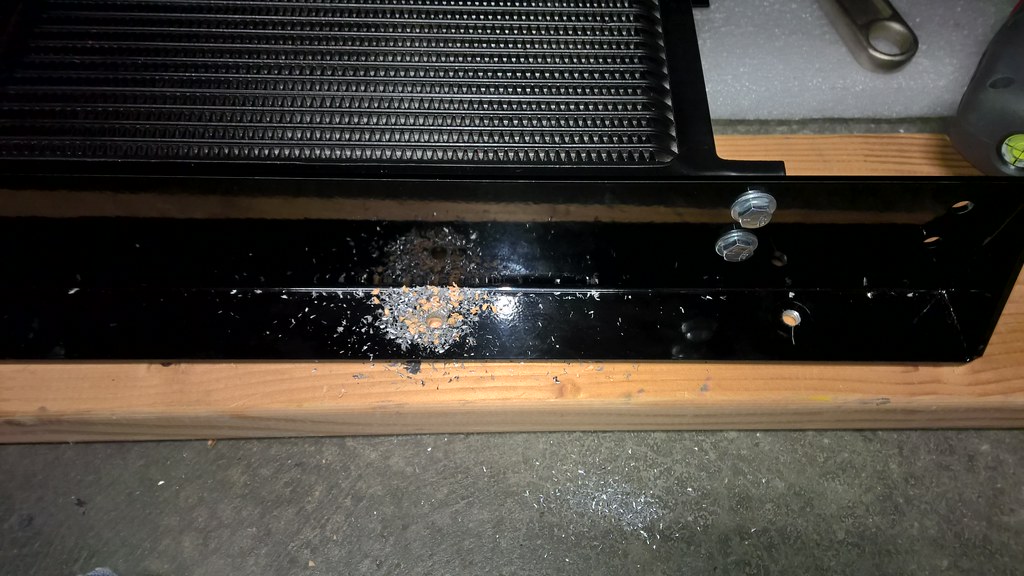
FORWARD of the power steering cooler when routing it aft would have gained me and inch or two of extra length. Anyhow, once I had loosely routed the lines, I attached them to the cooler and positioned the cooler as far to the driver side as the lines allowed. I carefully marked new hole locations and measured carefully where they needed to go. Be sure to measure and mark again and use a counter-punch to start your holes so you don't walk the drill bit all over the bracket. Also note that the cooler itself is mounted directly in front of the ambient air temperature sensor...


With the oil cooler effectively installed, I went ahead and added ~5.5 quarts before running the engine for a bit until the cooler started to warm up. With the engine off and after a few minutes to let it settle, I added more oil while checking the dip stick until the level looked ok, ended up being about ~6.5 quarts, remember to verify oil levels once you get the car back on level ground if it's not already level like on a lift or something.
To be continued....?
