Whats up y'all!
So, some of you may know, but most of you probably do not I decided to tackle my own full out engine bay wire tuck(engine harness, power/ground wires, and both body harnesses.) I know, O&G already has a really good solution for this(and both are after the same idea) but I decided to dive in off the deep end with mine. I will say this has probably been the most daunting task I have done with me Z to this day; because in the back of my mind I knew that one wrong thing could cause a headache of problems in an all electronic car such as ours. Once you get rolling though things get much better, so there is hope for those of you who are just like me! I'm sure some of you are probably wondering why in the hell I would mess with something like this anyway; I wanted a clean engine bay. I want to focus peoples eyes on the marvel of the VHR instead of the massive amount of gaudy and obtrusive wire looms stewn across our engine bays. Though I had not planned on taking on this project this soon. Anyways enough jibberish!
This project transpired from the install of my CJM stage 2 fuel system for my path forward with e85(DIY soon to follow on this as well!) Whilst installing my new fuel rails amd injectors and plugging the injectors into the harness I found myself realizing: "there's no longer a way to neaten up this injector harness!" (Short of zip tying the thing to my beautiful new fuel rails which in my mind was NOT an option.)
So I found myself staring at this. Ew.
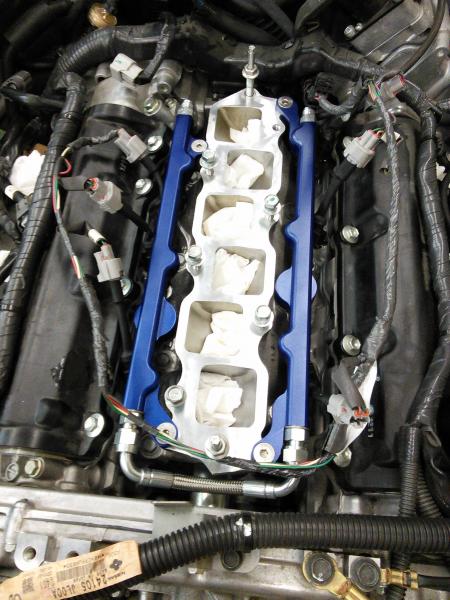
Which soon lead to this mess
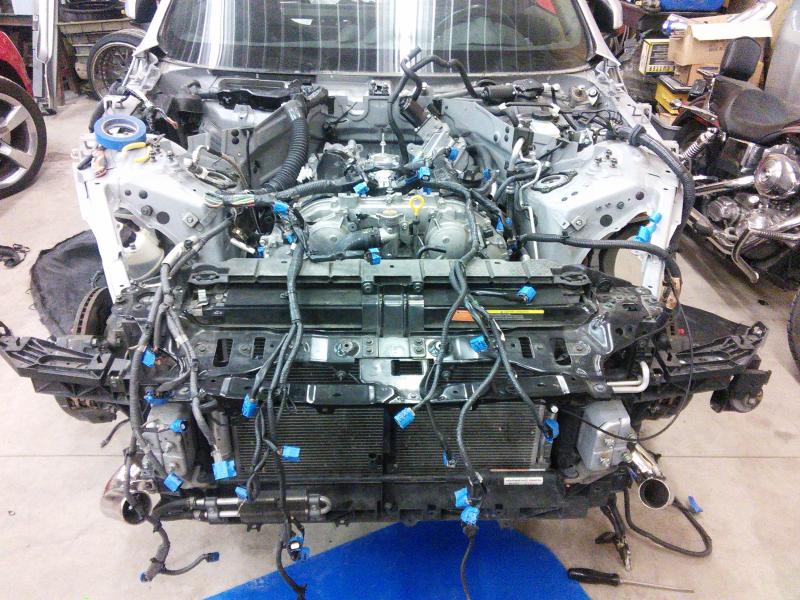
And things just got worse from there lol
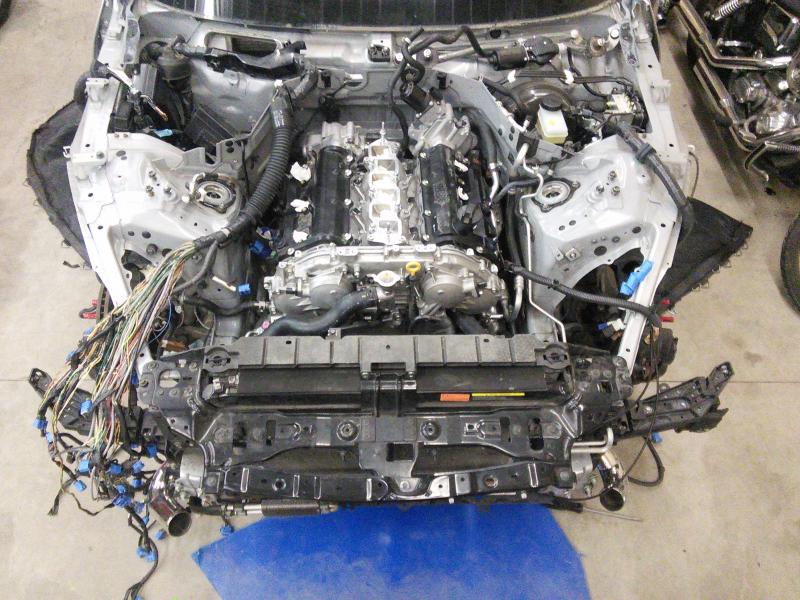
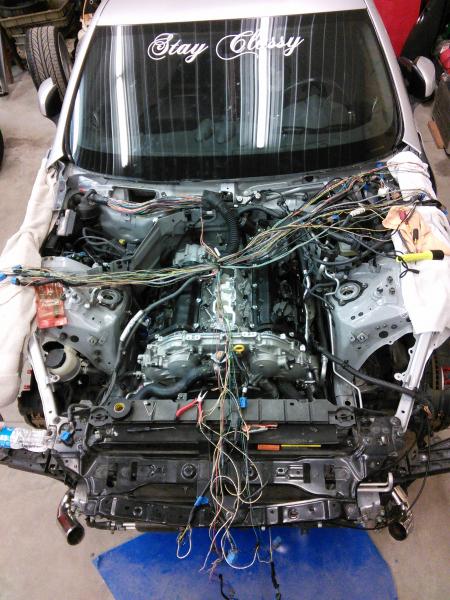
So from the picture above I had decided to myself that it would be best to start on the engine harness being that it would be the most critical to do. I divided the engine harness up into three individual harnesses: driver side connectors, passenger side connectors, and ignition.
I did a little reading up on the Silvia forums and found some really really legit wire loom. While I was not ready to swallow the pill of the price tag on this stuff I went ahead and bought it anyway; I figured what the hell, I haven't skimped out on anything prior to this might as well not start now!
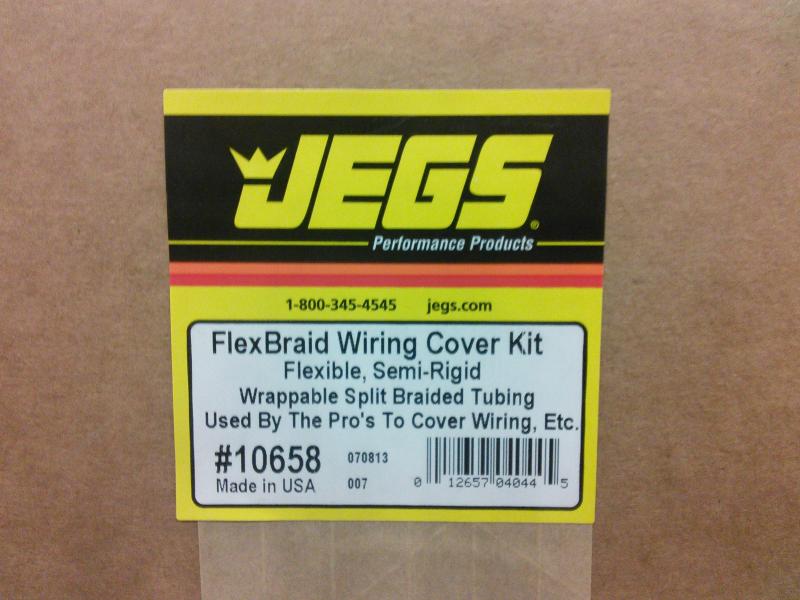
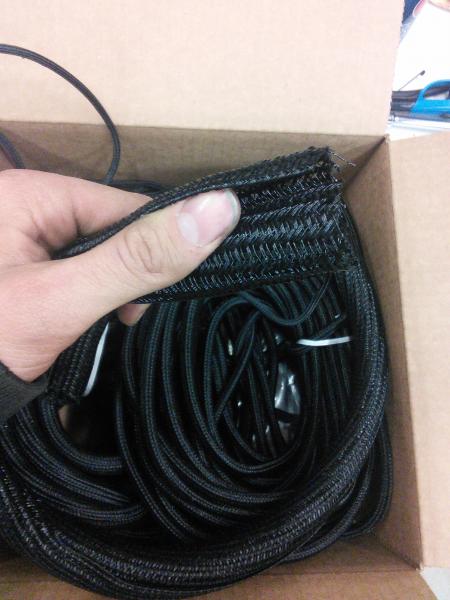
Here's a link to the product on jegs' website
http://www.jegs.com/i/JEGS+Performan...10658/10002/-1
So continuing on I recommend using some tape to atleast make an attempt to label your connectors to the best of your ability as I had! Its far too damned easy to separate all this mess and get a cam passenger sensor mixed with a driver one or even a VVEL motor mixed with your throttle body motor connector as each of these examples are the same thing! Hence the reason I said up top one oops can lead to a whole slew of headaches! Leave yourself a bread crumb trail so its easy to find your way back home!

After you've labeled all of the connectors and removed the factory looming I would then remove your engine bonnet(if you haven't already done so.) The only tricky part about this is the part that is secured down by the wiper blades(The driver most side of the bonnet). There are two clips; one being on each of the wipers at the base, that you need to remove to access the bolts holding the wipers down to the assembly then pull outwards on your wipers to release them from the wiper assembly. I placed my nuts back on the studs so I'm not hunting for them when the project is finished.
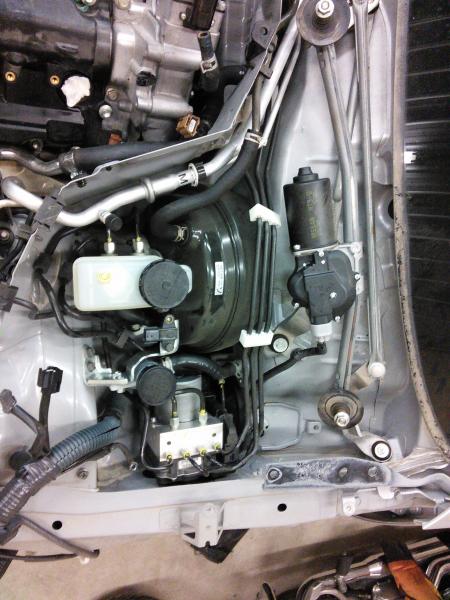
(Note: you may have also noticed by now that my hood is off, I personally wouldn't even attempt this without doing so!)
After you have all of the connectors labeled and the bonnet off locate the primary loom running into the firewall just behind the battery compartment. remove the plastic shroud from the wires this will give you much more flexibility in the harness and make it much easier to work with.
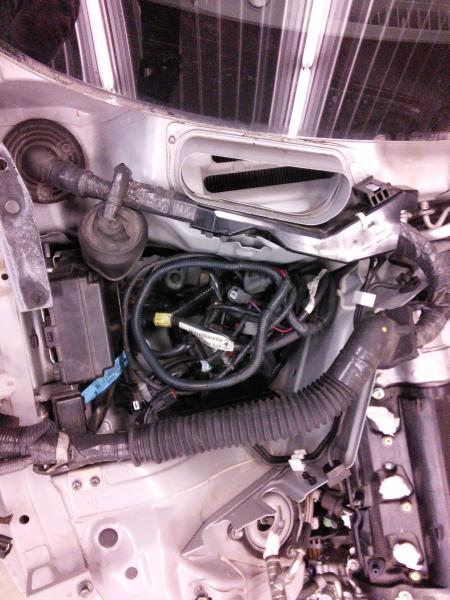
Here you can see the purpose of this:
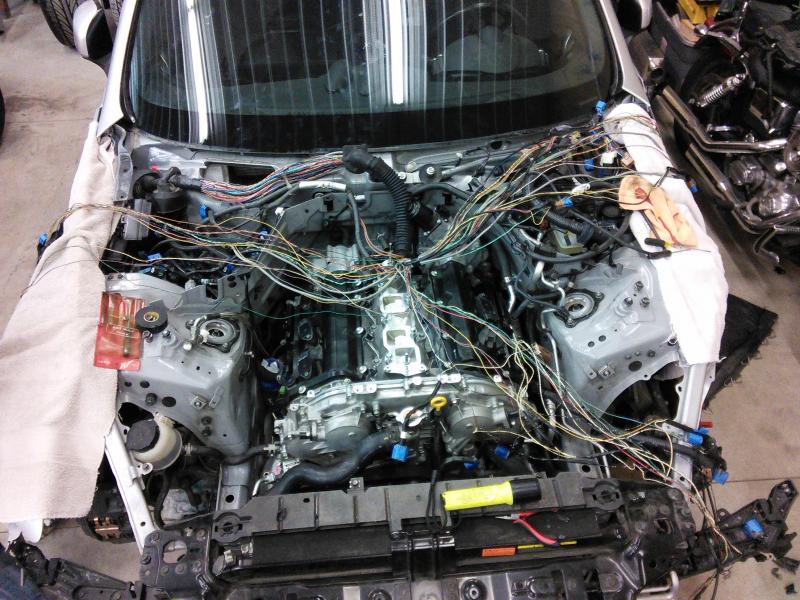
I went ahead and immediately covered mine up with my new loom as to lessen the chance of damaging any wires; I would recommend doing the same whether it be by loom or via copious amounts of electrical tape(or as we electricians call it; super 33)
Here was my solution
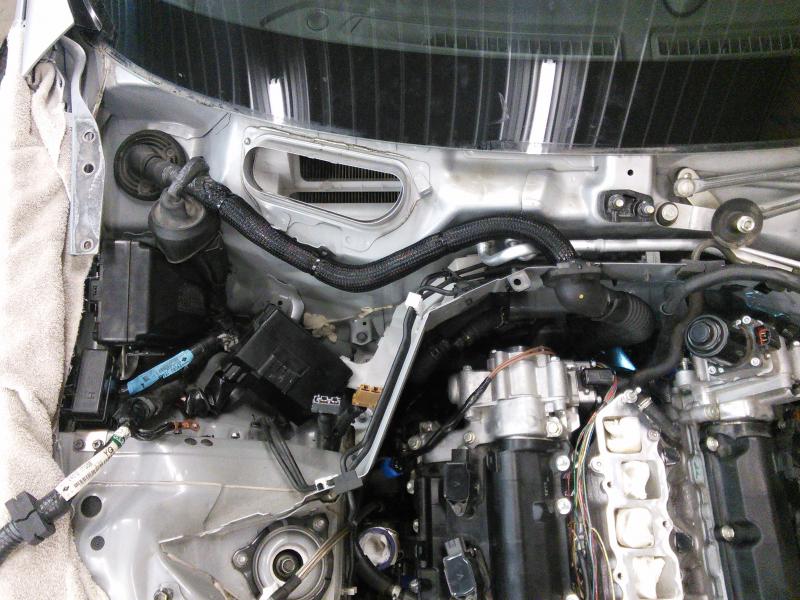
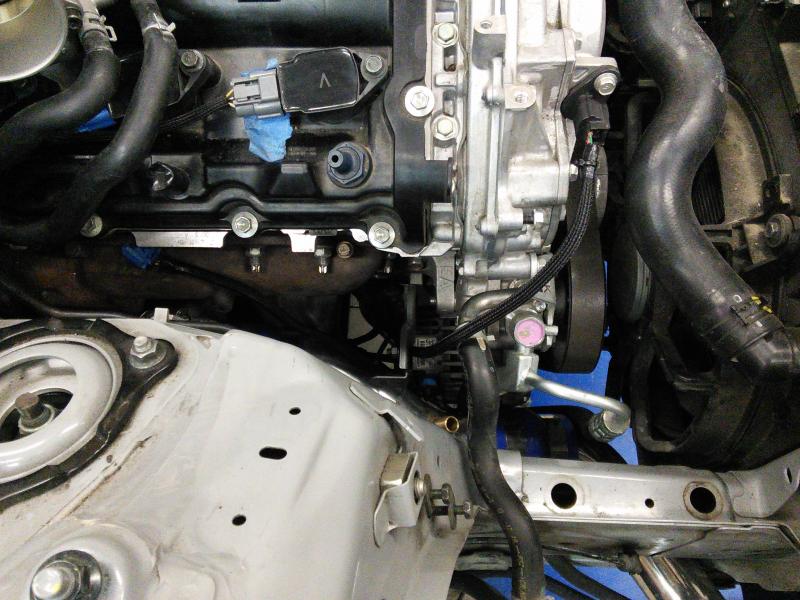
Next I started my venture with the passenger side. Grab all 6 of your connectors that belong to the passenger side (MAF, cam, throttle body, alternator, the connector on your power steering line, and the two fuel pressure sensors) and pull them all out and try to neaten them up as best you can. The idea here it's to 1. See how much length you have to work with and 2. Prepare them in a manner as such they will if in a nice "cylindrical" surface area to fit the loom; as well as lay them out in order to the connectors that will land first to last, so that as they branch from larger looms to smaller looms they do it as cleanly and uniformly as possible. You will have to spend a little time running the wires back underneath the car to find the best possible path back to its designated connector shortening up the wires as needed and test fitting things to make it fit neatly. I chose to run down around the bellhousing of the trans and then forward between the block and the rack bolt.
Here's the best image I have of what your looking to achieve
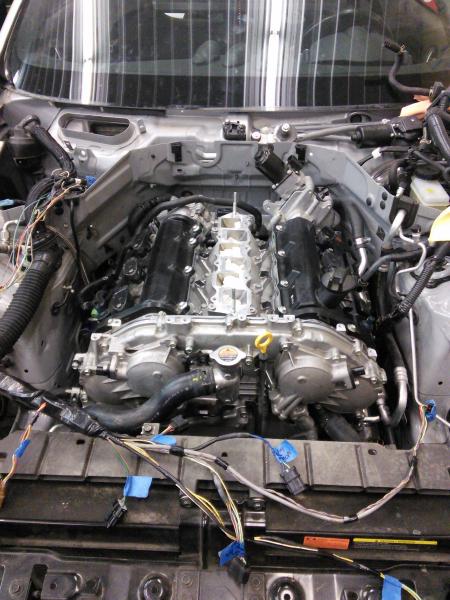
Once you've got all of your connectors laid out and taped up neatly its time to begin installing the wire loom! Yay!
With the loom installed and the connectors back in their prospective locations here is my passenger side results!
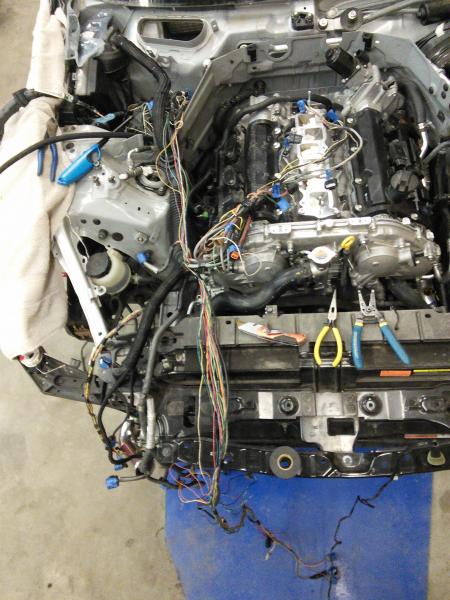
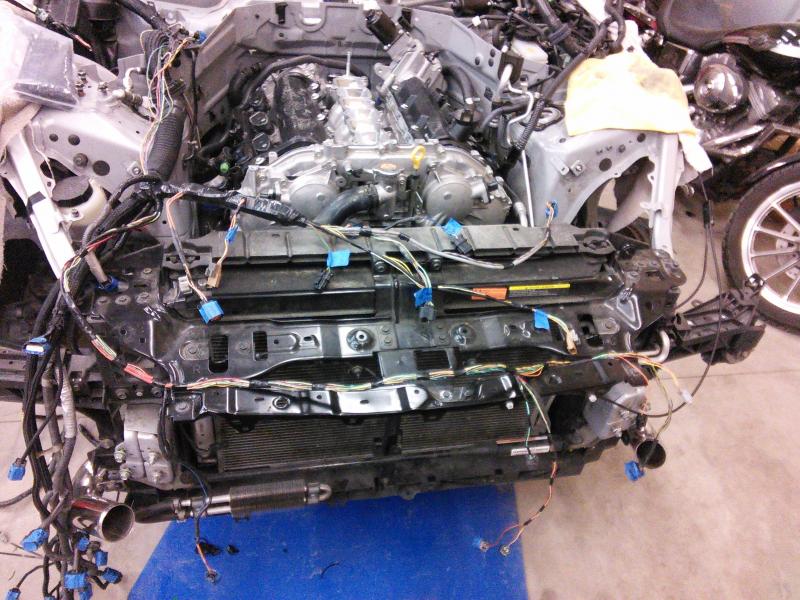
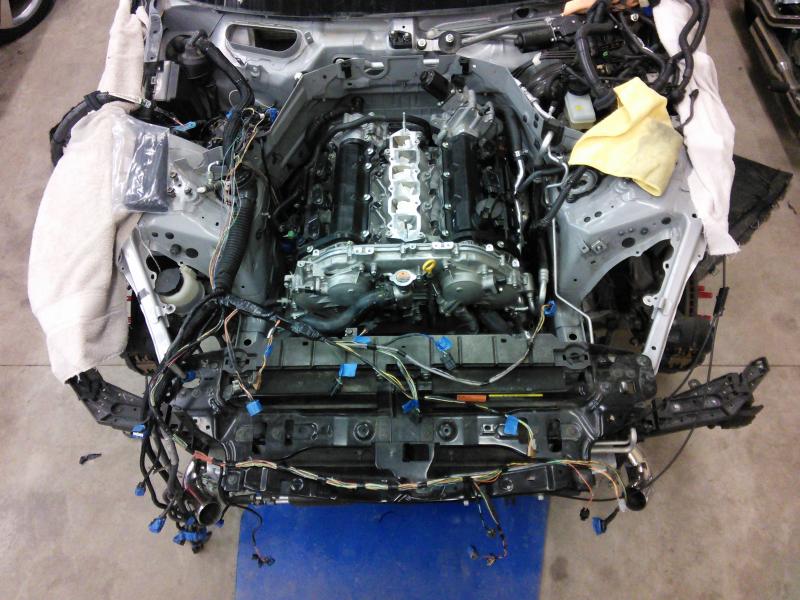
Next for the driver side harness; this one is where things become tricky! A lot more connectors and much tighter spaces imo. Once again I started by neatly separating the wires then mocking them up to length. I used tape to tape off my transitions from one sized loom to the next; then brought all of the connectors back up ontop the engine bay to perform the final taping and then loom wrap. Some things I want to note at this point:
I decided to tie the injector connector, the coolant temp sensor, crank position sensor, anything VVEL motor related, front O2 sensors, the driver side manifold sensor, and the two knock sensors?(correct me if I'm wrong but they are the two sensors that run from the back of the block under the intake collector and seat just below the valves which is why I assumed they were such) all into the "driver side" harness as they seemed to be easiest to loom with that side
Also why I decided to go with the wire loom that I chose. Biggest and foremost reason being unlike traditional wire loom the stuff I am using will NOT become brittle and crack over time after several heat cycles. This loom is also much more flexible than the factory wire loom; where I would have kinks in sharp bends with the factory loom this stuff can make loops for days, and last but not least its abrasion resistant and good for temps of 475deg(melting point on the jacket is just shy of 500 deg fahrenheit. Jegs says its good for only 250 but the manufacturer says otherwise?) Regardless I found this stuff to be the cats @ss for this project! *meeoww*

Here was starting to get the driver side harness prepped for loom:
And now onto the braided wrap:
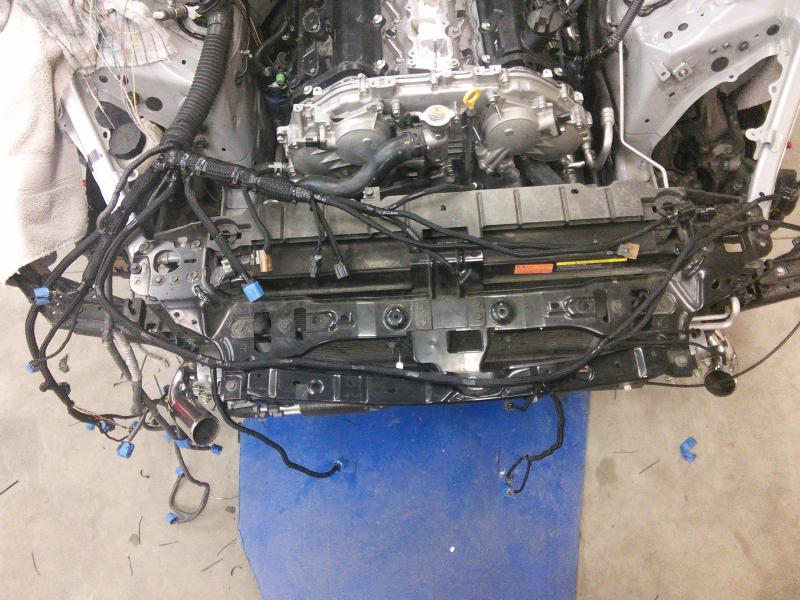
Run the loom back down the firewall.
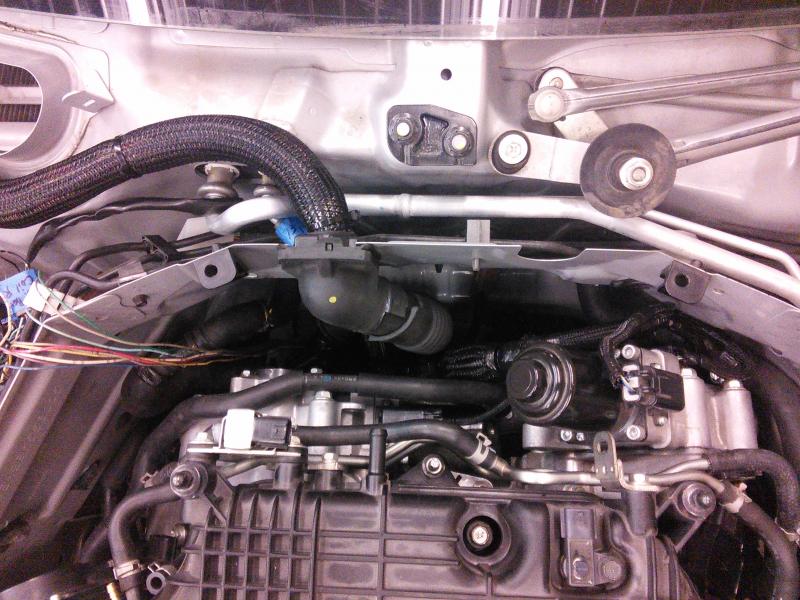
I chose to run it between the block and the rack bolt on the driver side as well. Seems to be a good place to avoid direct heat contact. Its a pain in the arse to fish those connectors through all the power steering hardlines and between the starter and what not so be patient. Best thing I can say is use some sort of tie line to use that can draw all of the connectors together and pull them through at once to make it easier on yourself! Connect your rack sensor, two AC comp sensors, cam, MAF, and the two front VVEL helper motors (or whatever the hell they are)
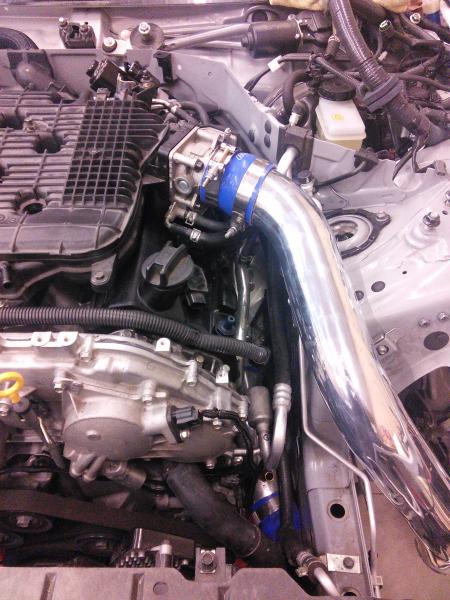
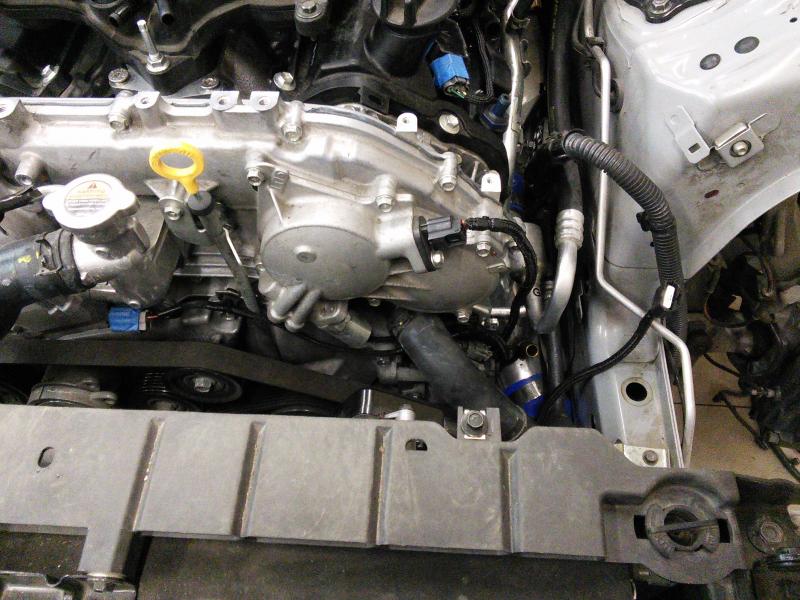
Then you can connect everything back up along the firewall with the exception of your throttle position sensors.
For the ignition harness(if that's what you want to call it; a factory rats nest is a better term to me.) You will likely want your intake manifold removed for this step! Its much easier to access the coil packs this way. I don't have many pictures of this step(I'll reverse engineer and shoot some tomorrow evening) but the idea is to arrange the wires around the coil packs to flow as cleanly as possible then use tape to set up your mock and loom in the connectors only first. Then I went back through the loom and began to start taping up the wires to atleast make it look like something that should belong there. Loomed up the body and tucked it in the firewall in a "U" shape from driver bank to passenger bank!
You can kind of get an idea from these two pictures what your after


Now connect both of your throttle body's and both of the intake manifold sensors and your engine harness should now be completely tucked!
Here's some finished pics!

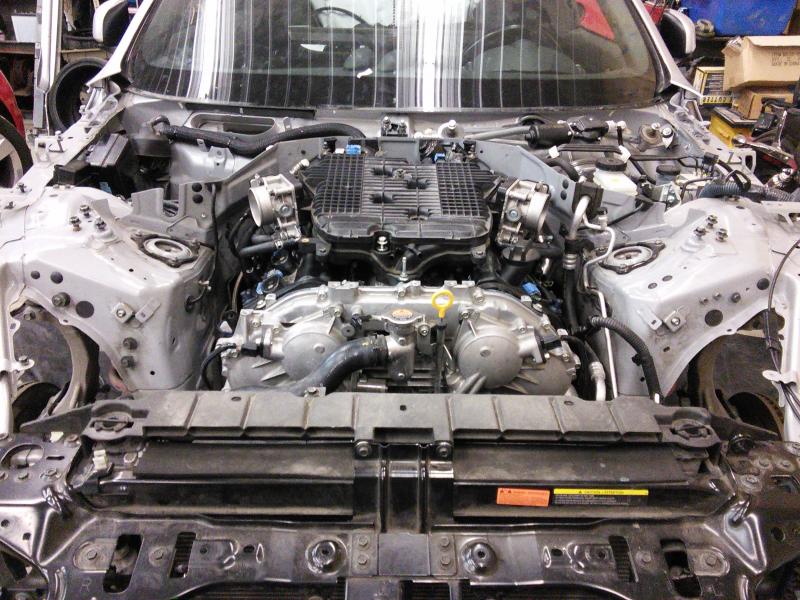
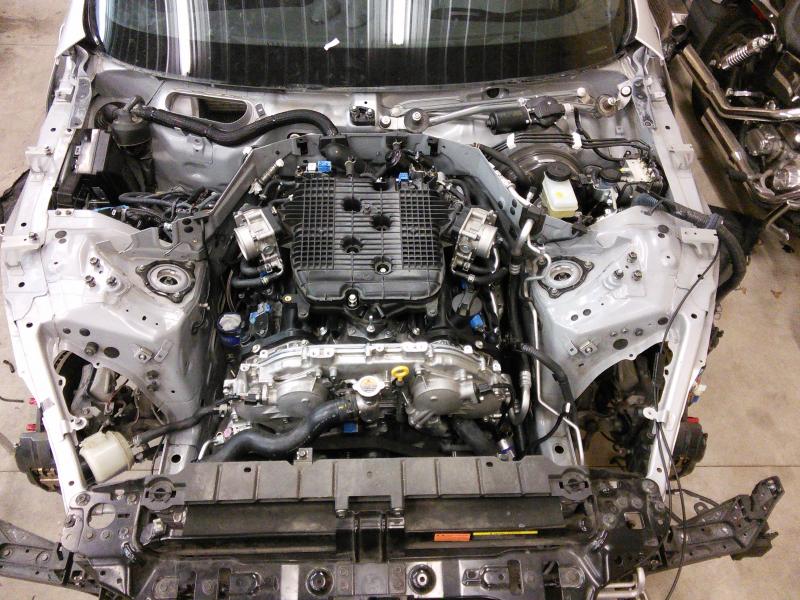
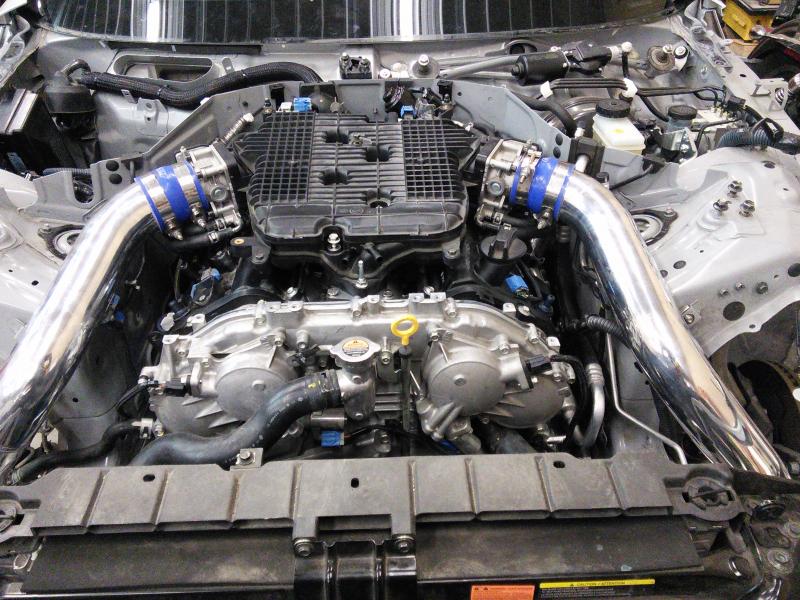
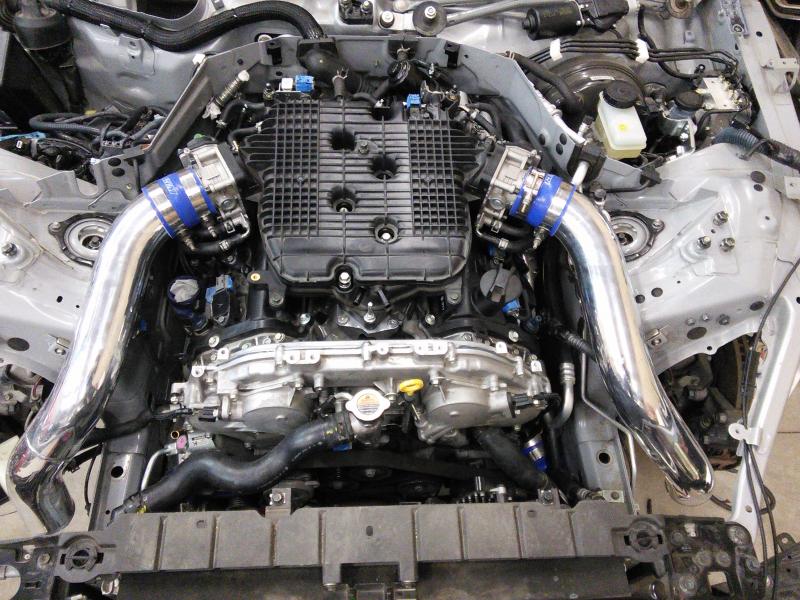
Edit 4/5/14:
Okay so, last night I was able to get the ignition harness broke down for some pics on how I decided to do it. I Also finished up my injector harness. Im very pleased with how it turned out, but I will let my fellow members be the judges!

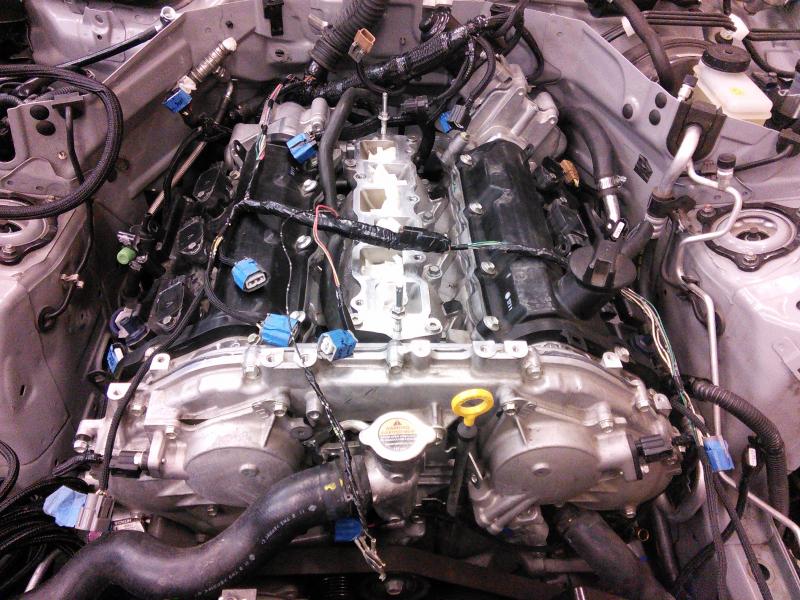
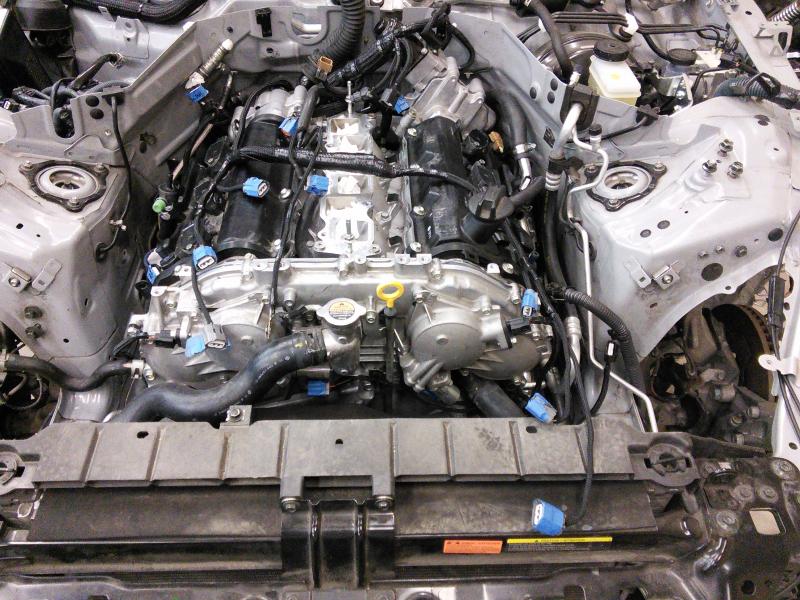
The solution to the problem that started it all
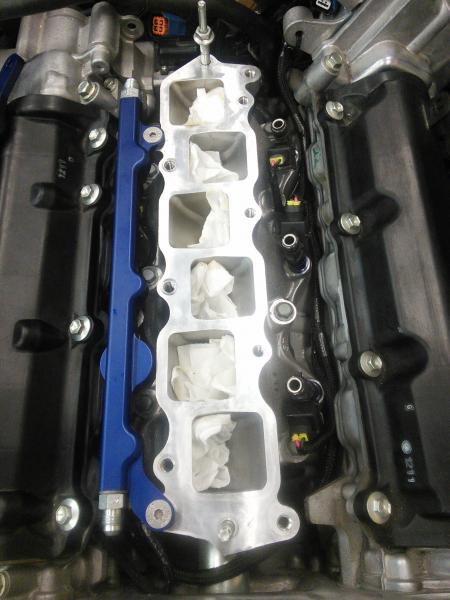
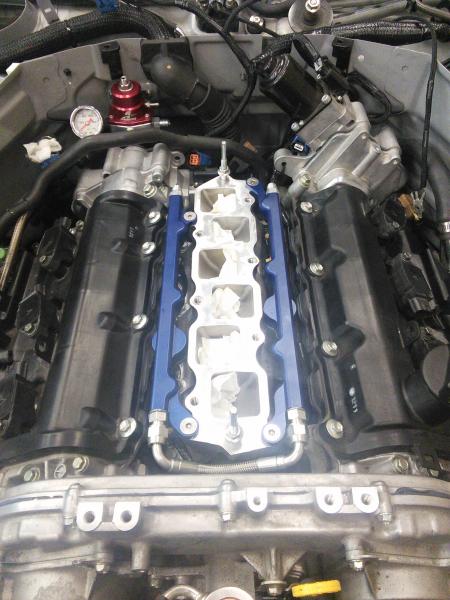
and for the final final results. every engine harness connector is connected in this picture with the exception of the 2 MAF sensors and the 2 intake mani sensors
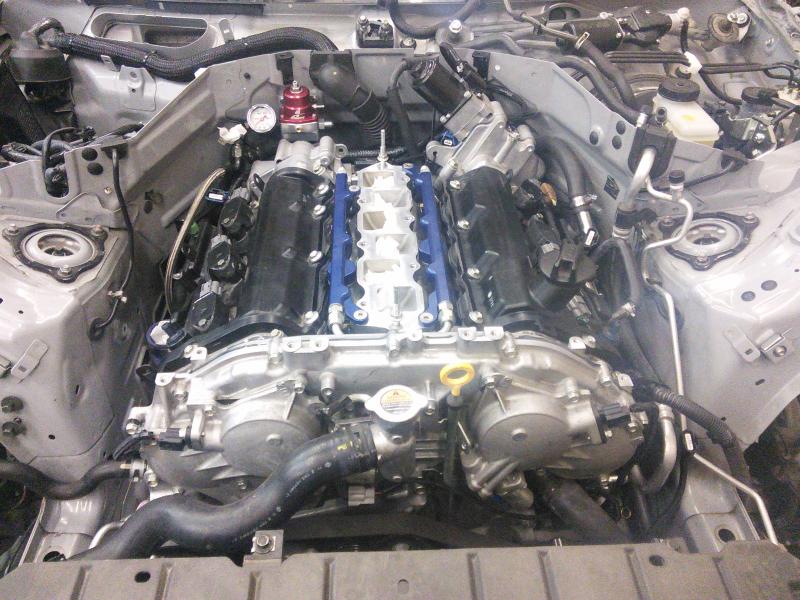
ill try and keep updating as soon as I can but unfortunately for now I have to put the car back together. I have some prior arrangements made that I need the car up and running for and I need to purchase some more loom. stay tuned guys!