I just want to thank Nut_N_Much for taking the time to help everyone out making their headlights look a lot better and not breaking the bank.
Second, I want to thank Lost Sol, who was kind enough to help me bake my headlights and tear them apart. He made it look incredibly easy.
I'm finishing up my set of headlights, and it was nerve racking taking them apart.
The things I learned during this process were, definitely use the Krylon fusion. I originally used some Duplicor stuff, it stuck ok after scuffing up the surfaces but it reeked a whole lot more and got me in trouble with the gf lol. She didn't even complain about the Krylon. The other big thing about painting was, I went to go put another coat on in the morning, and I learned a very valuable lesson, don't spray paint in the morning. The spray paint sucked up a lot of water in the air and the paint dried with a cloudy haze.
I could of just put another coat of Krylon on top of the Duplicolor, but it looked a bit too thick at that point, so I sanded it all down. That is a major PITA. But I did learn that the housings are actually clear. I played around with the idea of leaving them clear for a day, I even put an led behind it for a second to see how it would look.

I decided against it, doing the whole headlight might be excessive. Clearing the landing strip and putting some leds behind it might not be bad though. If I had more time I'd experiment. Just thought I'd put that out there in case anyone else wanted to actually try it out.
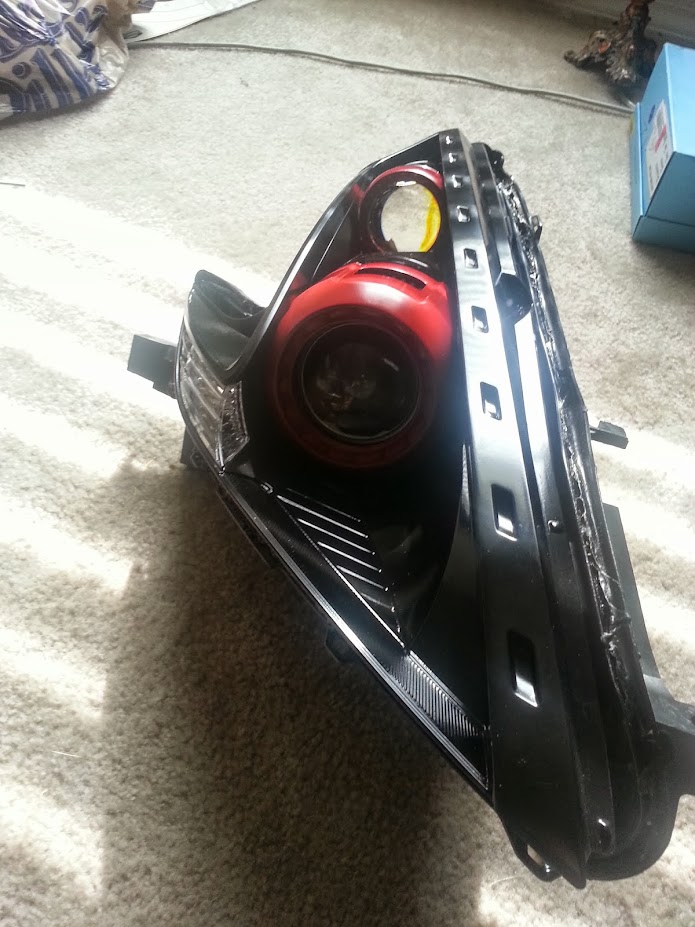
I also deviated from Joe's DIY a bit. I opted to epoxy the lenses to the base instead of the shroud.

I did this for two reasons. One mounting them to the shrouds was a PITA. Two, I figure I may want to redo the lights later and now I can repaint the shrouds, wrap them, etc without worry. The premium lens also makes the main lens look like doodoo by comparison.
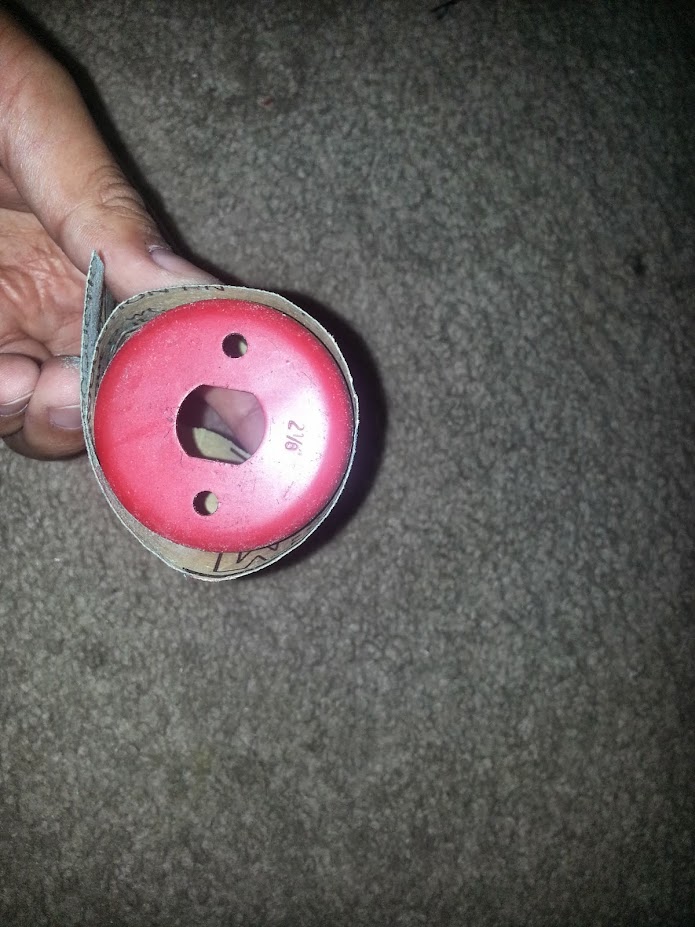
I'm also not a fan of the angel eyes, so I didn't put any of those on. Which created a problem with the blinker shroud. Cutting off the clear lens, and taking the dremel to it didn't leave the most perfect of circles. So I took a hole saw and wrapped it with sand paper to help return the shroud to a circle.
And why go to a dual projector if not to put on angel eyes? For dual demon eyes of course. Waiting on my RGB leds to come in tomorrow so I can button these bad boys back up.