Howdy all! I finally got my Gran Turismo Motorsports (GTM) 3" Cat-back exhaust! They are a site sponsor here, so feel free to visit their section on the forum! I am in no way affiliated with GTM, however. Now...
I'm starting my GTM exhaust install, and you may notice that I'm not turbo'd, yet. I'm installing all the parts I'm going to need for the Twin Turbo kit from GTM, prior to the actual turbo install, to compartmentalise the lump sum cost of the turbo. I don't wanna get the turbo kit for 8-11k, install it, then have to get an exhaust to make it work right, and new clutch and flywheel to handle the power, an oil cooler to keep the engine cool, and a diff cooler to keep my rear end from eating teeth. So.. I'm doing all the side stuff first, then I'll turbo it. Exhaust first, then Oil and Diff Cooler, then flywheel and clutch will be done during turbo install, since the engine will be pulled.
You will need:
(1) 14mm Deep Socket [Use 6pt, not 12 pt, less stripping]
(1) 10mm Socket
(1) 6" 3.8" extension
(1) 12" Torque Bar
(2-4) Jack Stands
(1) Jack
[Suggest two wheel chocks, and a rollaround]
First, ensure your car is in gear and the front wheels are chocked. Jack up the car on the rear pinch welds, and lower it on a jackstand - on both sides. Then I would suggest jacking up the front end and putting the whole car on four jackstands, one on each corner, but as you can see, I only used two jackstands. NEVER GET UNDER A CAR HELD UP BY A JACK. USE JACKSTANDS.
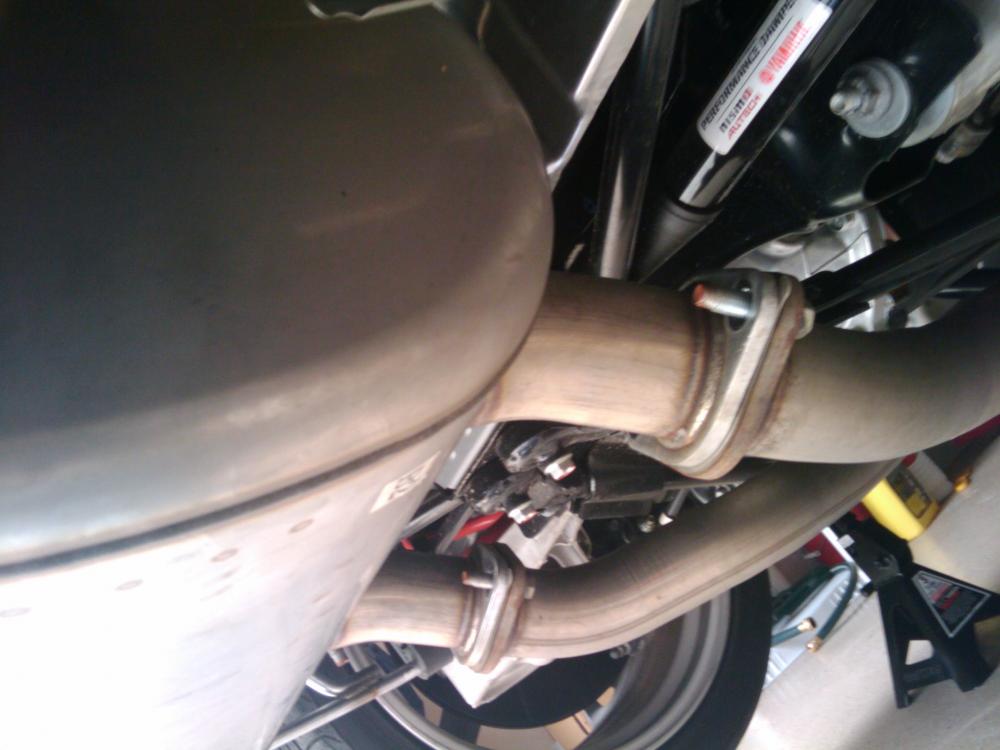
Now once under the rear of the car, unscrew the four nuts that connect the twin pipes from the NISMO main muffler can connecting to the Mid pipe. These four nuts are 14mm, and require a deep socket 14mm as the nuts are on studs. I used all hand tools, mostly using a 12" torque bar to loosen the nuts. It was not at all difficult, and could be done with a ratchet, but that is how you break ratchet gear teeth.

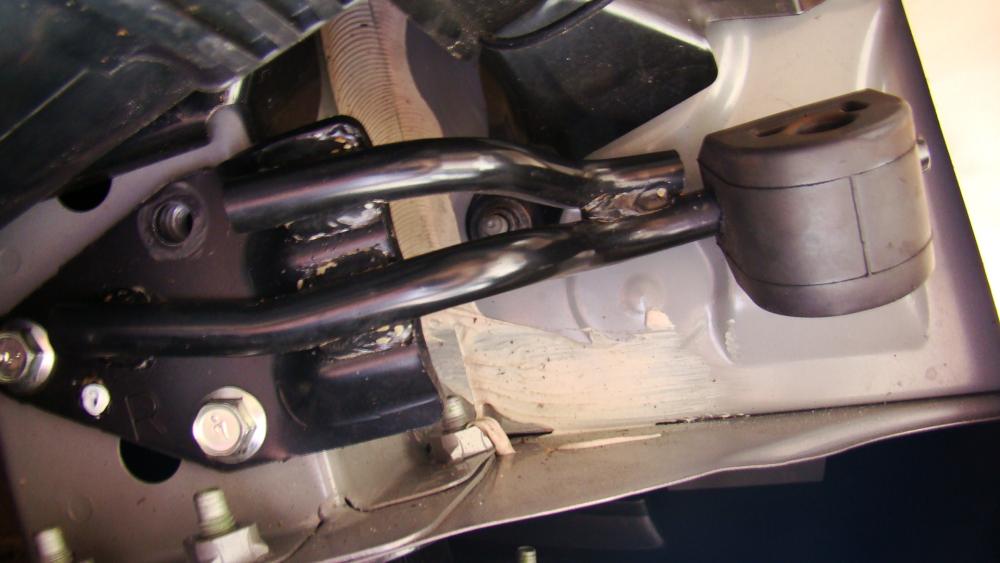
Below is the exhaust hangers used on the car to hold the different parts of the muffler up. I found it easier to just unbolt the hangers from the car, instead of trying to slide the muffler hangers out from the rubber isolaters. Once the muffler parts are out from under the car, it will be easier to take these hangers off and put them back on the car. NOTE: Only put the Driverside rear most hanger, and passenger side forward hanger, back up on the car - as the other two need to stay off for now.
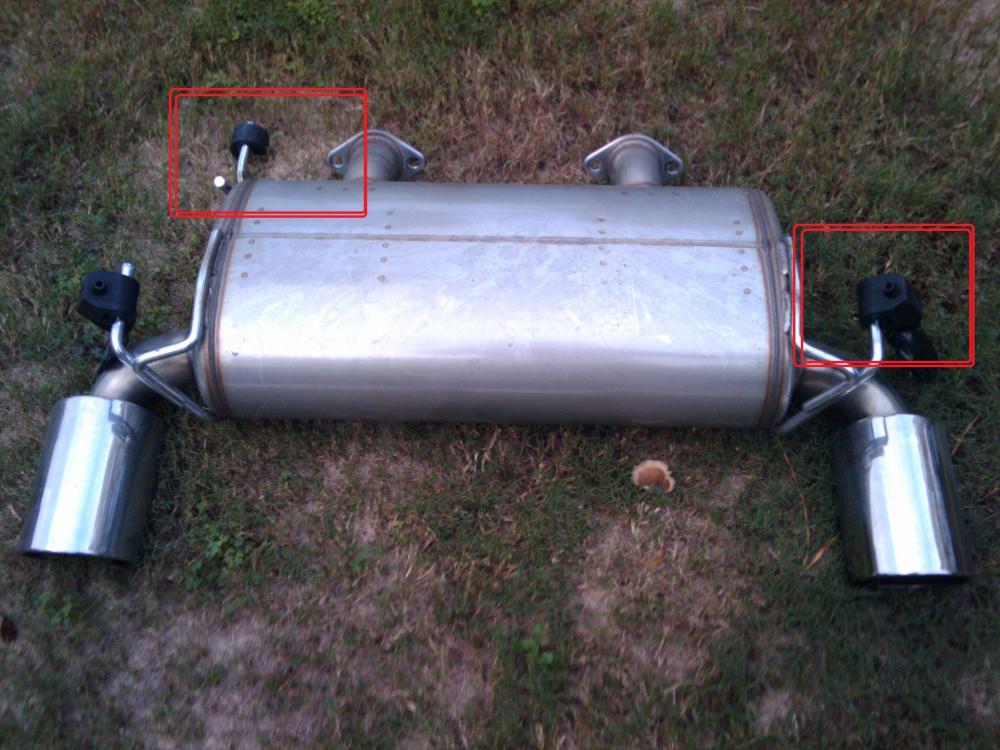
Above is the Stock nismo muffler with the exhaust hangers still attached. I found this method much easier. Also, DO NOT REINSTALL THE RED CIRCLED EXHAUST HANGERS. The left one (driverside) that is circled will not be used, and will be in the way, the RIGHT one you need to keep off until you remove the charcoal filter cover - as this cover is in the way, and can only be removed once you take this hanger off. When the charcoal filter cover is off, then you can put this hanger back up.
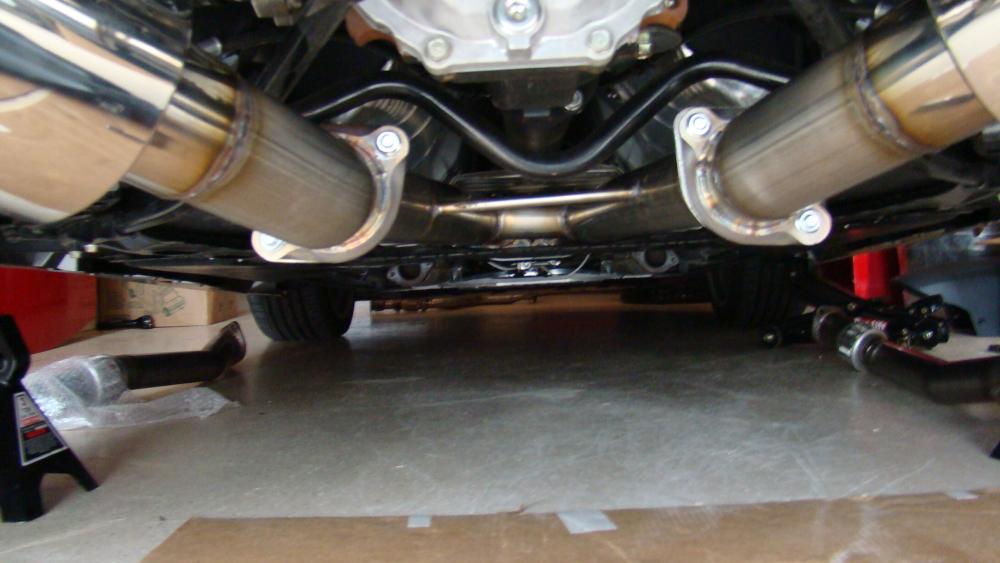
There is one big flange with four 14mm nuts on it that hold midpipe to the Nismo 'X' pipe together, I don't have a picture of this, but no issures, removed with deep socket and hand tools. Remove the midpipe - it will slide out from between the car and the driveshaft ladder brace that is bolted to the car under the exhaust.
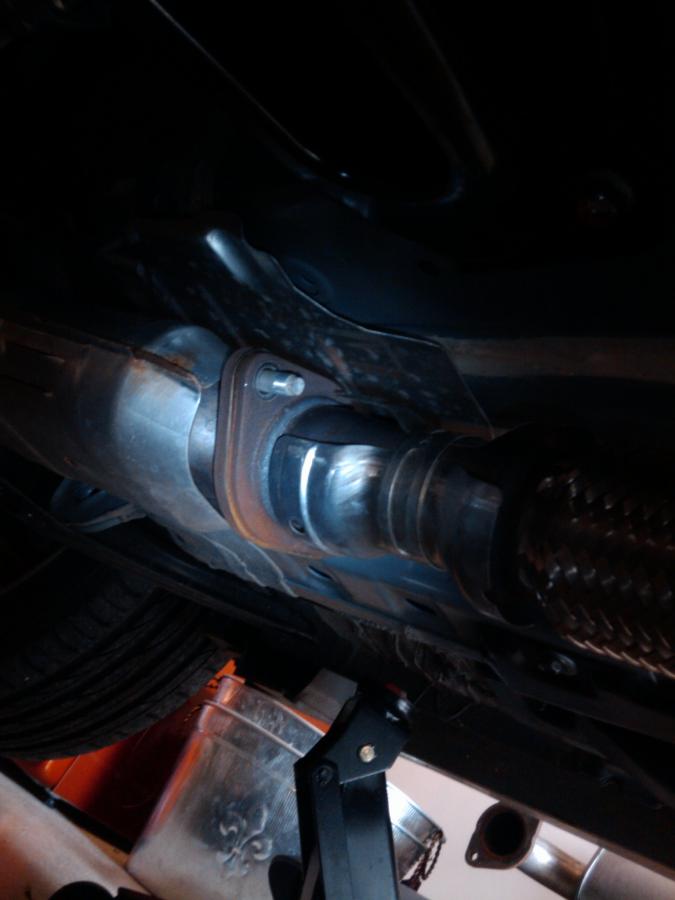
above is a picture of one of the CATs the X pipe connects to. Remove these two 14mm nuts and the other two on the driver side. The X pipe will drop down, and you move this to the side as well.
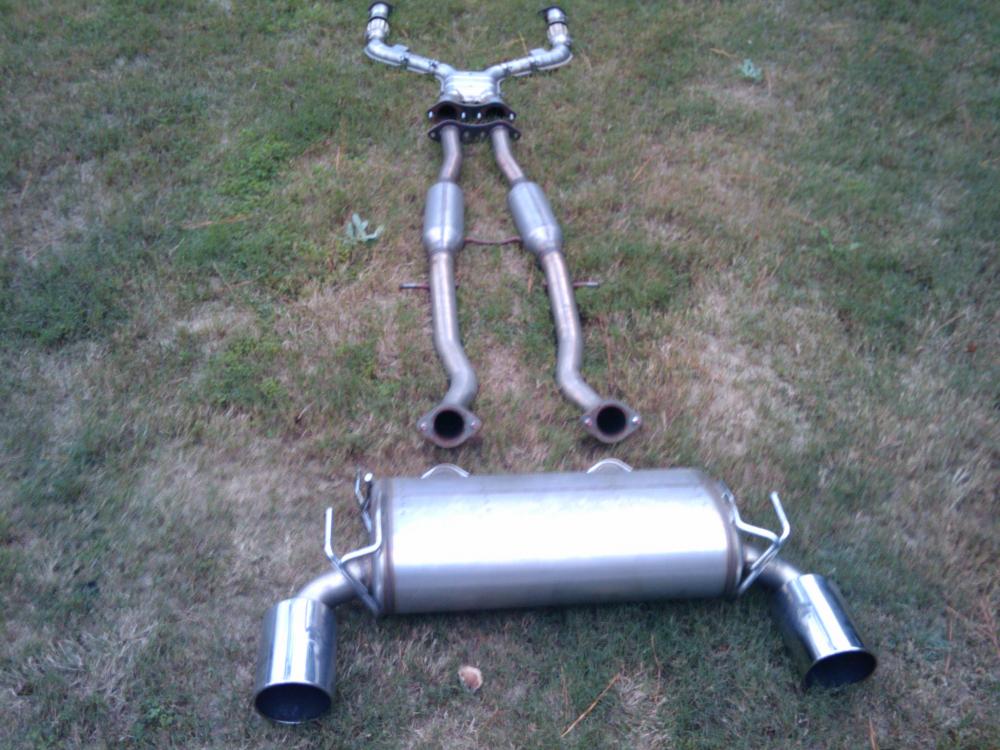
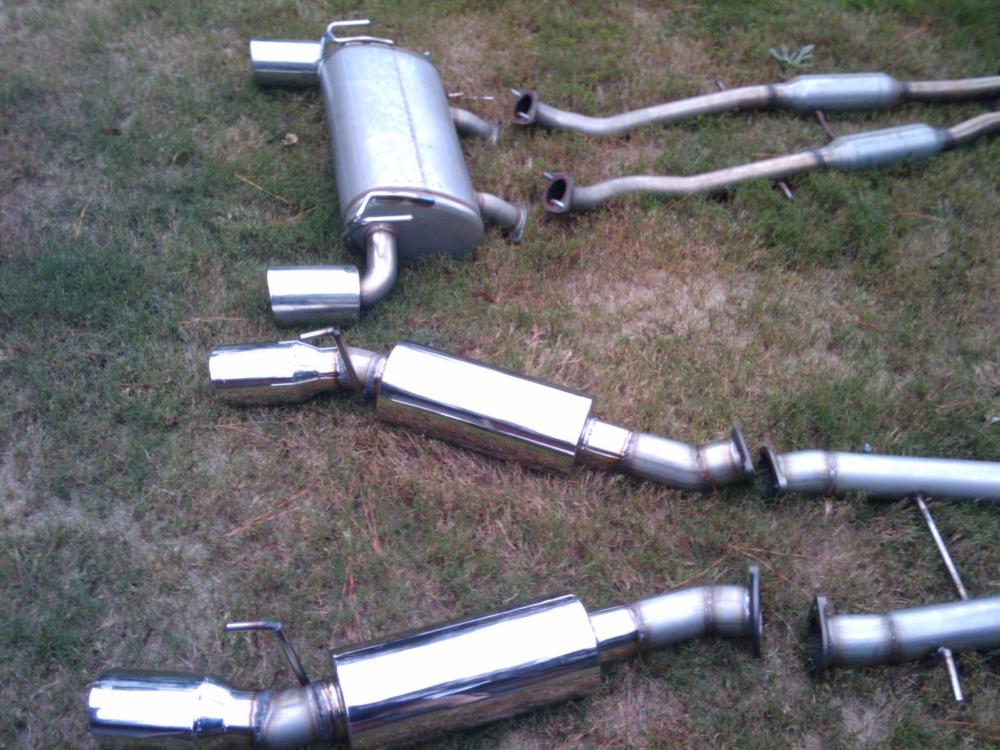
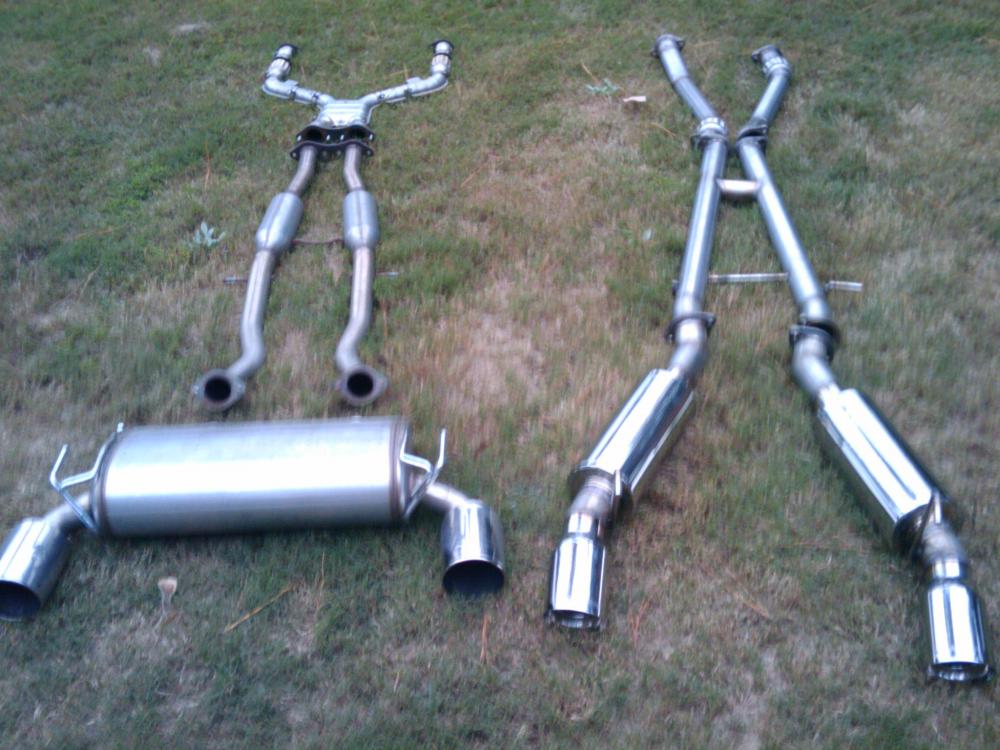
Above is a picture of the GTM mufflers next to the stock NISMO catback
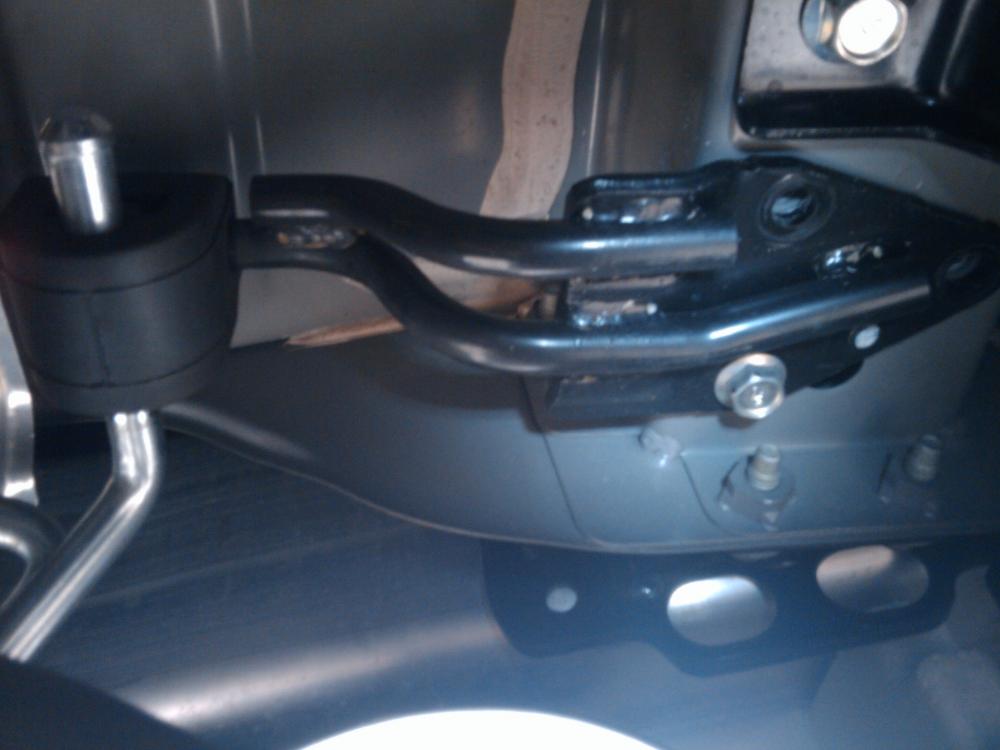
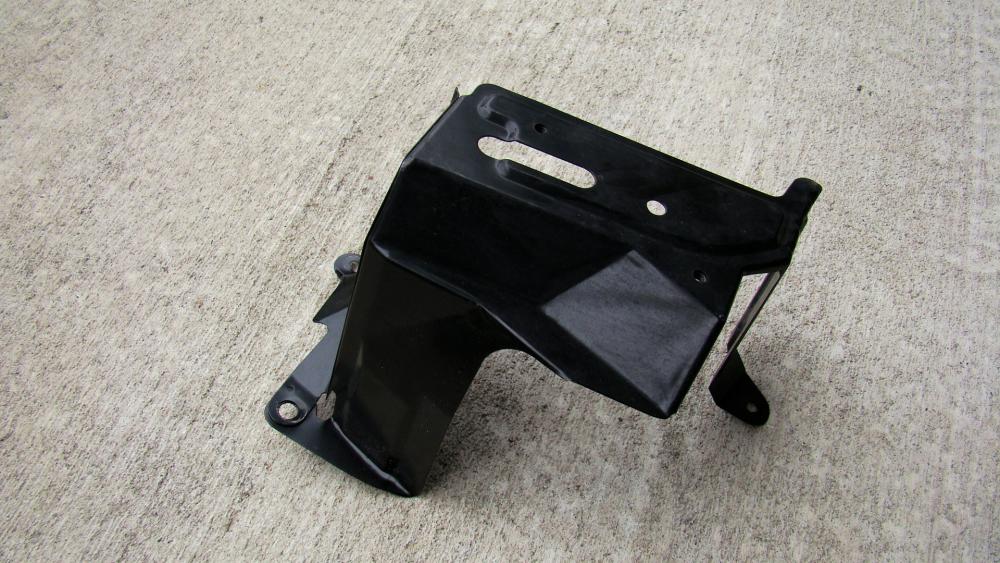
Now, below, you see the passenger rear most exhaust hanger that we already took off. This picture is to show how it blocks a small 10mm bolt that we need to remove. In order to get the GTM cans to fit, you have to remove the charcoal filter box cover. It is on the rear most passenger side, it's a black sheet metal cover that is held on by (3) 10mm bolts. Just use a 6" extension and a shallow 10mm socket.
And now below, the hanger removed, showing the bolt culprit.
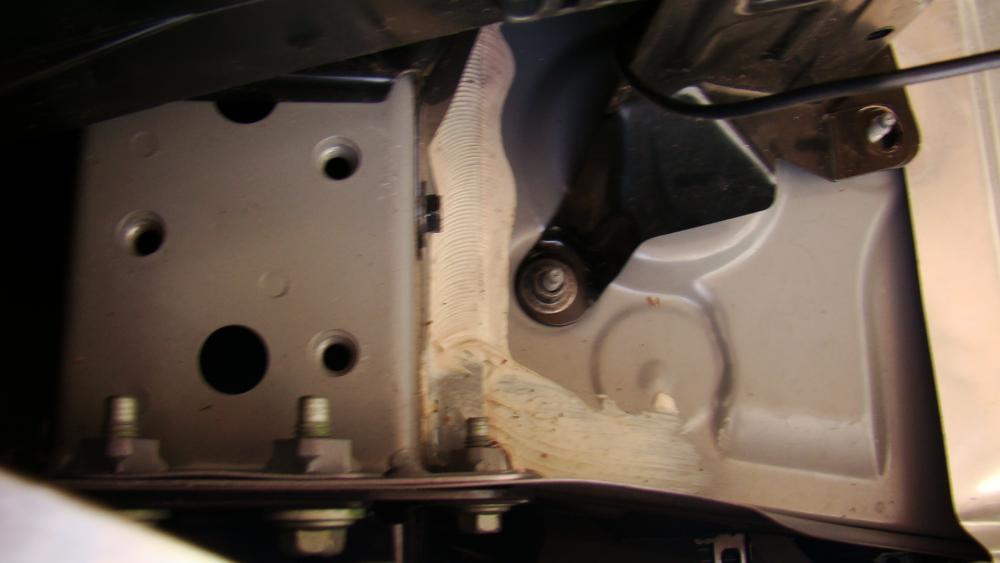
and now the charcoal filter cover removed completely, below,
Side by side exhausts, below
Left can installed
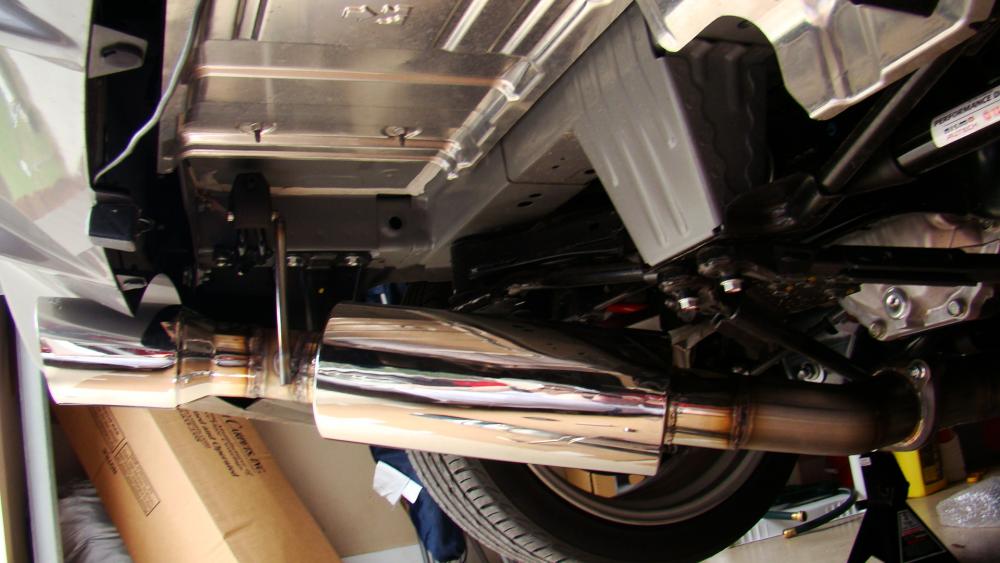
Both cans
H pipe installed
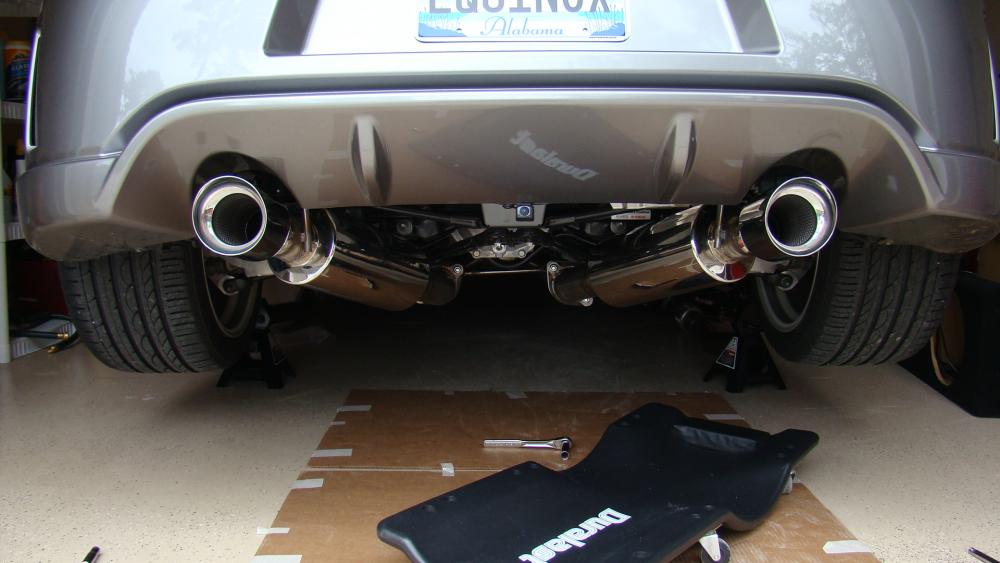
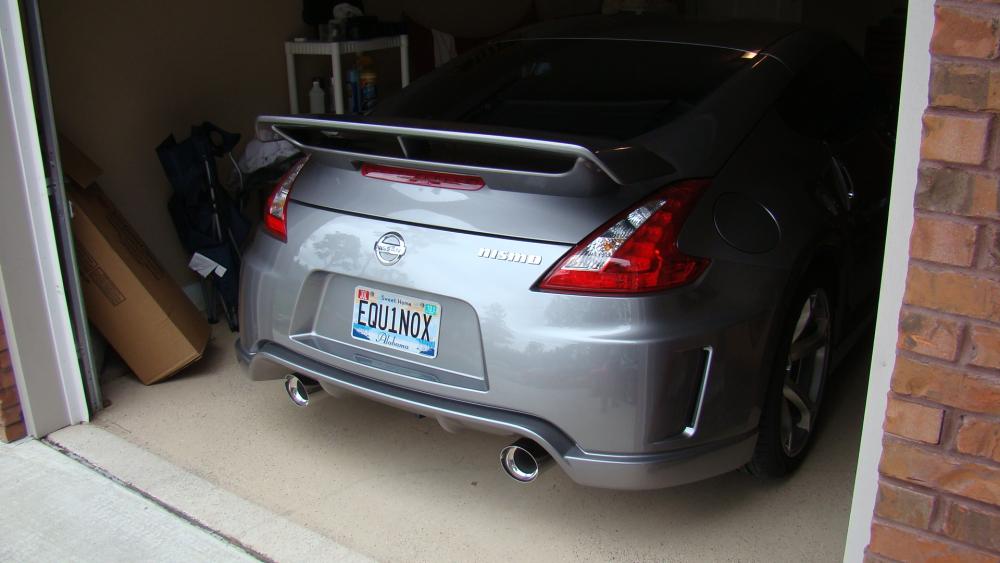
Done
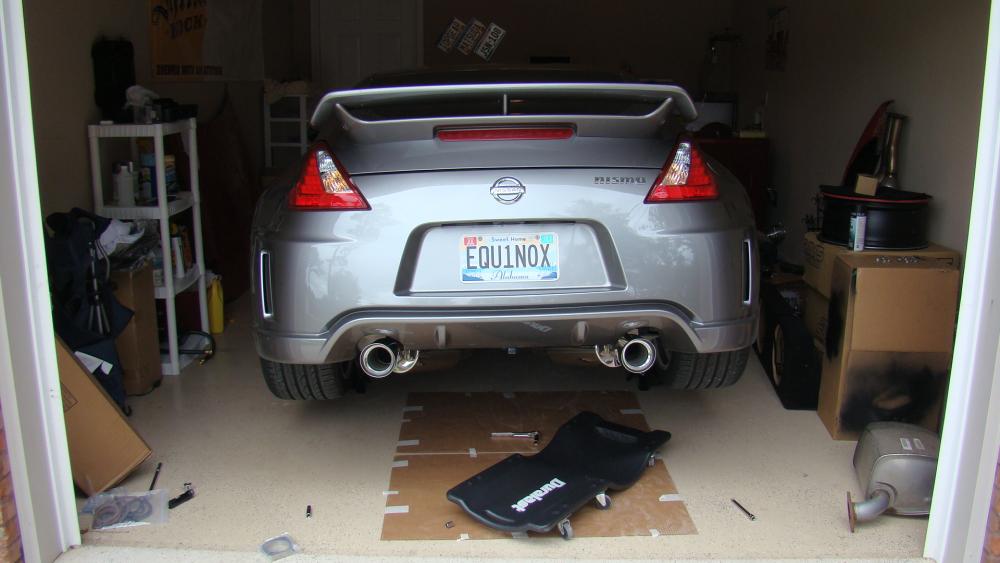
GTM Provided all the hardware and gaskets needed, I didn't re-use any stock bolts or nuts. Very professional, just no instructions, no big deal really. Everything went on easy, and didn't need a lift or anything, just jackstands. DO NOT GO UNDER A CAR HELD UP BY A JACK, USE JACKSTANDS and WHEEL CHOCKS.
Video sound clip to follow.....