First of all, I used CharleyGFX's
thread as a jumping off point. This is a long overdue DIY writeup with photos. The purpose is to relocate the aux power outlet below the glove box to the empty socket in the shifter bezel (Normally occupied with the syncro-rev button on manuals but only housing a button delete on the 7AT).
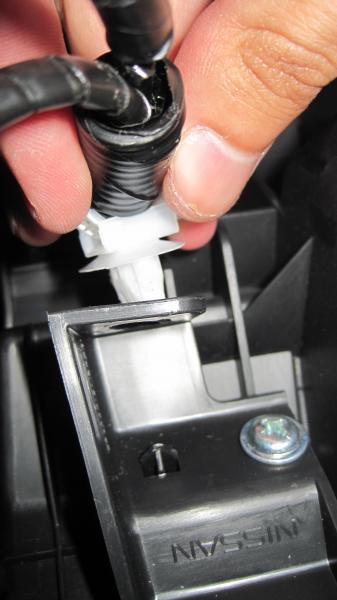
First step is to remove the two screws holding the plastic shroud of the aux power outlet under the glove box. Next, pop out the clip that's securing the wiring overhang and unplug the power cable from the power socket by pressing the tabs on the wiring harness.
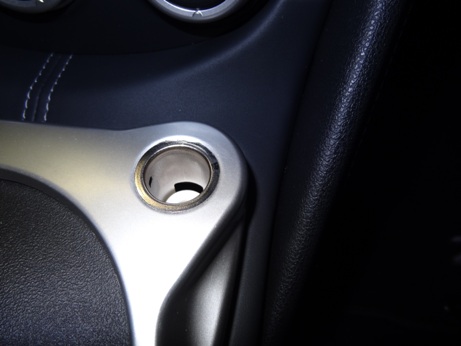
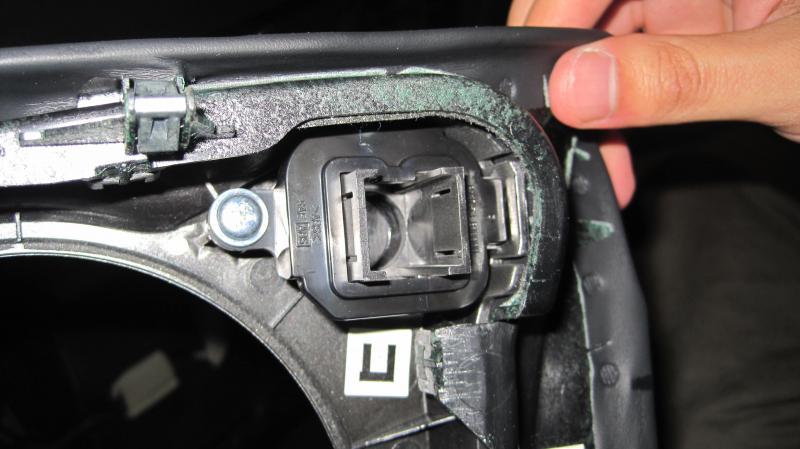
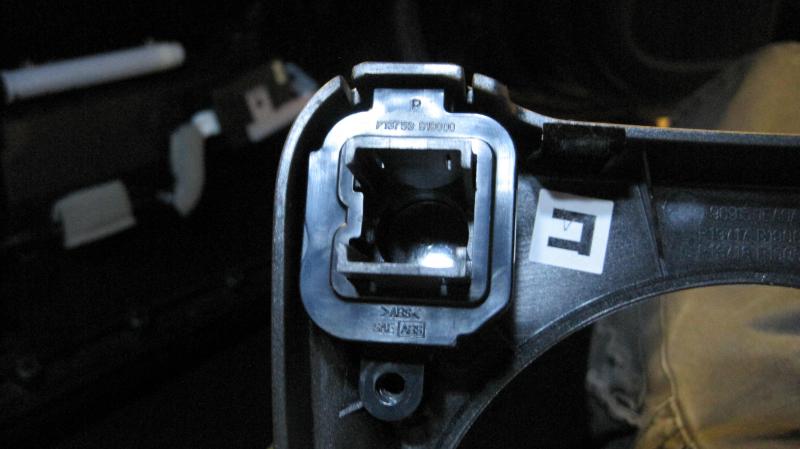
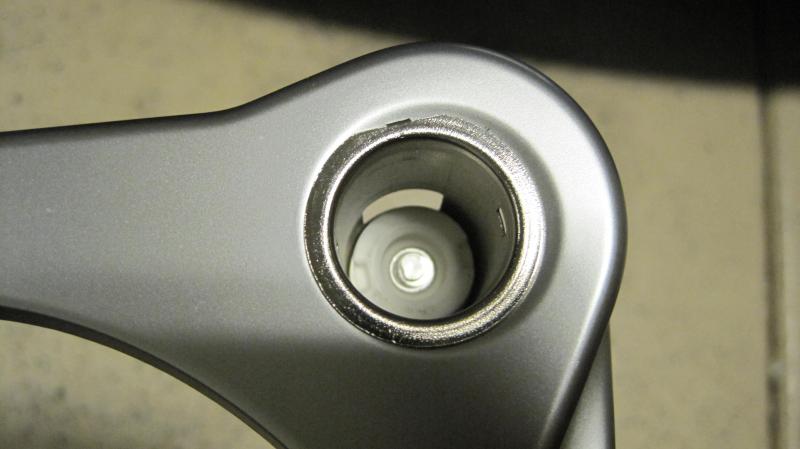
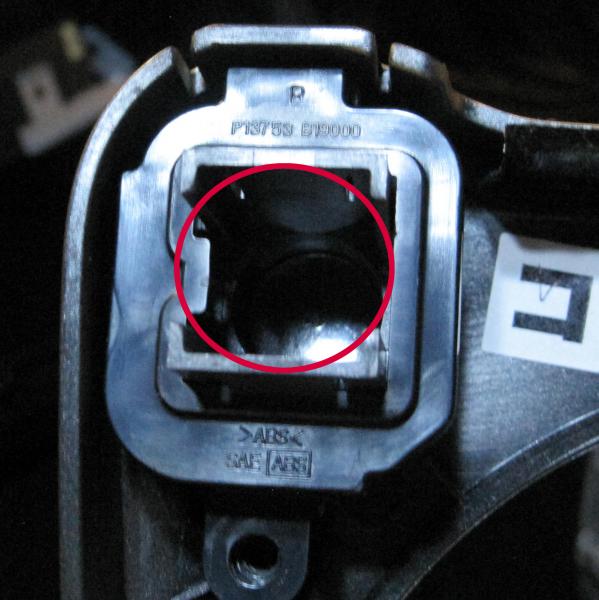
Once this is done you can freely inspect the aux power socket.
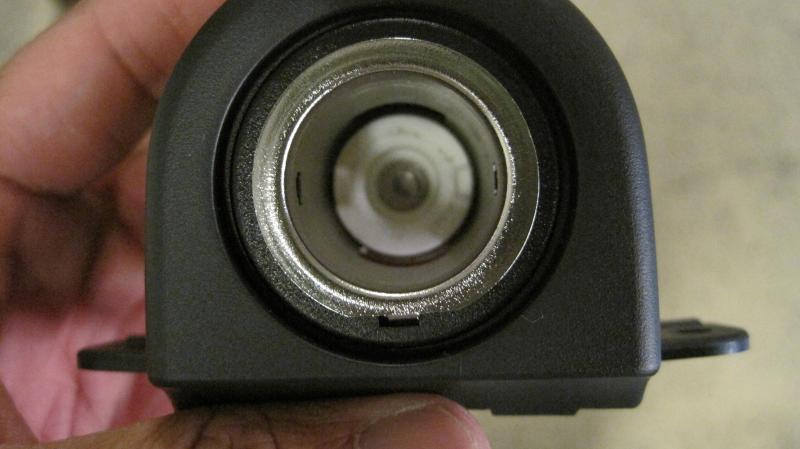
You'll notice tabs are keeping the metal insert secure.

Use a small screwdriver or tool of choice to pop it out.
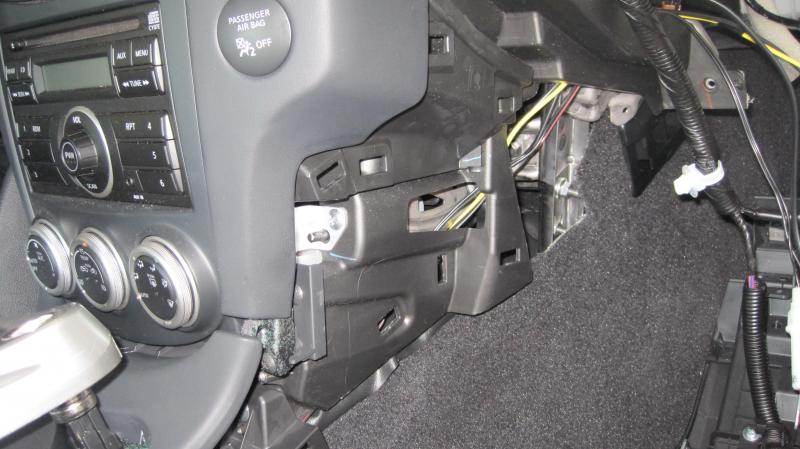
Now you can move onto preparing the shifter bezel. I used Triple's
GTR Start button DIY instructions to carefully remove the shifter bezel and kneepads.
You'll need to disconnect the hazard button in order to pull off the bezel.
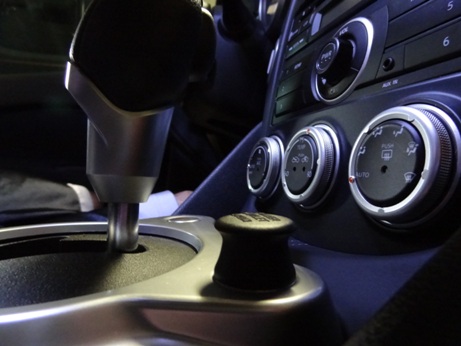
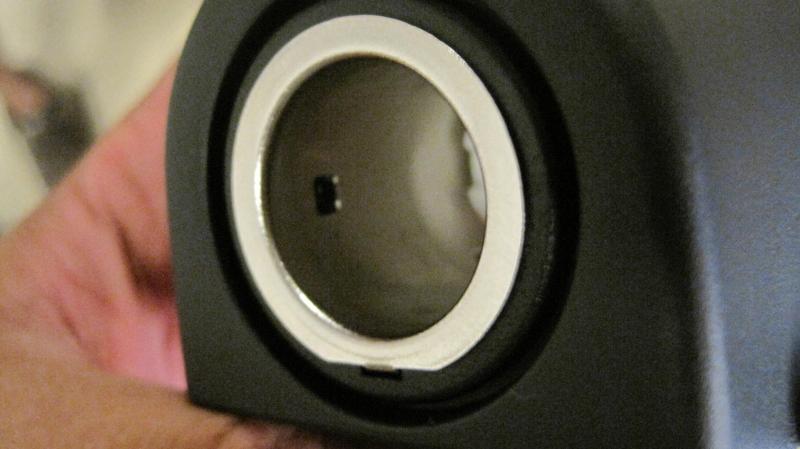
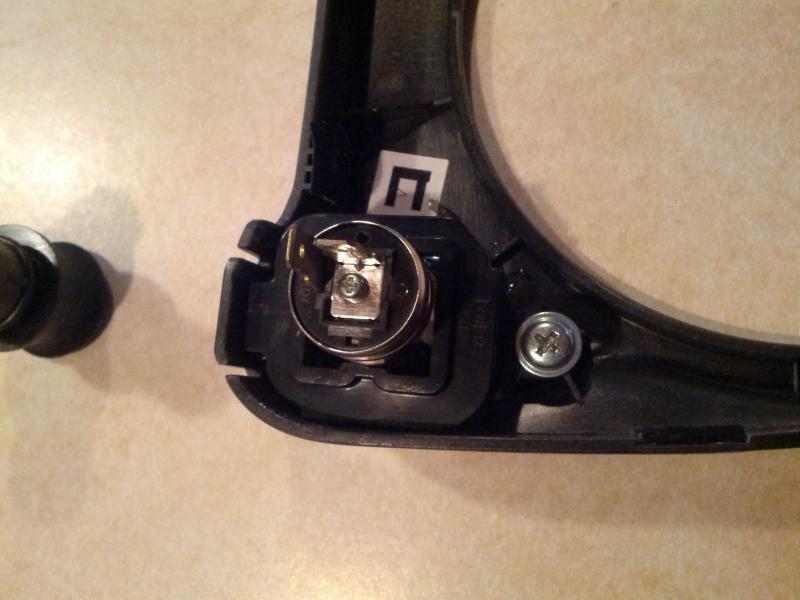
At this point you'll only be working with the upper silver portion of the shifter so pop off the suede portion.
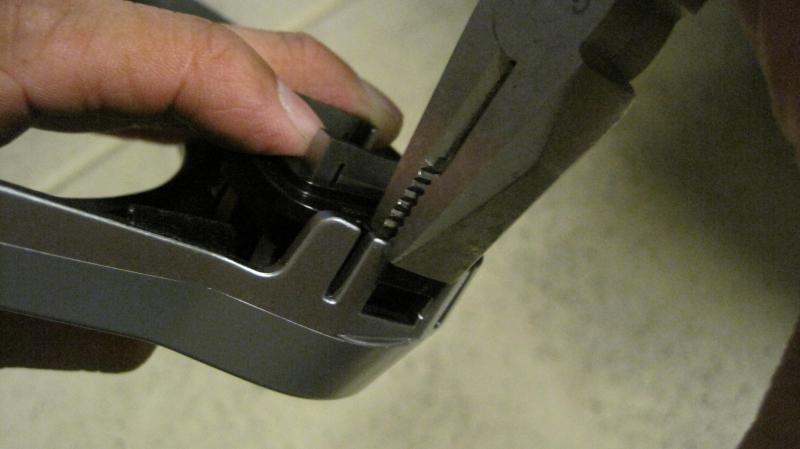
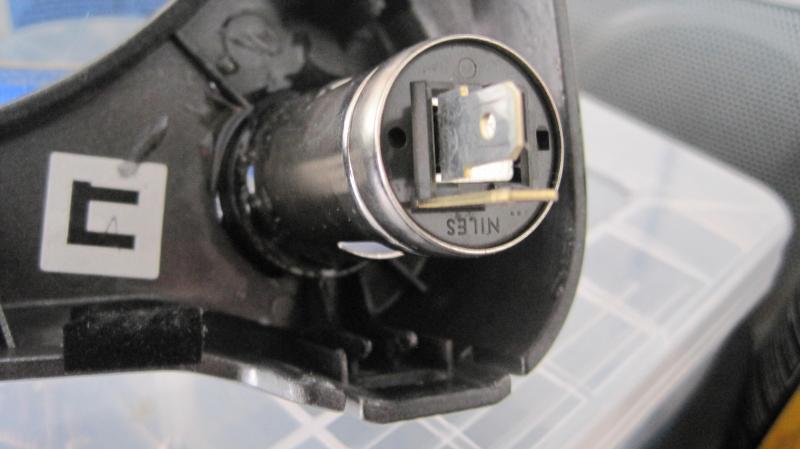
Next, remove the single screw attached to the shroud of the button delete.
Carefully use a set of pliers to open the tab securing this shroud to the shifter bezel and remove.
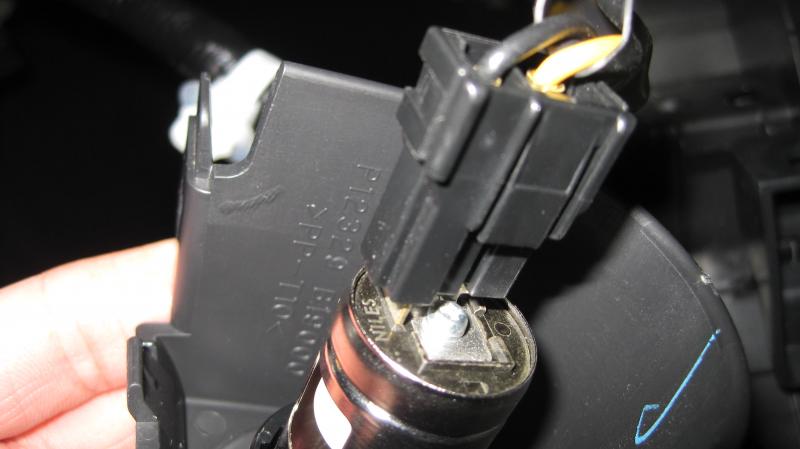
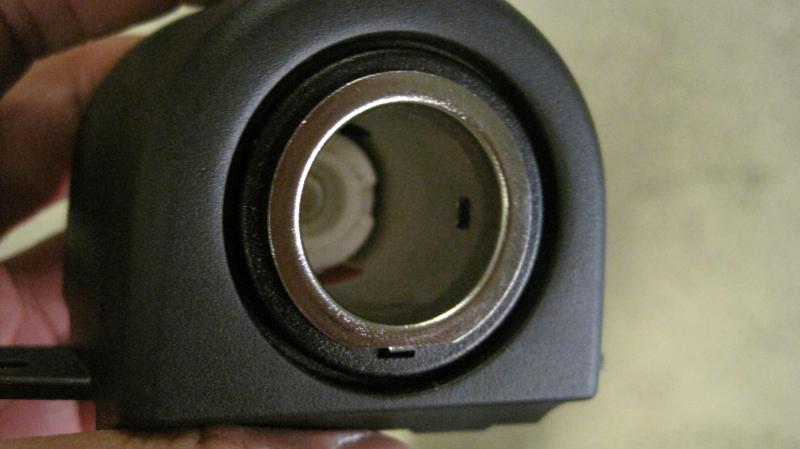
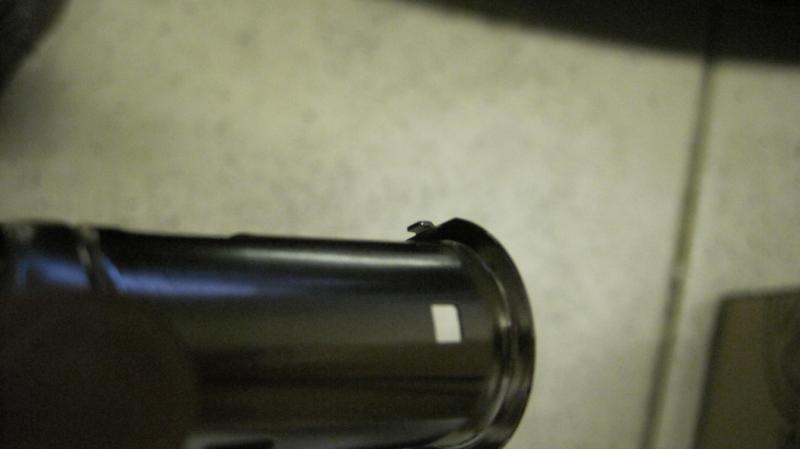
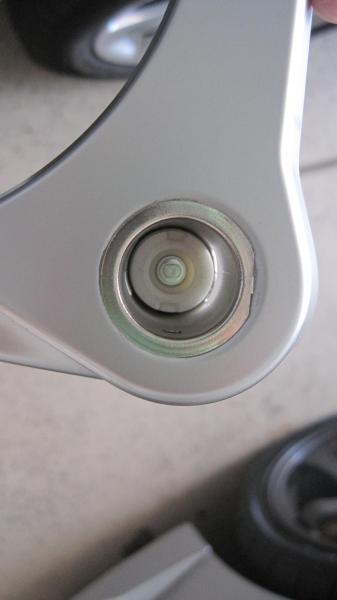
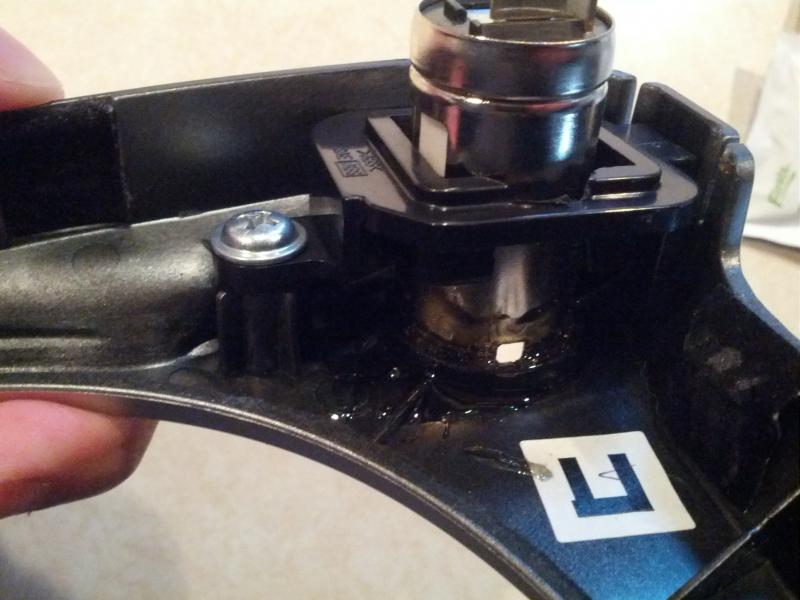
You'll notice the aux power socket has a metal tab on its lip. I bent it a little so the socket would sit flush in the shifter bezel.
The next step is permanently securing the aux power socket to the shifter bezel. I suppose you can get a little creative here, but I just ended up using a bunch of epoxy and it worked out well. I prepared the surface by using a sanding sponge and carefully aligned the socket the way I wanted.

After the epoxy dried, I put the plug cap back on.
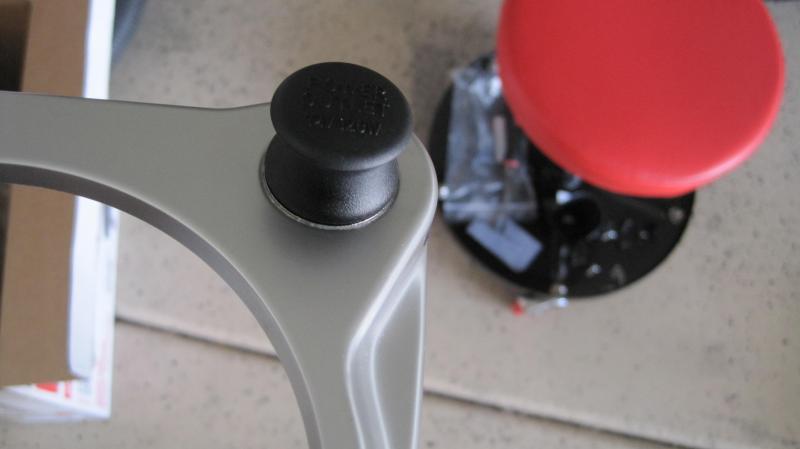
As added peace of mind I reattached the button delete shroud after using a dremel to widen the gap and allow the aux power socket to slide in. I don't think the epoxy was going to allow any play, but figured what the hell.
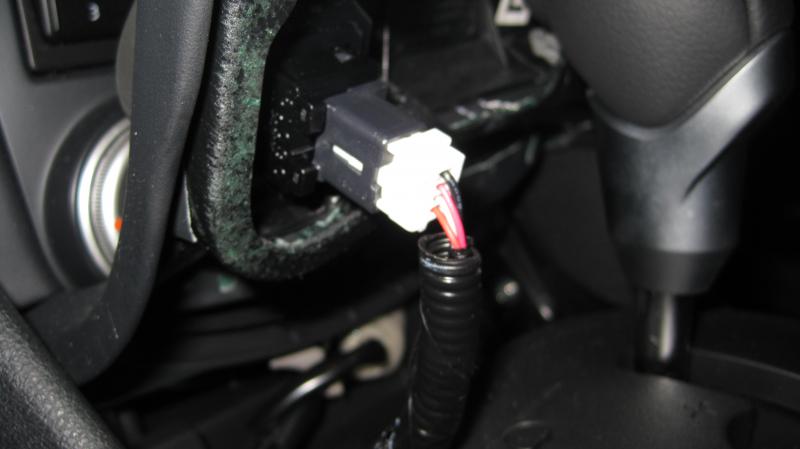
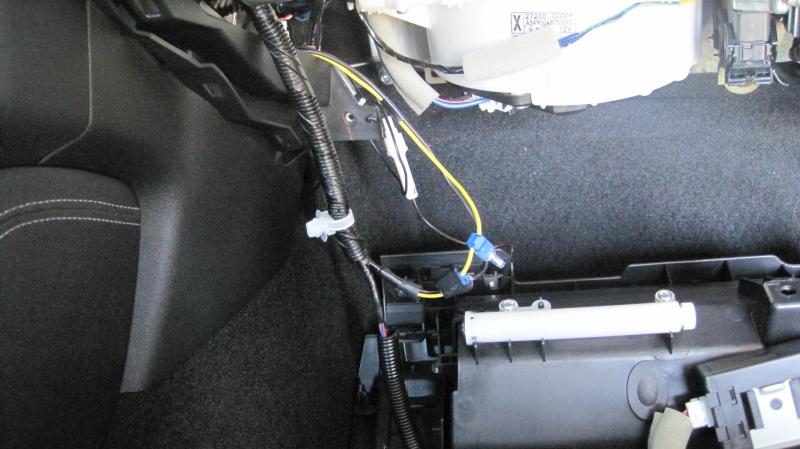
Finally, I routed the wiring towards the center console and under the shifter, reconnected the cables and reattached all panel pieces. I believe you have to add some additional wiring to reach the shifter. I did this mod at the same time as a radar hardwire so ignore some of the splicing. Be sure to test connection before putting everything back together.
Enjoy your Aux power outlet in a more convenient and practical location!