Product Review: Liqui-damp by GTMat
I like the idea of not having to cut out pieces of material to get around every component of a door panel so I was excited to be the “guinea pig” to test this product out
Observations:
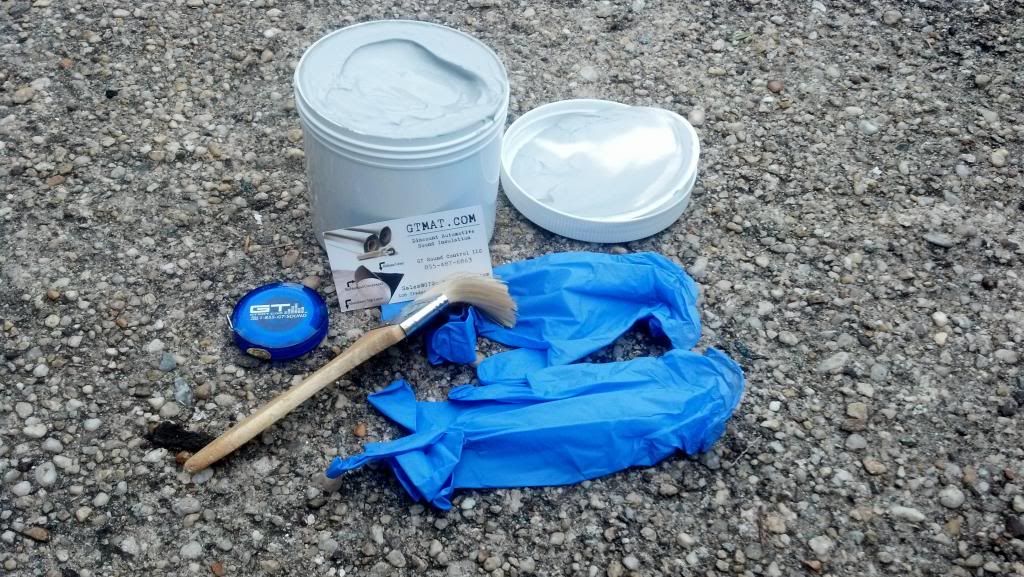
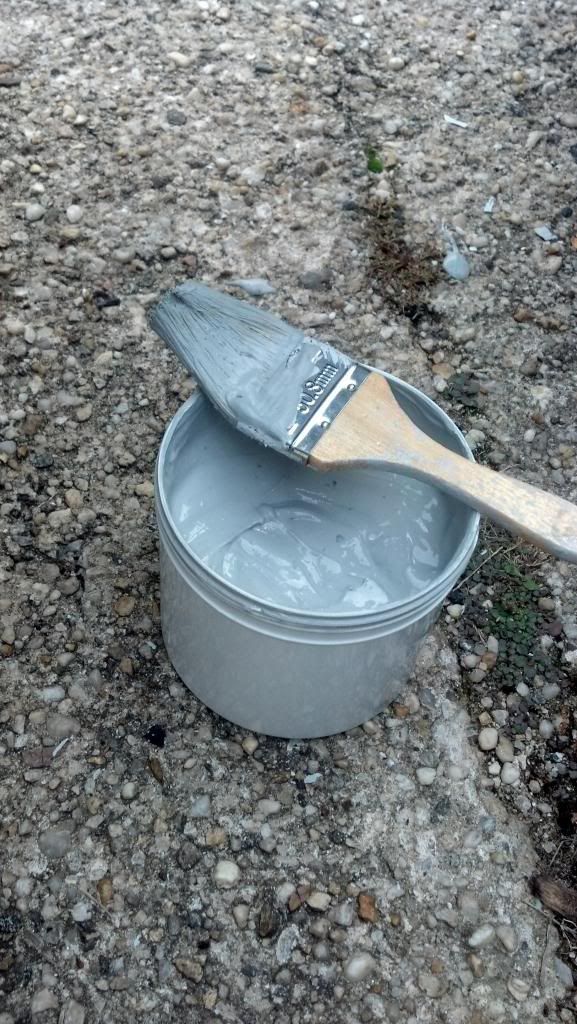
The first thing I have to say I am very pleased with was the contents of the box. It had everything I needed to do this project.
Contents included:
Liqui-damp
Rubber gloves
Paint Brush
They also included a nice little tape measure and let’s be honest, everyone can use one of those.
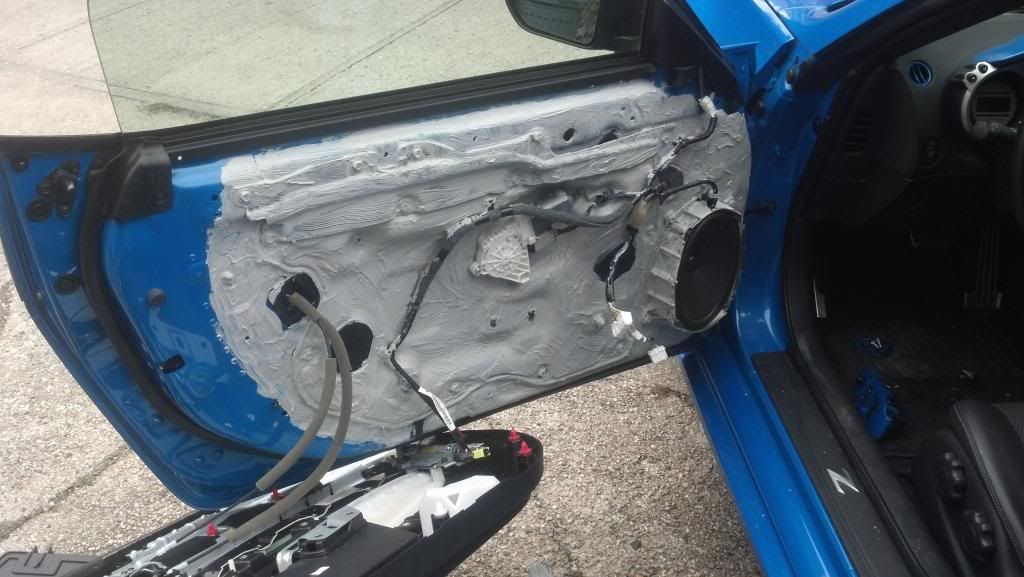
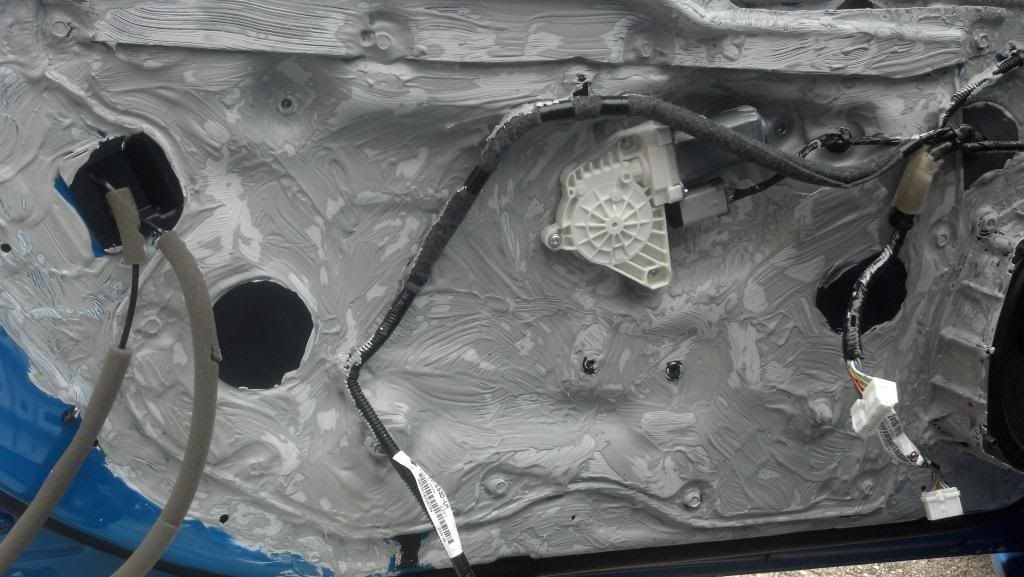
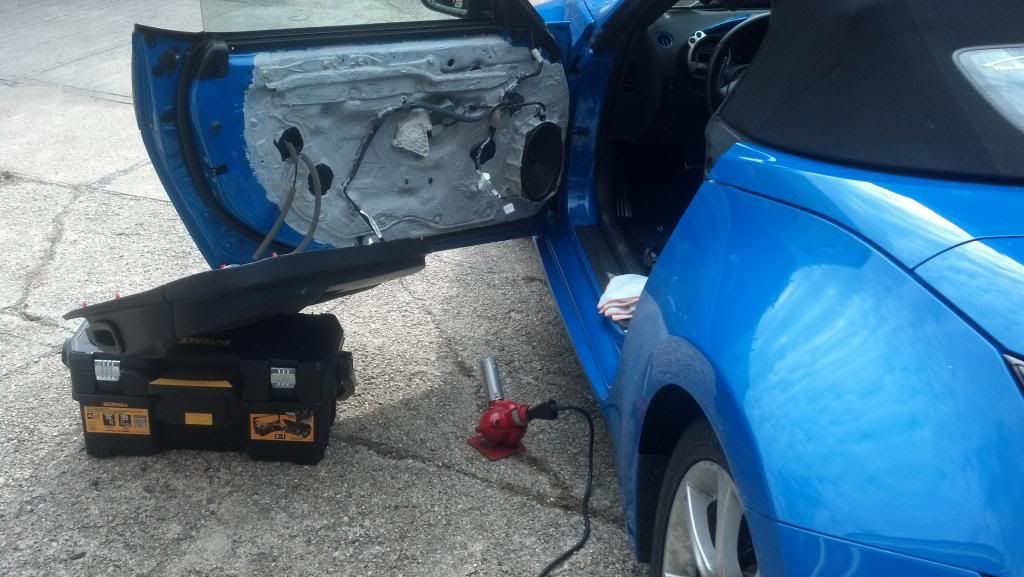
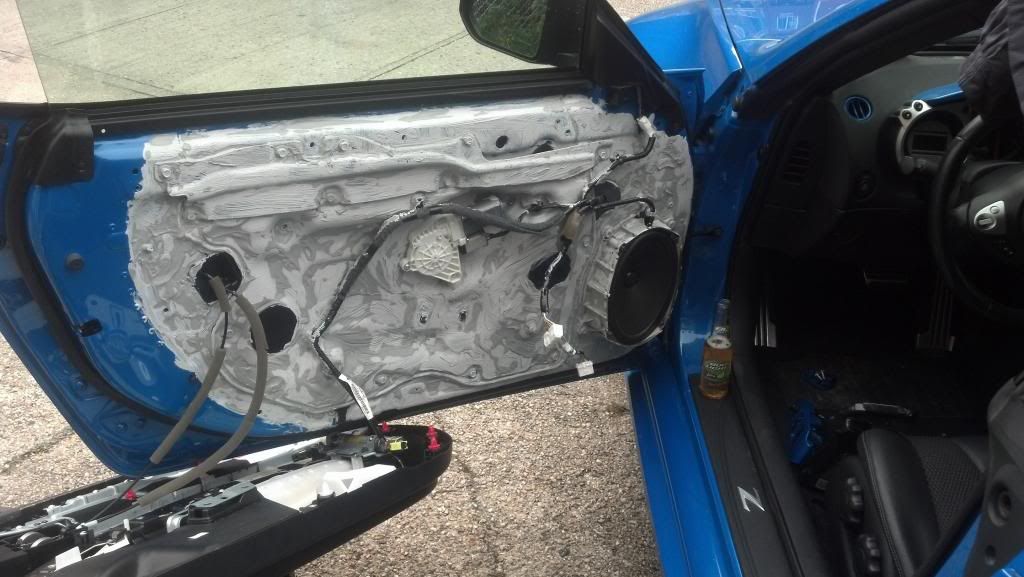
After removing the door panel, application of the product is as simple as painting a wall in your home. The product goes on easy and if you happen to be somewhat of a pig where it drips onto your kick panel(speaking from experience) it wipes off easily. If it started drying, don’t panic! A little quick detailer spray and some elbow grease will take it right off. At first i was worried about where to apply the product (Do i go around the bolts or over them, do I cover everything that the door panel shell covers for just the silver metal area) as I got more comfortable using it, it was like Frank's Red Hot Sauce...I put that $hit on everything!

Before:

I did this project when it was about 50 degrees out (not warm but not freezing – also not ideal painting weather)
Tips:
The product does have some issues adhering to cold surfaces if applied too heavily. Start with a thin base coat and make sure it is COMPLETLEY dry. Then apply a second coat (you can go a little heavier on this one).
Dry times seem a bit lengthy in the cold. I grabbed my heat gun and put it on from a distance to get some warm air on the door. It definitely helped with the drying time (took about around an hour and a half to fully dry). The lighter color grey is the dry color and the darker gray is wet so it is visually easy to see when it’s dry. I would also recommend giving it a poke of the finger when it looks dry to make sure there are no wet spots underneath in areas that may have been applied thicker.
1st coat:
 Drying:
 Second Coat:
 Heat Gun helping to dry faster:
 Almost dry!
 Please note: keep your beer away from the heat gun as warm beer does not taste good!
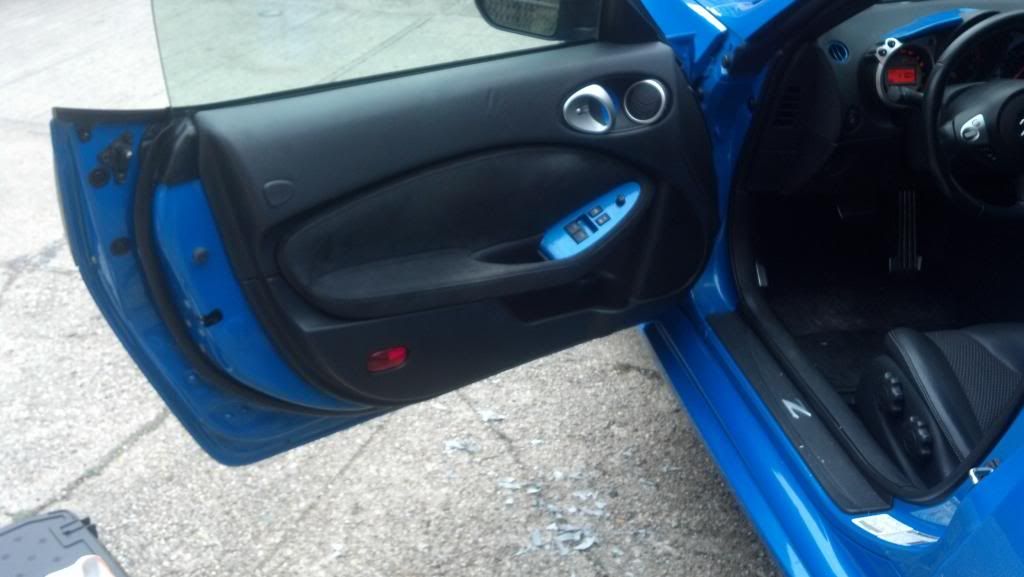
I only had time to do 1 door panel over the weekend so it’s still difficult to say how well it’s working. What I can say is that there is a noticeable difference in the door panel that I did. Specifically that I no longer hear vibrations coming from that door panel when I turn up my music which I am pleased with.
I have enough product left over to do the other door panel and the trunk and will probably still have more left as the quantity of the product is more than sufficient.
Amount of product used:
 Finished:
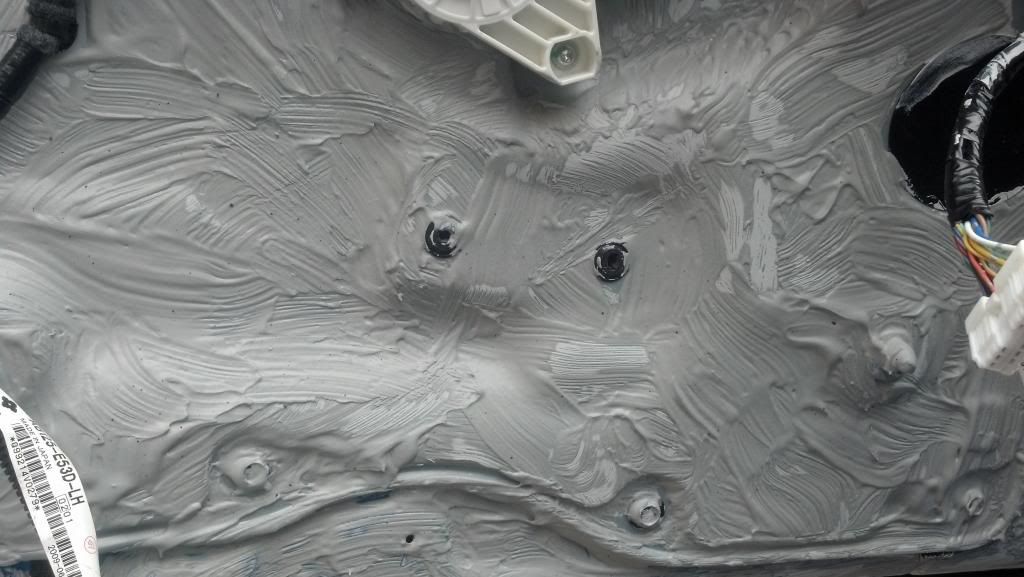
Note the pieces that peeled off and are on the floor are from areas where I applied too heavy on the first coat which is how I learned to use a light 1st coat lol