Hey guys,
I did this install a couple months ago, but I finally found some time to do my write up and install on these spacers.
Having the 19in RAYS sports wheels, I decided the stock, sunk in wheels were a big no no in the looks department, and after much research on the forums, I decided to go with 20mm in the front, and 25mm in the rear.
I originally purchased a set of bolt-on 20mm/25mm PowerTrix spacers in the hopes my front studs would be short enough to accommodate just simply bolting on a spacer, but no dice. The stock studs were long enough to not let the spacer sit flat against the brake rotor. Lesson learned.
The rear spacer fit perfectly, though, and I still have the 25mm PowerTrix bolt on the rear of the car, and it's still perfect today.
I went ahead and purchased a set of H&R 20mm stud replacement spacers from a forum member here, and once I got them, went to work on installing them.
The Install:
I began with removing the front wheel, and then removing the "idiot bolt" on the rotor that prevents you from mounting the rear wheel to the front of the car. I forgot to take pictures of the removal of the caliper, but the DIY on this forum is great.
Personally however, I decided to remove the caliper completely out of the car, by dismounting the two bolts that hold the caliper to the car, and unscrewing the hard brake line on the backside. A quick tip to people that try this - the brake line will then start dripping fluid, so what to do is use one of the rubber plugs on the brake bleeder screws to plug the brake line and stop the flow.
Moving on to the rotor, I ran into one hell of a problem - the hub had already rusted itself and cold welded itself to the rotor. I tried EVERYTHING. I started with a rubber mallet, and moved into a 10lb soft sledgehammer, and even after using what seemed like a gallon of penetrating blaster and the muscle of the Hulk himself, the rotor wouldn't even budge.
I resorted to some crazy measures - I went to harbor freight, and purchased the largest gear puller they offered, and took it to the rotor:
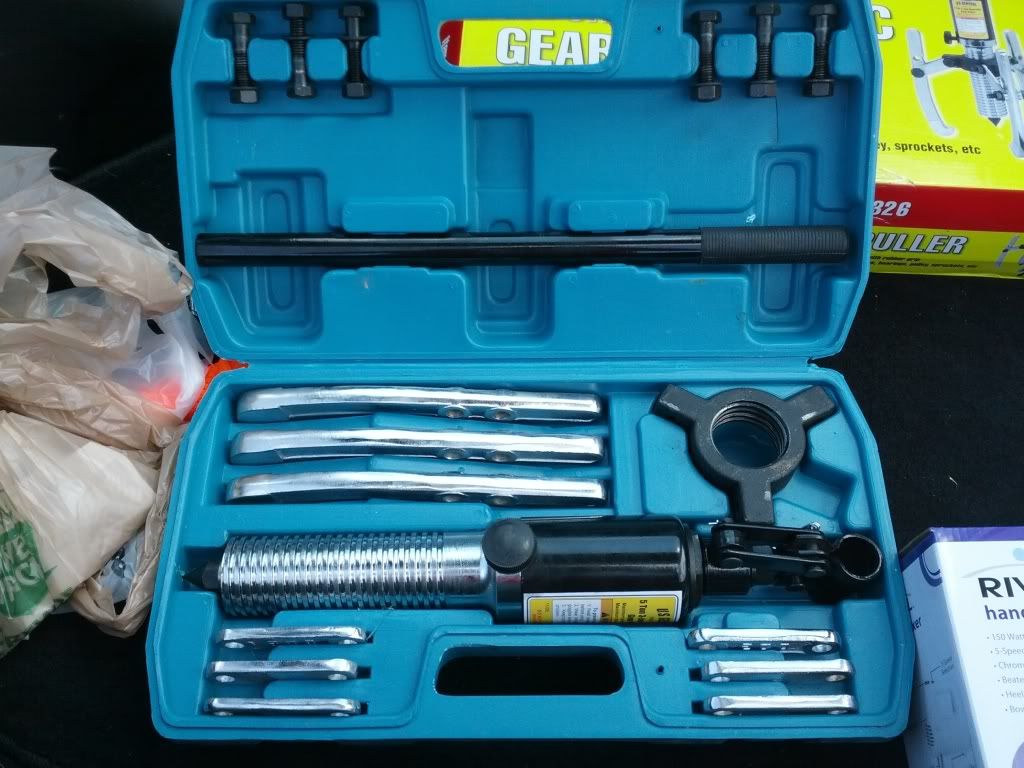
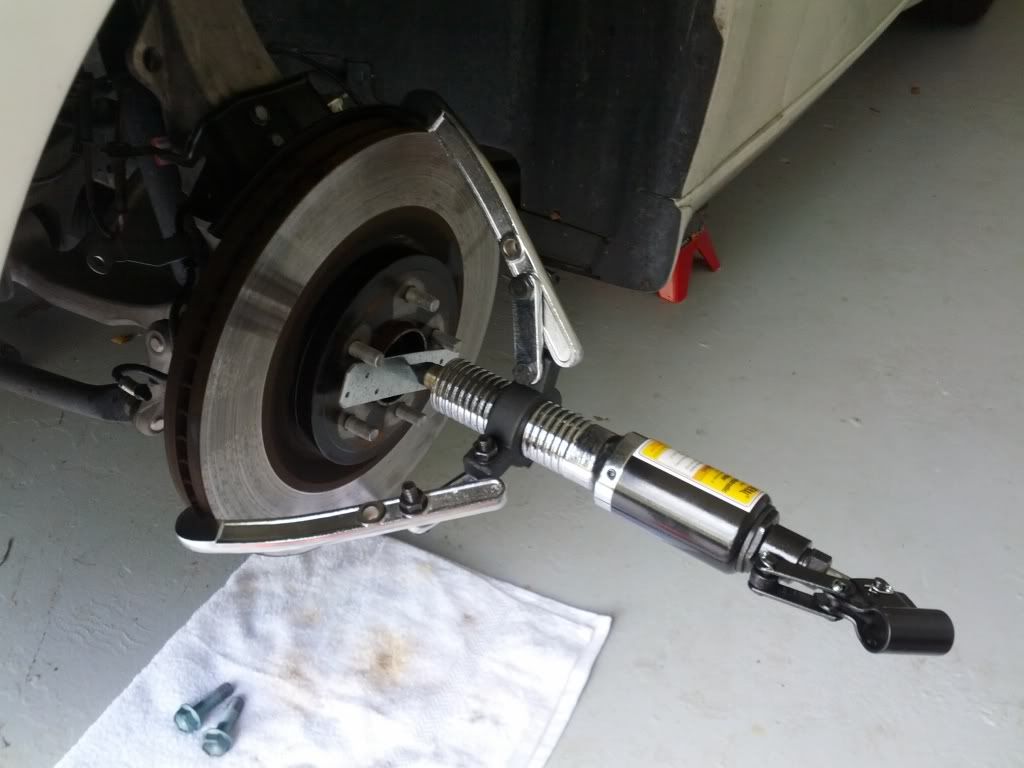
The box the puller came in said it was for use in industrial diesel trucks and semi-trucks.

The metal plate was a super thick piece of metal I bought at Home Depot - unfortunately, it bent like a piece of candy when I took the hydraulic puller to it. I forgot to take a photo, but I just put a big breaker bar socket there, and went at it again.
I pumped the puller around 10-15 times, and on the last pump, the rotor flew off the car about a foot and a half and nearly smacked the side of my garage. Needless to say, that was terrifying.

I found it crazy after only 15k miles, my rotor was so hard rusted to the hub.
I did put the rotor back and and checked for warpage or runout with a dial indicator I own, and it was smooth as butter with no warp anywhere. Forgot to take pictures of the tool, sorry! I did this same technique with my previous SUV, albeit with a smaller gear puller, but it works the same. These are the biggest brakes I've ever worked on!
Either way, with the rotor off, I could proceed to hammering out the stock studs.
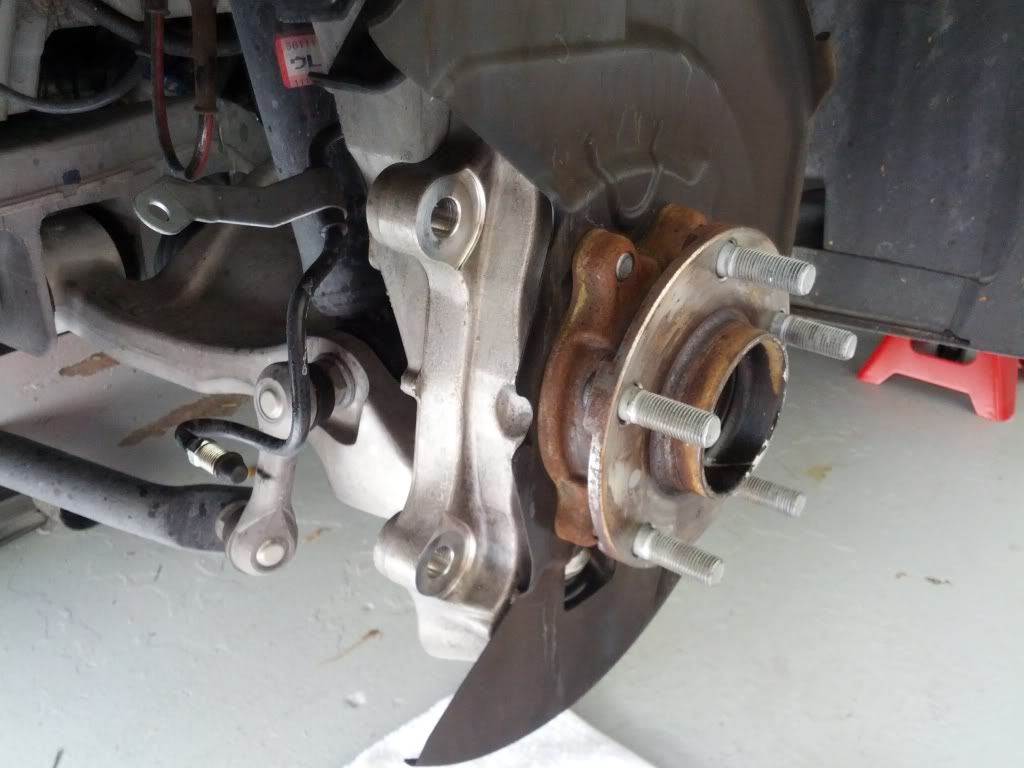
According to the DIY (
http://www.the370z.com/diy-section-d...r-install.html), I had already went to NAPA and bought extra wheel stud nuts to hammer out with. One by one, I put them on, and took a deadblow hammer to the studs and hammered them.
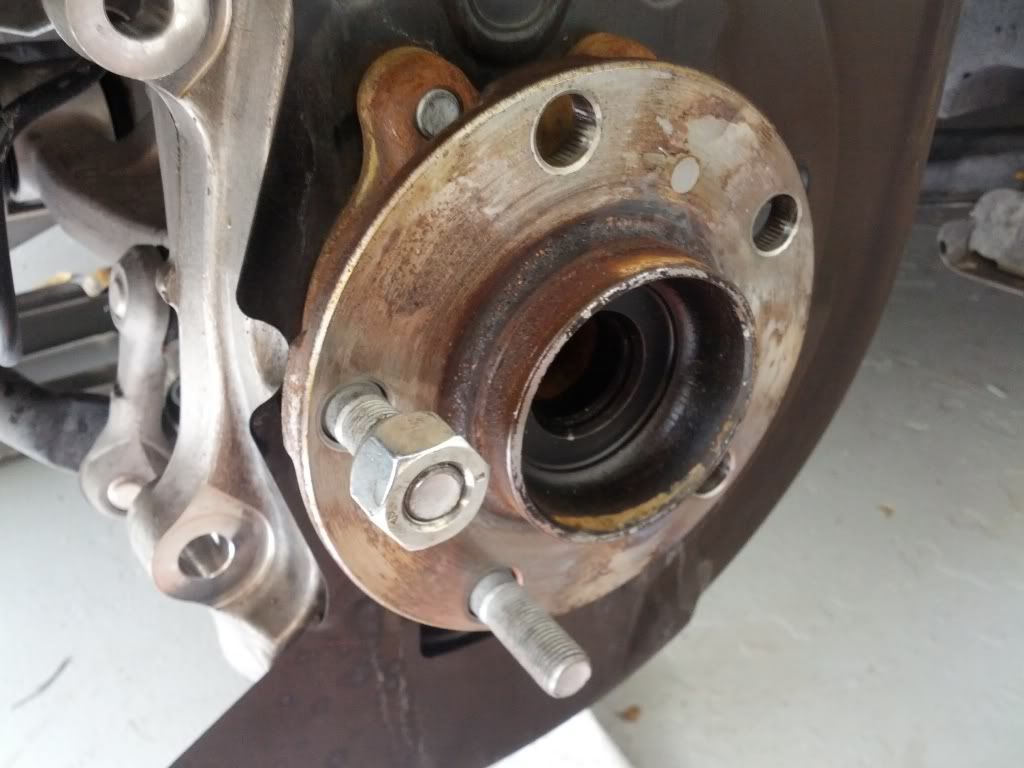
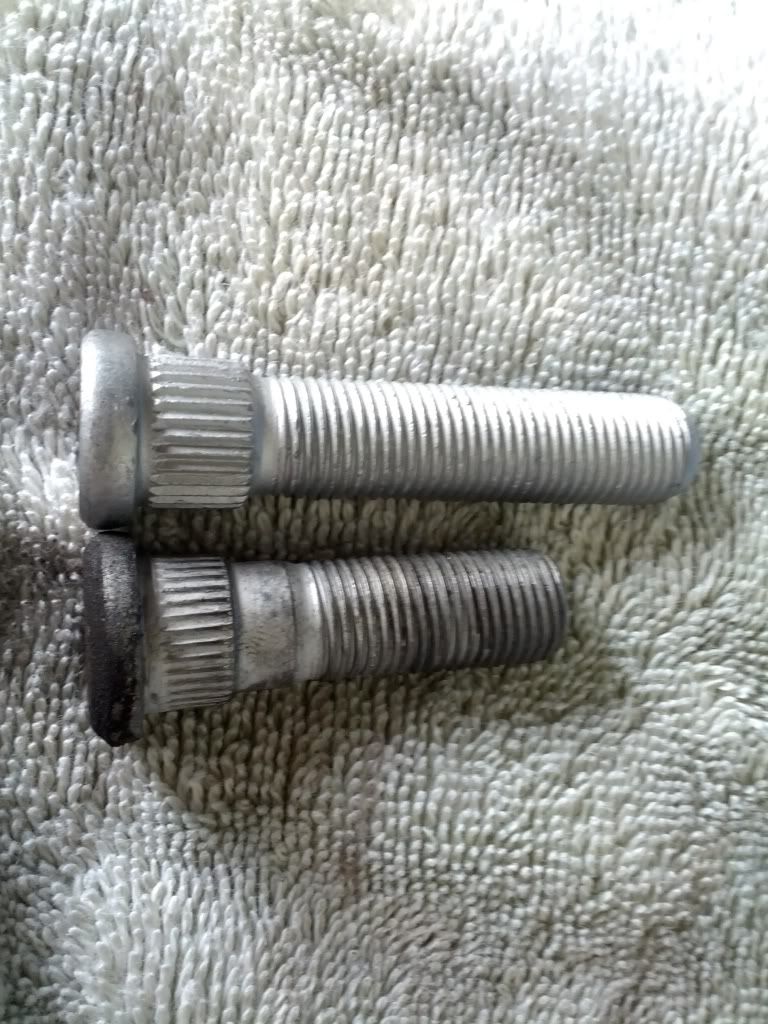
Here are the stock studs compared to the H&R extended:
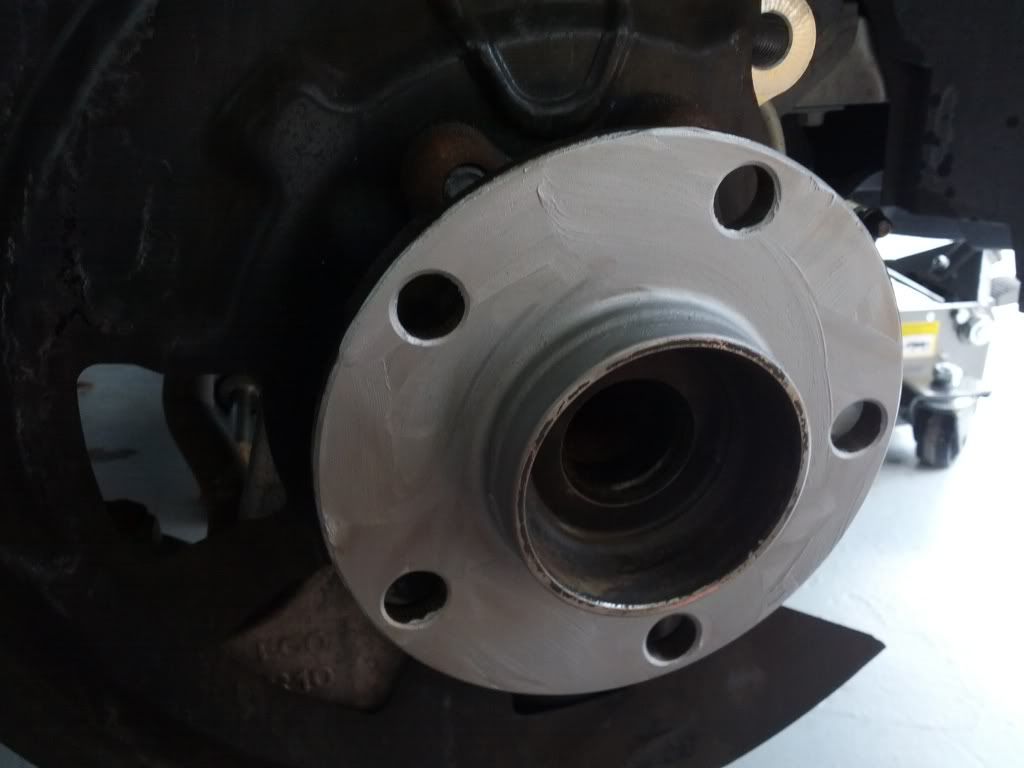
While the studs were off, it was a good time to lightly sand the hub free of rust and whatnot. A soft sanding block made quick work of the remaining rust on the surface. I also decided to apply some Anti-Seize on the hub so I would never have this frozen rotor issue again (opposite side hub, please excuse the picture discrepancy):
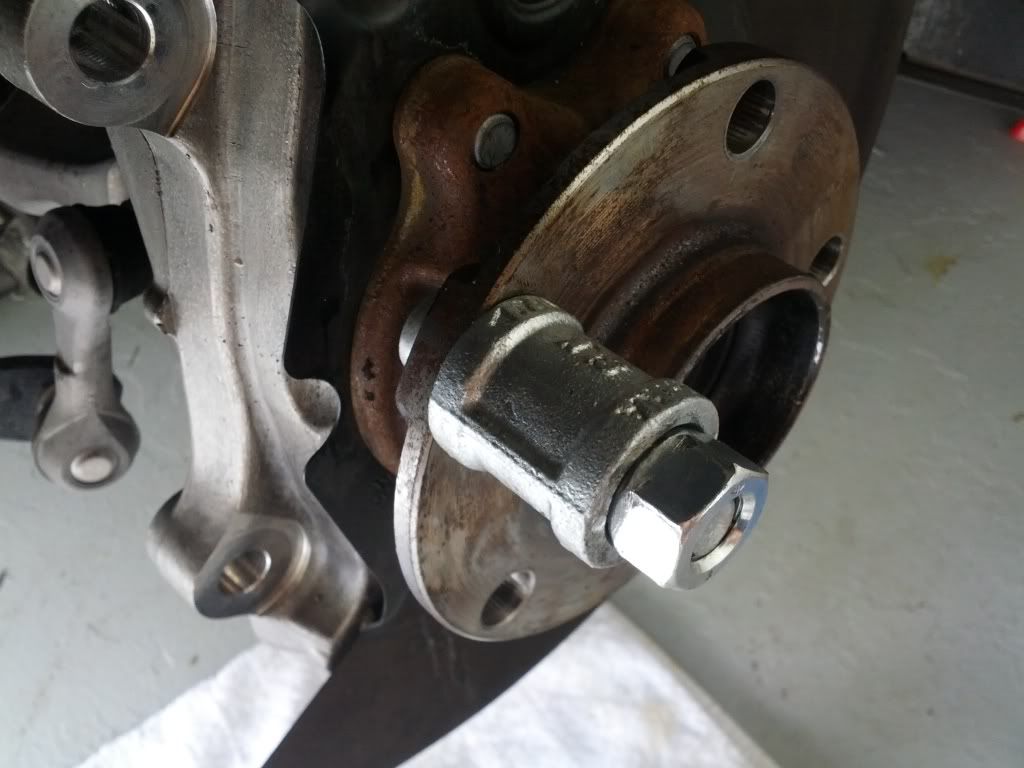
Again, like the DIY, I also had purchased a plumbing coupler at Home Depot and used it to fill in the dead space between the longer studs. I used my impact wrench to pull the studs through. I'm personally not sure how you would do this without one.
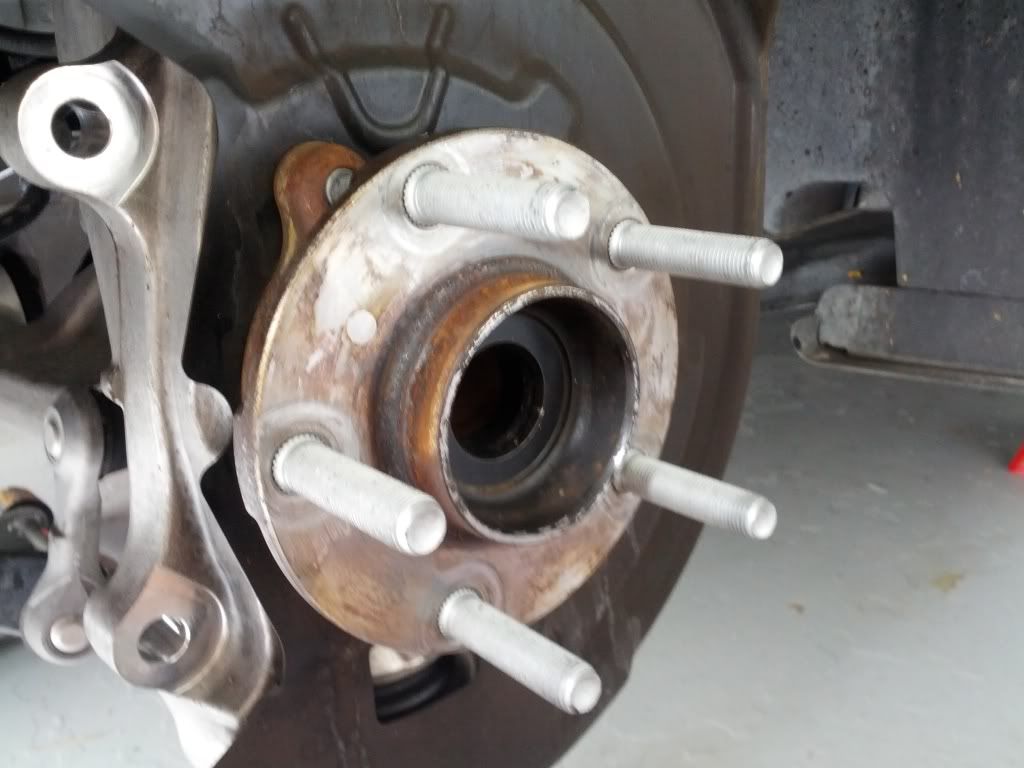
All the studs impacted and seated nicely:
Finally, it was time to put the rotor back on, and then put the caliper back on. Basically just reversing the removal steps of the caliper and rotor.
After that, since I removed the caliper completely, I introduced air into the brake line. I have a Motive Power Bleeder with the ford adapter that fits perfectly on our brake fluid tank.
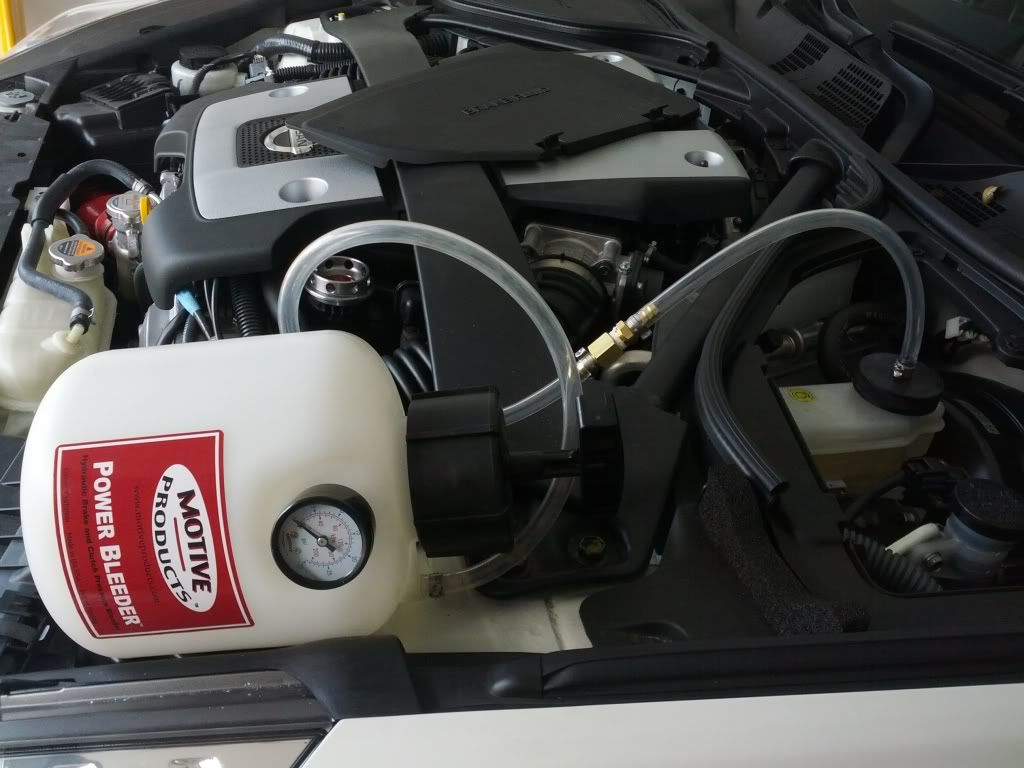
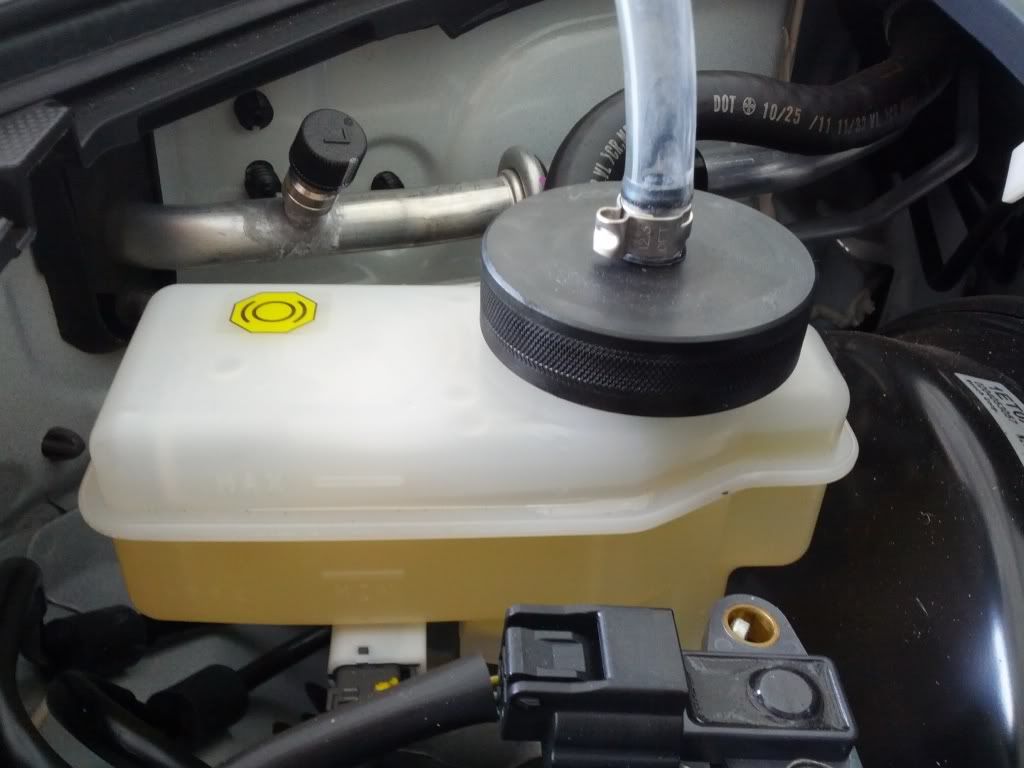
The brake fluid I used to refill the tank was Valvoline Synthetic DOT 3/4 fluid from Pepboys, O'Reily's, etc. I've read it's basically the best fluid you can buy from any common auto parts store, and it'll do the trick for me.
The bleeder pressurises the system so that when you open the bleed screw, the fluid flows out smooth and nice. I let the fluid flow until I saw no bubbles, and considered the job done good.
Last but not least, it was time to just slide the spacer on, and mount the wheel on.
The Results:
I am completely happy with the results! The 20mm was PERFECT for the stock RAYS, and the wheel sits flush with the edge of the fender. I tried to capture it in pictures, but if you see a Z spaced out in person, you'll realize that 20mm in the front is absolutely perfect.
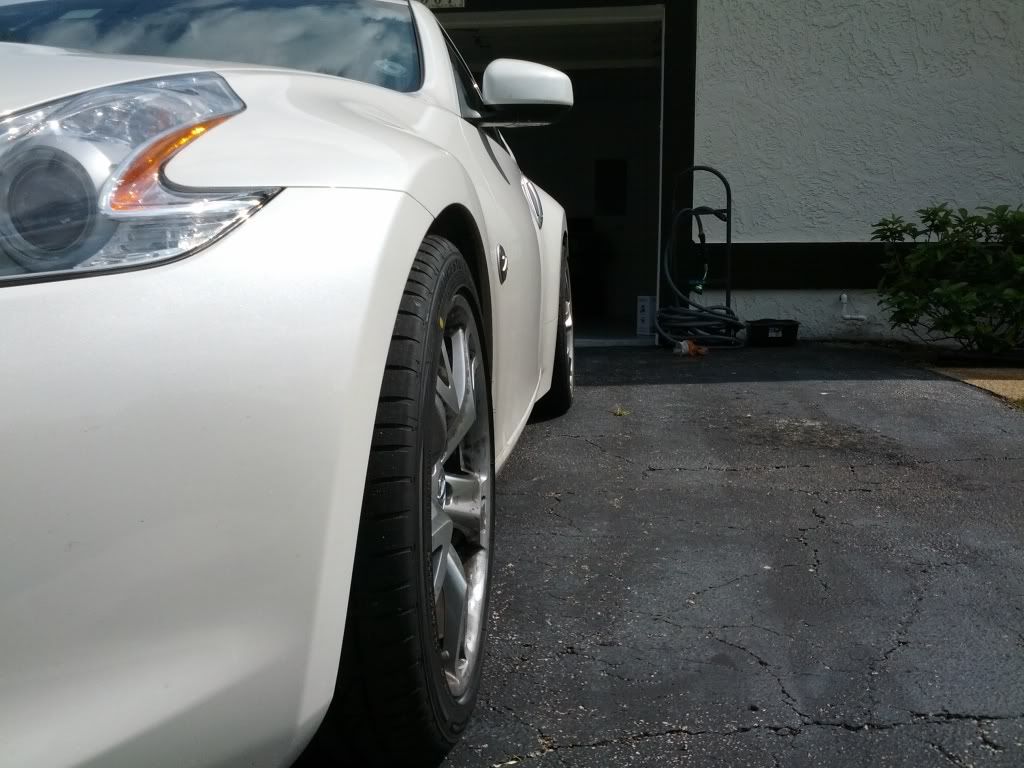
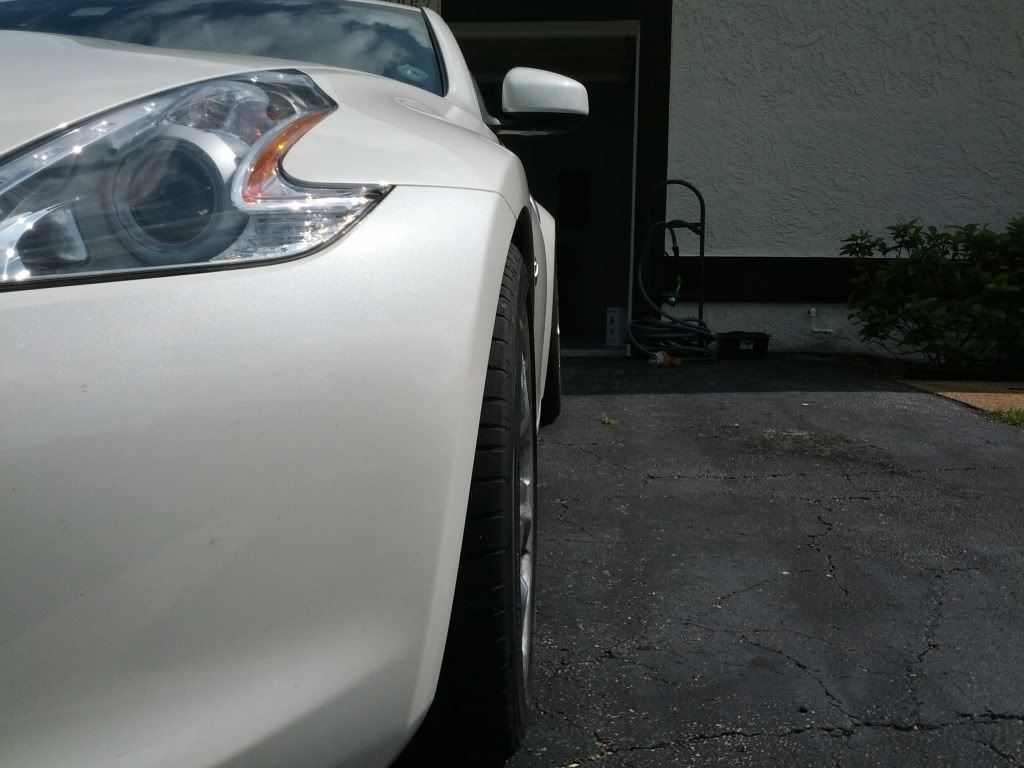
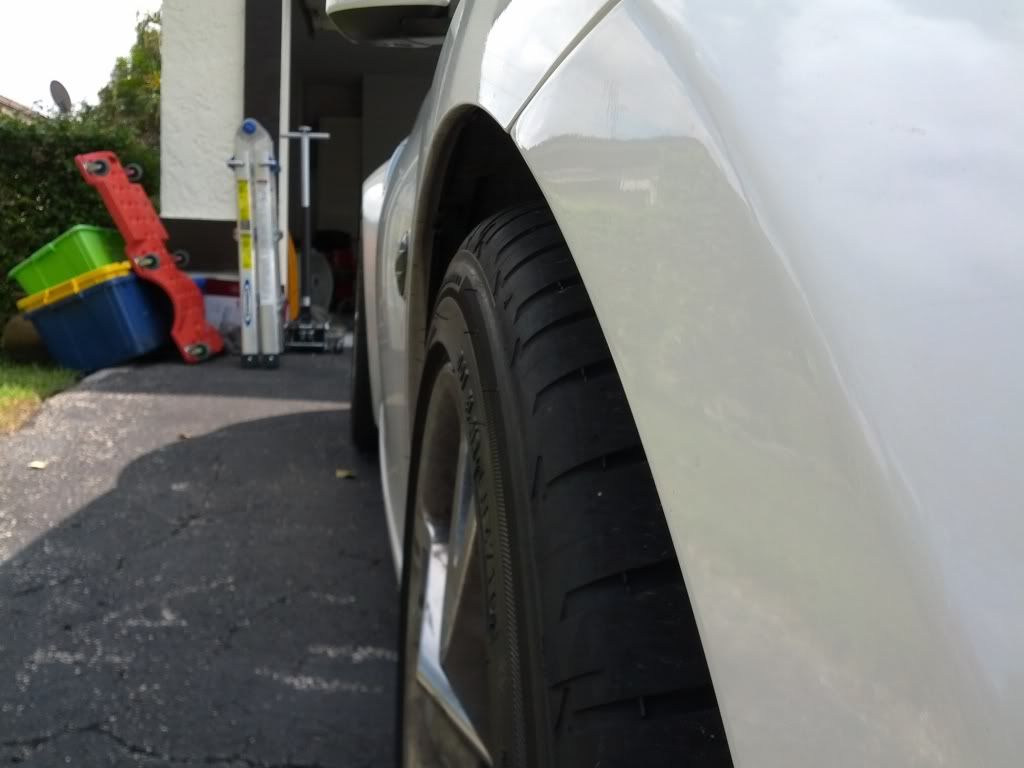
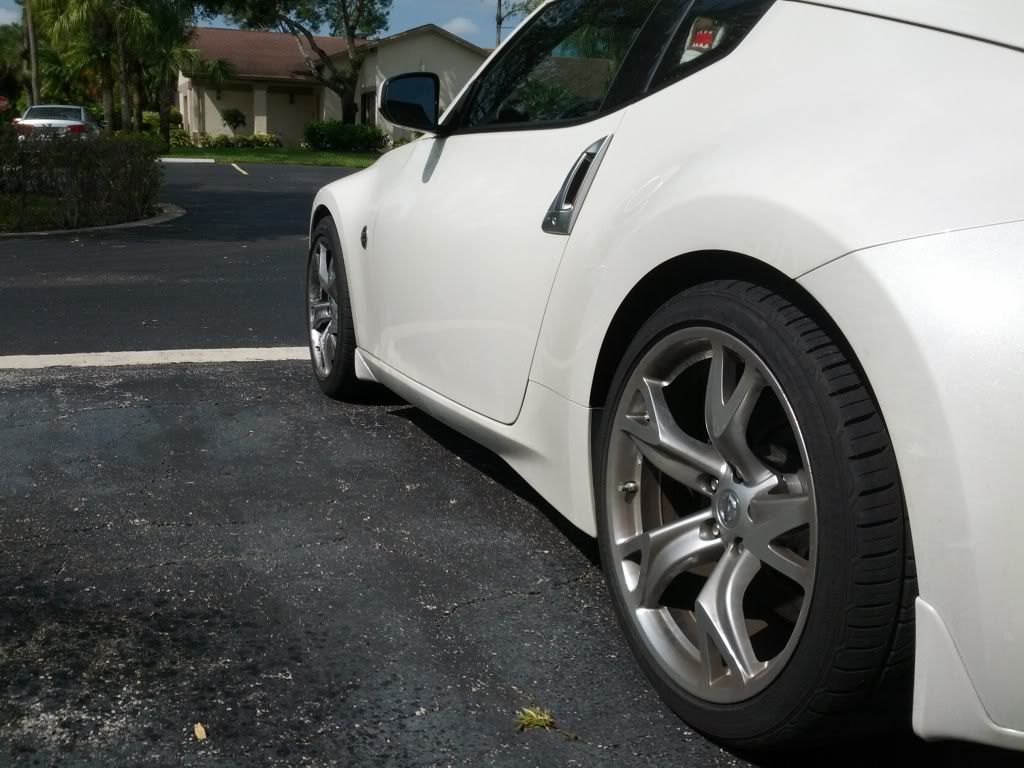
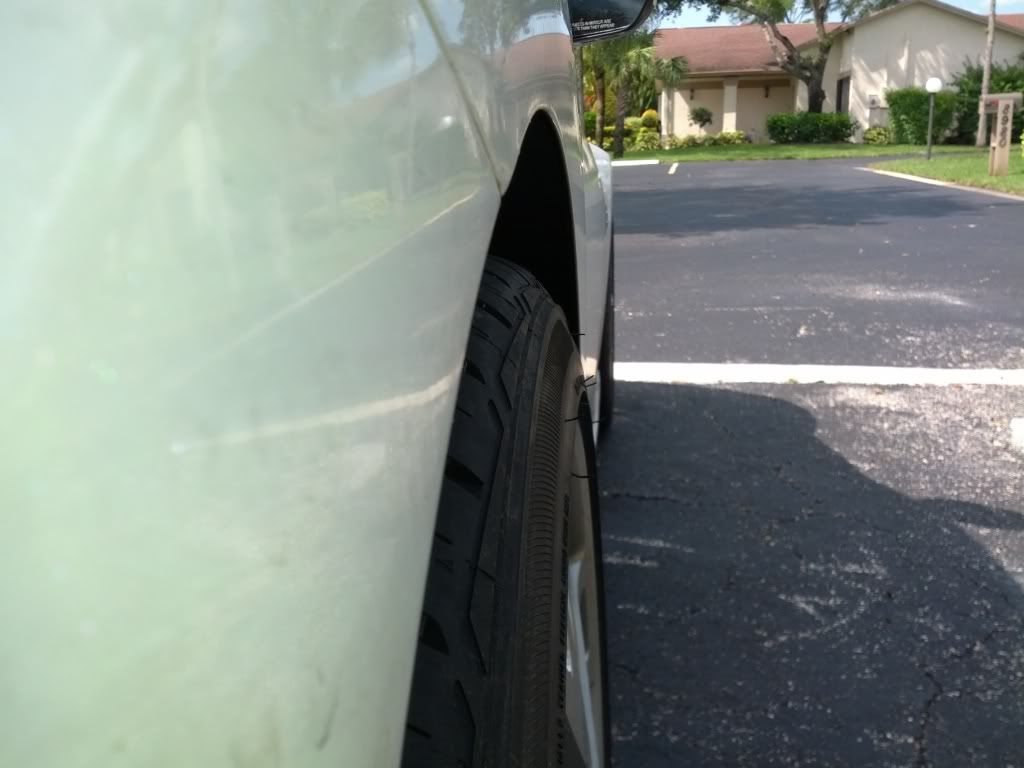
Also something to note, is that my front tires are 255/40/R19, and my rear are 295/30/R19. They are weird sizes, so take that for what you will.
The look from directly in front of the car is also insanely aggressive now - seeing the tires stick out from the car gives such a mean look!
