Hey guys! So I had this idea that I wanted to make an all black push button with a white back-lit Z in the middle of it, so that when you started the car all you would see at night would be this white LED lit Z. So I bought a start button off of one the the guys here on the forum. He let me know that the one I was buying was from a G37, but that it should work just the same.
EDIT: the next portion of this is the second part or my experiment and how it came out. So the bottom half might seem repetitive.
The idea is simple. I wanted a backlit Z. So make a stencil in the shape of the Nissan Z logo, get it the right size, then put it on the button and spray everything else flat black.
I ground the "start/stop" on the button with a dremel tool. At first I tried using some 400 grit sandpaper but it didn't seem to make a dent in it, the clearcoat is pretty thick from the factory so I pulled out my air compressor and grinder and went very gently. Afterwards I glued some 800 grit sandpaper to one of the dremel heads and lightly smoothed it out.
Finding the Z logo was easy, I resized it in MSpaint. I had to resize it a few different times to get it right. I printed it on card stock which is a little thicker than average paper and easier to work with.
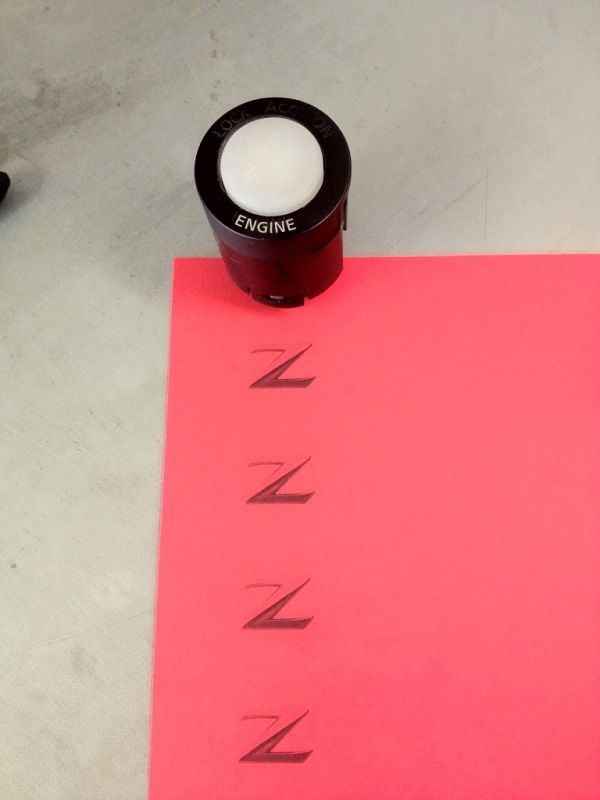
I used a razor blade to cut the shape of the Z out, but it was a little bit bulky and I messed up one of the corners slightly. I'm going to be redoing this with an awl I bought because I want the lines to be perfect. I look at this every day and if it's not perfect it's just gonna bother me.
Using a little bit of Elmer's glue I stuck the Z onto the button, making sure that it was level with the words on the top of the button. Then I took some more of the paper and shoved it in the sides so that I didn't paint the black plastic housing.
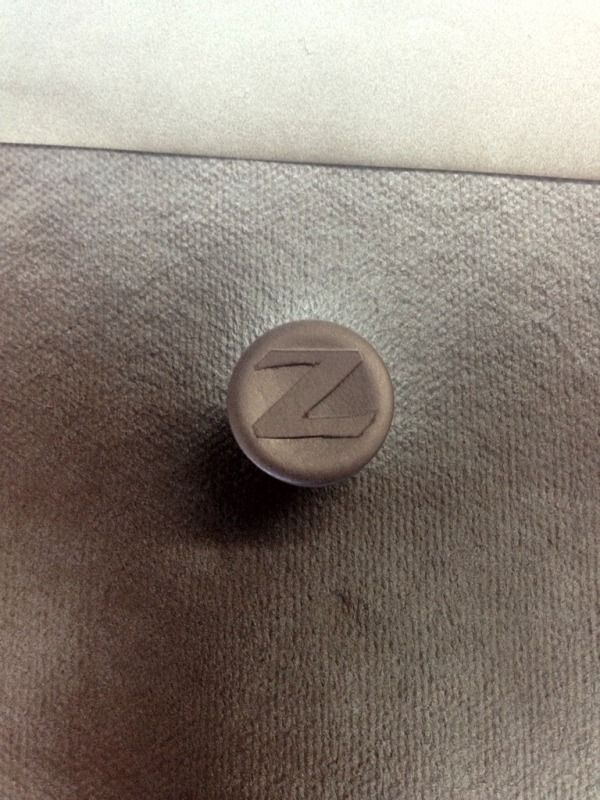
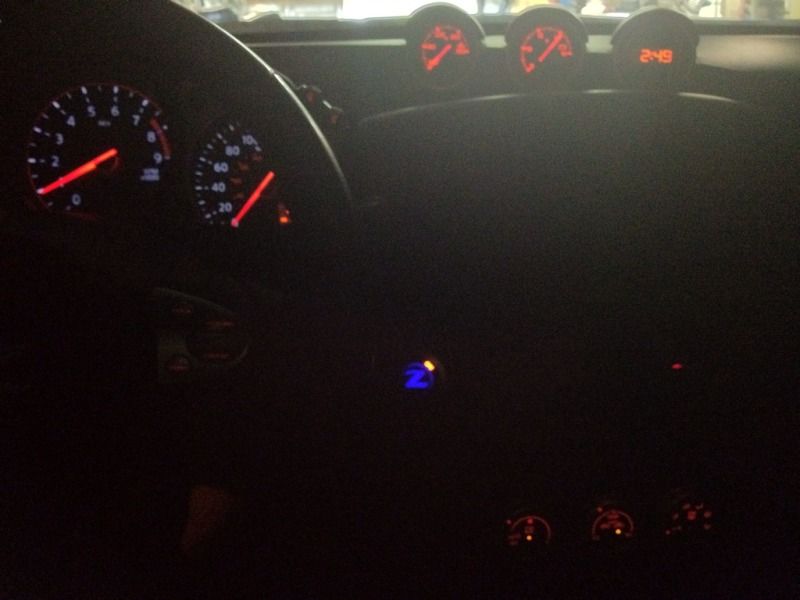
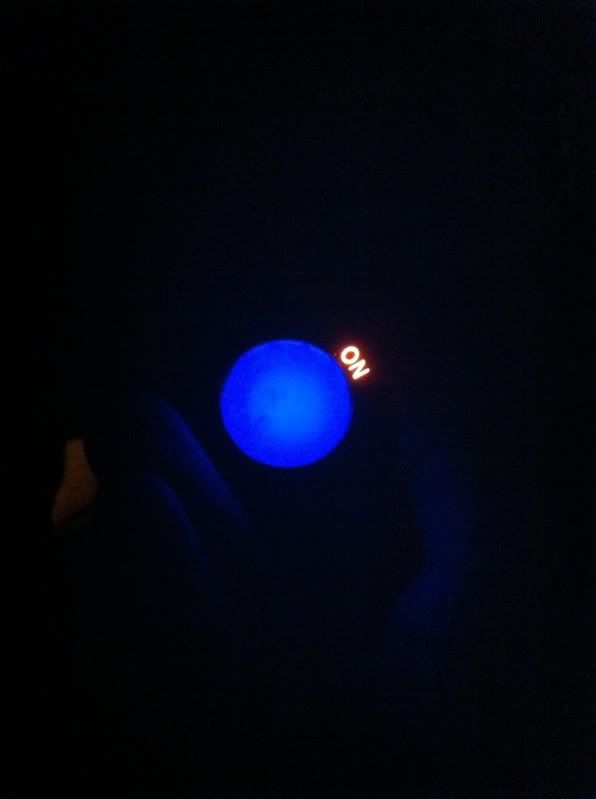
*NOTE* later on I played around with it some more and figured out that you can take the start button part completely out of the housing. This is a better way to do it since you need to paint the sides of the button as well as the top. Otherwise at night you will see a ring of light around the outside edge of the button and the housing as seen below...
This was the first try, as you can see I didn't do the greatest job and accidentally touched the button, getting some black specks on it. I took some paint thinner and wiped the whole thing off to start again.
Here I did a better job. This is four coats of flat black primer. You can see that some of the edges still aren't perfect, somehow the edges didn't stick down completely all the way around.
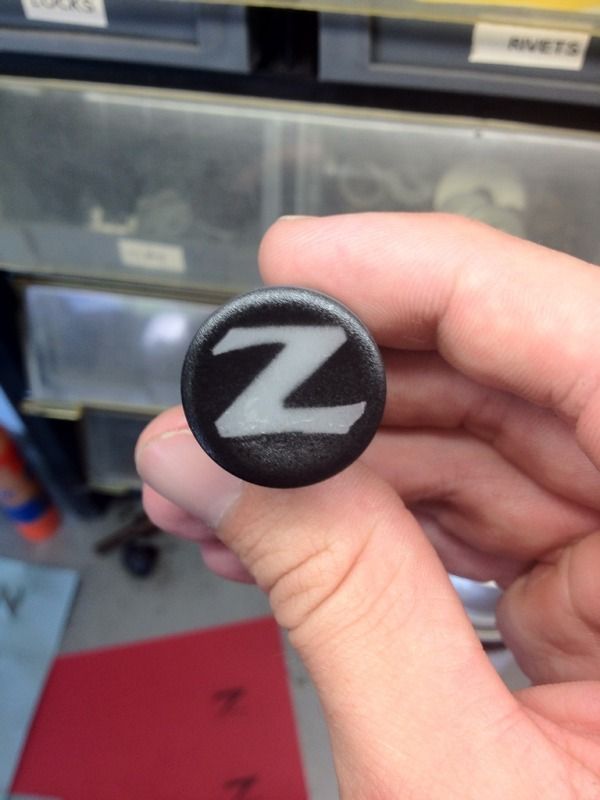
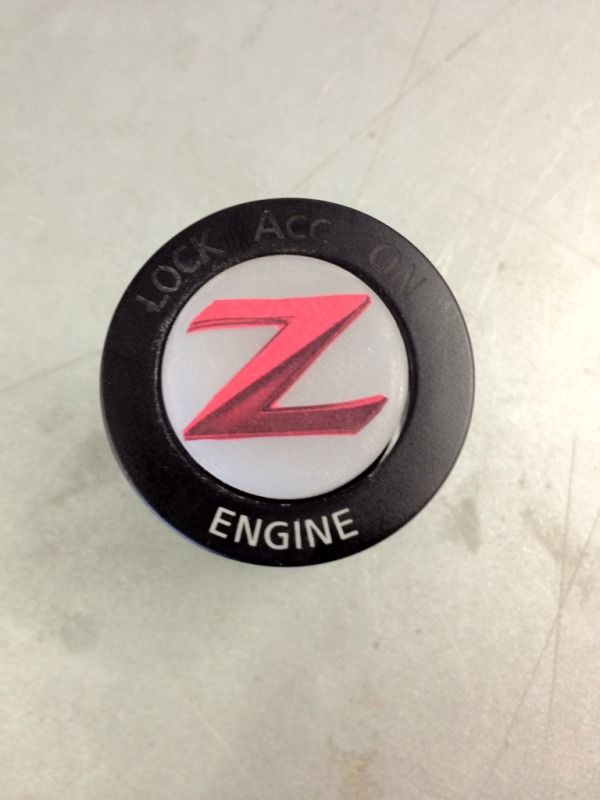
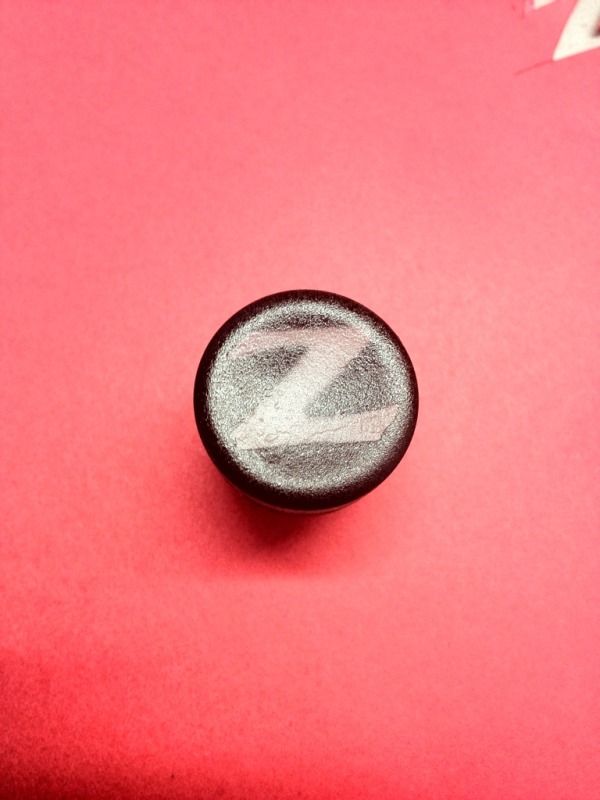
After that I took some clear coat and sprayed 6 or 7 very light coats. I didn't want it to be shiny and glossy, I wanted to stay with the flat/matte look, so I would do a very light spray and then let it dry. In this picture there is a reflection so you can't see the Z very well, but in person it's perfectly visible.
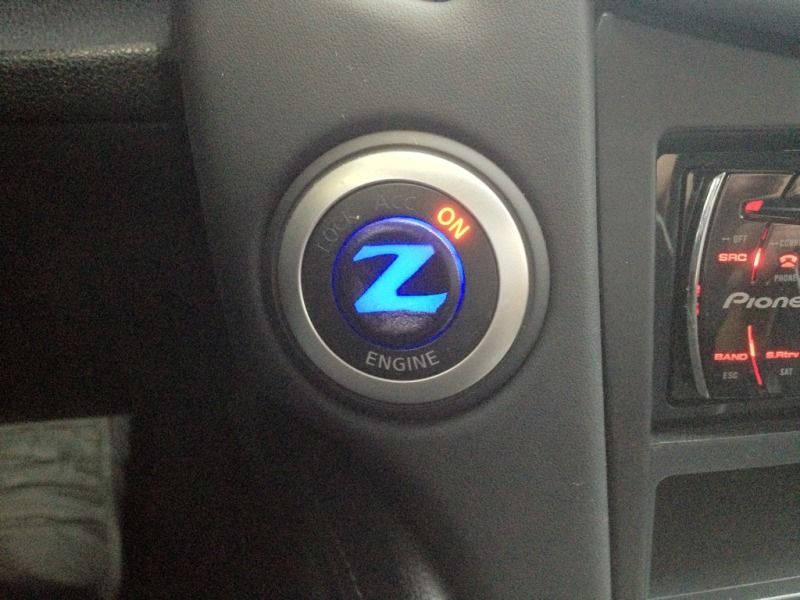
After that you're pretty much done, let it dry for a bit and then put it all back together. Your finished product should look something like this...
The end! If you found this helpful, maybe hit that rep button for me

If something didn't make sense it may be because I wrote this up on my iPhone while carrying on two conversation at the same time

Here it is
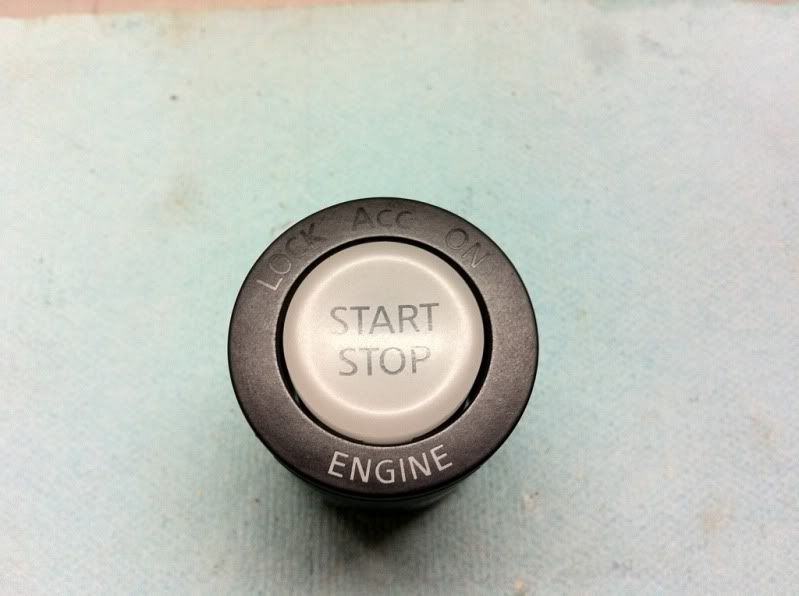
So I started taking it apart by prying the tabs on either side of it up and over the little plastic bump so that I could get the back out...

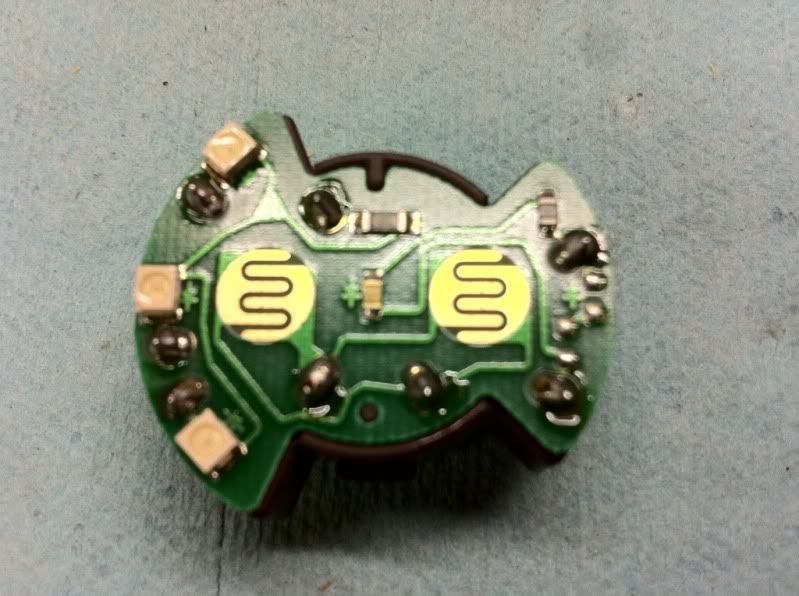
Here it is with the back taken out
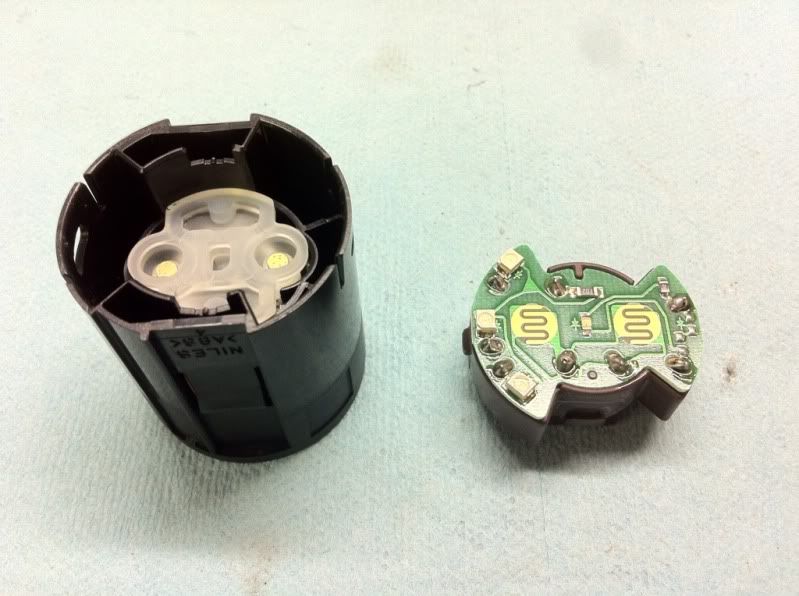
Now if you look at the LED in the very middle of this one, there is a little rubber cover that goes over the LED and makes it that dull orange color that you see at night. Go ahead and gently pry that cover off, there's nothing holding it on like glue or anything. The one in this pic won't look the same as your G37 button because this is actually my 370Z button, but everything is located in exactly the same place.
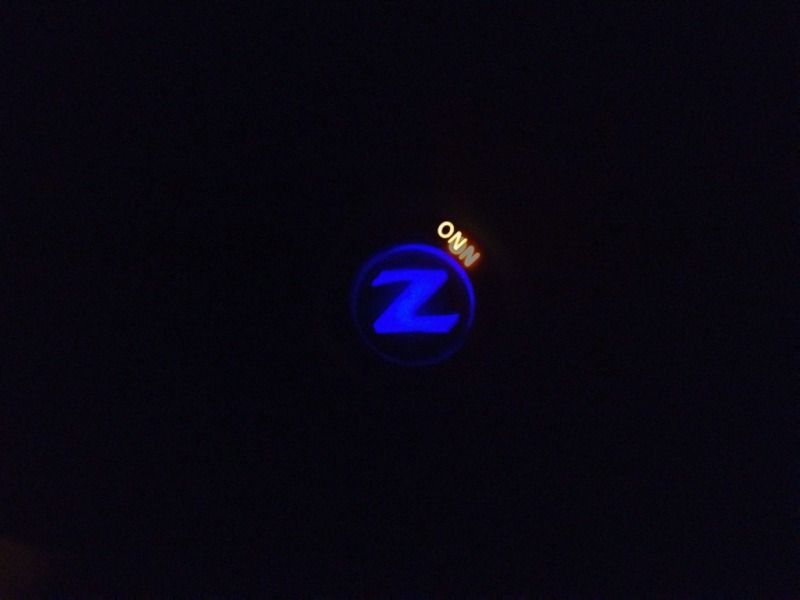
...And that's all there is to it! Pop it back in the housing, and put the whole button back in your dash. Here's the end results!
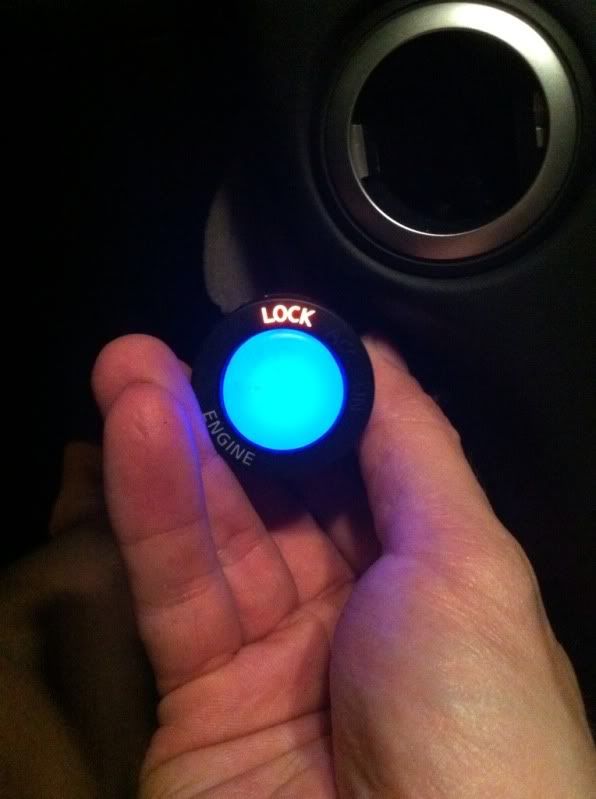
The second picture is a more accurate representation of the brightness of the LED, it's not super bright to where it will distract you at night, but I still think I might order some LEDs and try something a tad bit brighter, and possibly red in color. Hope you like this!
PS - I don't know if every G37 button is like this. I looked at my 370Z button and it didn't have a color, the dull orange color is the actual color of the LED. I read a post somewhere else where a guy said that his wife's G37 button was blue without him changing it, it just came from the factory like that. I haven't seen any others that come like this, so I'm not really sure what the deal is. Maybe someone else can chime in with some insight into this matter.
