Hey everyone, sorry for not updating in a while - 40 hour work weeks and midterms are really taking away time from the Z and her projects.
I tested the computer's M2-ATX smart power supply, and it's green lighted to go. When the ign wire is plugged in, the computer waits 5 seconds, ignoring if the ign is turned off and turned back on (as in when you start the engine, the radio and lights cut out), and boots the computer. When the ign is turned off or disconnected, the computer waits 5 seconds, then "presses" the power button. Pretty cool.
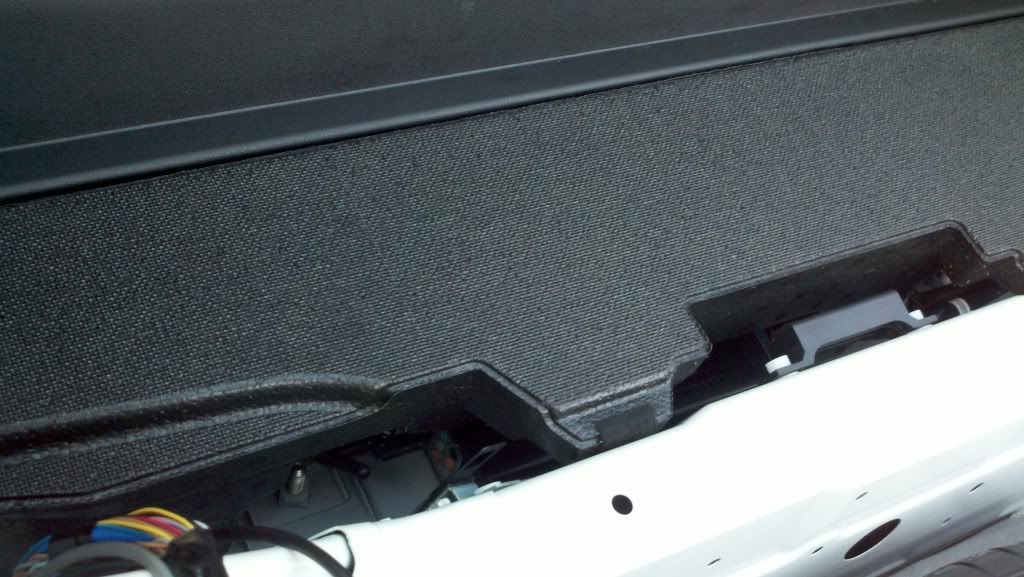
I got down to tearing apart the interior, for locating good amp/computer mount positions as well as getting a feel for where to wire everything. As I said before, I ran into issues with not being able to reach the grommet that Sliknik used in his videos for the power cable - the clutch piston is in the way, and it is impossible to remove either the clutch unit or the brake fluid distributor thing. Luckily, I discovered another spot I plan to use. It's definitely the best place to run wire, automatic or manual tranny:
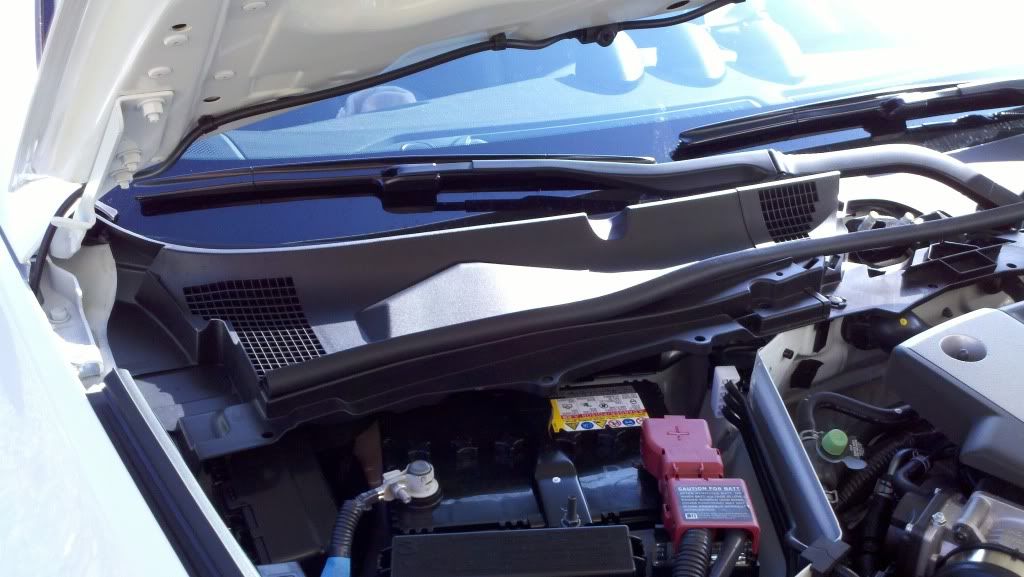
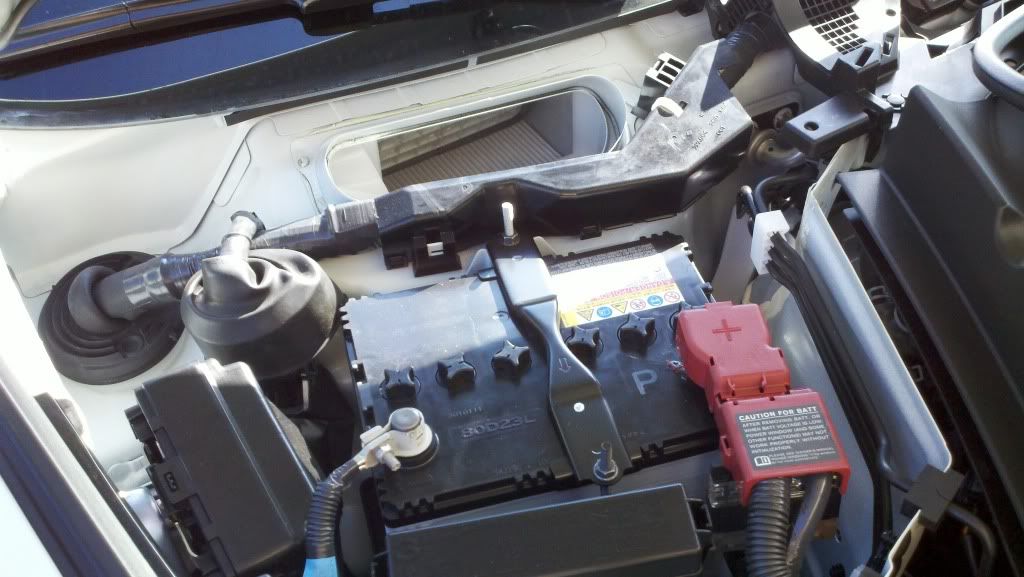
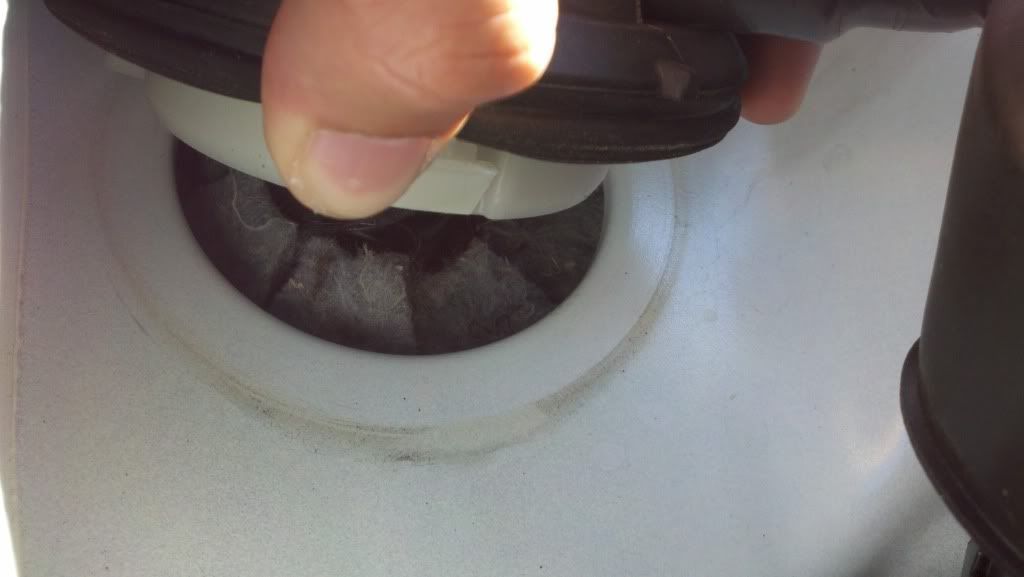
In order to get to this spot, I removed the cowling near the windshield as well as the battery cover completely. This cover pops off by prying at one of the sides, and you can see straight into the car and look at the footwell. I'm just gonna cut a small hole into the rubber and thread the wire into the hole, and seal it up with silicone to be safe.
The power wire dumps straight down the passenger side footwell, and I plan to tuck it under the side of the floorboards and send it straight to the back of the passenger seat, where I'm gonna split it up with a distribution block, and send the power to the amps and the CarPC power supply.
Again, thanks to Sliknik for awesome videos, wouldn't have been able to remove nearly anything without em. Anyway, after clearing out the trunk, I decided to mount the car computer near where Sliknik mounted his amplifier - lucky for me, the computer fits flush and level with the bare metal - barely. The foam cover clears the sides of the computer like it was meant to be there. I'm gonna run to home depot or NAPA to pick up some rubber feet or standoffs to give the computer some vibration resistance, then just simply stick it down with some permanent 3m double side tape.
Picture of the computer. You can also see the circuit board taped to the front - that is the M2-ATX power supply. It is powered by connecting 1/4 standard blade connections.
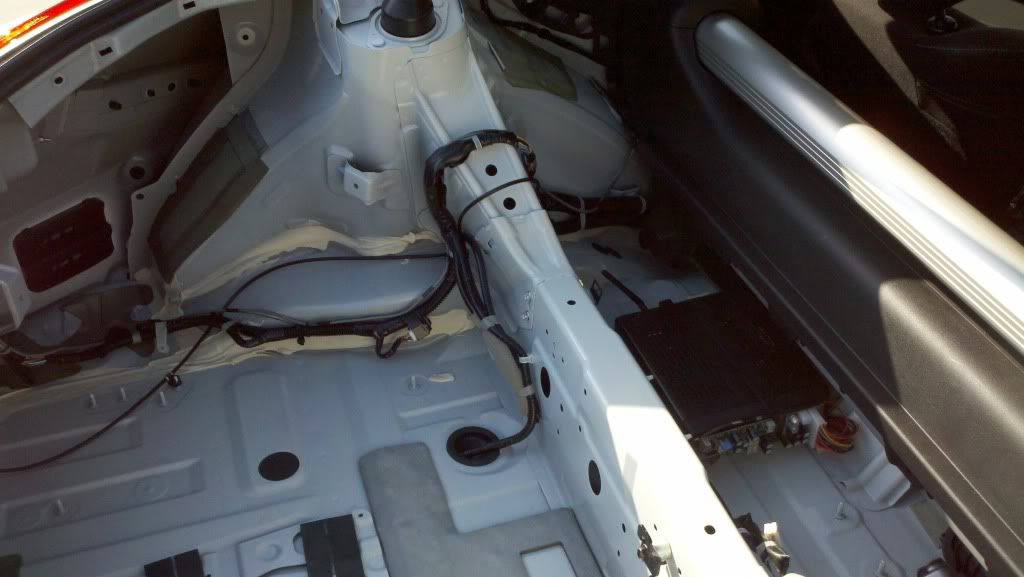
Unfortunately, with the computer here, there is definitively no space for an amplifier. Even though I have a small amp, it's gonna have to go under the passenger side seat. Ah well. I should be able to run the speaker wire under all the carpet and cut a slit right where the speaker wire connects to the amp.
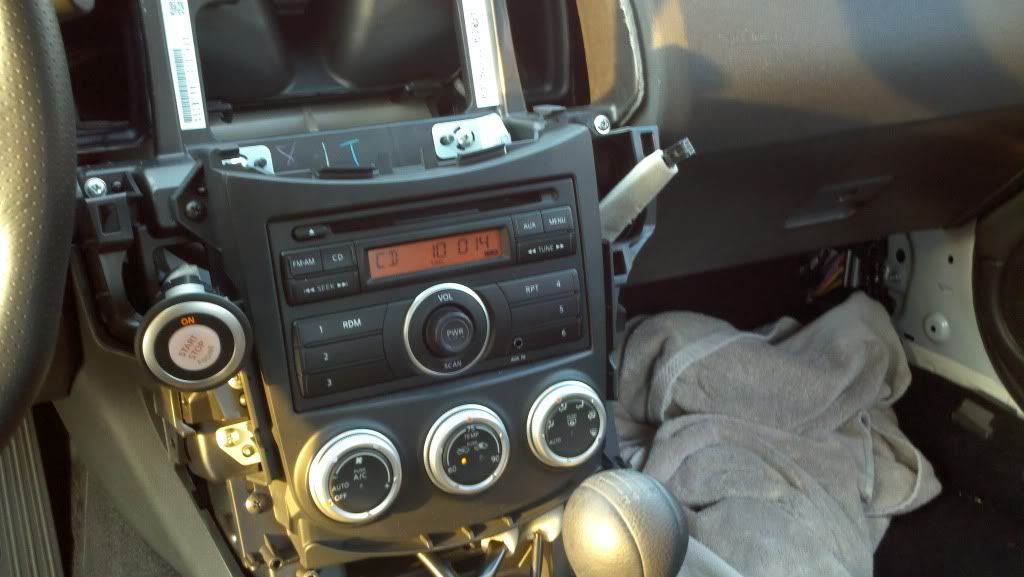
As for the front of the car, I got down to getting to just the radio sitting in the surround, and I stopped there for the evening. All I have to do for the cabin is remove the center console, and the passenger seat, and I am wire-ready. I will be finishing this install completely on saturday, and I'll be posting some more photos and a video of how the computer works.
There are some more modules I would like to add to the CarPC, namely HD/SAT Radio, USB cameras, and the GPS/Steering Wheel Control Interface I have here, but that will be down the line. First, gotta get this baby working and fired up!
