Idea:
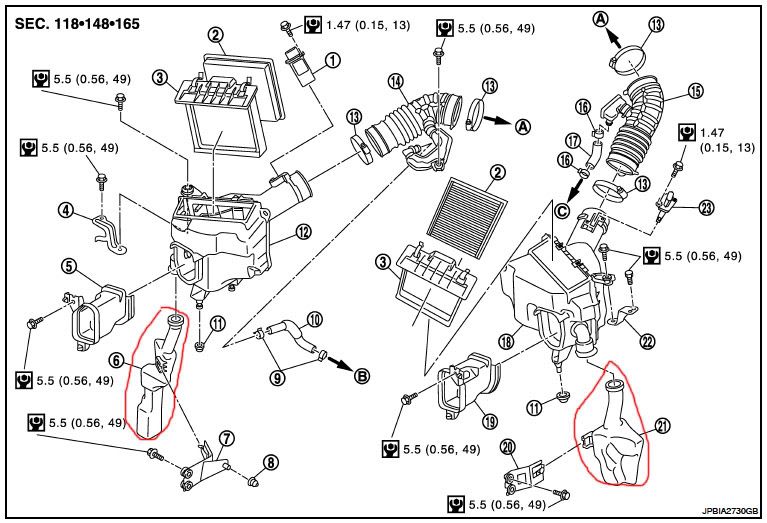
I thought up this simple mod in an effort to make the most of my K&N drop-ins and post-maf tubes. After looking over the stock air inlets to the airboxes, I decided the draw location was ok (temp wise) but I wanted a little more capacity. I am using the holes where the resonators connect to the airboxes to bring more cool air to the filters.
 Disclaimer:
This mod will not appeal to everyone as it
requires cutting of the stock airbox. My 2010 Z doesn't have airbox resonators, just the plugs where they used to be. I'm not sure which models actually have them but you may have to use a different approach for earlier Zs.
Tools:
10mm socket and ratchet
flathead screwdriver
hobby knife or box cutter
dremel with grinding bit for plastic
Materials:
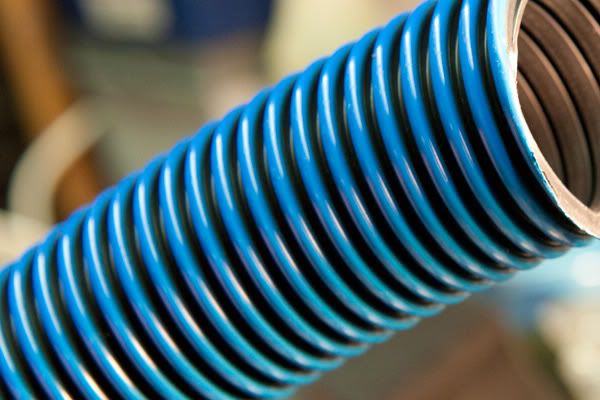
5 feet of 1.5 inch ID corrugated tubing
I used heavy duty vacuum hose from Lowes with deep convolutions
 Step 1:
Remove front bumper and airboxes
I used
DIGItonium's DIY for bumper removal.
The airboxes are pretty simple to remove. Depress the clip for the maf sensor wire and pull it out. Loosen the hose clamp on the airbox tube with your flathead and shimmy the tube off. Remove the 10mm bolt holding the airbox to its bracket in the engine bay. Pull up on the airbox firmly while wiggling side to side (the airbox, not yourself) to disengage it from the grommets on the bottom.
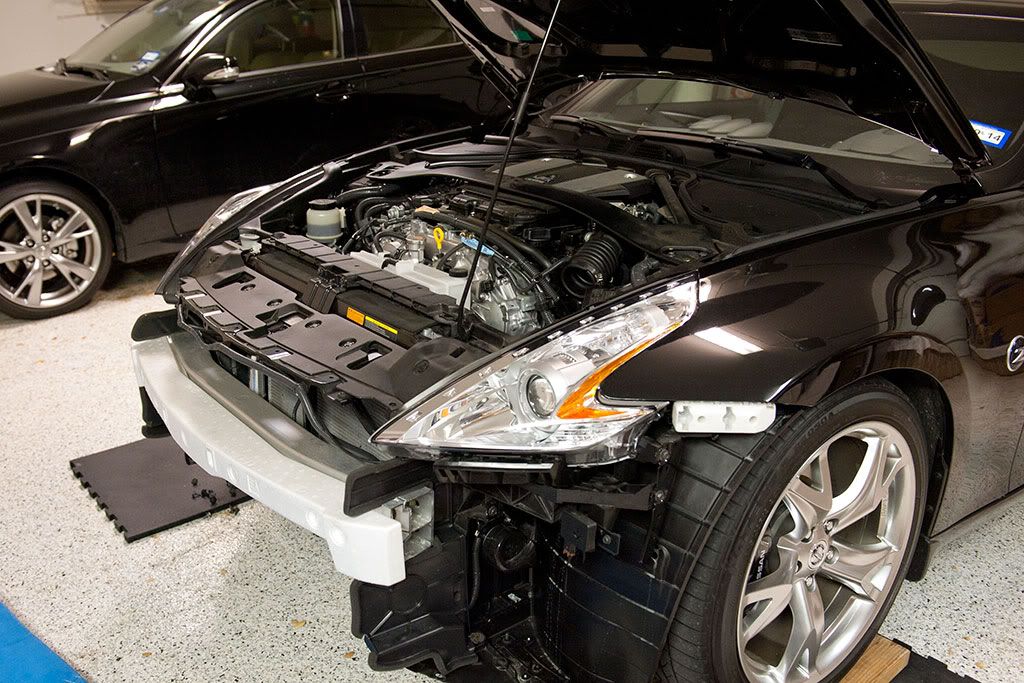
Make sure there's an is250 nearby that is trying its best to be as cool as your Z. Then, remove your two air filters and set aside in a clean area.
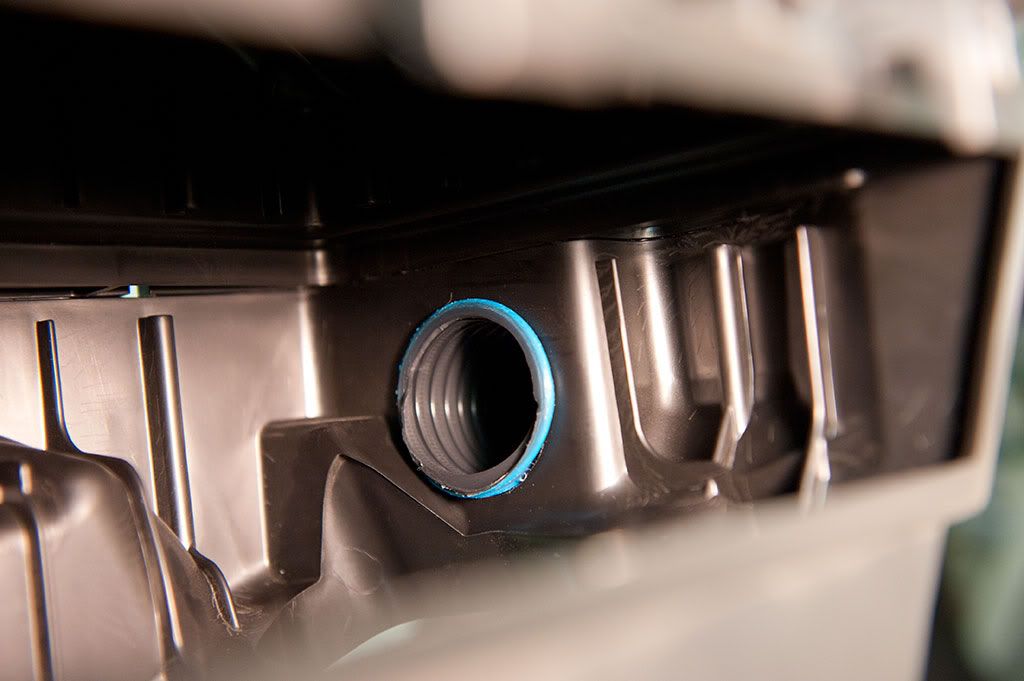
Step 2:
Find and remove the plugs for the airbox resonators. They twist off counter clockwise.
 Step 3:
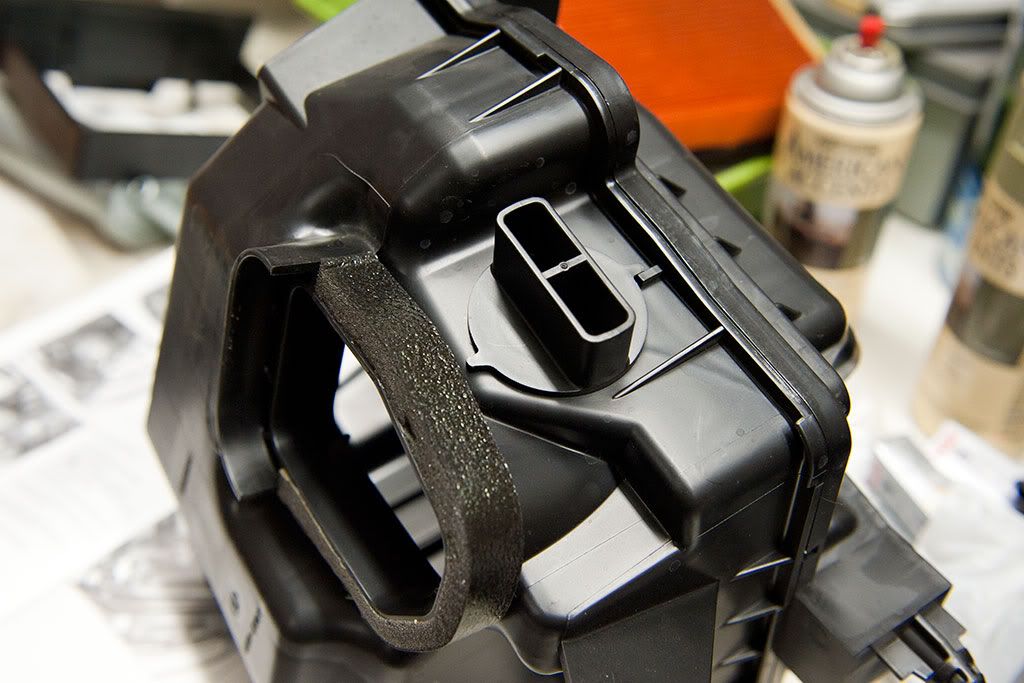
The point of no return.
Grind away the tabs in the above picture to make as perfect a circle as you can. The hole should be just over 1.5 inches in diameter. Be careful you don't accidentally make the hole too large (test fit then enlarge if needed). It needs to be a relatively tight fit.
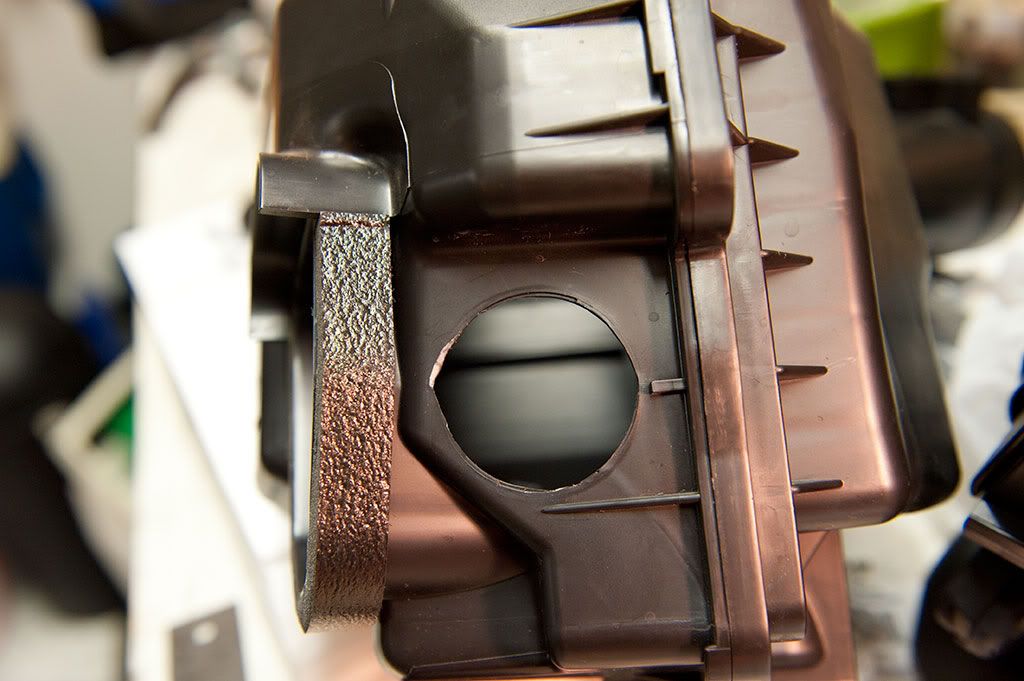
My original plan was to add a flange to the airbox to secure the tube. But the convolutions on the hose are so deep that I decided to just screw the tube into the hole in the airbox for simplicity. You can see a notch on the left side of the hole with a little ramp carved into the side (theres another ramp on the underside). This allows the tube to connect nearly seamlessly to the airbox.
Instead of my ghetto rigged idea, you might opt for a flange and hose clamp or even industrial strength flexible adhesive such as 'E6000' to secure the tube better. Mine have been on for 350 miles and haven't unscrewed a bit. They're in there very tight.
Step 4:
After cutting holes and notches in each airbox, connect 2 feet of tube to the driver's side airbox and 3 feet of tube to the passenger side (to snake around the washer fluid reservoir). You may want to use more tube than I did. It just depends on where you want to draw air from.
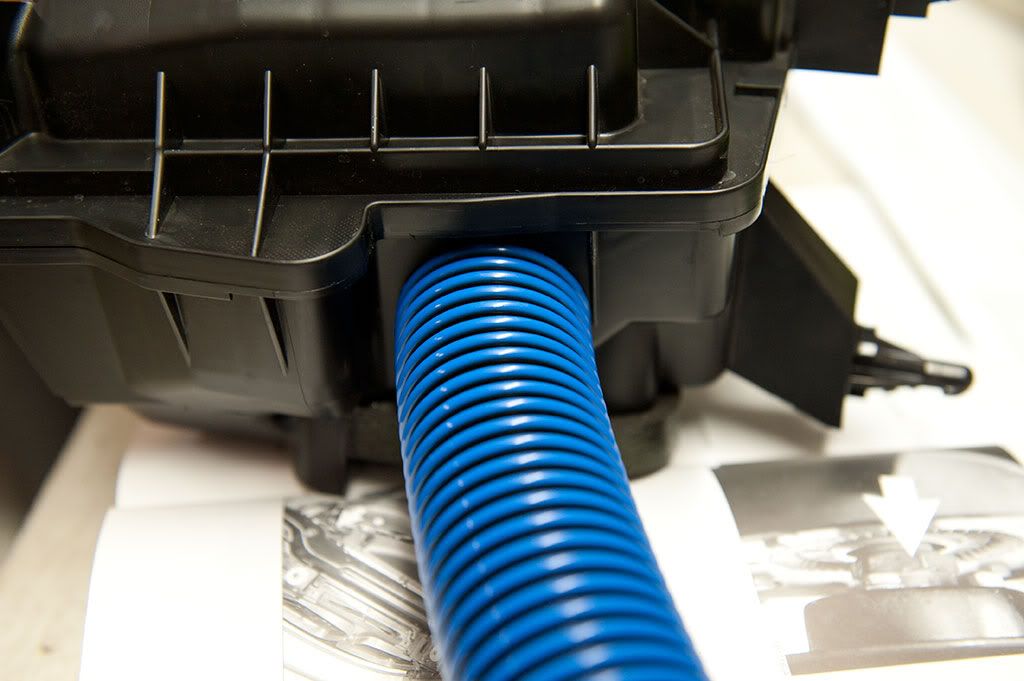
Clean up the end of your tube better than this!
Step 5:
Test fit the assembled driver's side airbox.
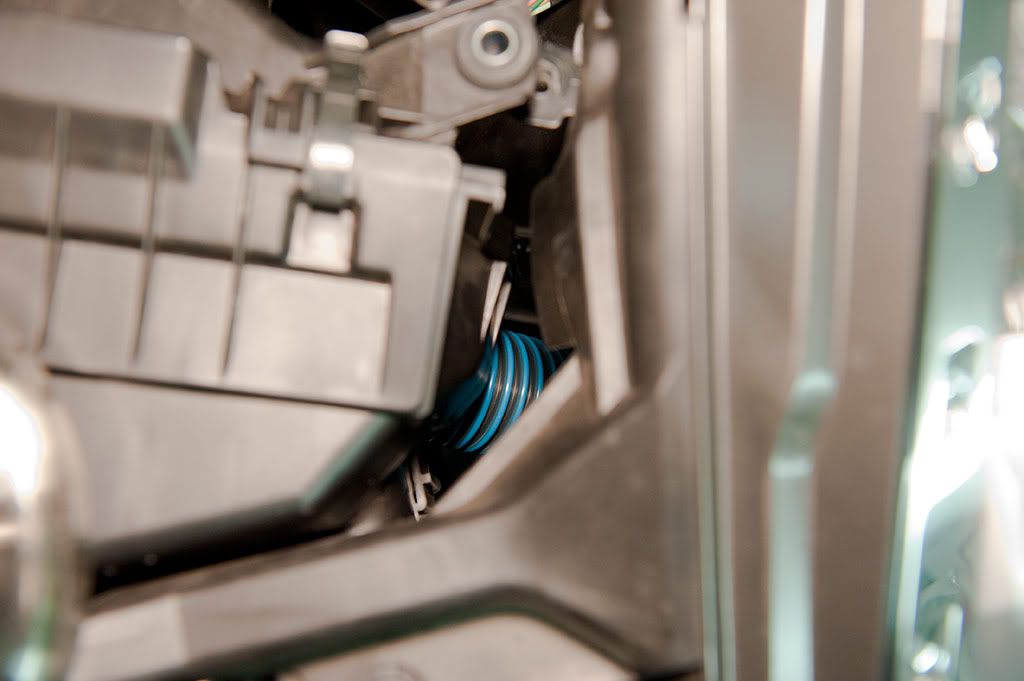
Snake the end of the tube down the highlighted area. Then fit the airbox back into the two little grommets on the bottom. Feel around and make sure the tube won't be rubbing on anything sharp or rough. I used a small telescoping mirror like
this from a local hardware store to check for binding and rubbing.
 Step 6:
If everything looks good, go ahead and cut a hole in the panel for the tube to pass through. It cuts very easily so be careful you don't slip.
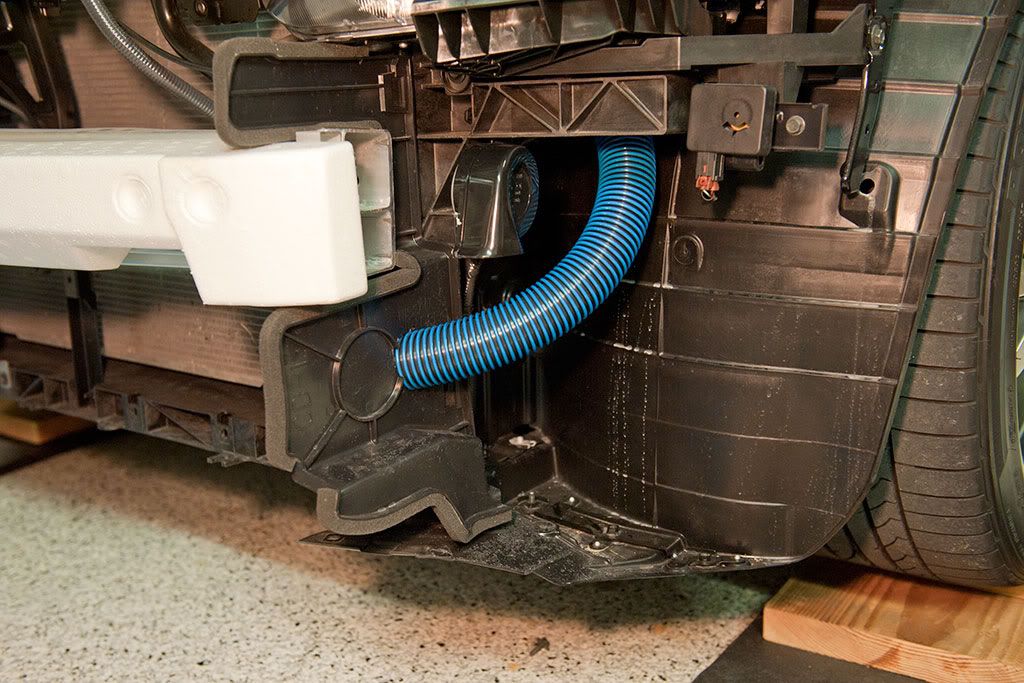
You might want to bring the tube down to the fang area like Modshack did. I decided the air at this location would be just as cold as outside air once the car was moving with any speed.
Step 7:
Test fit the assembled passenger side airbox.
This one is a little trickier because of the tight quarters. Again, snake the tube down this path before you try to fit the airbox in place.
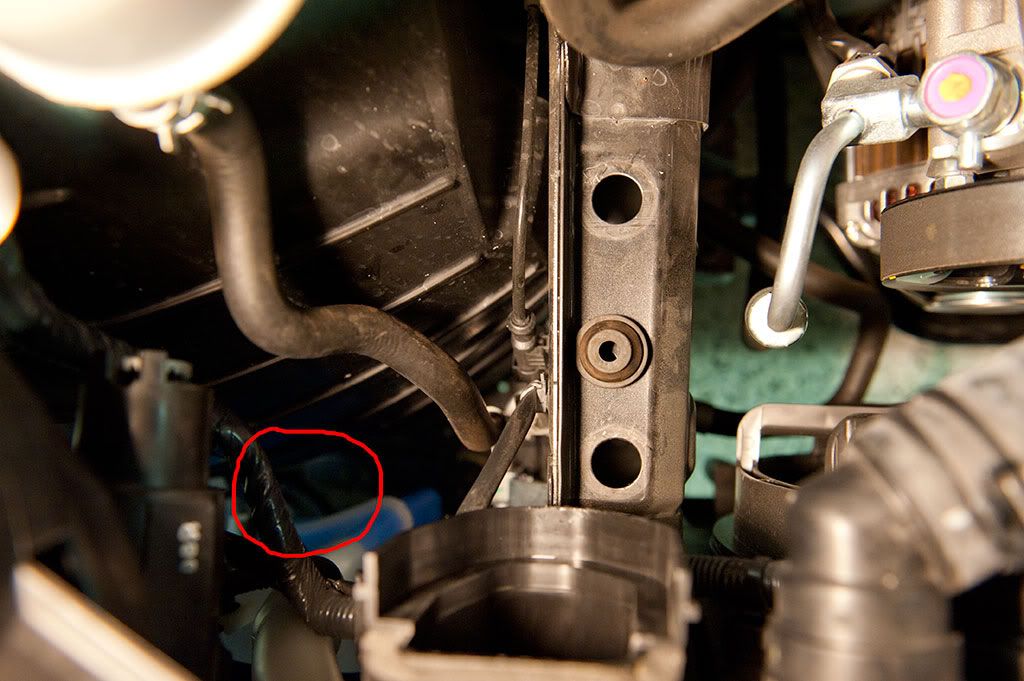
Check for rubbing at the first bend at the top. You may have to do some dremel work on an excess plastic piece near the red circle.

Its not as tight a fit as it looks in the pic above. There should be no binding or compressing of the tube when it is properly in position.
Step 8:
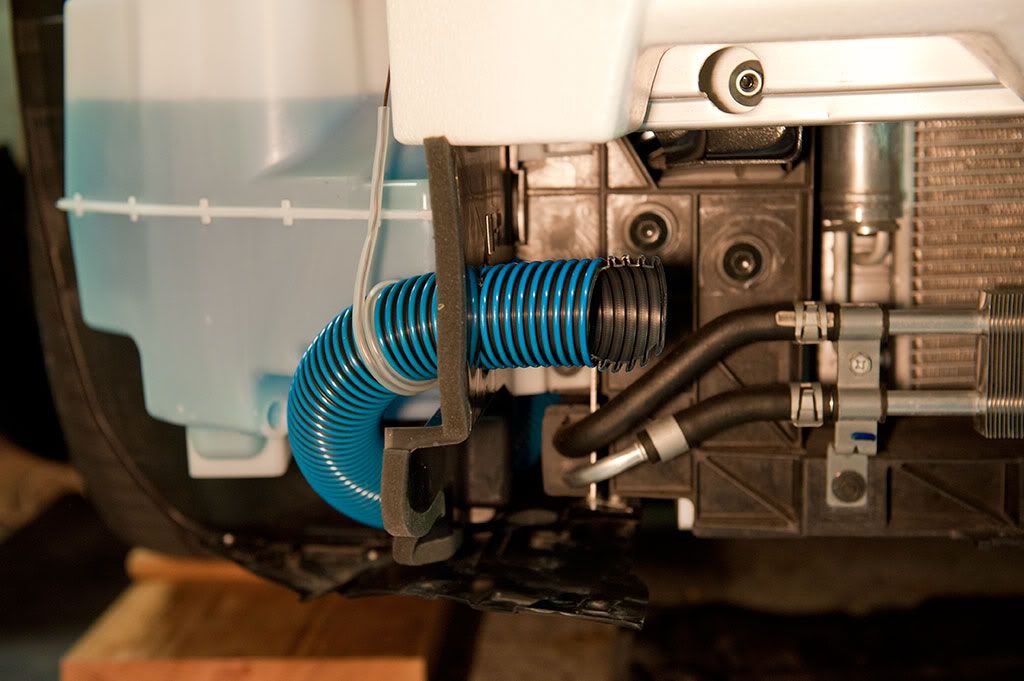
Route the tube all the way to the right of the reservoir. Cut a hole in the thin plastic wall. I secured the the tube with wire wrapped in r/c hobby fuel line for extra security but its not required. Of course making a little scoop out of the end of the tube doesn't help anything either, but I was going all out!
Get the bumper back on. Bolt the airboxes down. Reconnect the maf sensors. Secure the intake hose clamps. And Bob's your uncle.
I later marked the tubes here with sharpie to watch and see if they were slowly coming unscrewed from the airboxes. So far they haven't budged. I think all the bends and the two tight connections keep them from moving at all.
 Gains:
I am extremely skeptical when it comes to
feeling small gains. I'll update after I get a touchup on my tune. This may end up not having any impact on power at all. I'm tempted to say that what I do feel in throttle response and higher revs is just because of the cooler temperatures we've had in my area lately.
Where this could be improved:
-Possibly extend the tube to the fang area like Modshack did
-Do mine
and Modshack's modification
-Buy Stillen G3 intakes
I enjoy doing things like this and had a blast modifying (maiming/mutilating) my airbox and making this diy. I just hope is spurs someone else on to experiment with their intake set up!