Hey guys, I apologize if a thread has already been created for toe bolt install. I searched around and didn't see anything. I understand this is a pretty simple, self explanatory type of mod, but some people still go to a shop and pay to have this done. Save your money and do this yourself. Its easy!
First off, I see this question all the time. "I just installed springs, will I need aftermarket toe bolts"? That just depends how much of a drop it is. We all know whenever you lower your car with springs or coilovers, you should go get an alignment. Make life easy for yourself and buy a toe bolt kit. SPL and SPC sale their kit for around 30$. It gives you so much more room for toe adjustability compared to stock.
Tools need-
-Rotary tool with a bit that can grind metal/aluminum. You can use a file but that would take forever.
-Jack and jack stands
-Impact wrench if ya got it. If not basic metric sockets/wrenchs
17mm, 19mm
-Eye protection/hearing protection
-Paint marker
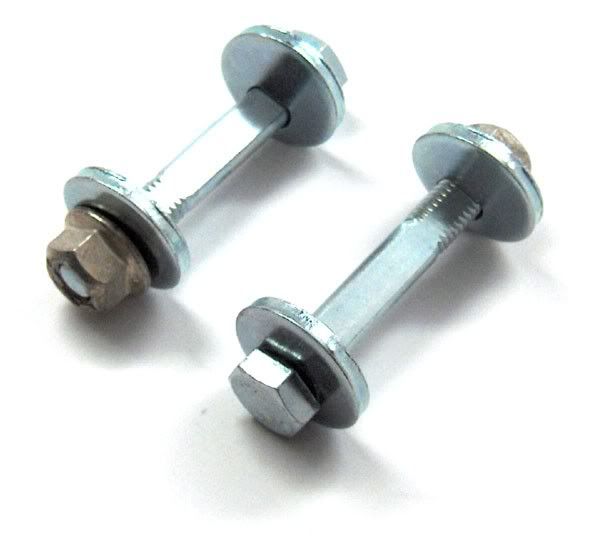
-Of course your toe bolt kit.
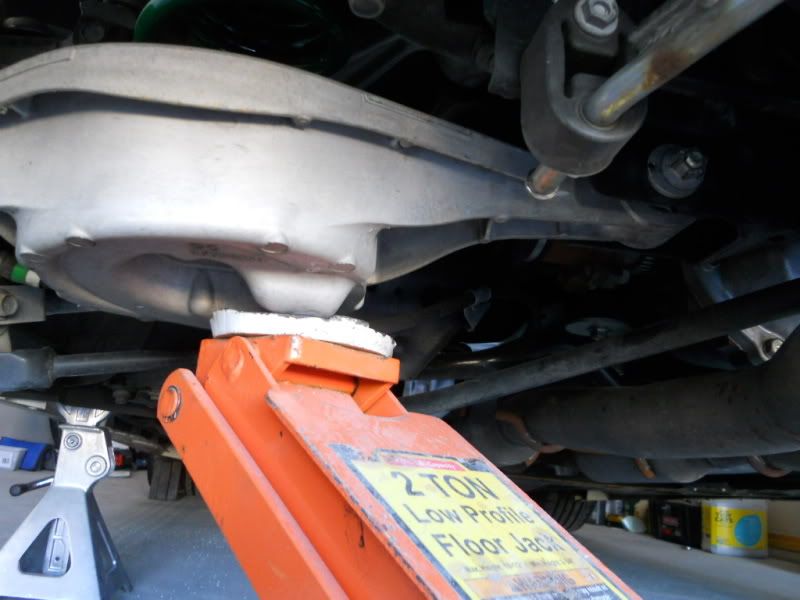
Step 1. Lets get the rear of your car off the ground. Use ramps or jack stands for the rear. Remember, never use a jack to support your vehicle. I used stands, but just in case a Final Destination tries to happen, I have my floor jack under there as a back up. Chock the front wheels.
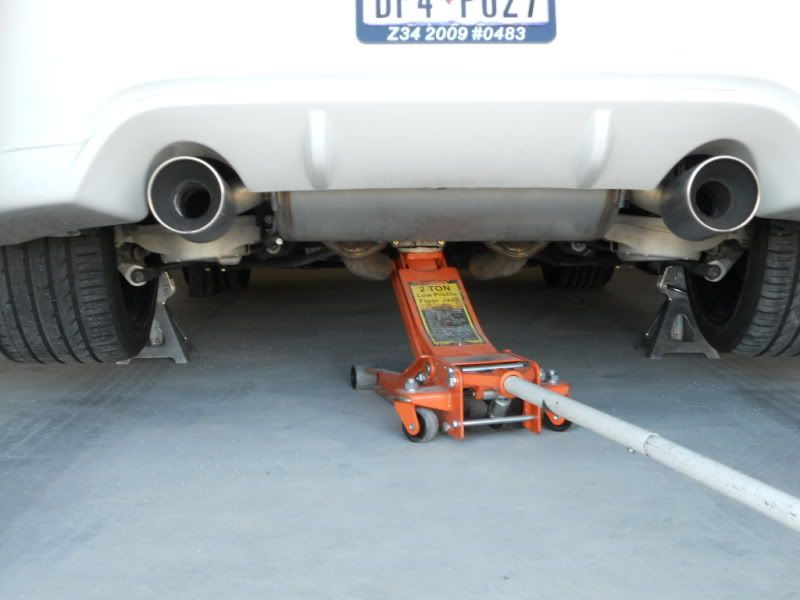
I ended up taking the rear wheels off so I have more room to maneuver around.
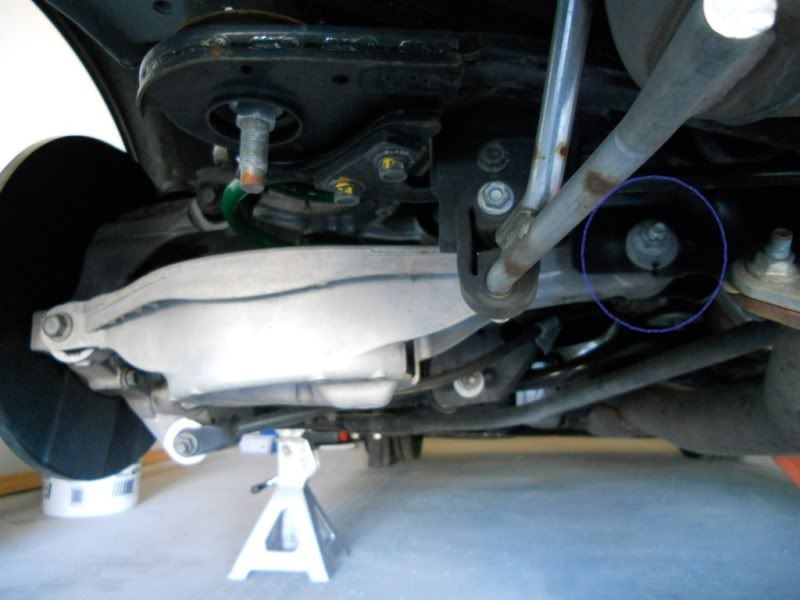
Step 2. Once your car is safely off the ground, get up under there and took a good look at what you are going to be working with. I don't want to insult anybodies intelligence, but your toe bolt is circled in blue. Its the one that is holding one end of the spring bucket.
 Step 3
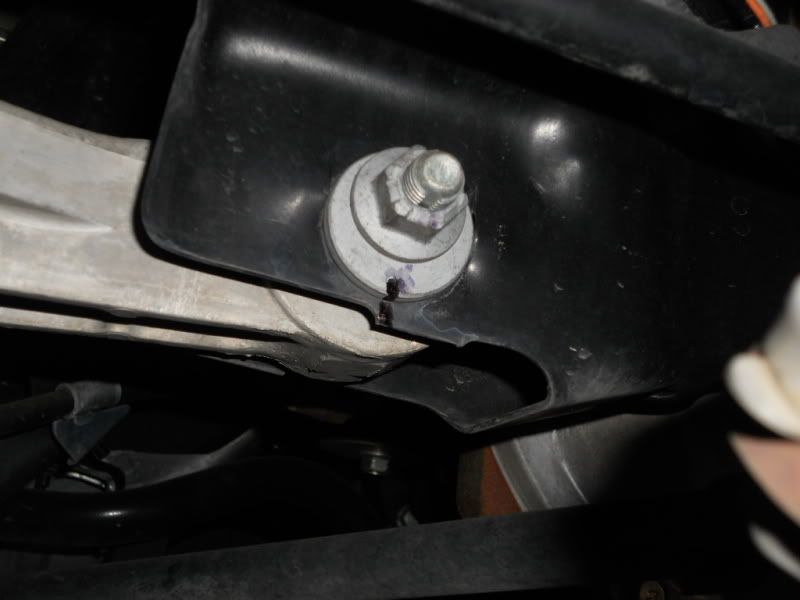
. Before your remove the toe bolt, use a marker to draw a line on the washer part and subframe. That way once you take the bolt out, and put your new eccentric bolt in, you'll at least be able to somewhat keep your alignment.
 Step 4
. Now that you have located your toe bolt and made your marks, lets go ahead and loosen it up. Impact wrench would be great if you have one. If not, I used a 17mm socket and small breaker bar for the nut, and used a 19mm box wrench to hold the front of the bolt. It was on there pretty tight so put some muscle into it. Once you get it loose, use your jack and slightly jack up the spring bucket. That will take the tension off the bolt so you can pull it right out
 Step 5
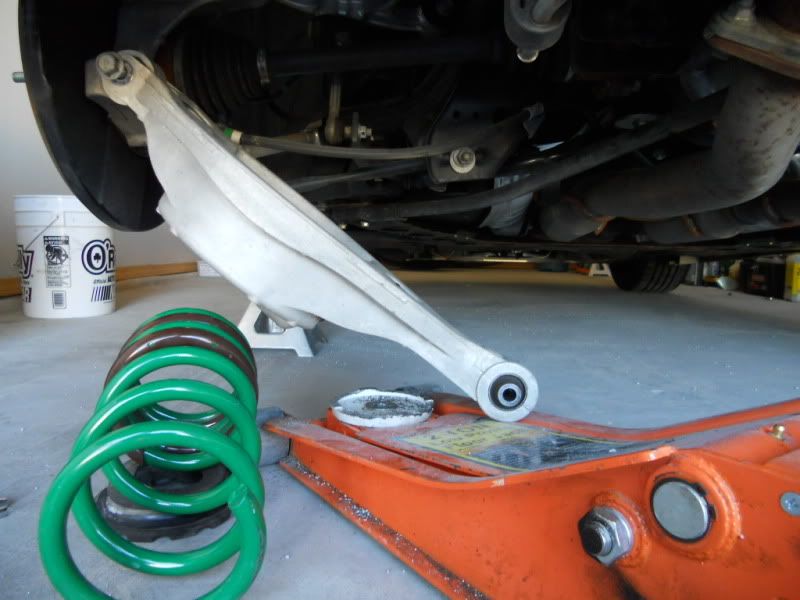
. Once you pull the bolt out, go ahead and slowly lower your jack. The entire spring bucket part is going to come down along with the spring. I went ahead and removed the spring bucket all together so I had more room to maneuver. This isn't necessary but recommended.
 Step 6
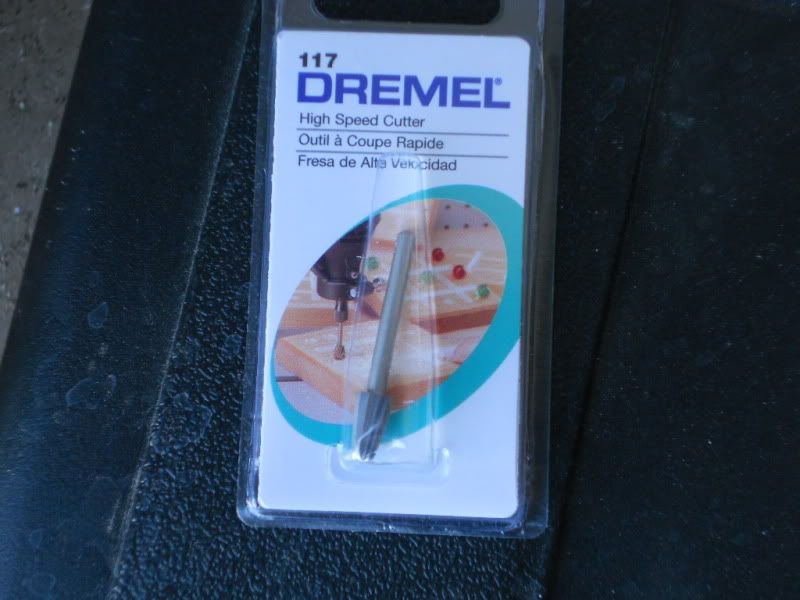
. Go ahead and get your rotary tool ready. I have a dremel, and I used bit 117. Its made for carving wood, and cutting soft metal. The sub frame that you will be cutting is aluminum, and you'll be shaving off just alittle, this bit was perfect for it and was really quick.
 Step 7
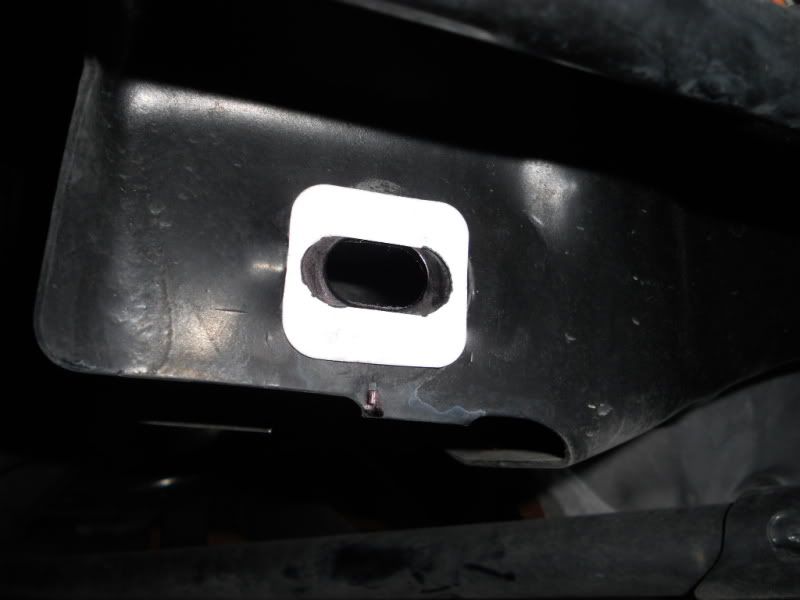
. Whatever toe bolt kit you bought, SPL or SPC, it should have came with a template. Put your template up on the subframe over the toe bolt hole. Don't worry, it will fit in between the two wedges and stay by itself. Now you can use a marker to mark off the area you'll be cutting. Don't use a black sharpie like I did. It was really hard to see once I started cutting so I would recommend a white or yellow paint marker.
 Step 8
. Ok, now you are ready to start grinding and elongating the hole. Keep in mind, its a tight area. You have the exhaust right next to it so getting a dremel tool up in there is a little tough. Just take your time. Remember, wear eye protection. Aluminum shards are going to be flying all over the place. Also, I recommend hearing protection as well. Once you get done with that, you'll need to grind down the front part on the other side of it as well. Not the best picture, you are looking up and at an angle here. But blue circles are showing the holes you'll need to enlarge.
 Step 9
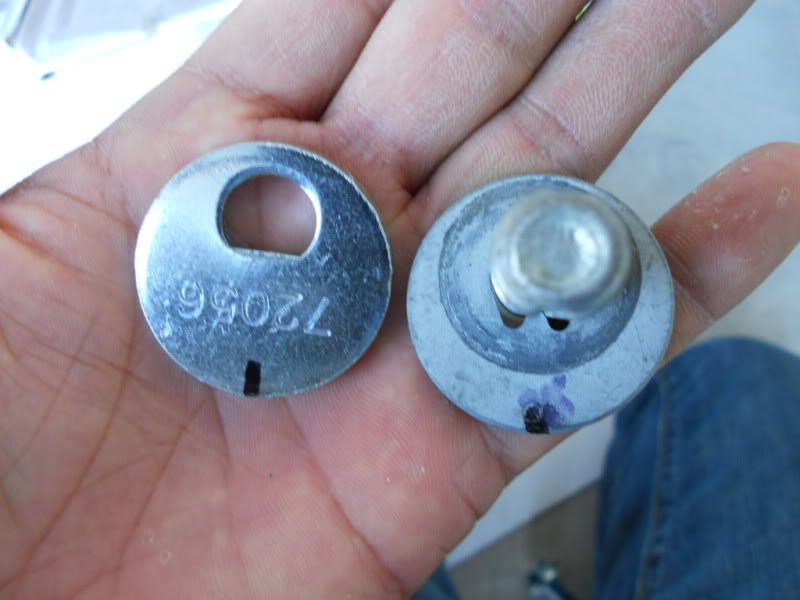
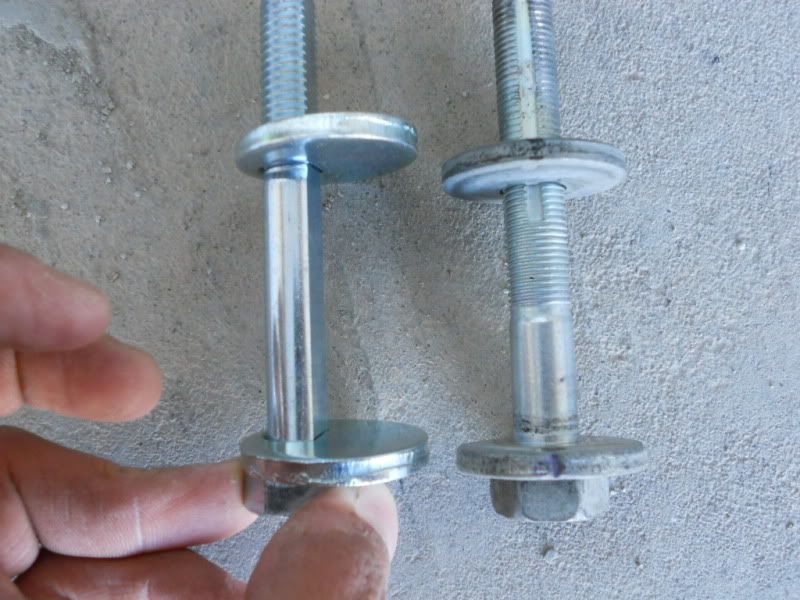
. Once you enlarged the holes, go ahead and pull out the new eccentric bolt out of your kit. I went ahead and made a line on it just like the stock bolt. Remember, you made that line on the subframe earlier as well so when you put this new bolt in, you can line up the marks so that way your alignment isn't to terribly off. You can see with the way the new bolt is shaped, and grinding the holes larger, how you have more adjustability compared to stock.
 Step 10
. Put your spring back into the bucket. Use your jack and raise up the bucket and line it up with the hole and put in your new eccentric bolt. Remember, line it up with the marks you made. Go ahead and tighten down the bolt to 73 ft lbs. Do the other side just like this and you are all set!
*
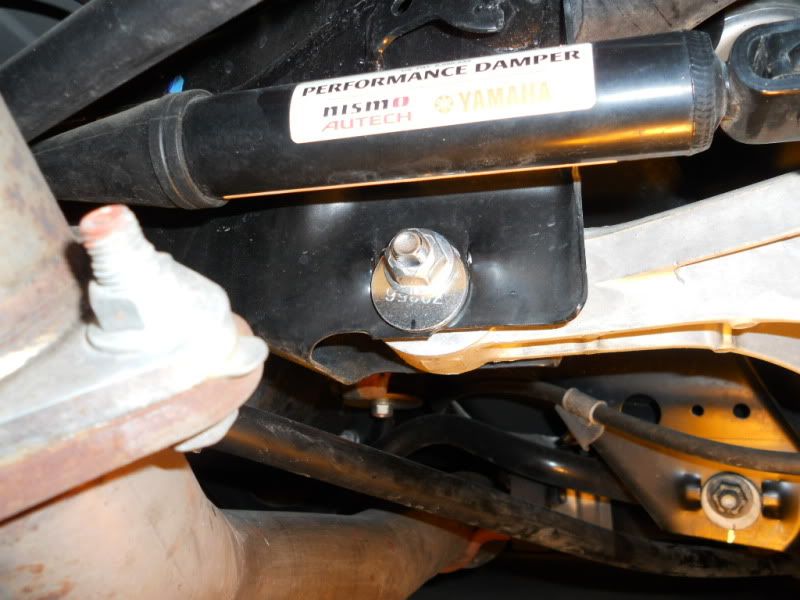
Nismo owners- When you get to the right/passenger side, life is easier if you take off the damper. As you can see in the picture, it would be really hard to get your rotary tool up in there if you didn't take it off
Thats all there is too it. Now go get an alignment and you'll be all set. There is a DIY thread on here for camber arm install. If you are doing toe bolts, might as well do the camber arms as well.
Hope this helps you guys out. By all means go ahead and add recommendations if I left something out or if you found an easier way of doing something. Rep points appreciated if you found this useful.
