Quote:
Originally Posted by KaienZ34

That's ok on no pics, some write up on taking off old and installing new is better than no write up.
|
Ill try my best to explain.
Removing the OEM wing:
Tools:
10mm deep socket
ratchet w/ extension
fishing line
heat gun (to help remove the double sided tape)
medium size flat head screw driver (to help remove the body clips)
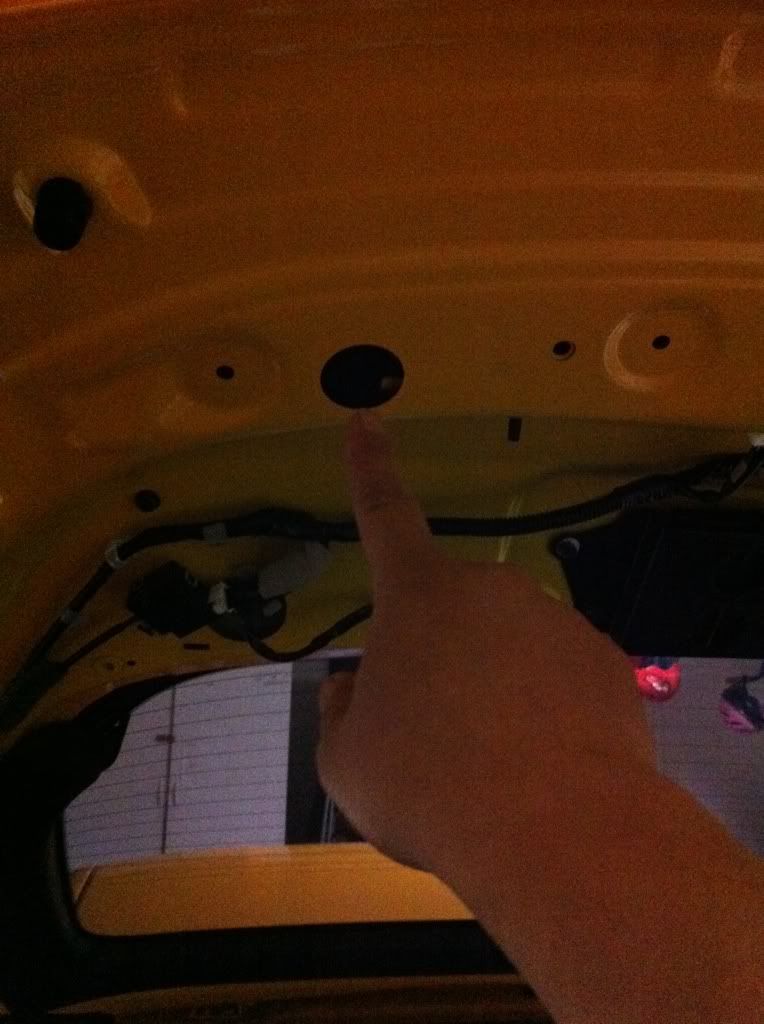
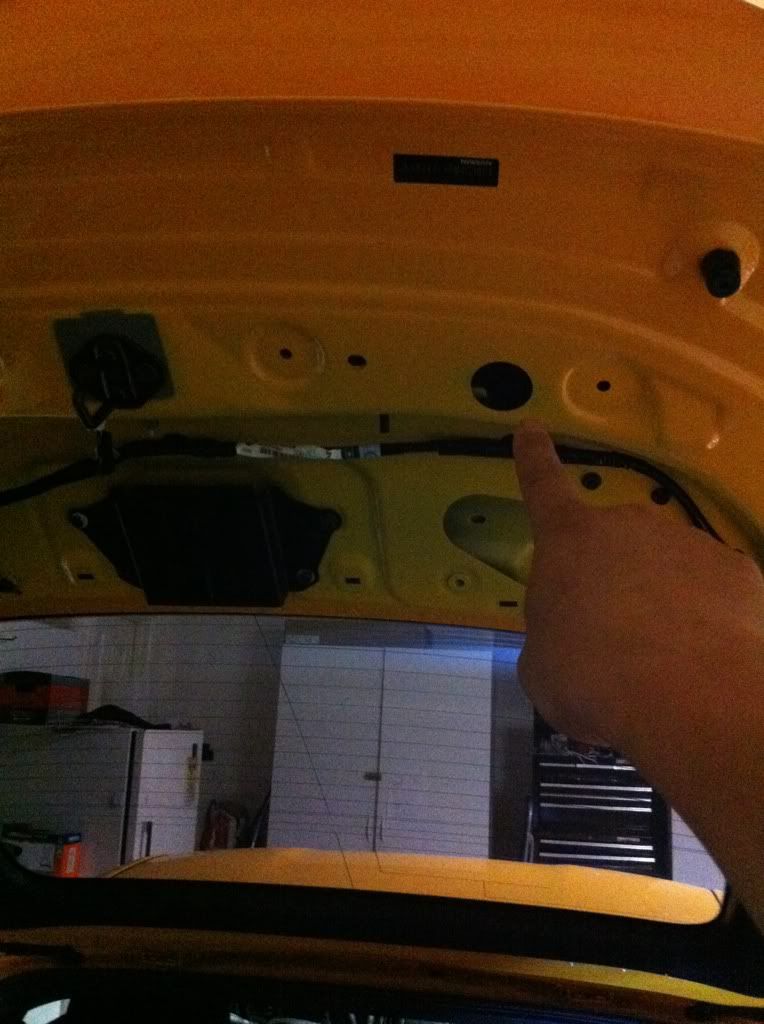
1. Remove the plastic cover underneath the hatch.
2. After removing the cover you will notice 2 round holes enabling you to access the nuts and bolts.
Each side has 1 10mm bolt and 1 10mm nut. To remove the nut you will need a deep socket 10mm.
3. Shut the hatch. It'll be easier to work on.
4. The OEM wing has double sided tape all around the edge of the base. You will need to gently cut the double sided tape using the fishing line by running the fishing line between the wing and the body in a sawing motion. (take your time, this part takes awhile.)
4.Now once you have cut all or most of the double sided tape, you will now take a firm grip of the wing and pull up to separate the wing and the hatch. There are 7 body clips securing the leading or front part of the wing to the body. It's almost like removing the interior panels.
5. Once you have the wing off use the heat gun to help remove the left over douple side tape from the body.
6. After removing the tape. Go grab some beer and take a break.
Installing the wing:
Tools and material:
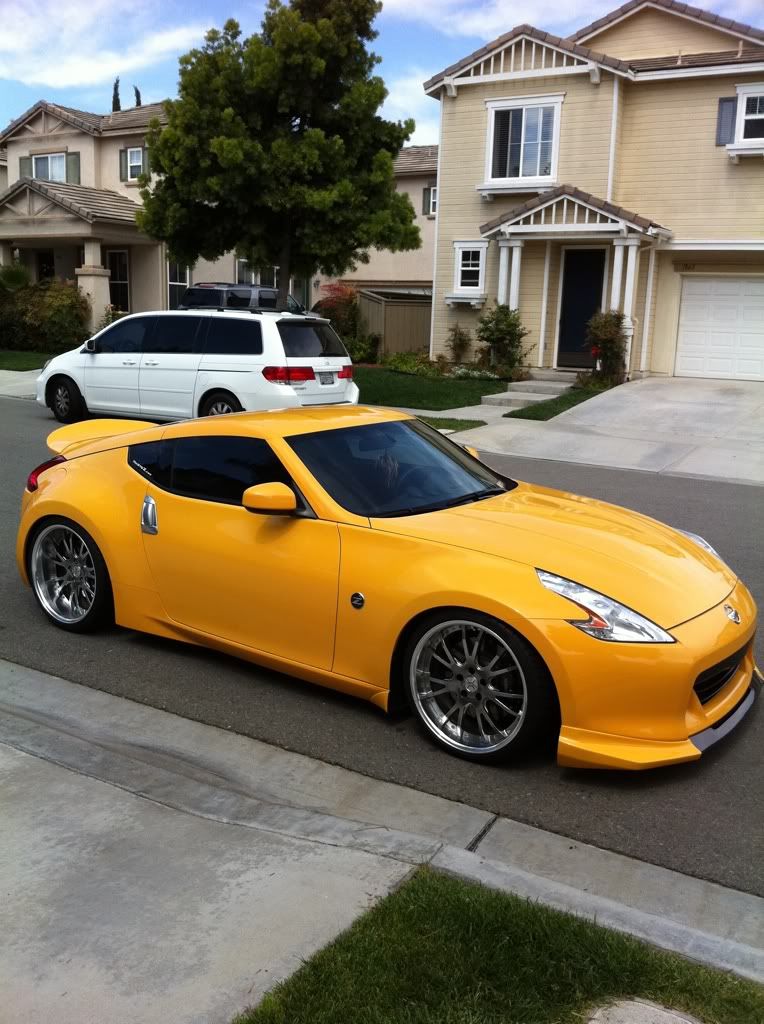
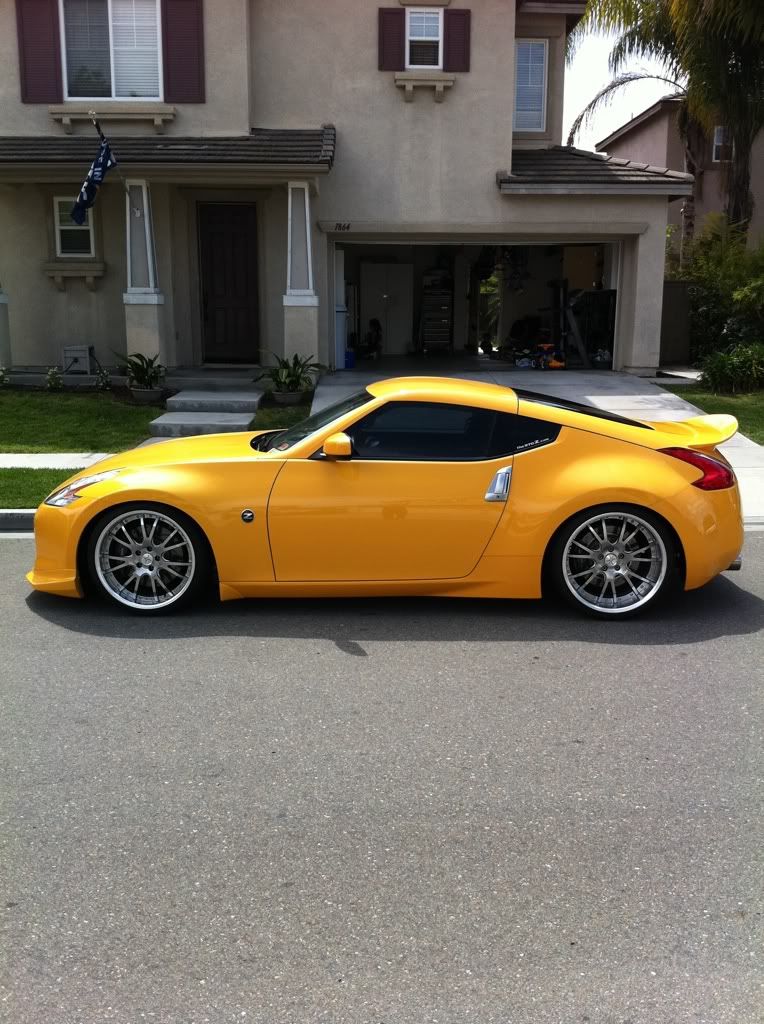
AERO JACKET III wing from VIP STATUS
epoxy
1/4 or 1/2 inch wide 3M double sided tape.
exacto knife
rubbing alcohol
clips from the OEM wing
2 10mm nuts with washer attached to it. (Like the ones from the OEM wing)
2 20mm long metric 10mm bolts.
magnetic retieving tool (just in case you drop the nut in the wing)
dremel w/small plastic cutting bit.
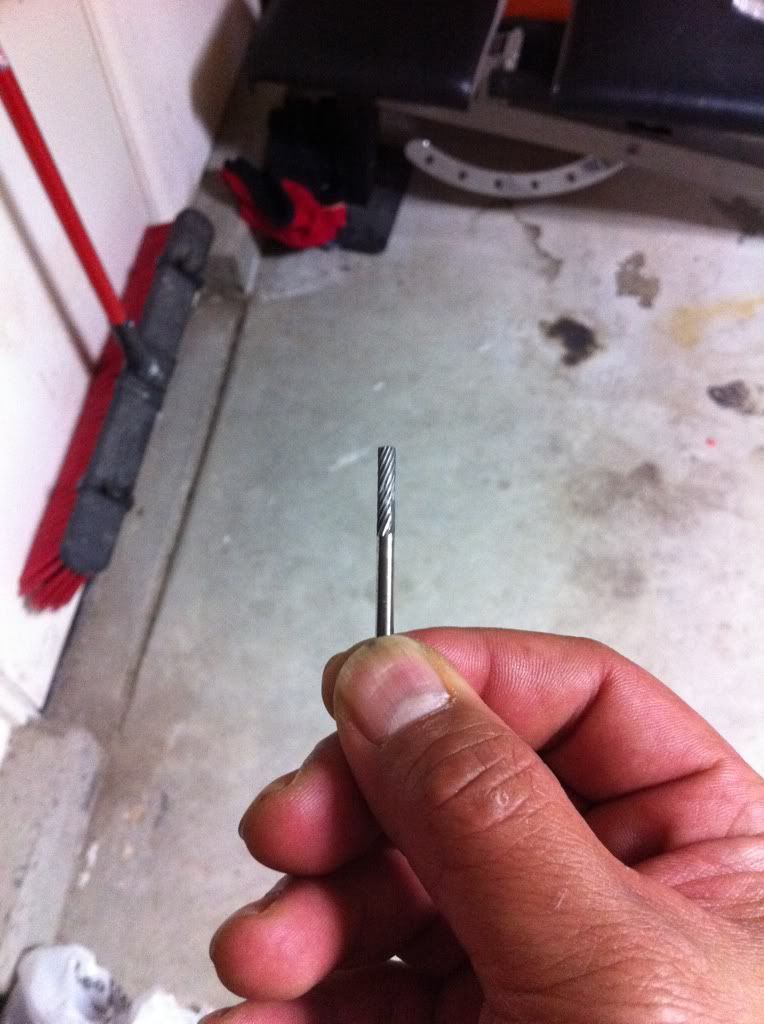
Uni bit

I dont have any pictures to help you visualize this part. I'll try my best to explain.
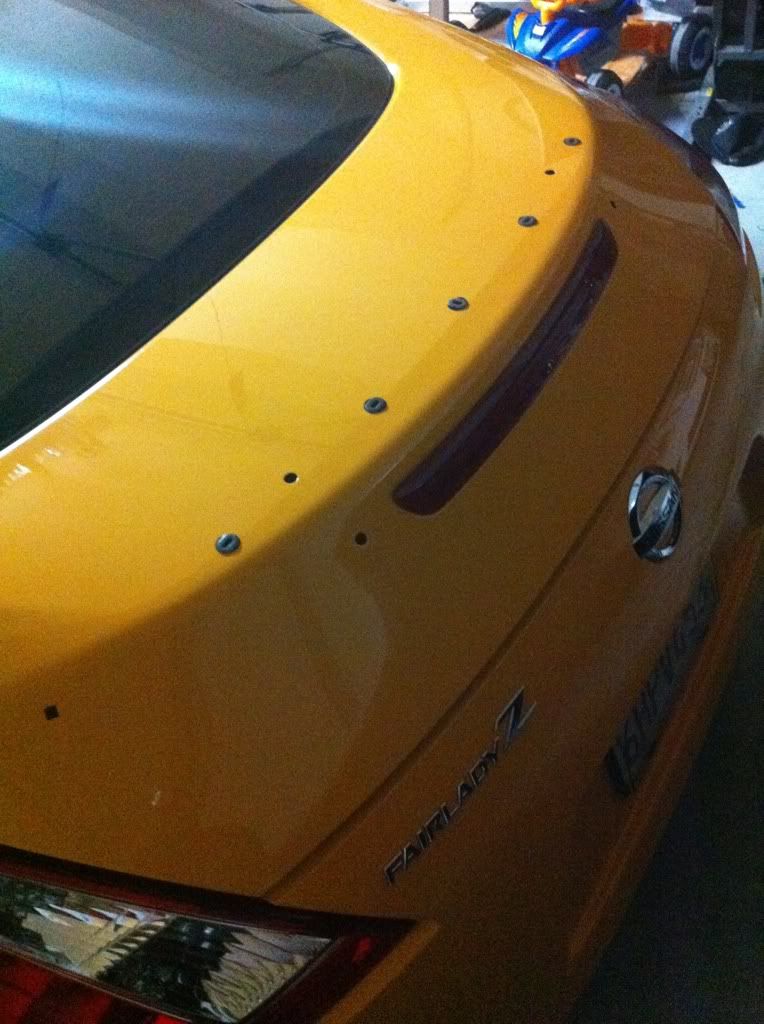
On the AERO wing you will notice it will have 5 threaded holes for bolt. I did not use any of them. Also you will notice where the mold has kept the imprints of the holes for the body clips and the 4 hole for the nuts and bolts from the OEM wing. Thats what I used.
1. Use the uni bit to drill holes where the bolts bolt into the OEM wing. Near the brake light fang. Make sure the holes are just big enough to fit the 10mm nuts snug.
2. Now drill access holes big enough to fit your finger inside to access the holes for the nuts from the inside.
3. Once you are able to fit the nuts w/attached washers from the inside, your ready to epoxy them in place. Use a bolt to align them if needed. (nuts w/attached washers are to help them from falling through. Added strength when bolting the wing back on.)
4. Now using your dremel, cut out the slots where the threaded studs go on the OEM wing. Cut them exactly like how they are on the OEM wing where the bolts slide in place.
5. Take a 20mm long metric 10mm bolt and slide them into the slot you just made. It should just slide in place.
6. When you are satisfied how the bolts fall into place go ahead and epoxy them in place.
7. Now for the clips you need to use your uni bit to drills holes for them like in the OEM. Make sure you drill the holes where they would be in thier final position. The white clips have a smaller flat part and a bigger flat part. Can't really explain, but when you remove them you'll know what I mean. Its to help secure them in place on the OEM wing. You don't want to drill the holes bigger than the bigger flat part or they will just fall through.
8. After you have the holes all drilled, go ahead and epoxy them in.
9. Now go have another beer and let the epoxy cure for an hour or so for a good bond.
10. Use your double sided tape and place and cut where ever the OEM wing had tape. Some areas might need another layer of tape depending on how thick of tape you bought.
11. Now clean your hatch with rubbing alcohol where the double sided tape would touch.
12. Install the wing.
13. Have another beer and tell your wife that your the man!
*NOTE: This DIY is for those who do not want to drill extra holes if you already have the OEM sport package wing.
If your Z didn't have a wing to begin with, then it's easier to use the threaded holes provided for you on the aftermarket AERO Jacket type III wing.
Hope this helps a little. Sorry for forgetting to take pictures as I was installing. I was too focused hahaha
